
Promote Changes Through Environments
Promote your changes from Development to Staging and Production via GitOps.
-
1
Check in your changes to the remote origin. Please note you will need to log in to your GitHub if its the first time you are using git since the dev environment was instantiated. A code will be displayed on the screen of the code-server and you need to copy and paste this into GitHub to authorize VSCode.\ \ [[git add \*]] [[git commit -m “making a change”]] [[git push origin <branch name>]]
-
2
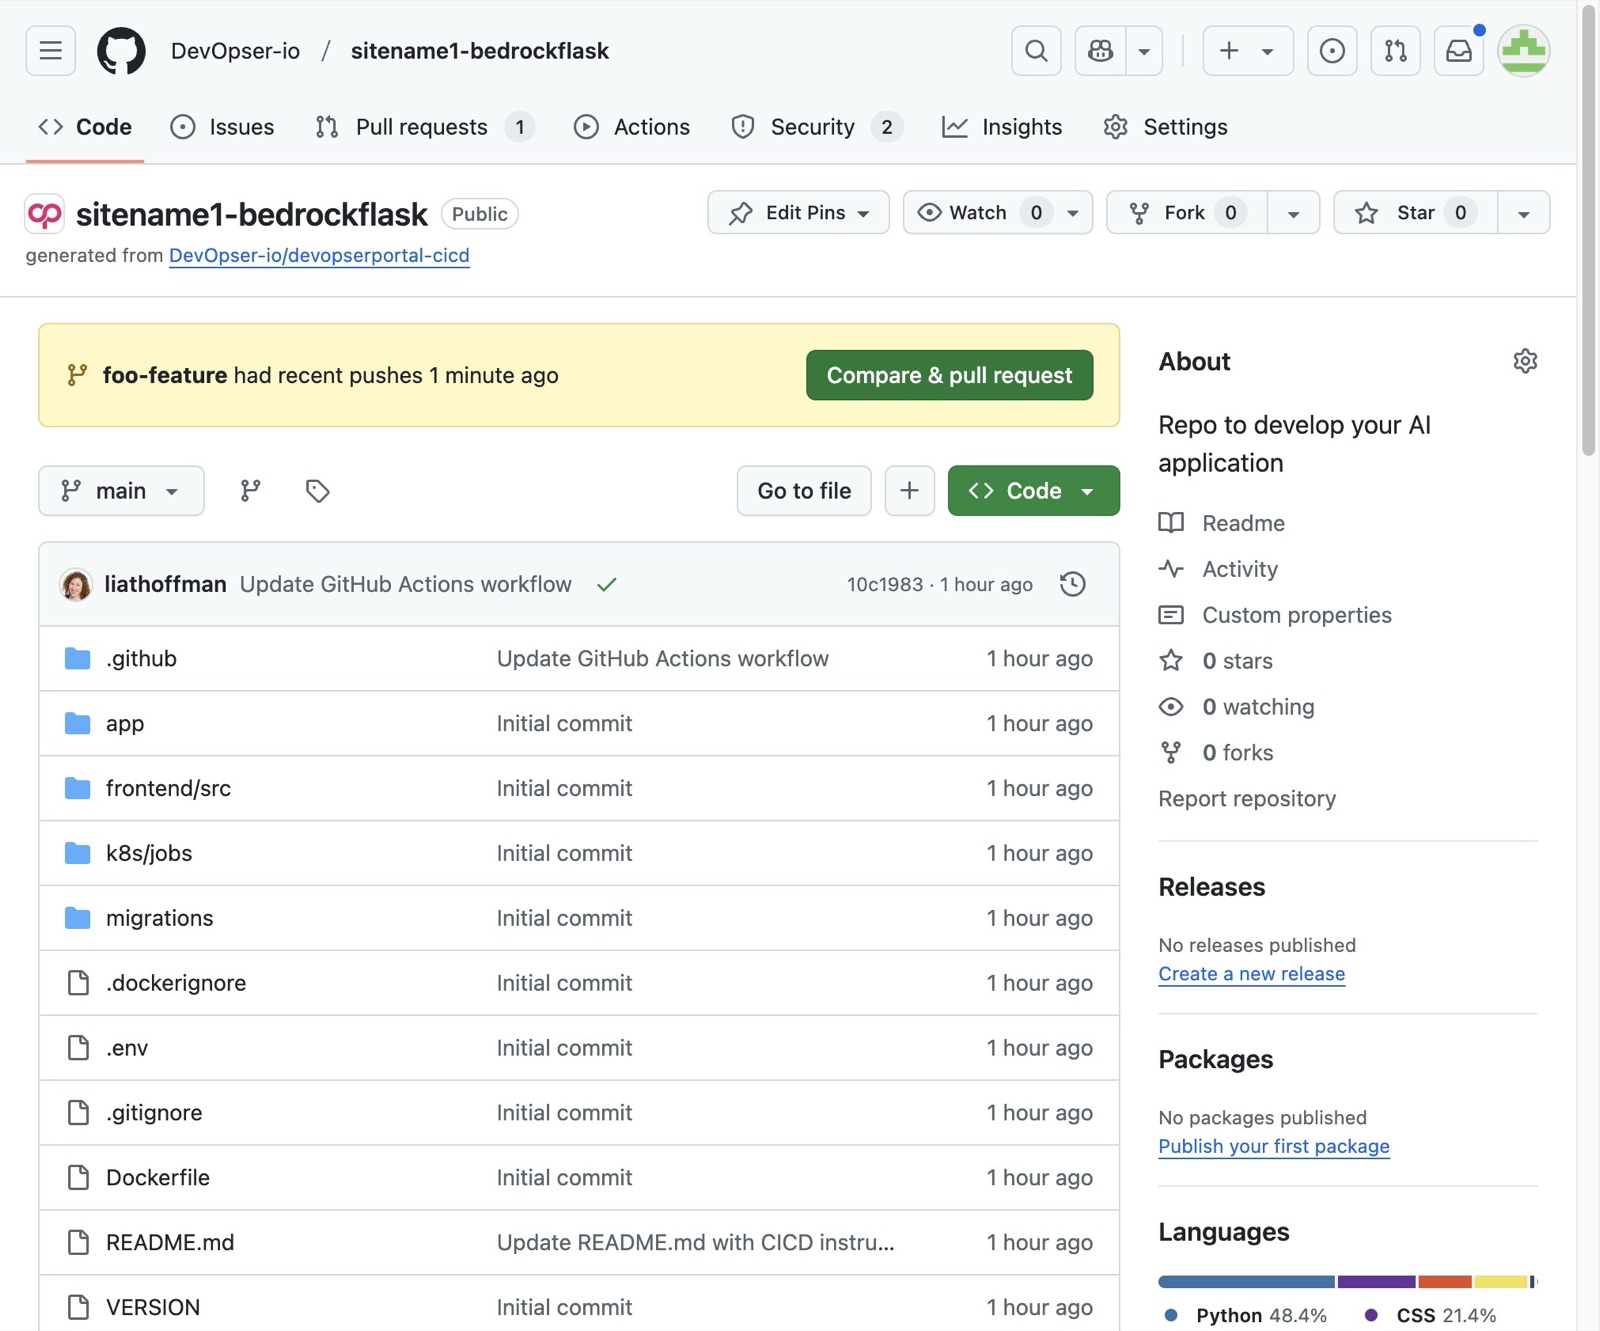
Navigate back to your GitHub repo and click “compare & pull request”
-
3
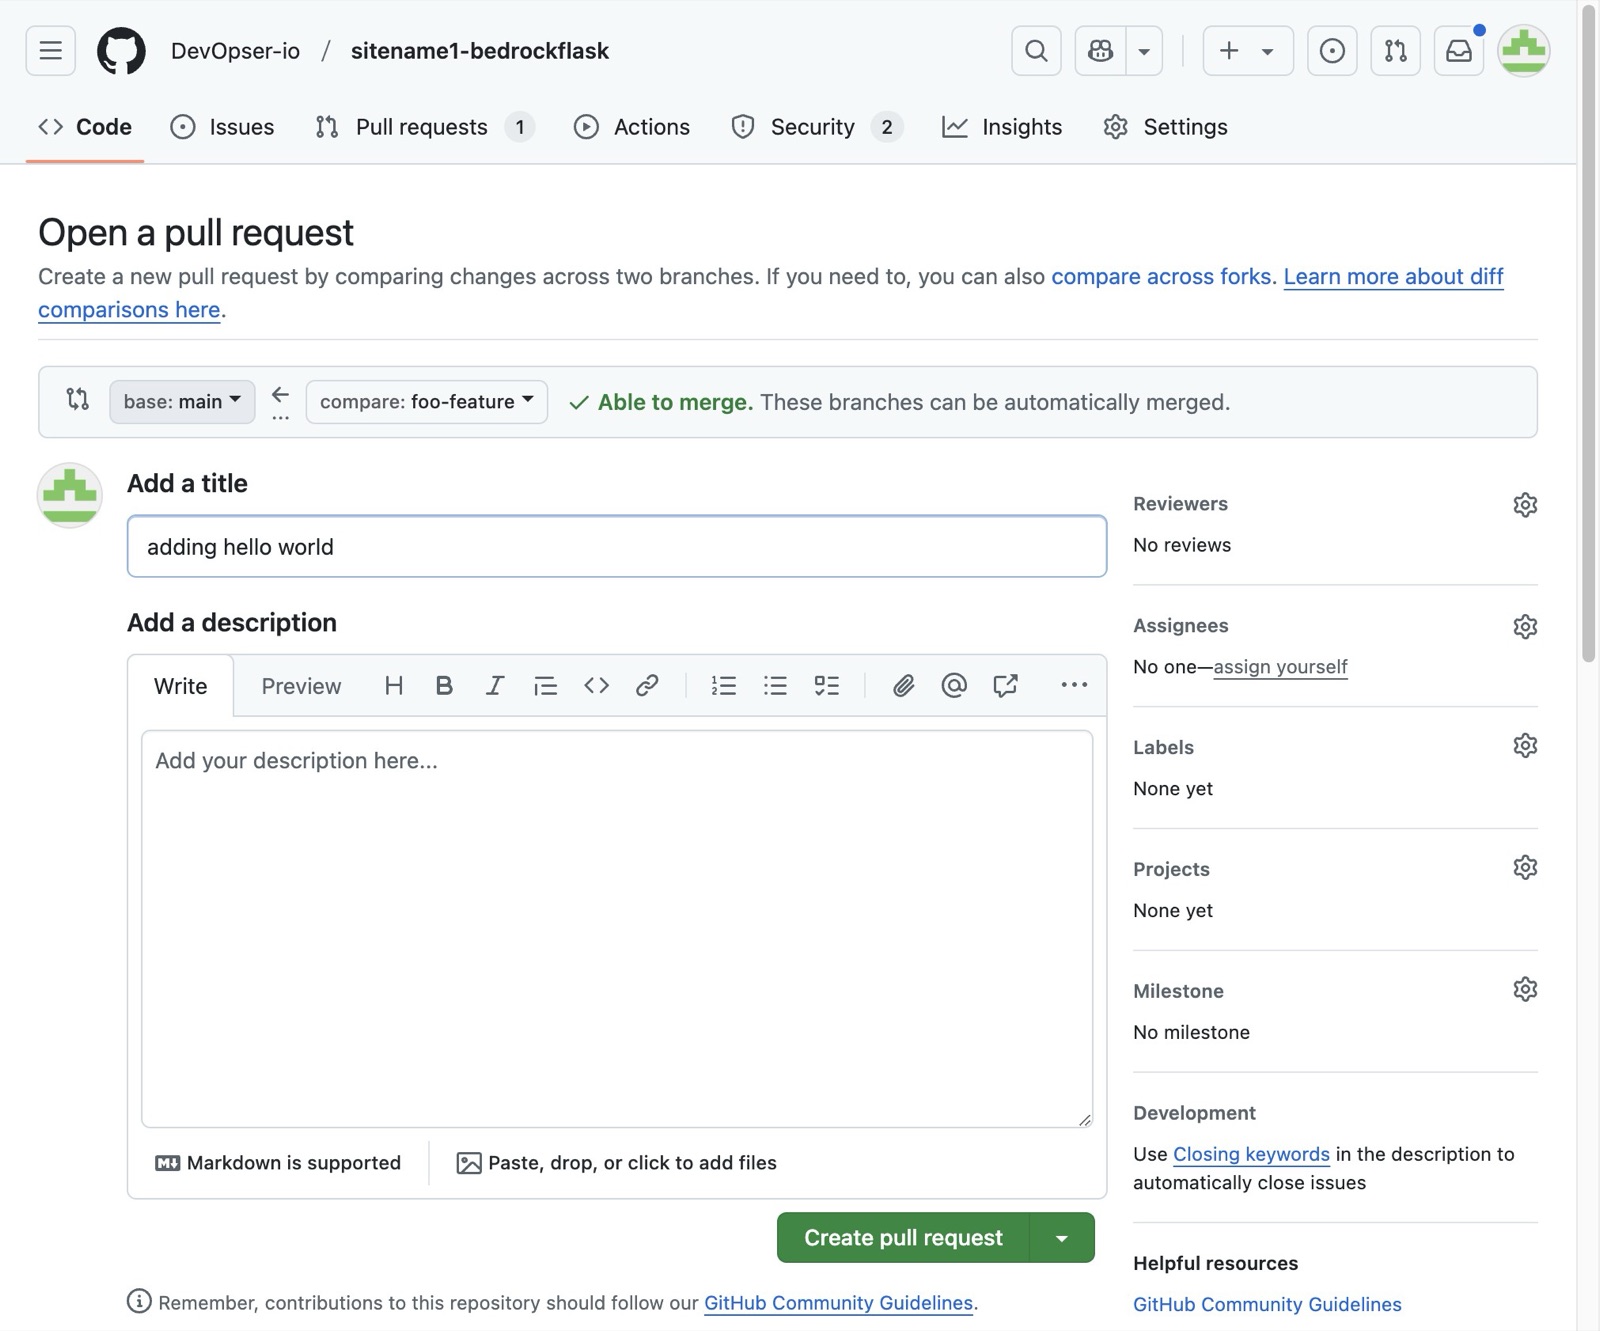
Select the base- in this case, Staging
-
4
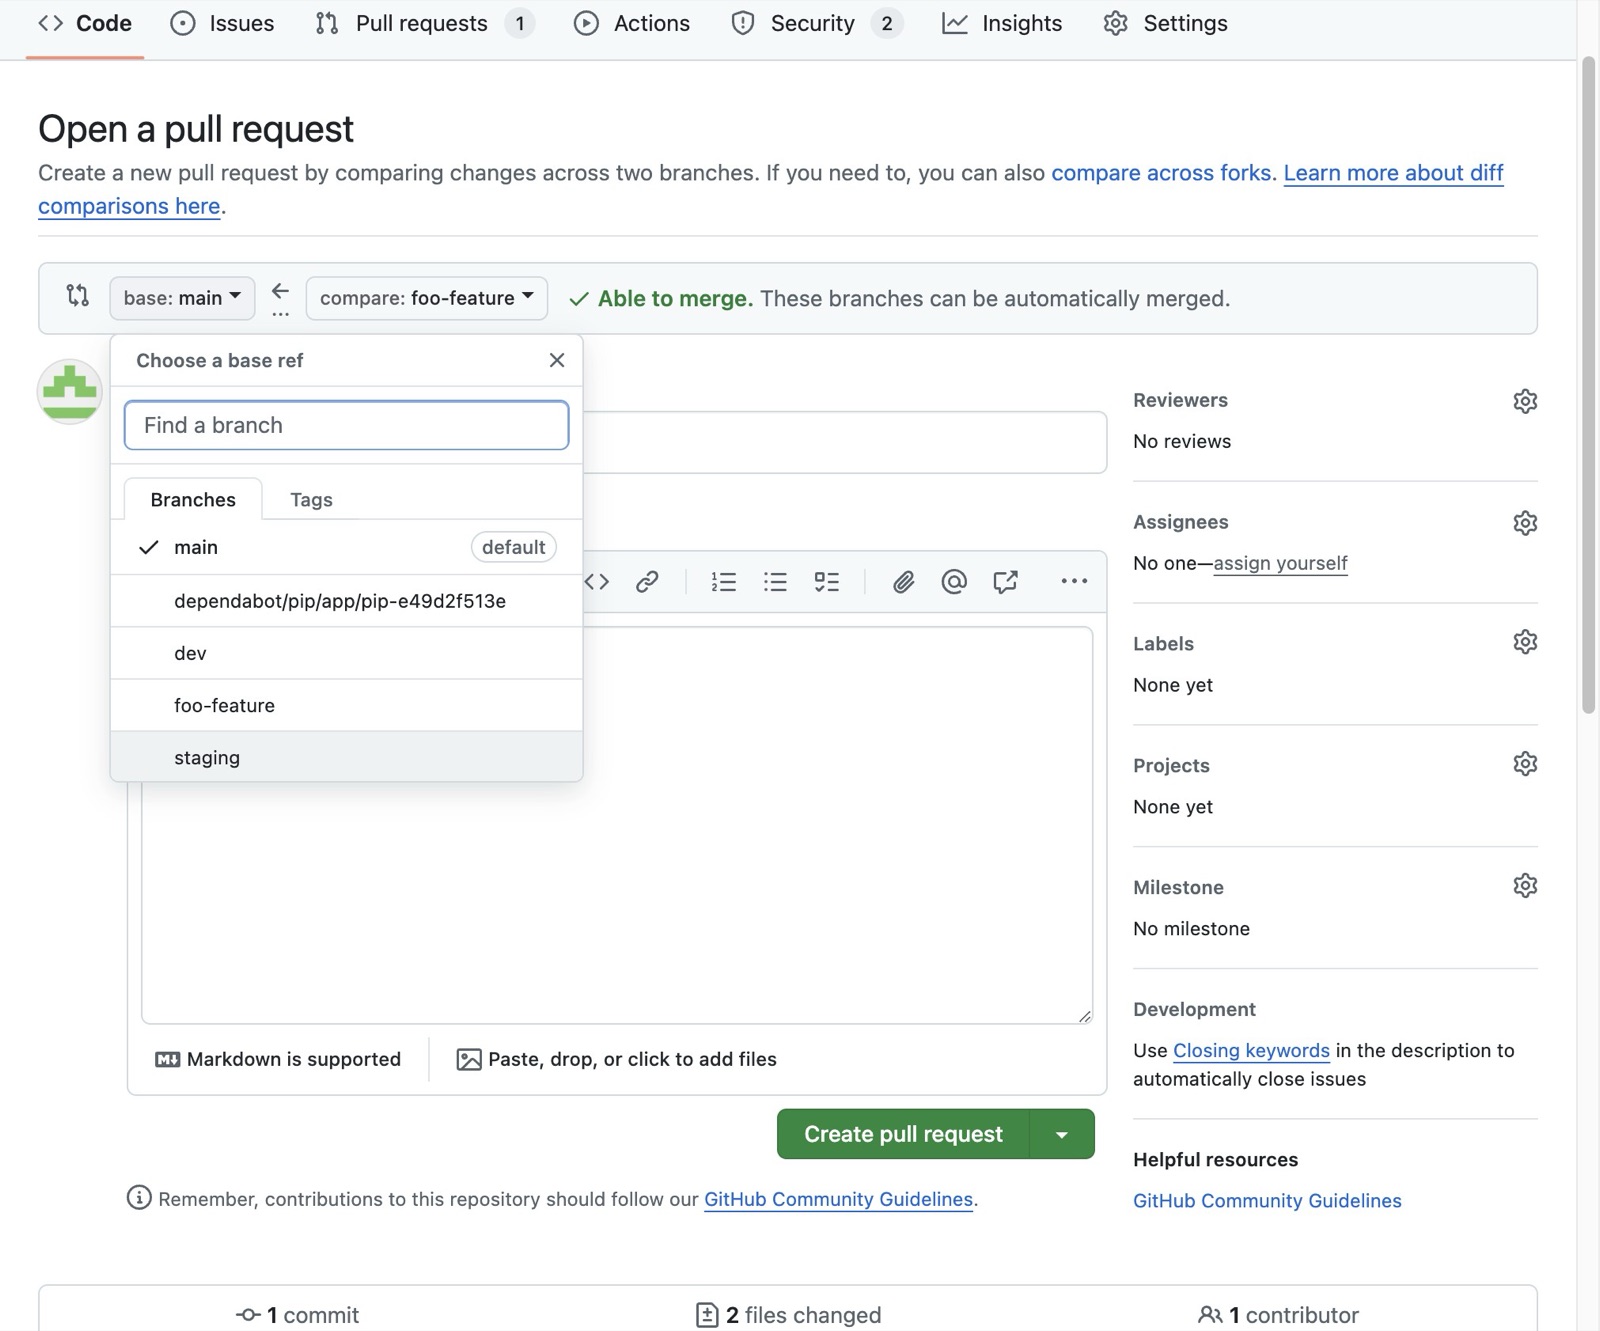
Click “staging”
-
5
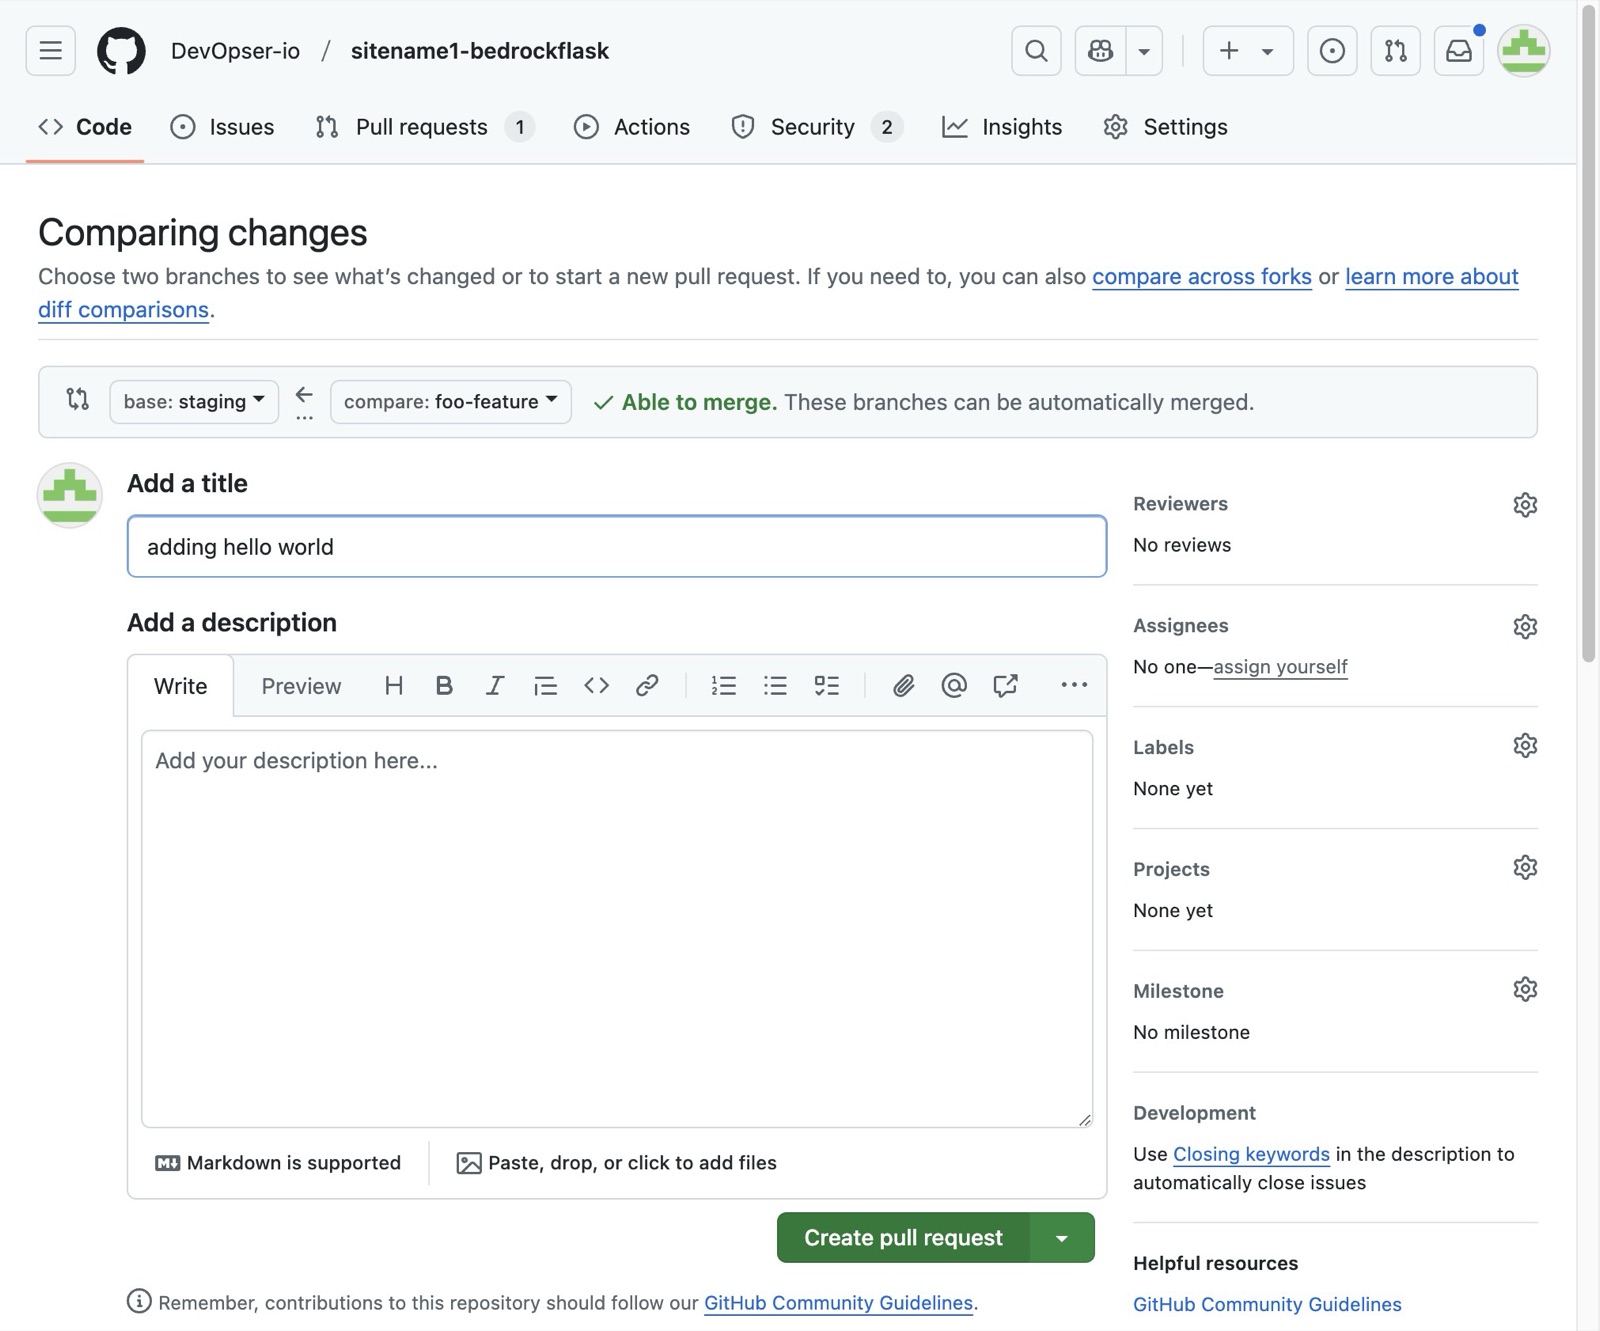
Click “Create pull request”
-
6
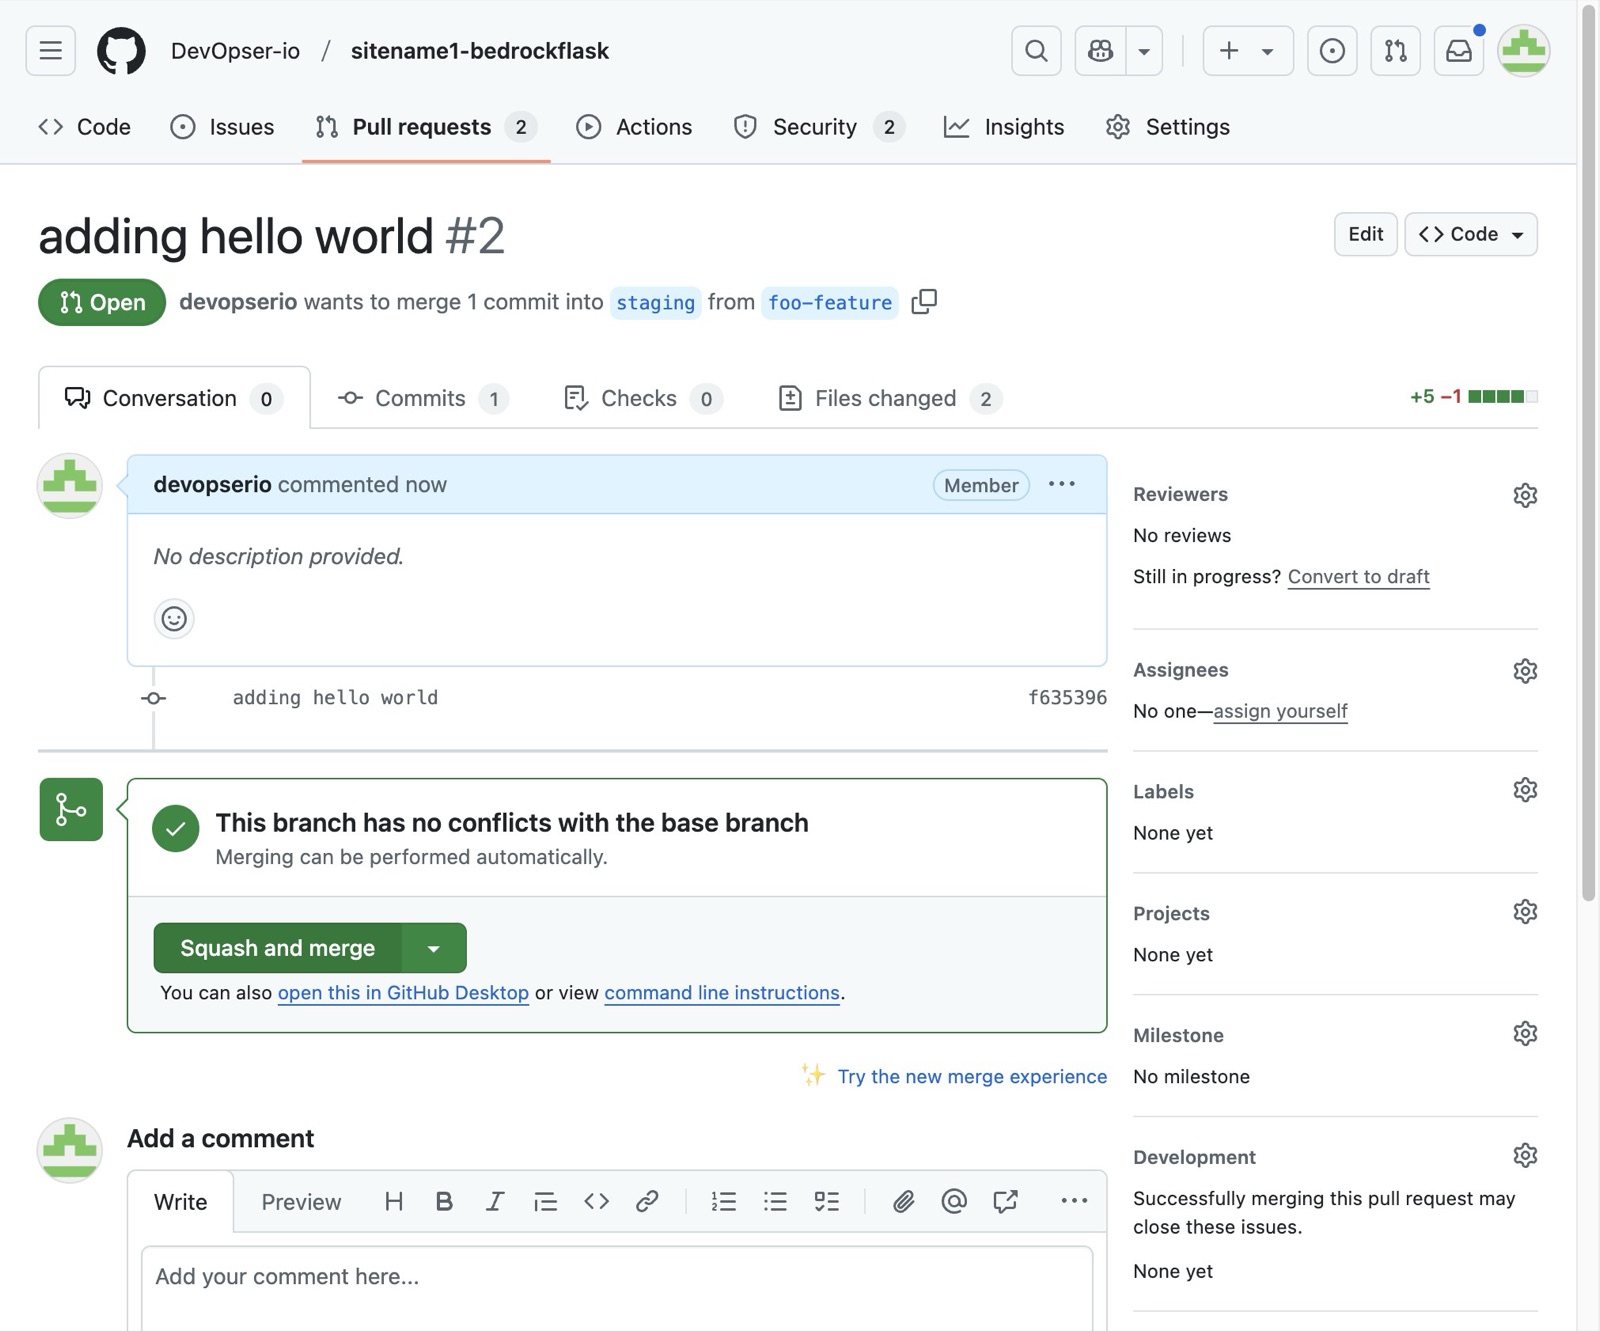
Click “Squash and merge”
-
7
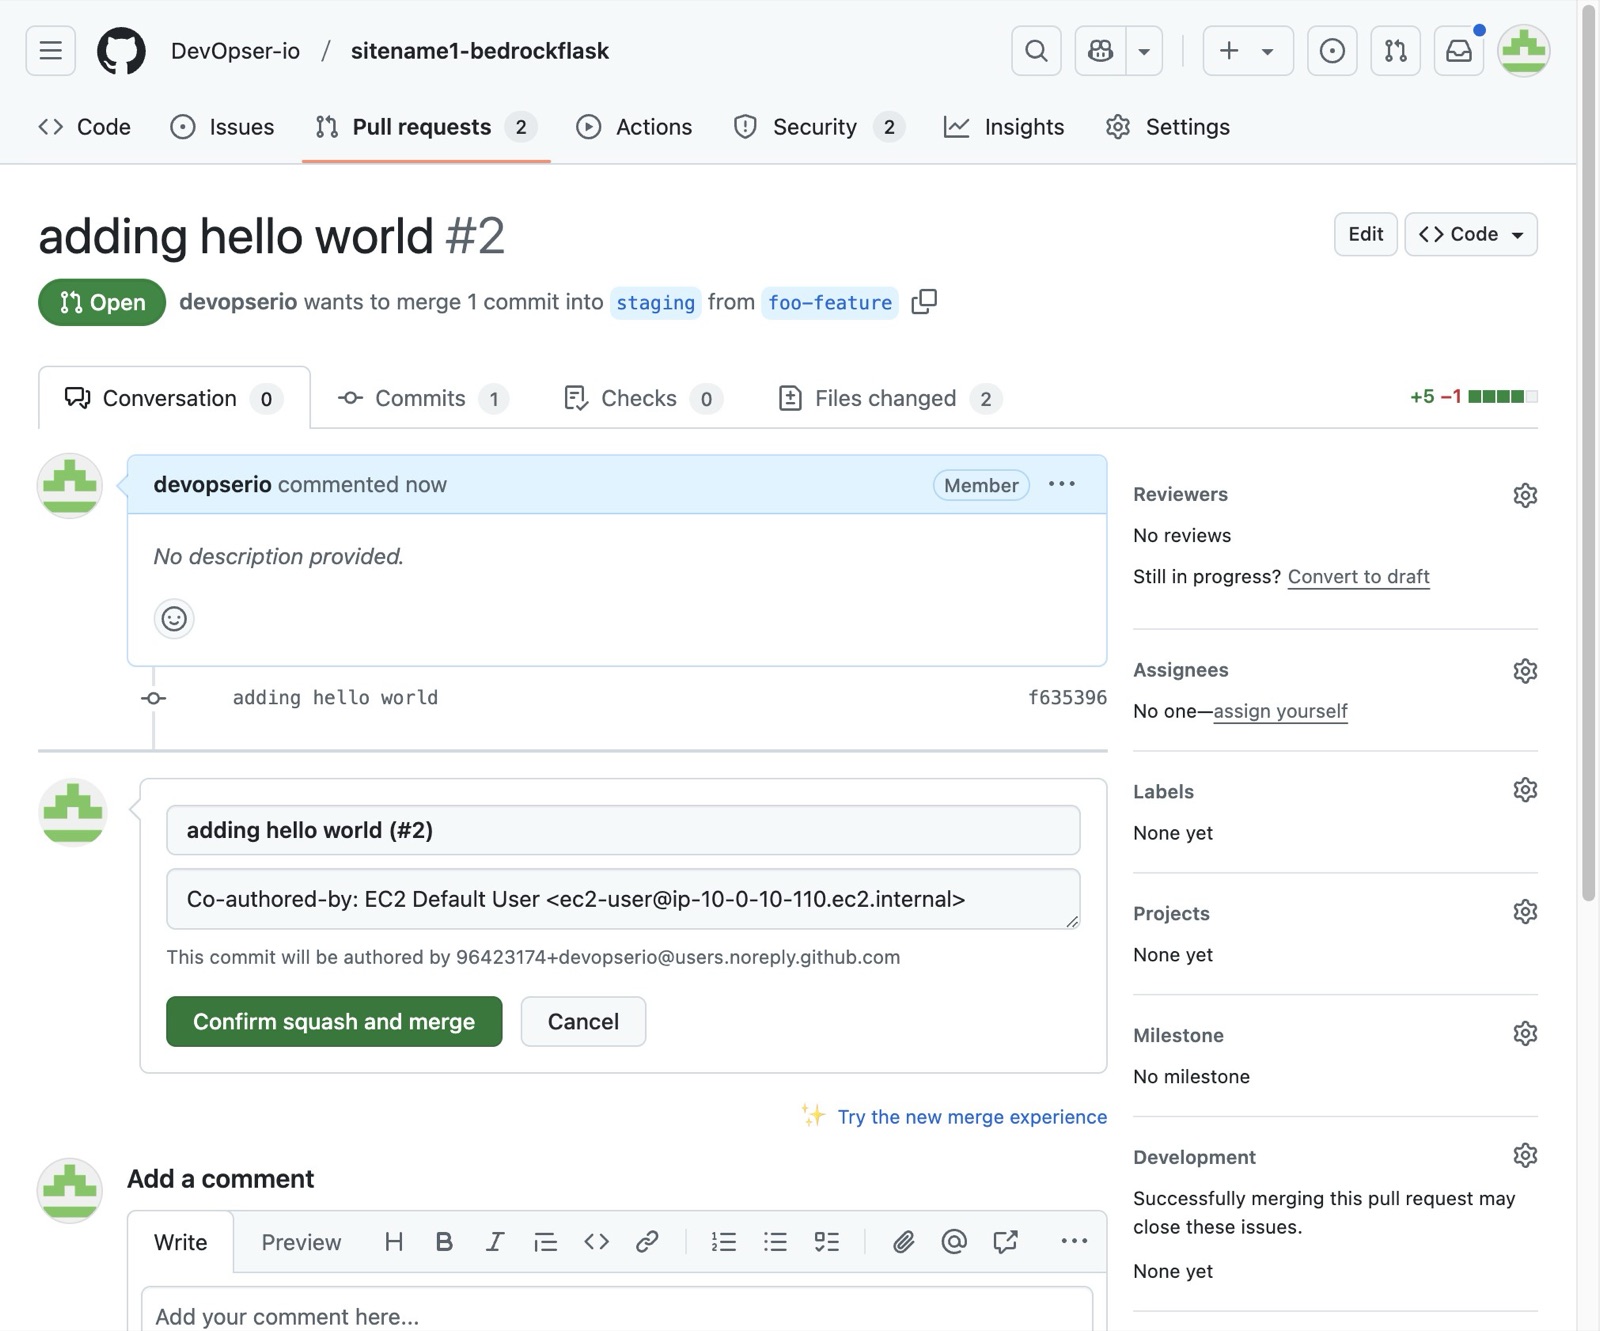
Click “Confirm squash and merge”
-
8
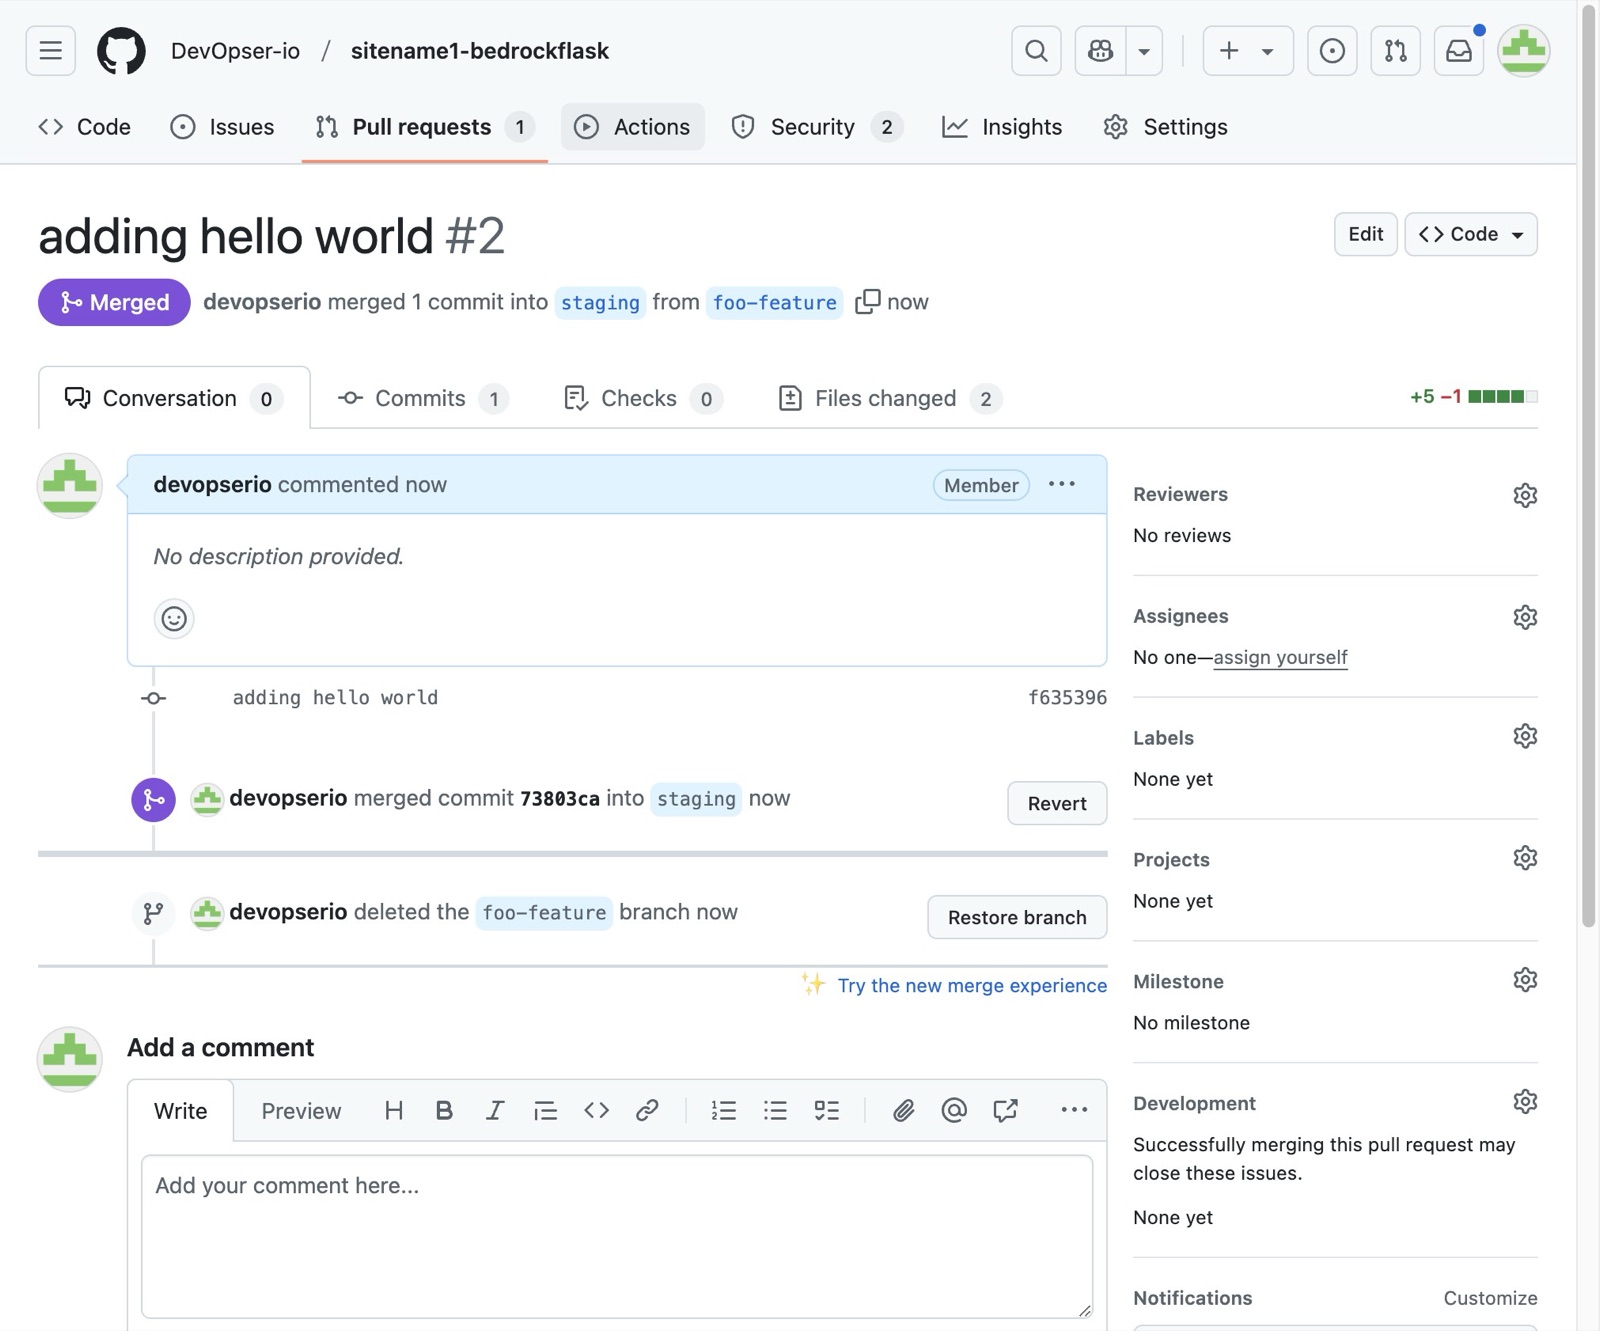
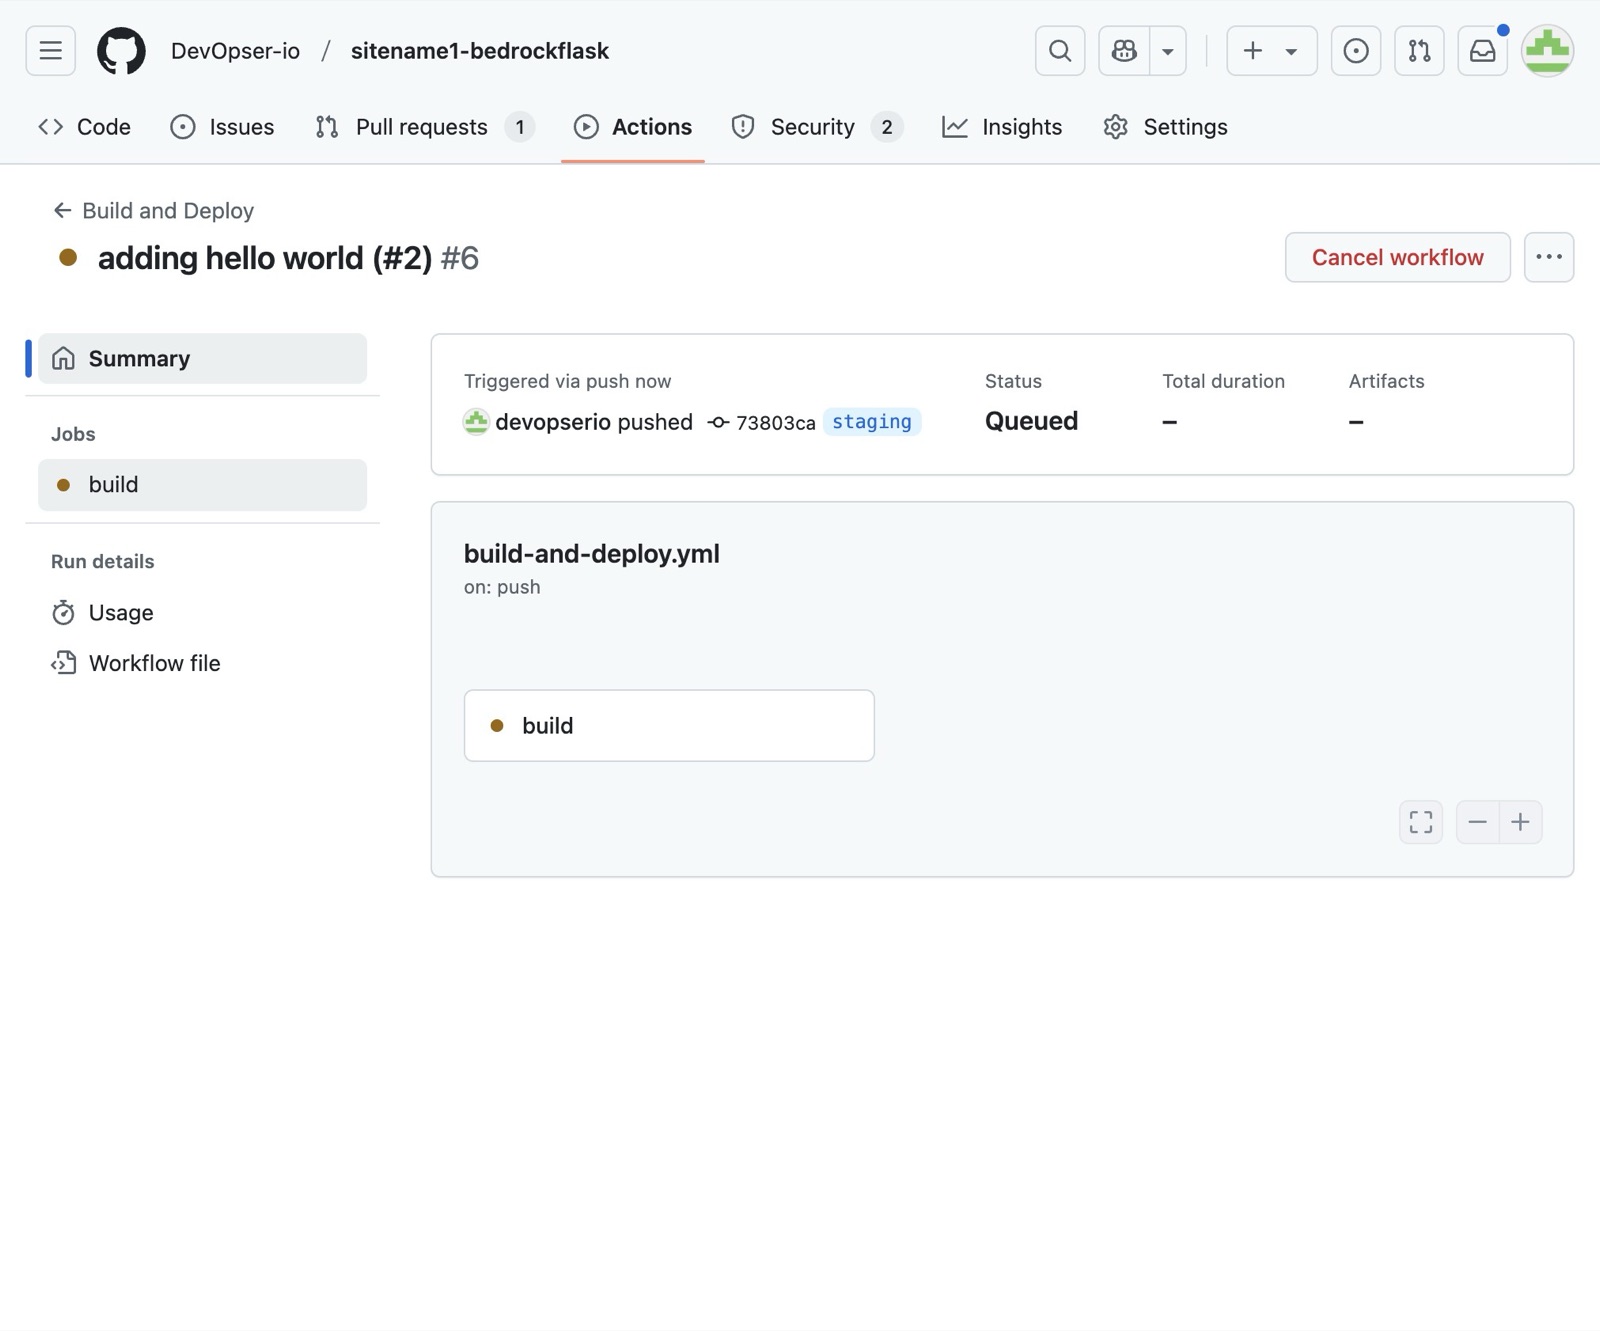
Click “Actions” to see the build progress (the containerization of your app and push to the container repo)
-
9
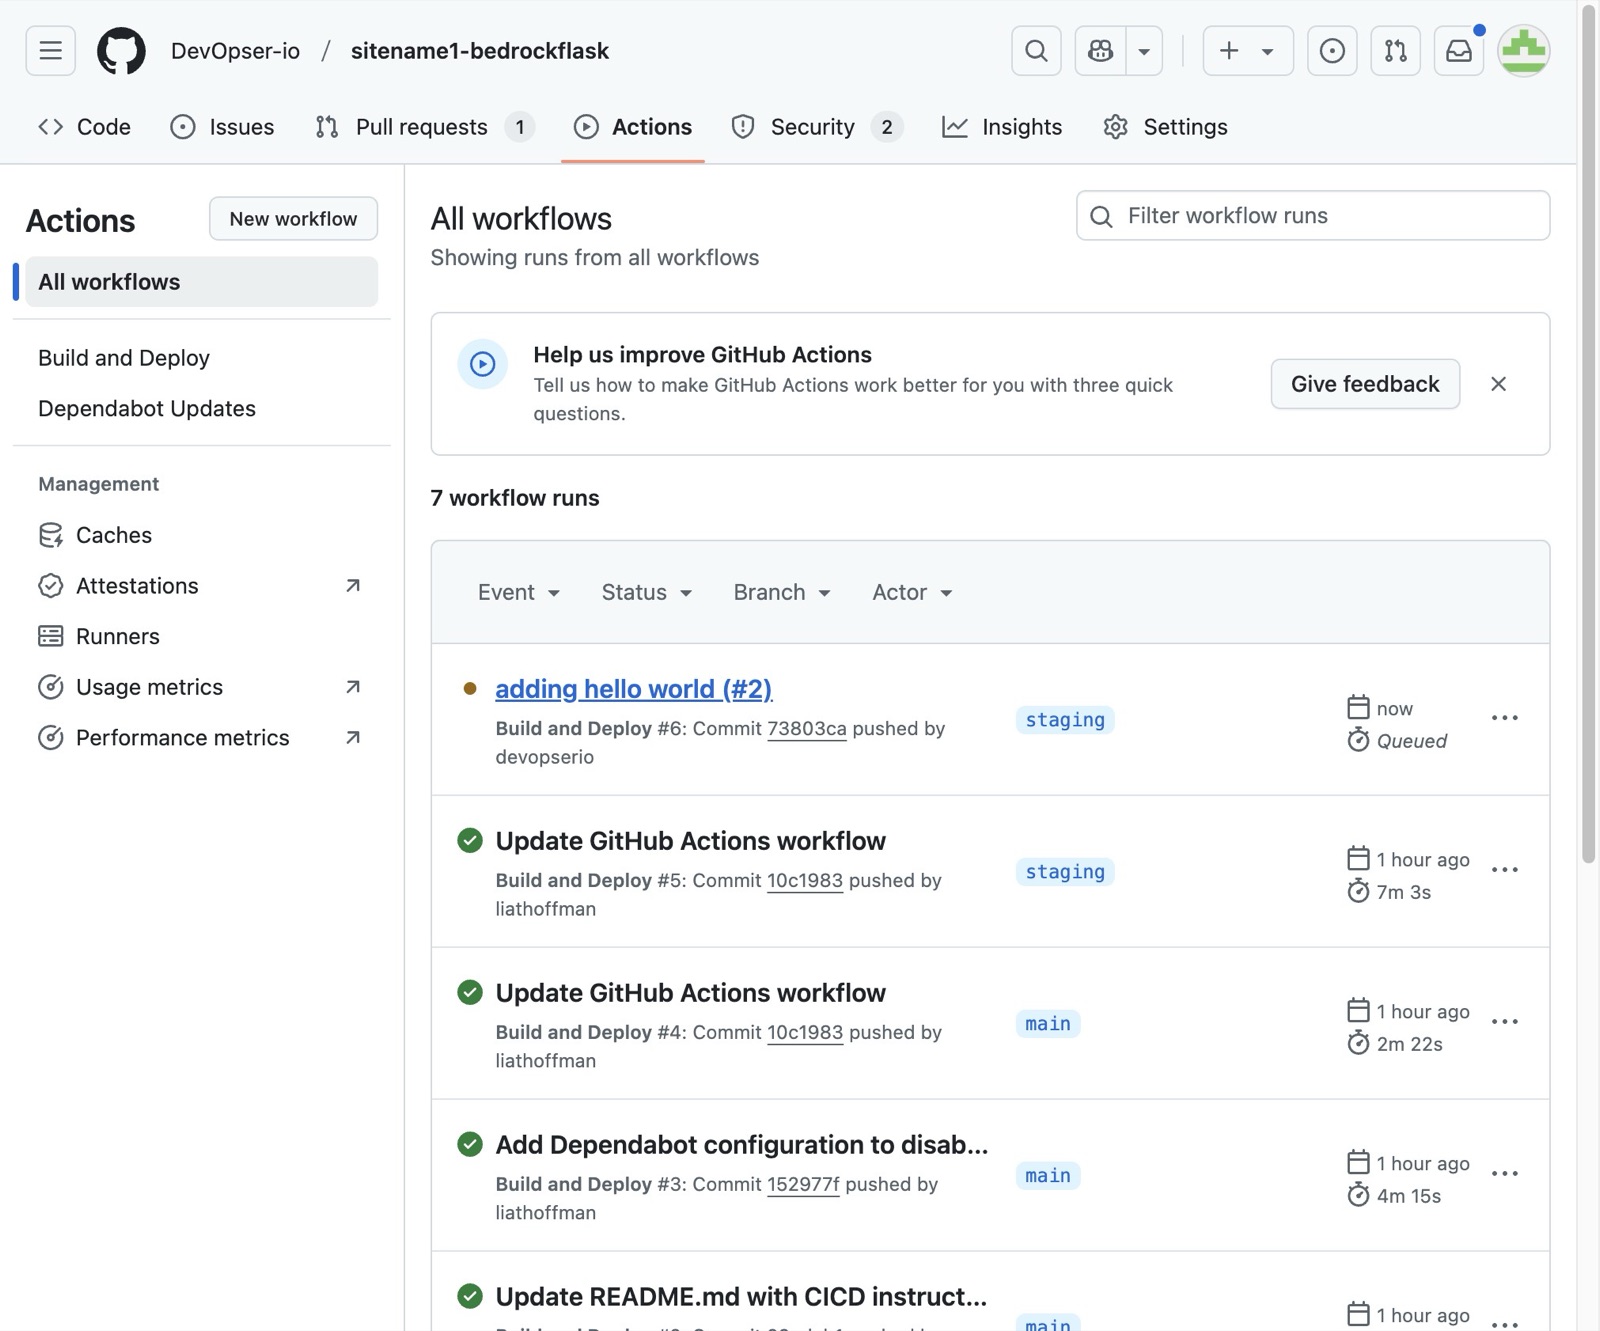
Click the title of the action to see the build output.
-
10
Click “build”
-
11
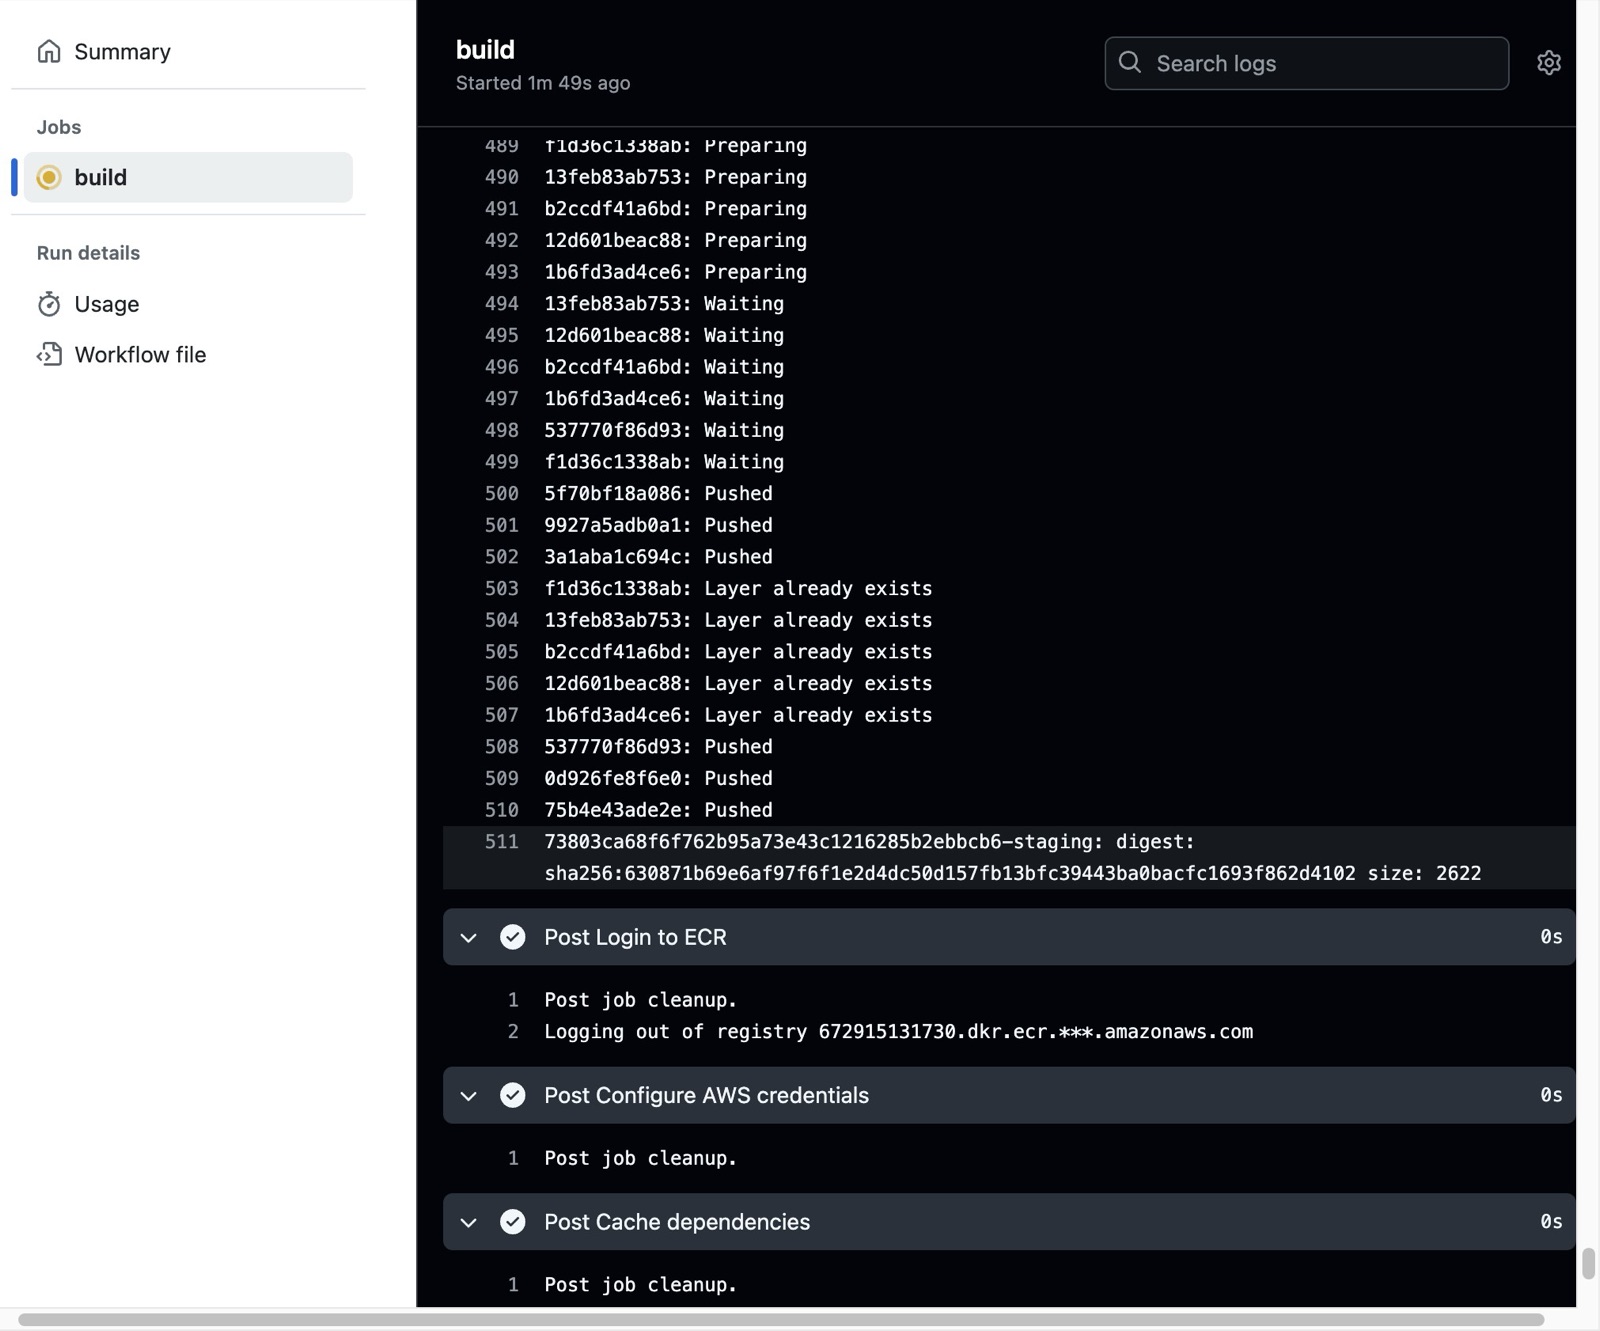
When you see this print out, your build has succeeded. This will trigger a function that redeploys your staging application.
-
12
Switch to tab DevOpser AI Webhosting"
-
13
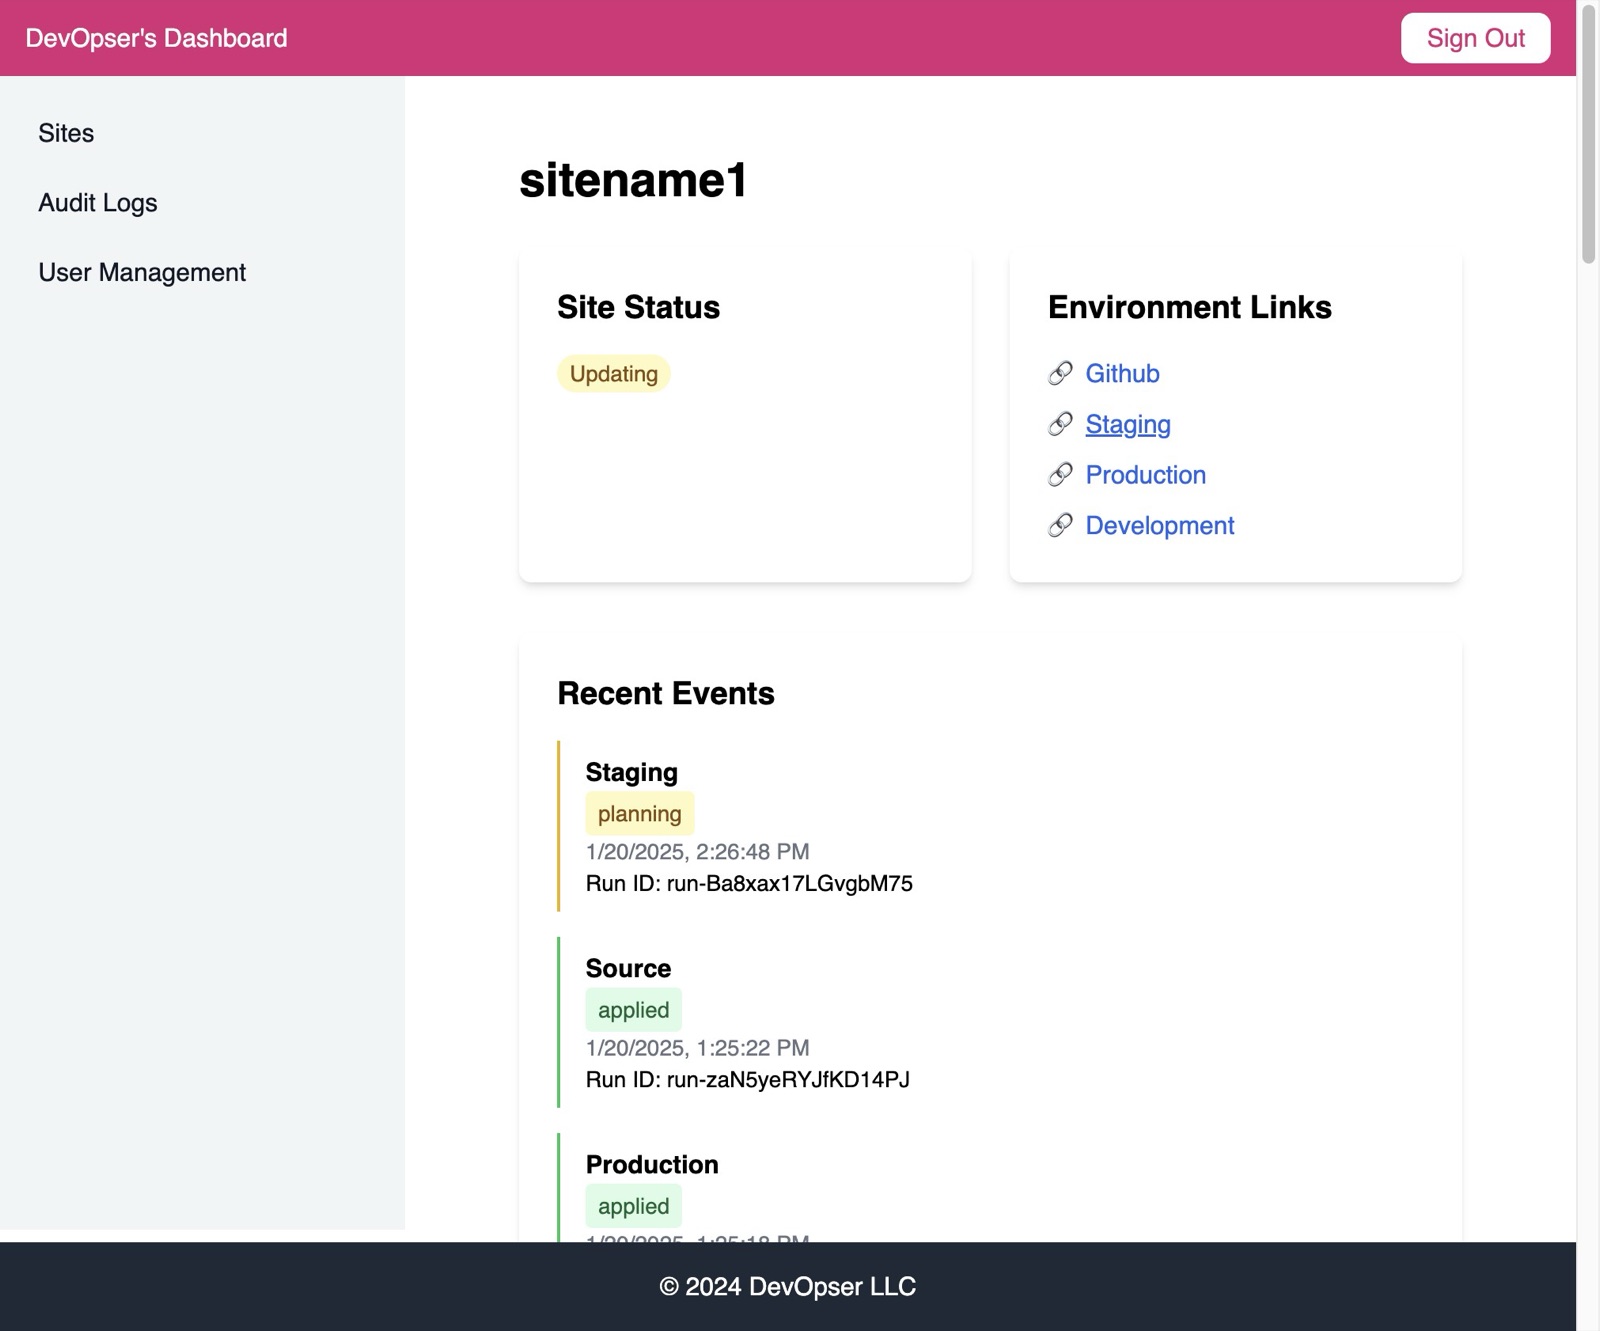
Click “Staging” to get the URL to your staging app.
-
14
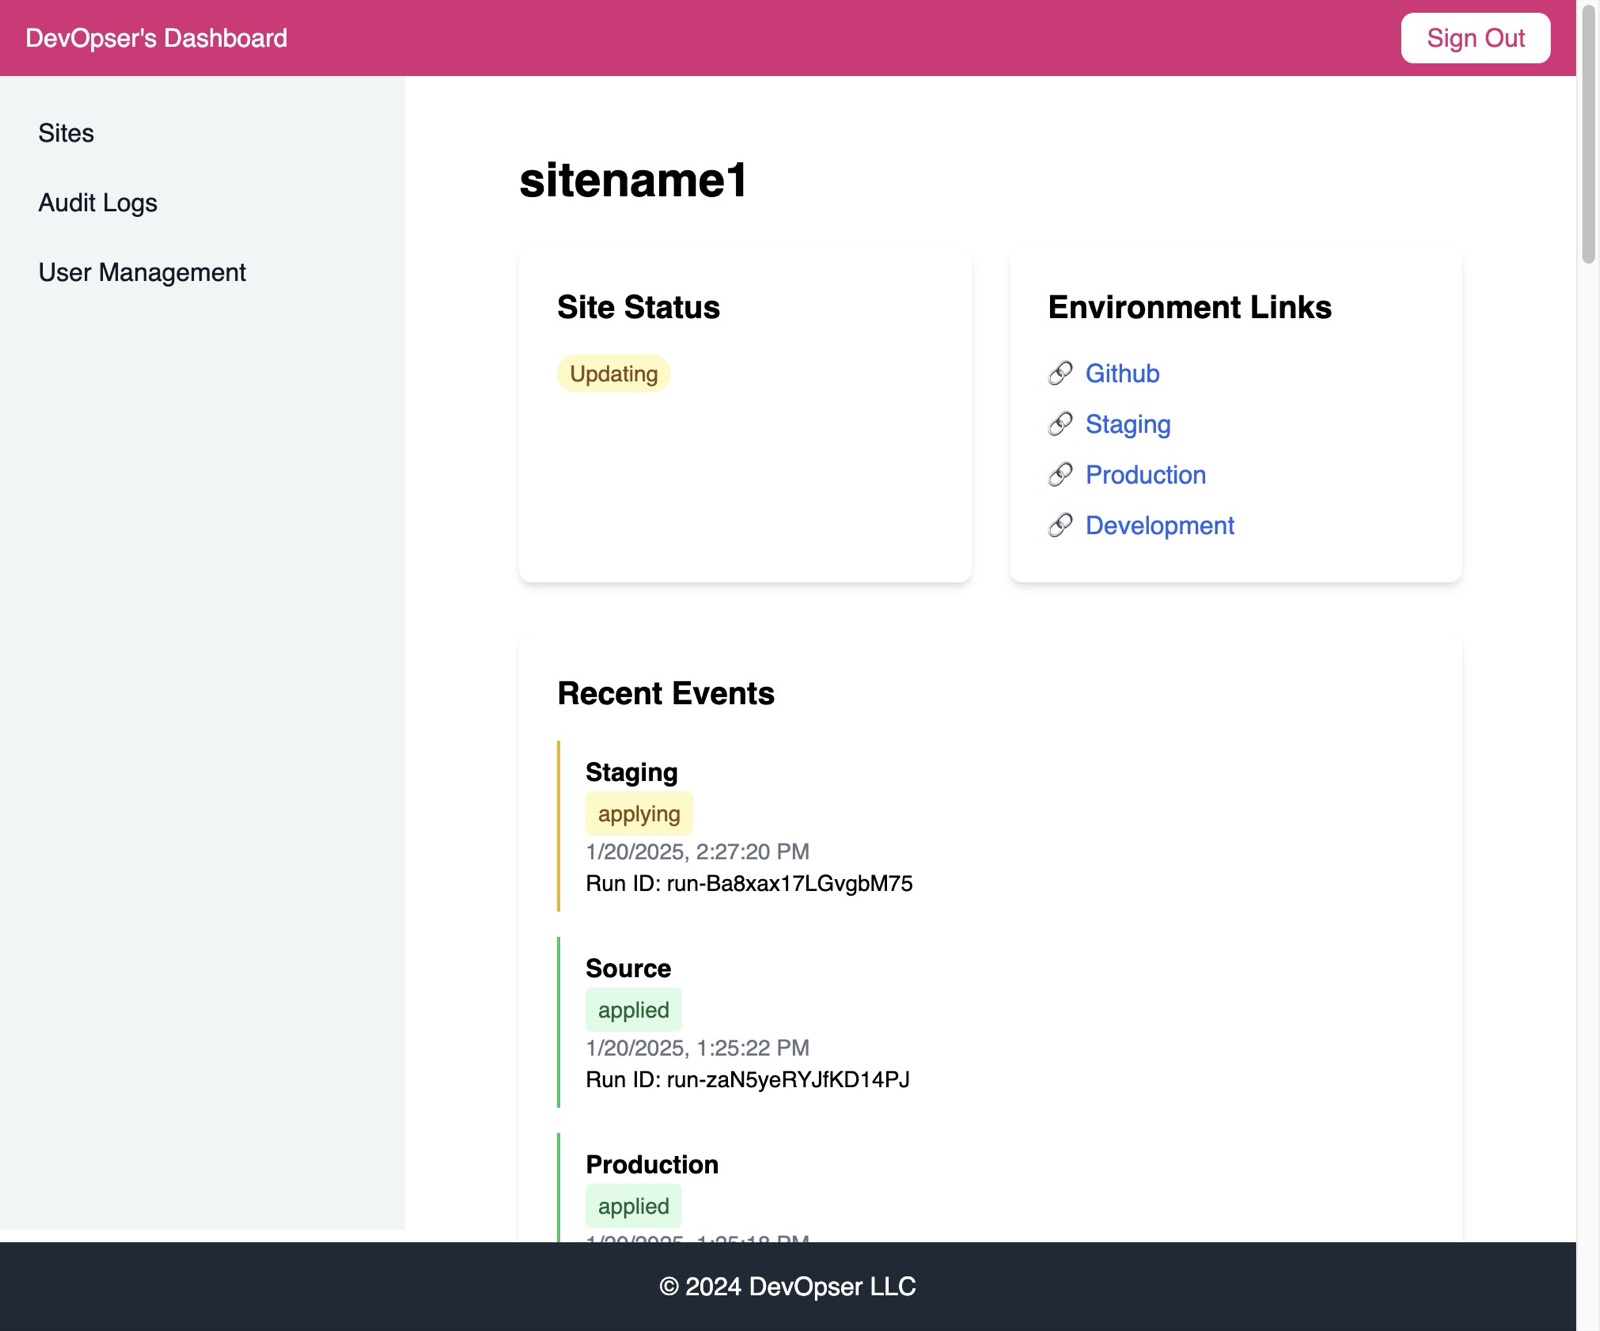
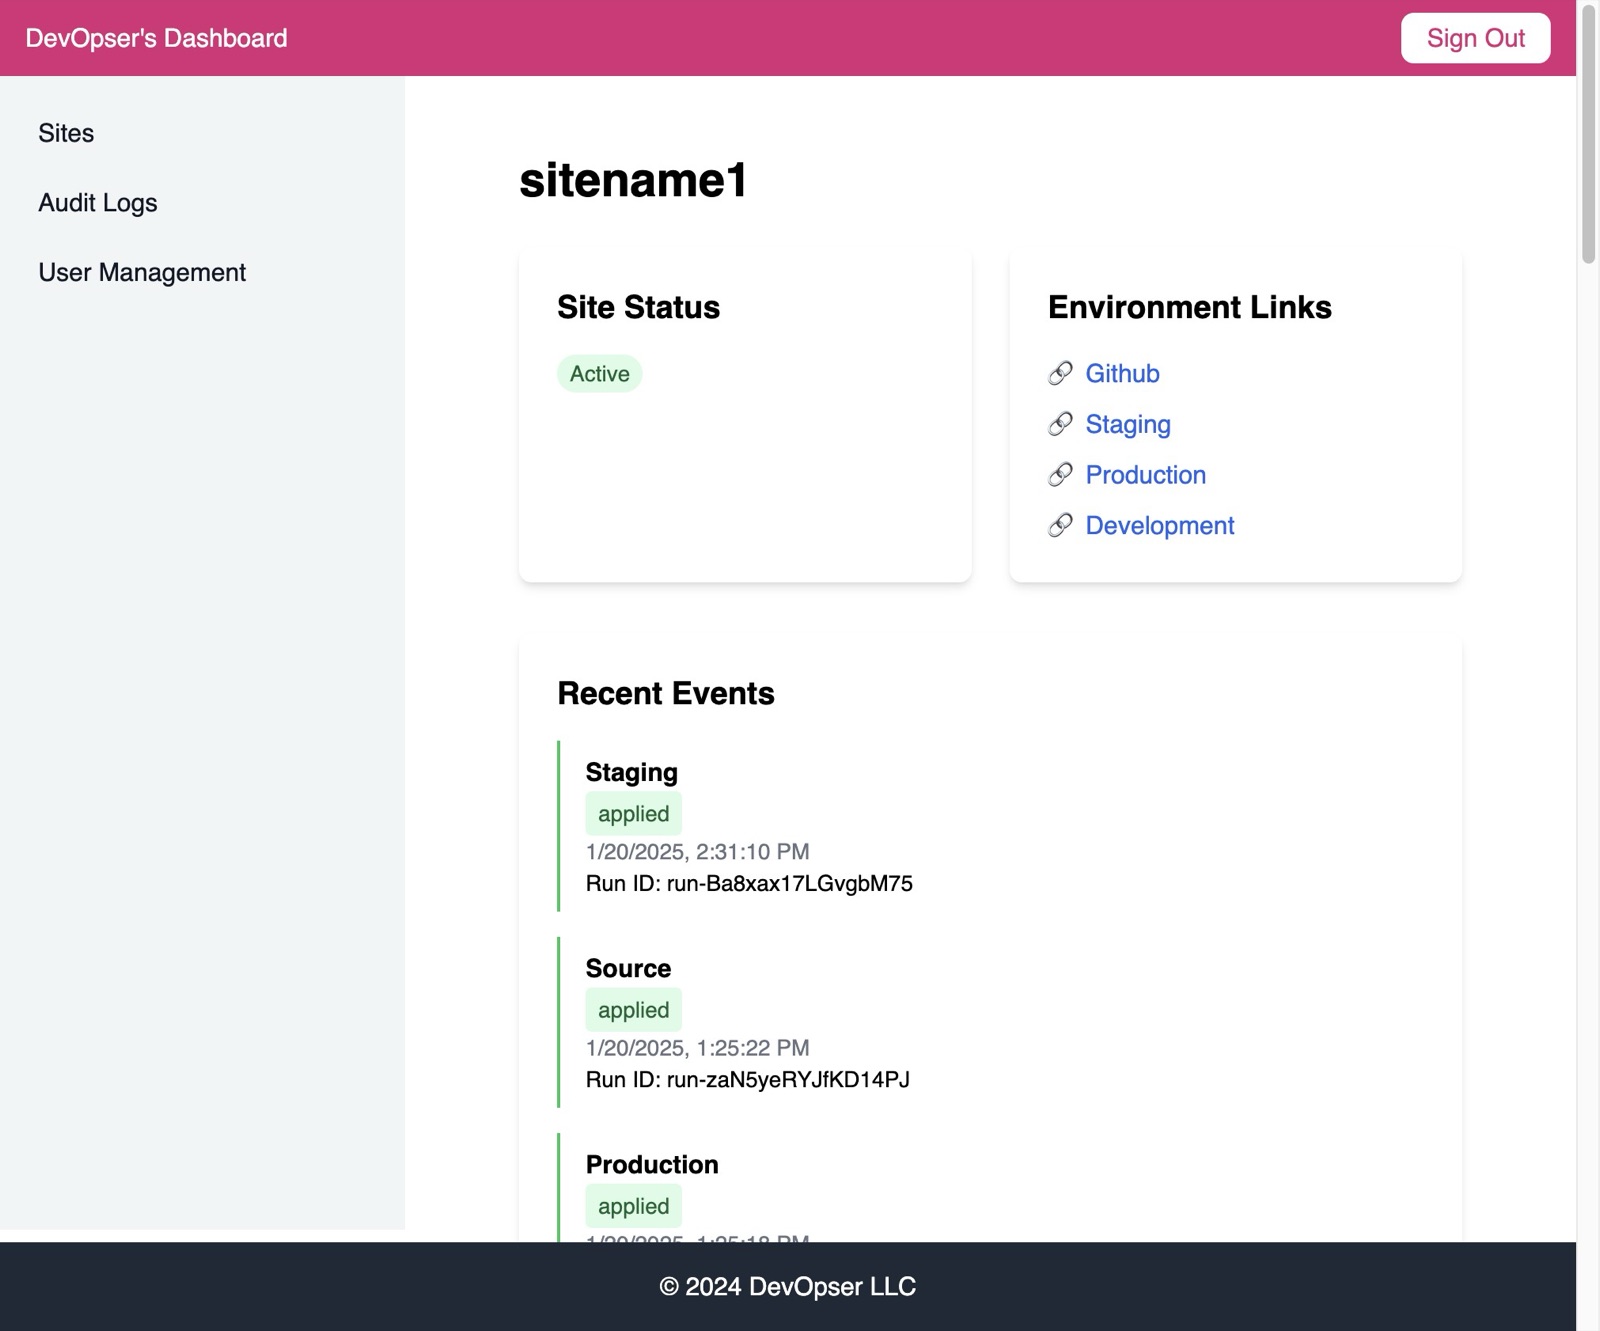
You can see the Staging environment is in an “applying” state - that means your new container has not been deployed yet.
-
15
If you go to the Staging URL, you will see the new route hasn't been added yet.

-
16
Once the status of Staging is “Active”, the deployment to staging is complete.
-
17
You will now see your new route and changes published to Staging. Congrats!

-
18
To promote to Production, follow the same steps, but select “main” as the base branch for the pull request instead of “staging”. Happy coding!