Configure Bedrock Cross-Account Access
Grant your DevOpser app access to Amazon Bedrock via cross-account IAM.
-
1
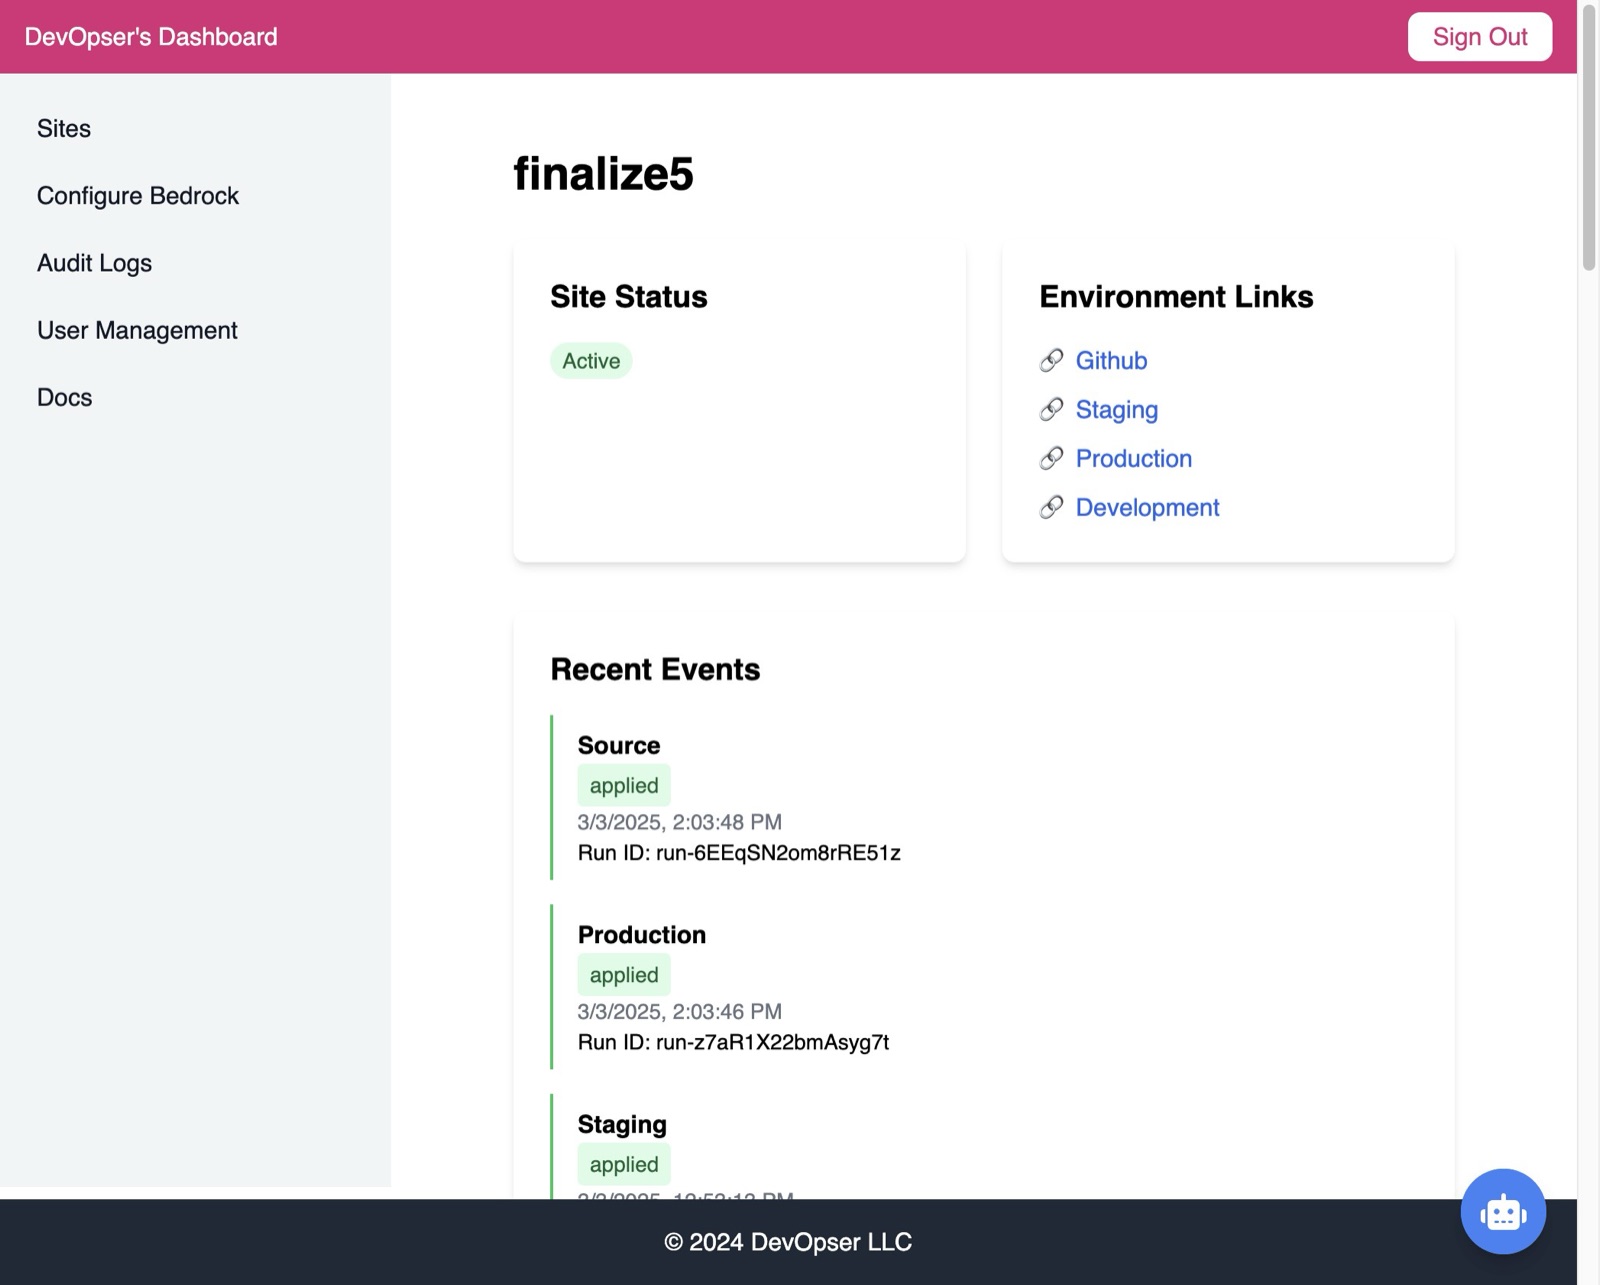
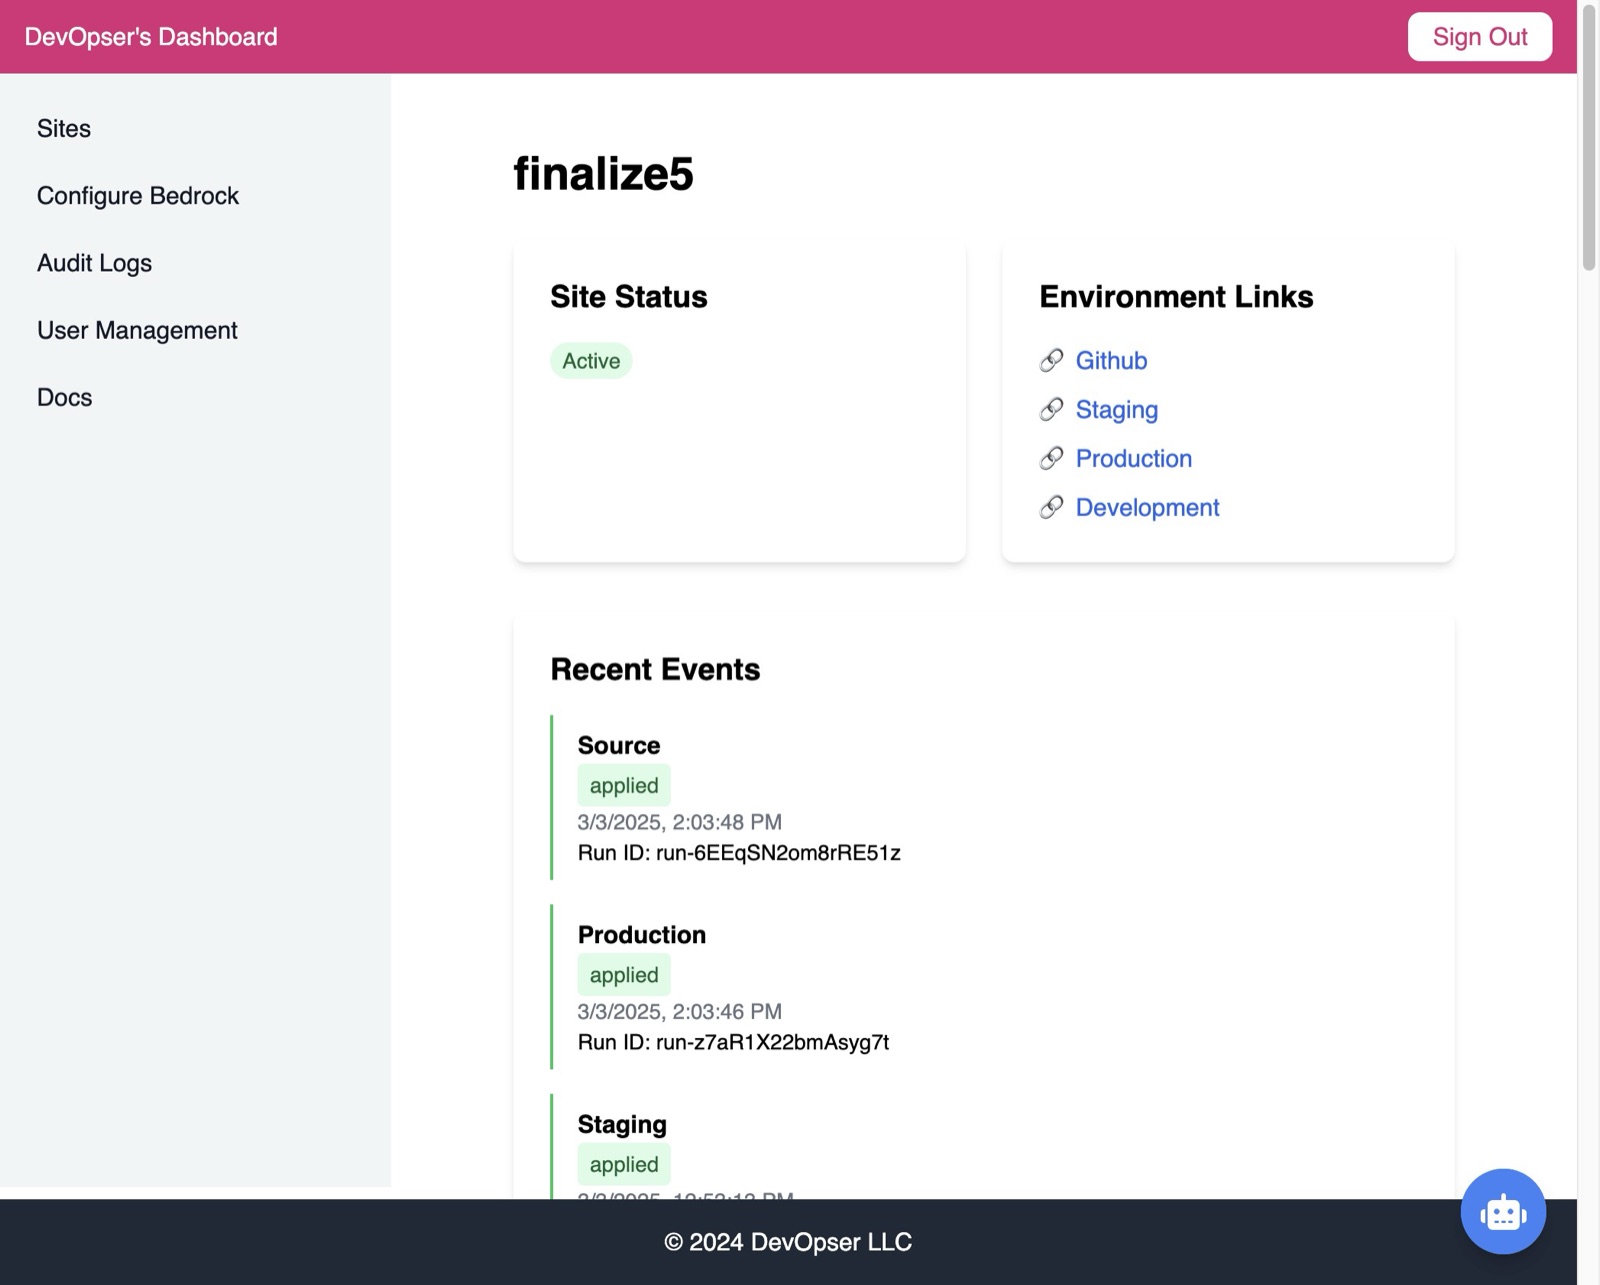
After your site is fully deployed and marked as “Active”
-
2
Click “Configure Bedrock”
-
3
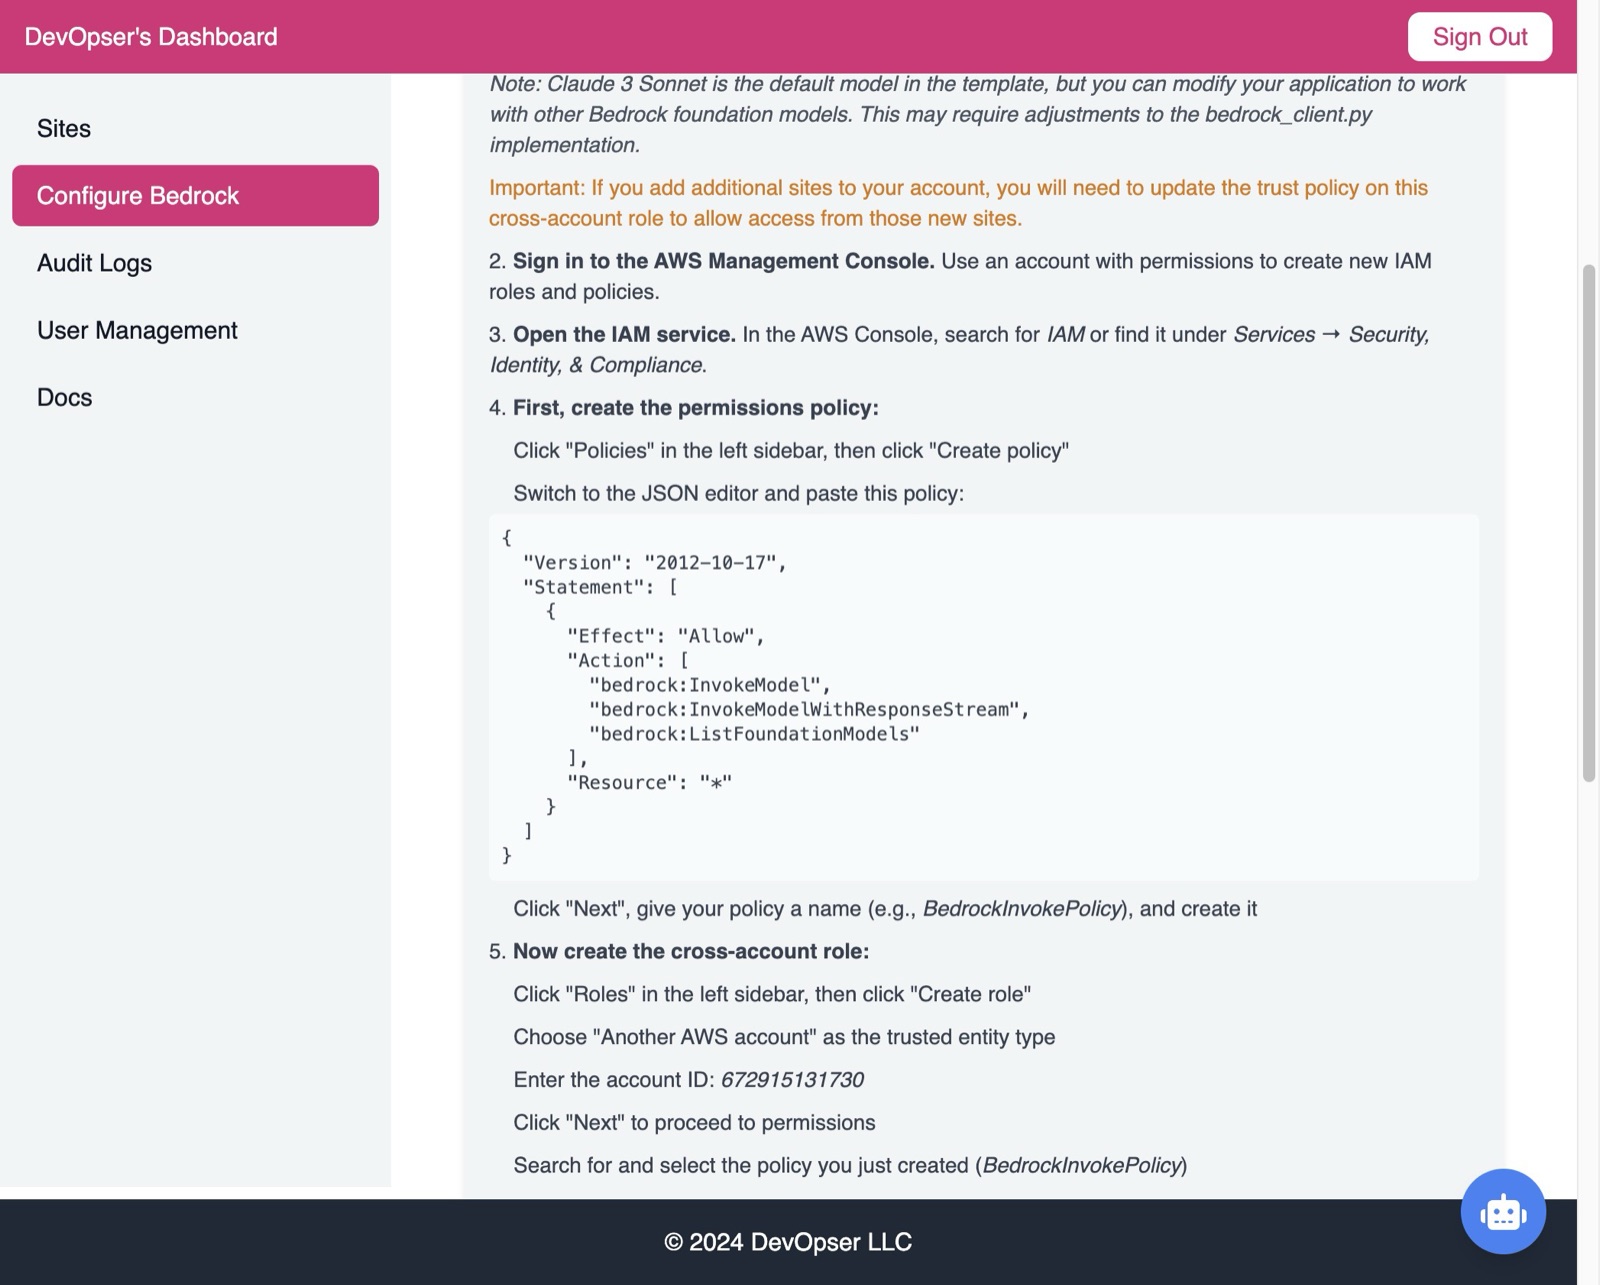
In IAM, create a policy by following the instructions.
-
4
In AWS IAM, create a role and attach the policy you made - following the instructions in the “Configure Bedrock” page.
-
5
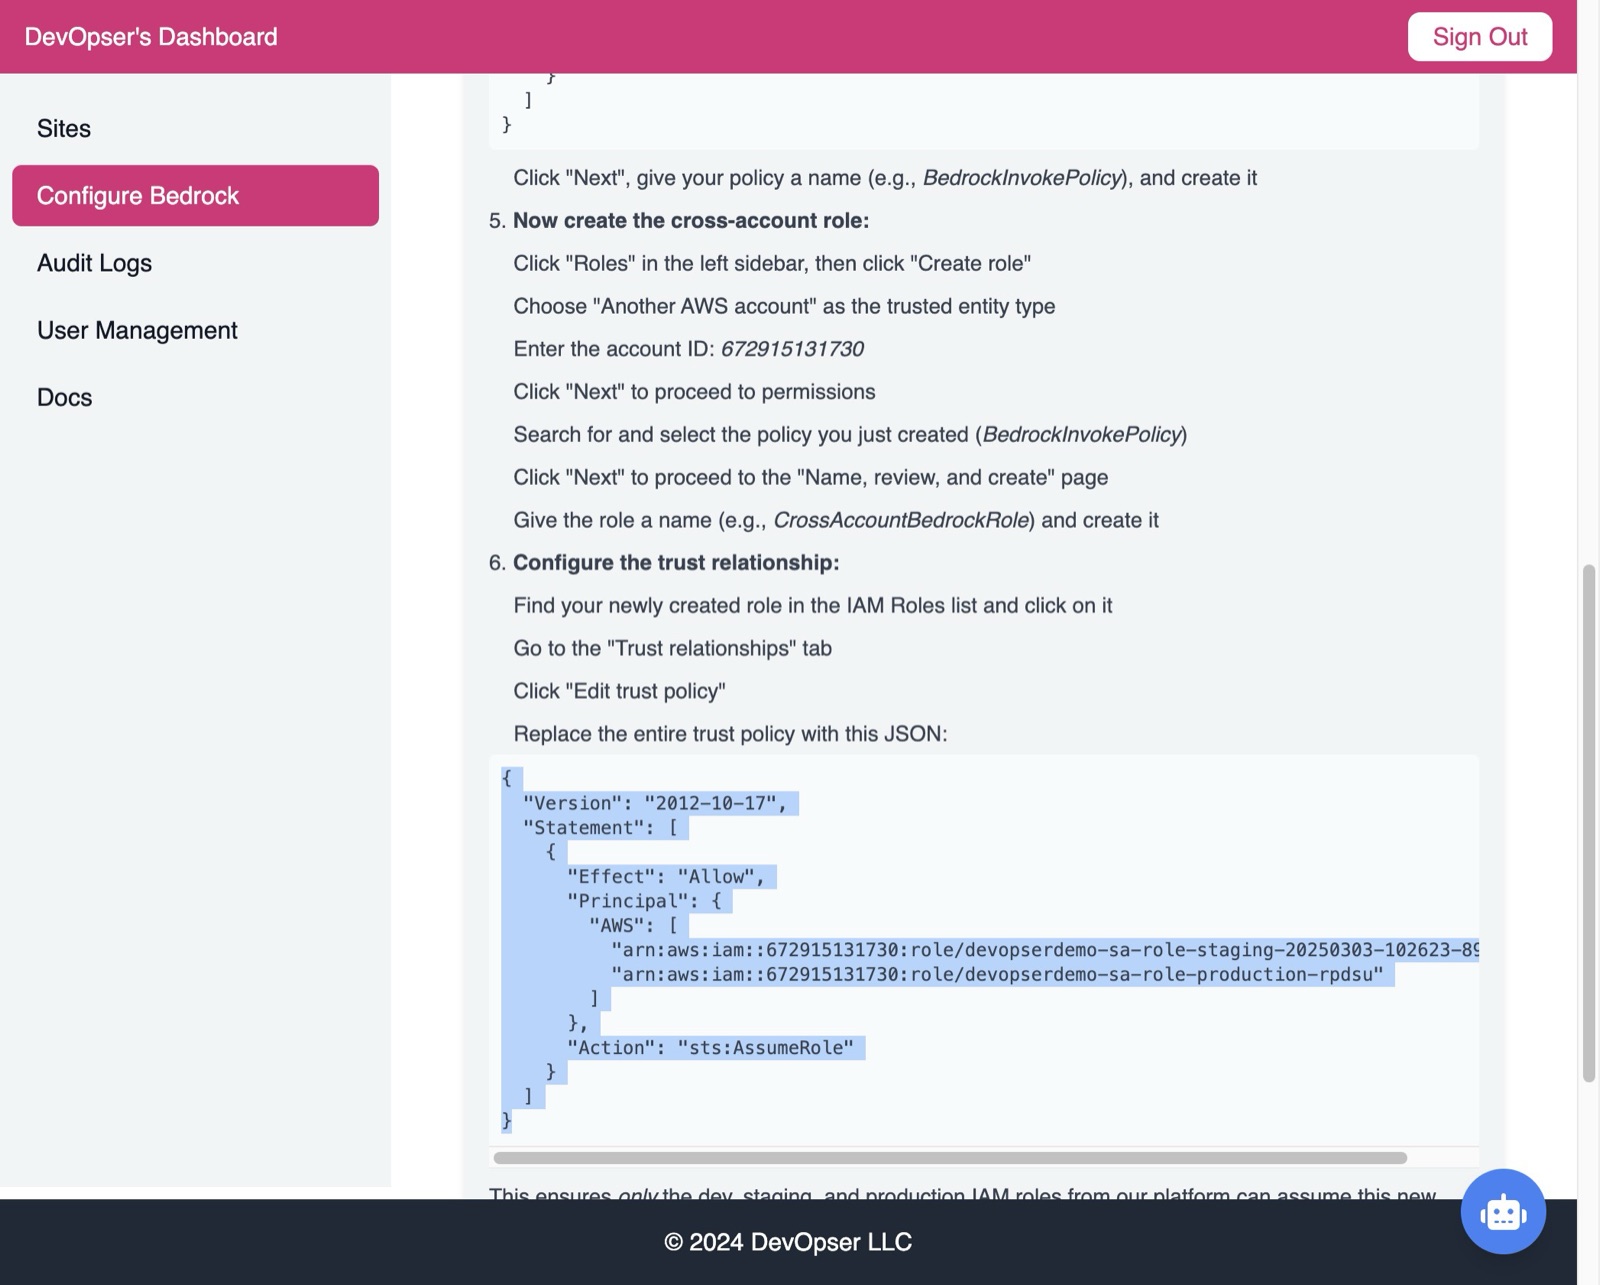
After the role has been created, copy the trust policy from the “Configure Bedrock” page.
-
6
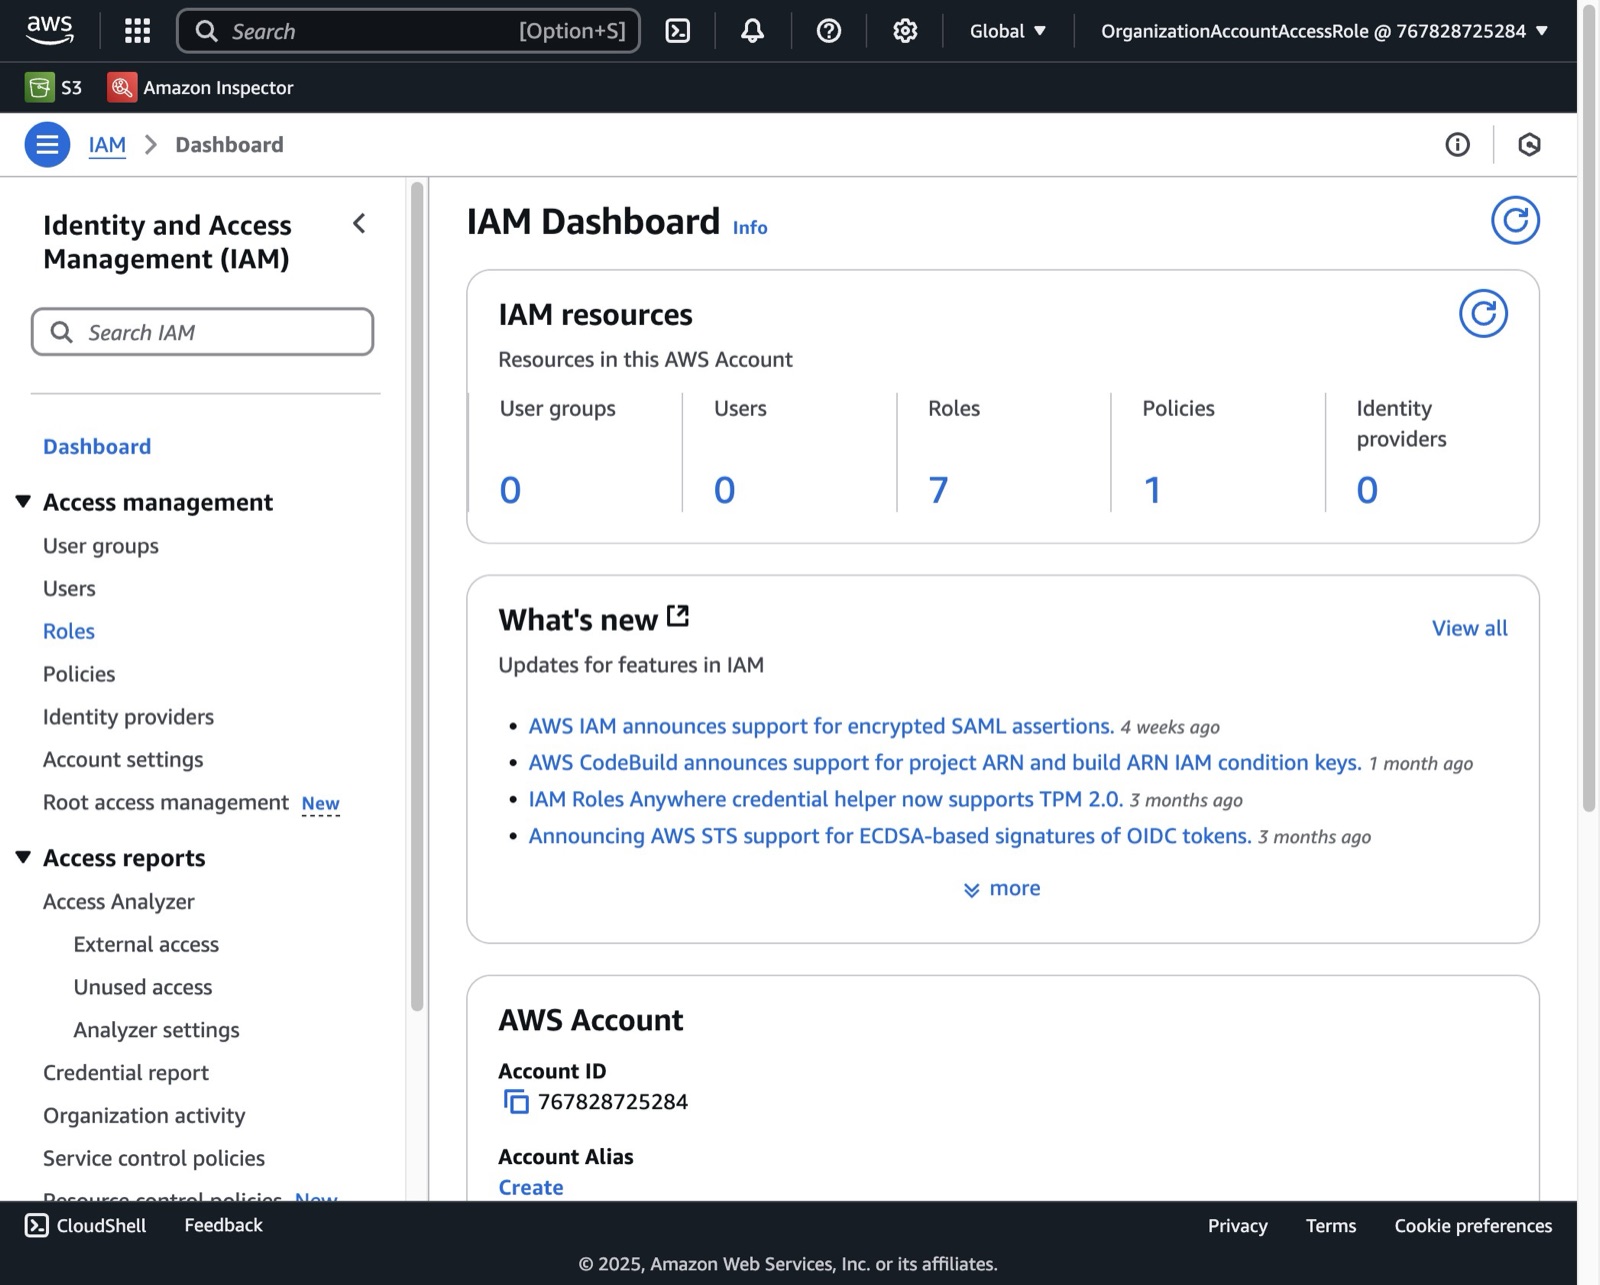
In AWS IAM, Click “Roles”
-
7
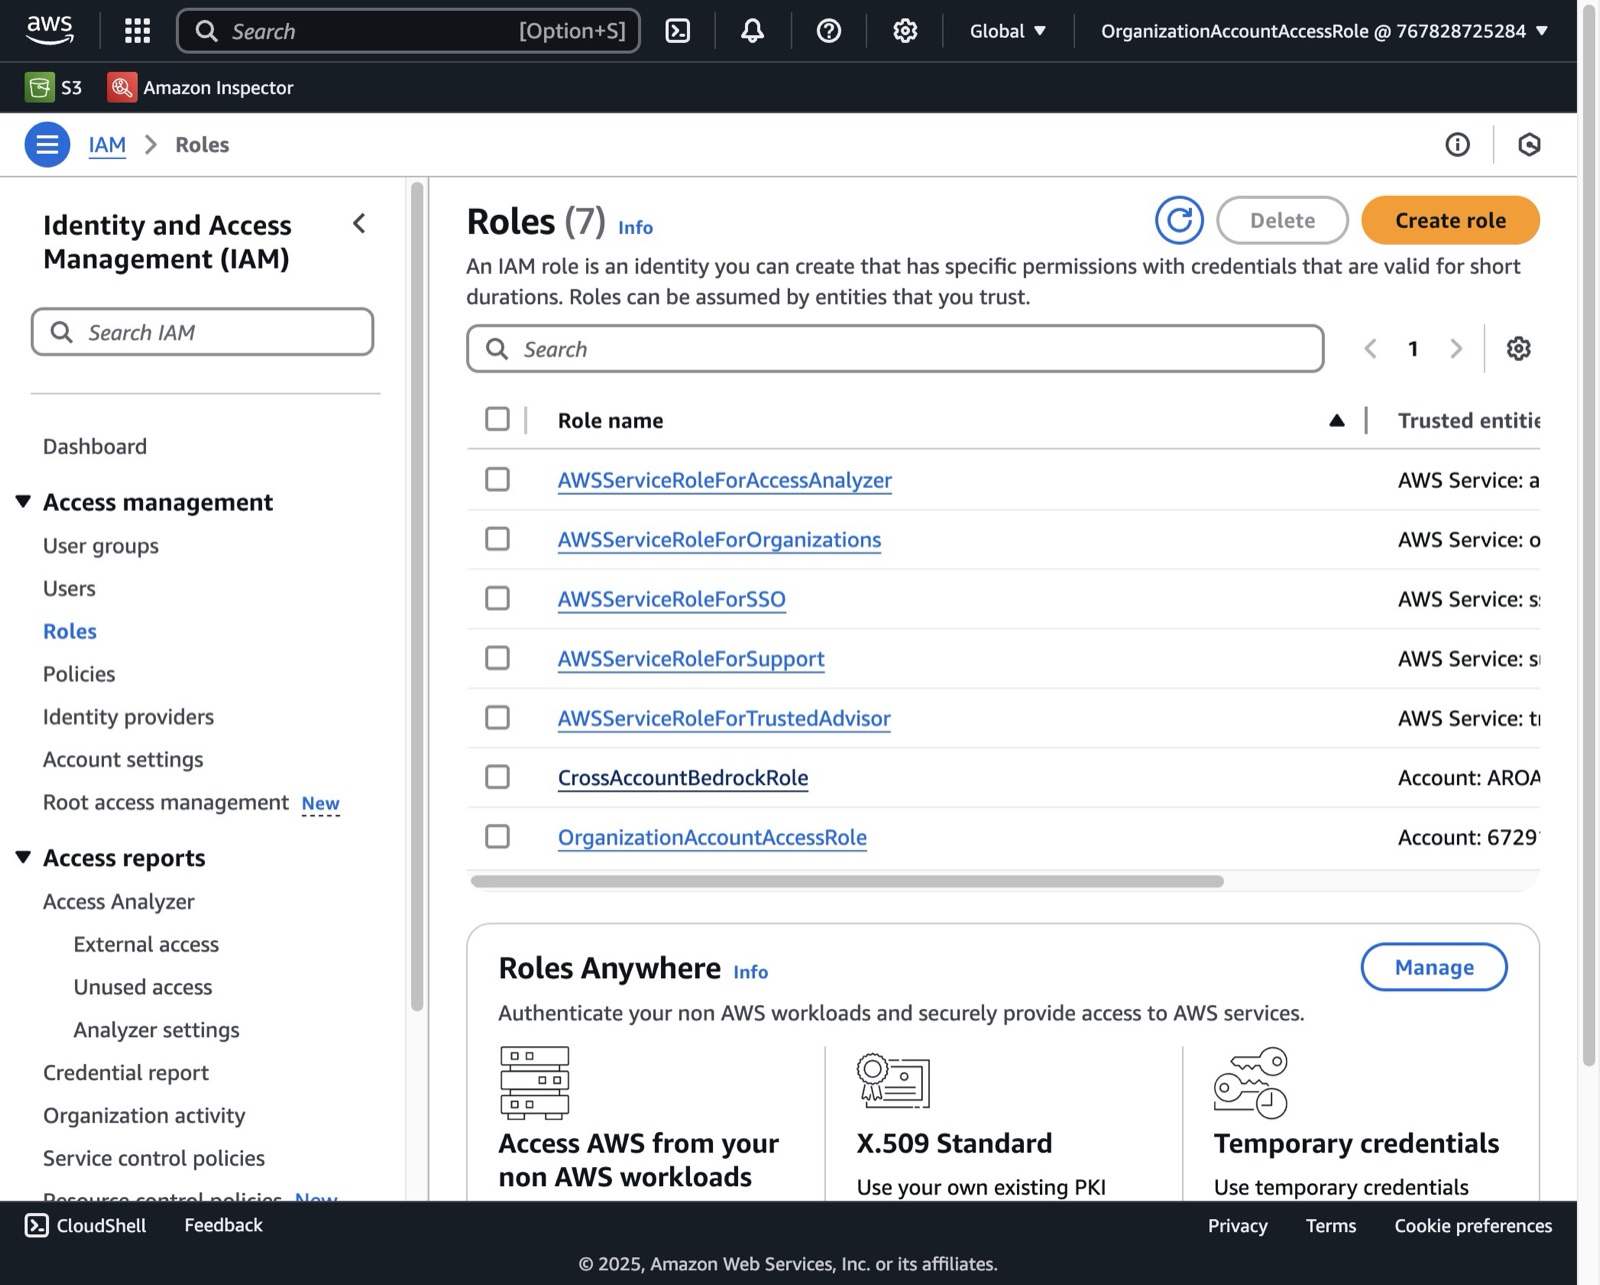
Click your “CrossAccountBedrockRole” (or whatever you named it)
-
8
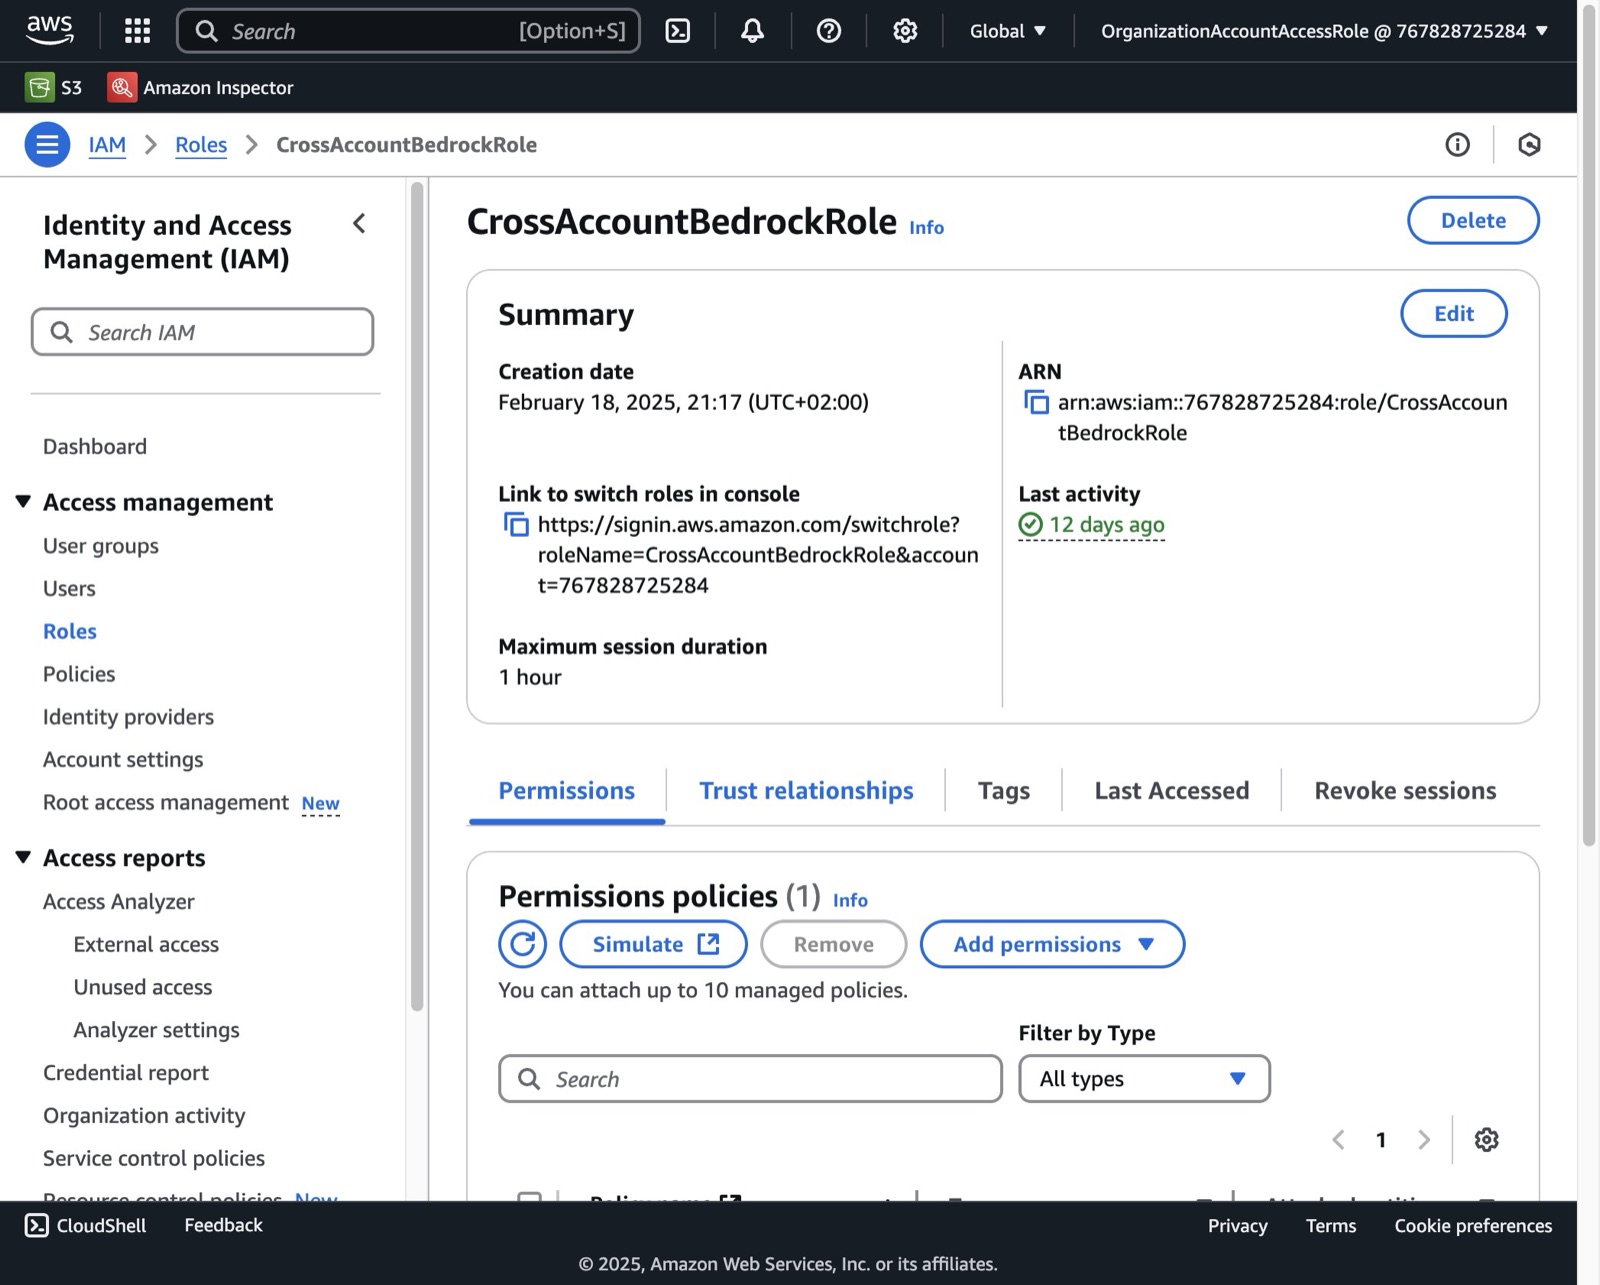
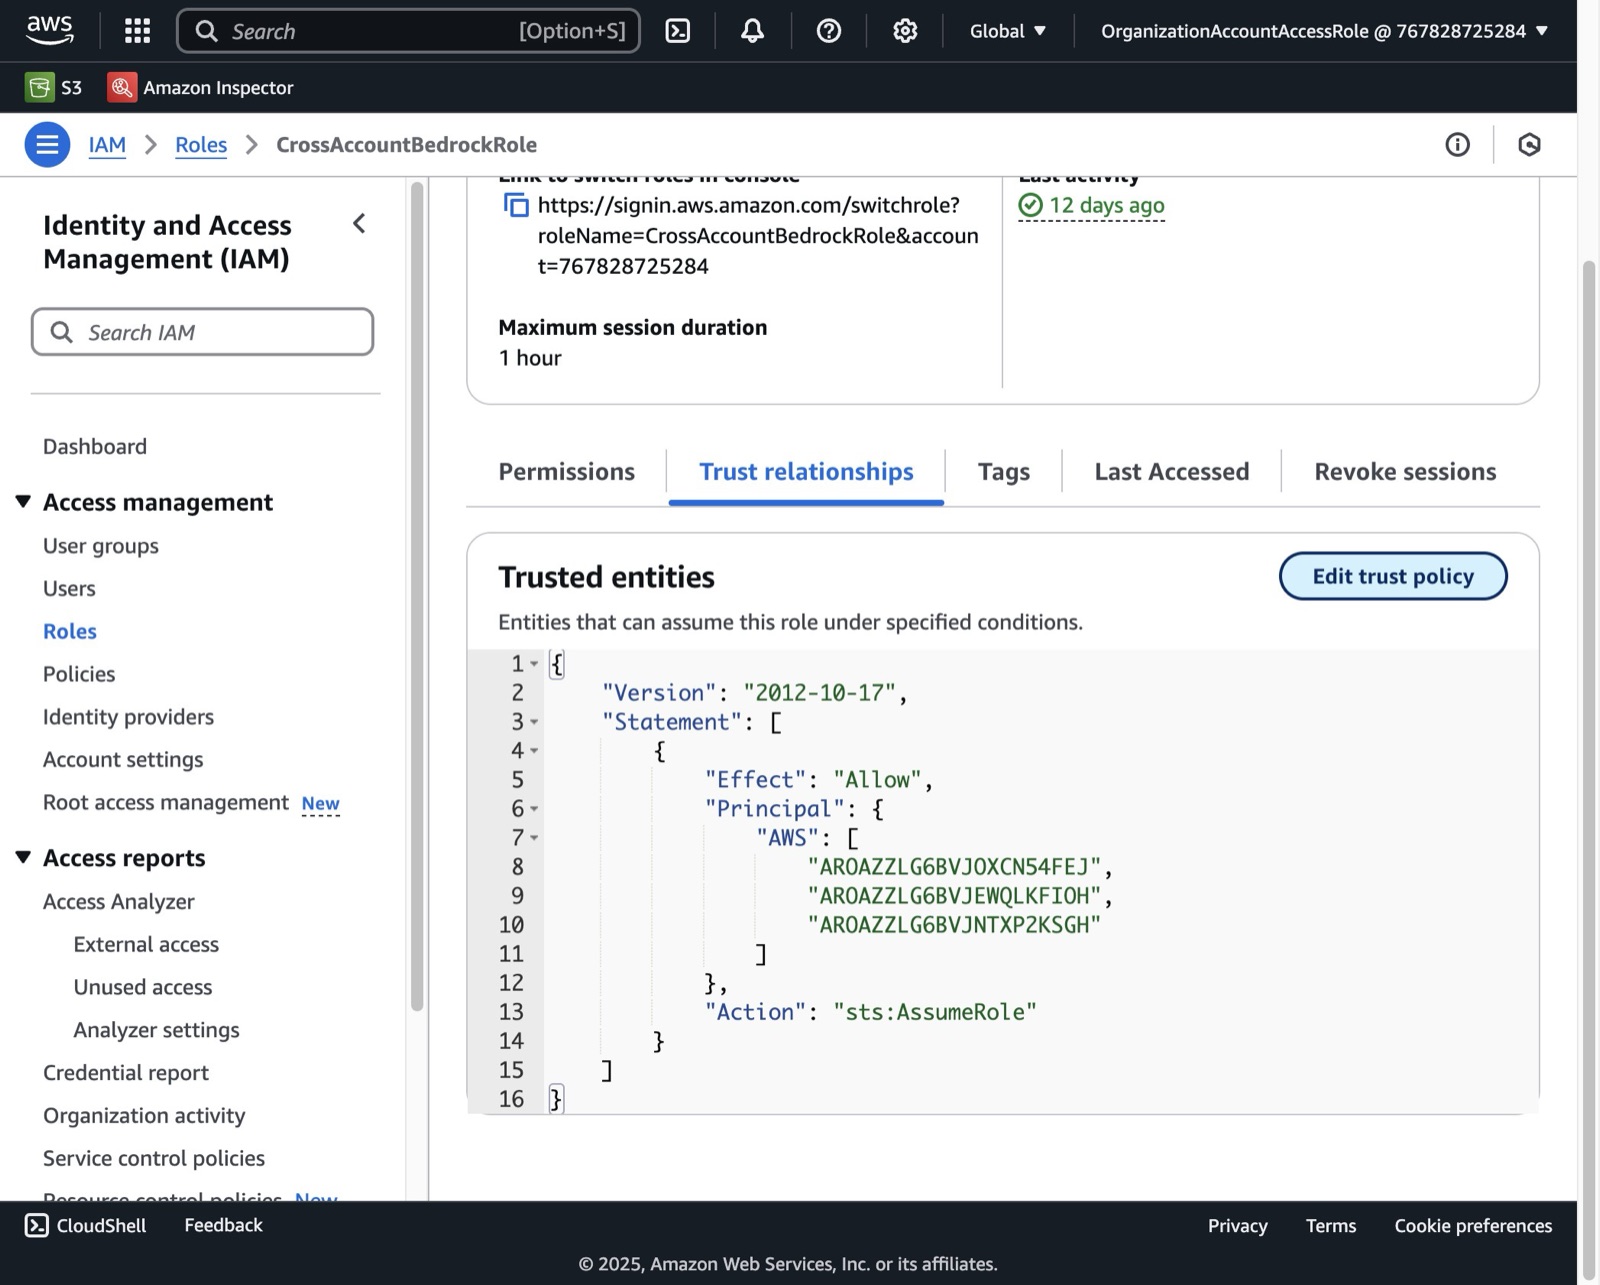
Click “Trust relationships”
-
9
Click “Edit trust policy”
-
10
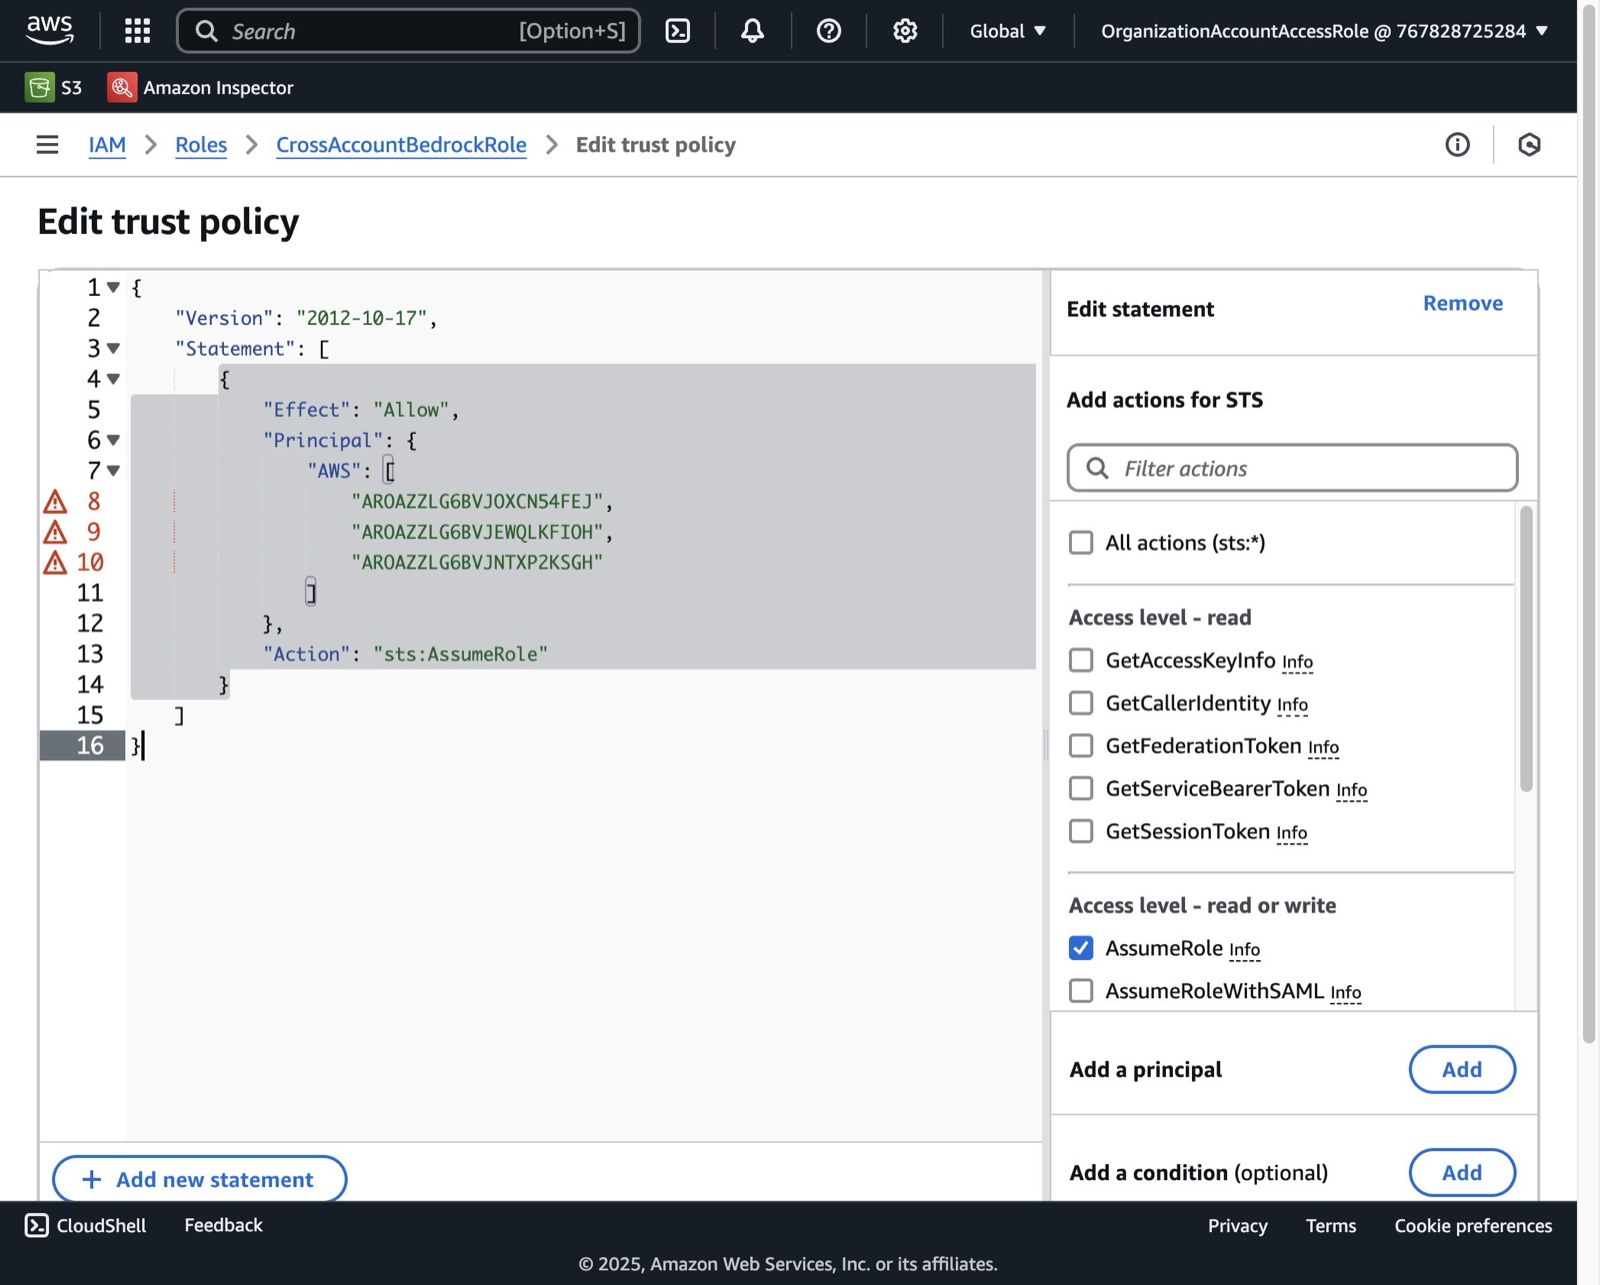
Select the entire trust policy.
-
11
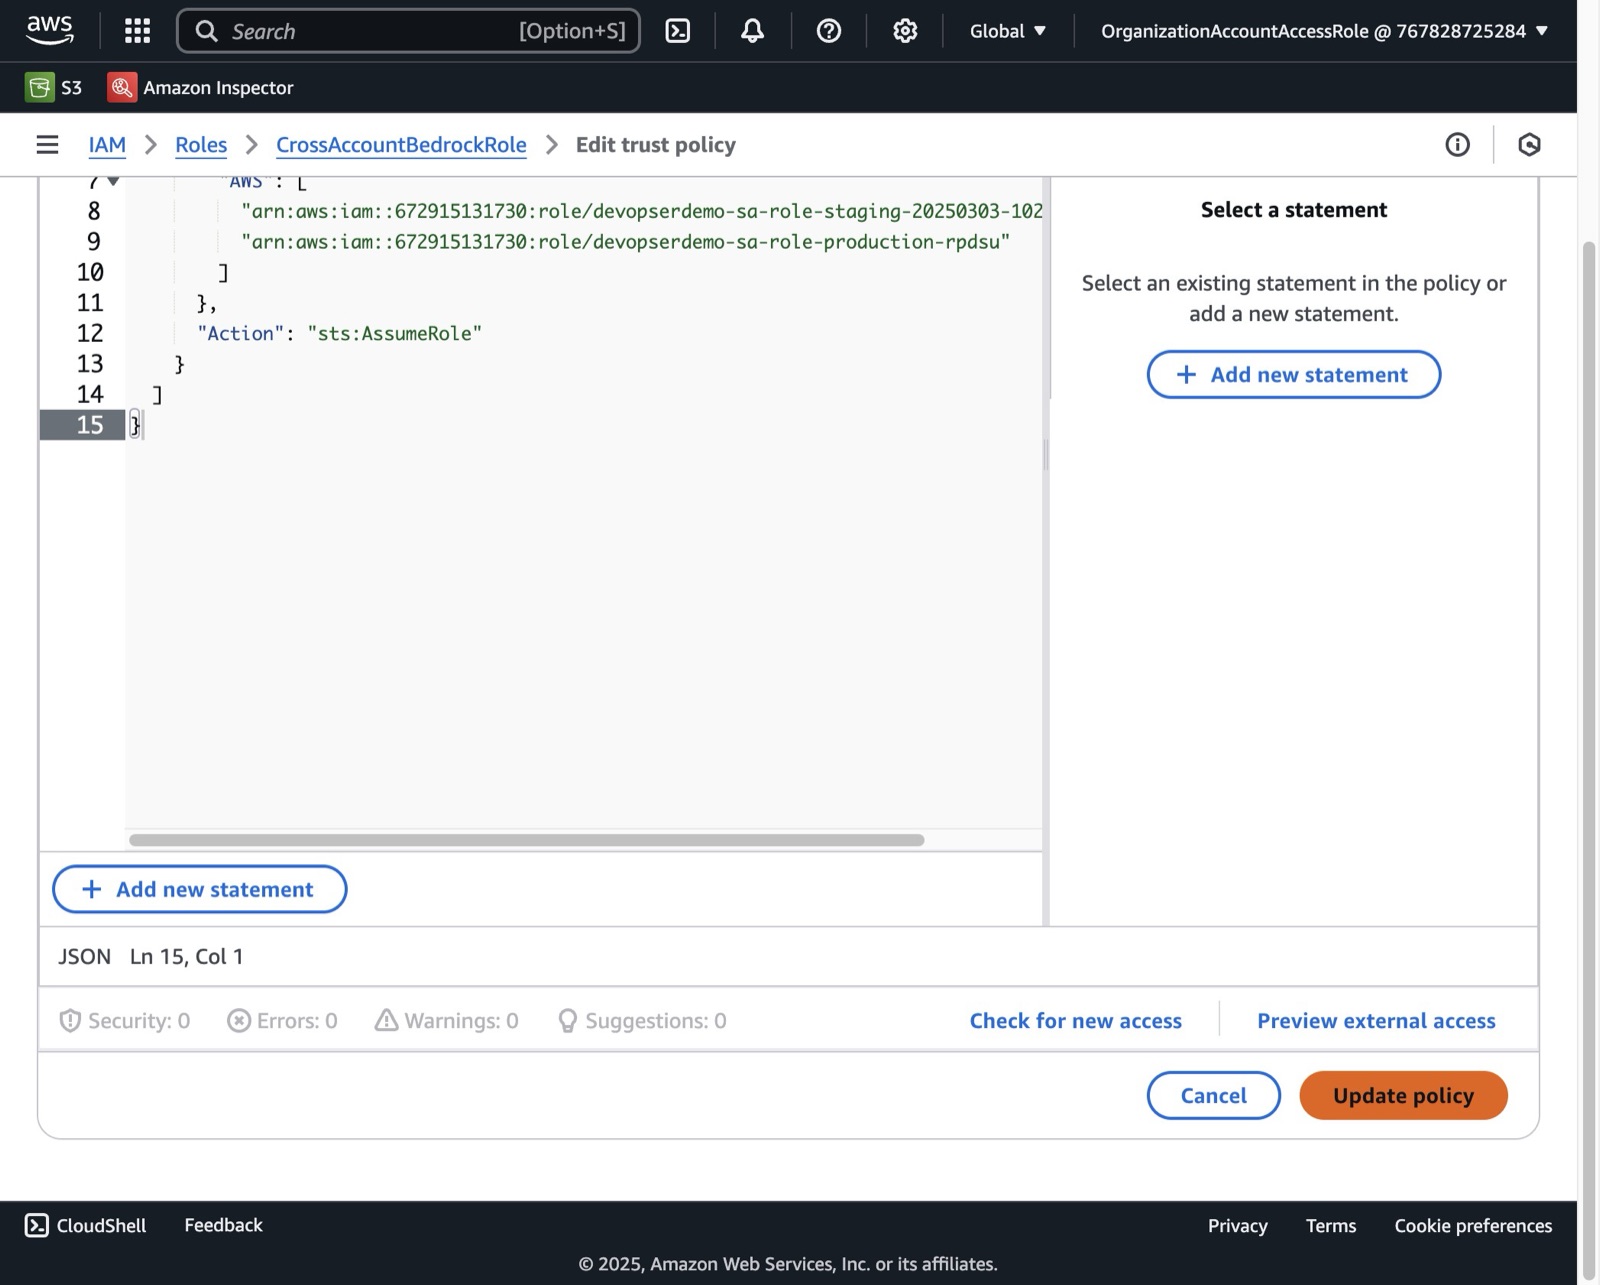
Paste the trust policy from the DevOpser “Configure Bedrock” page - press [[cmd]] + [[v ]]
-
12
Click “Update policy”
-
13
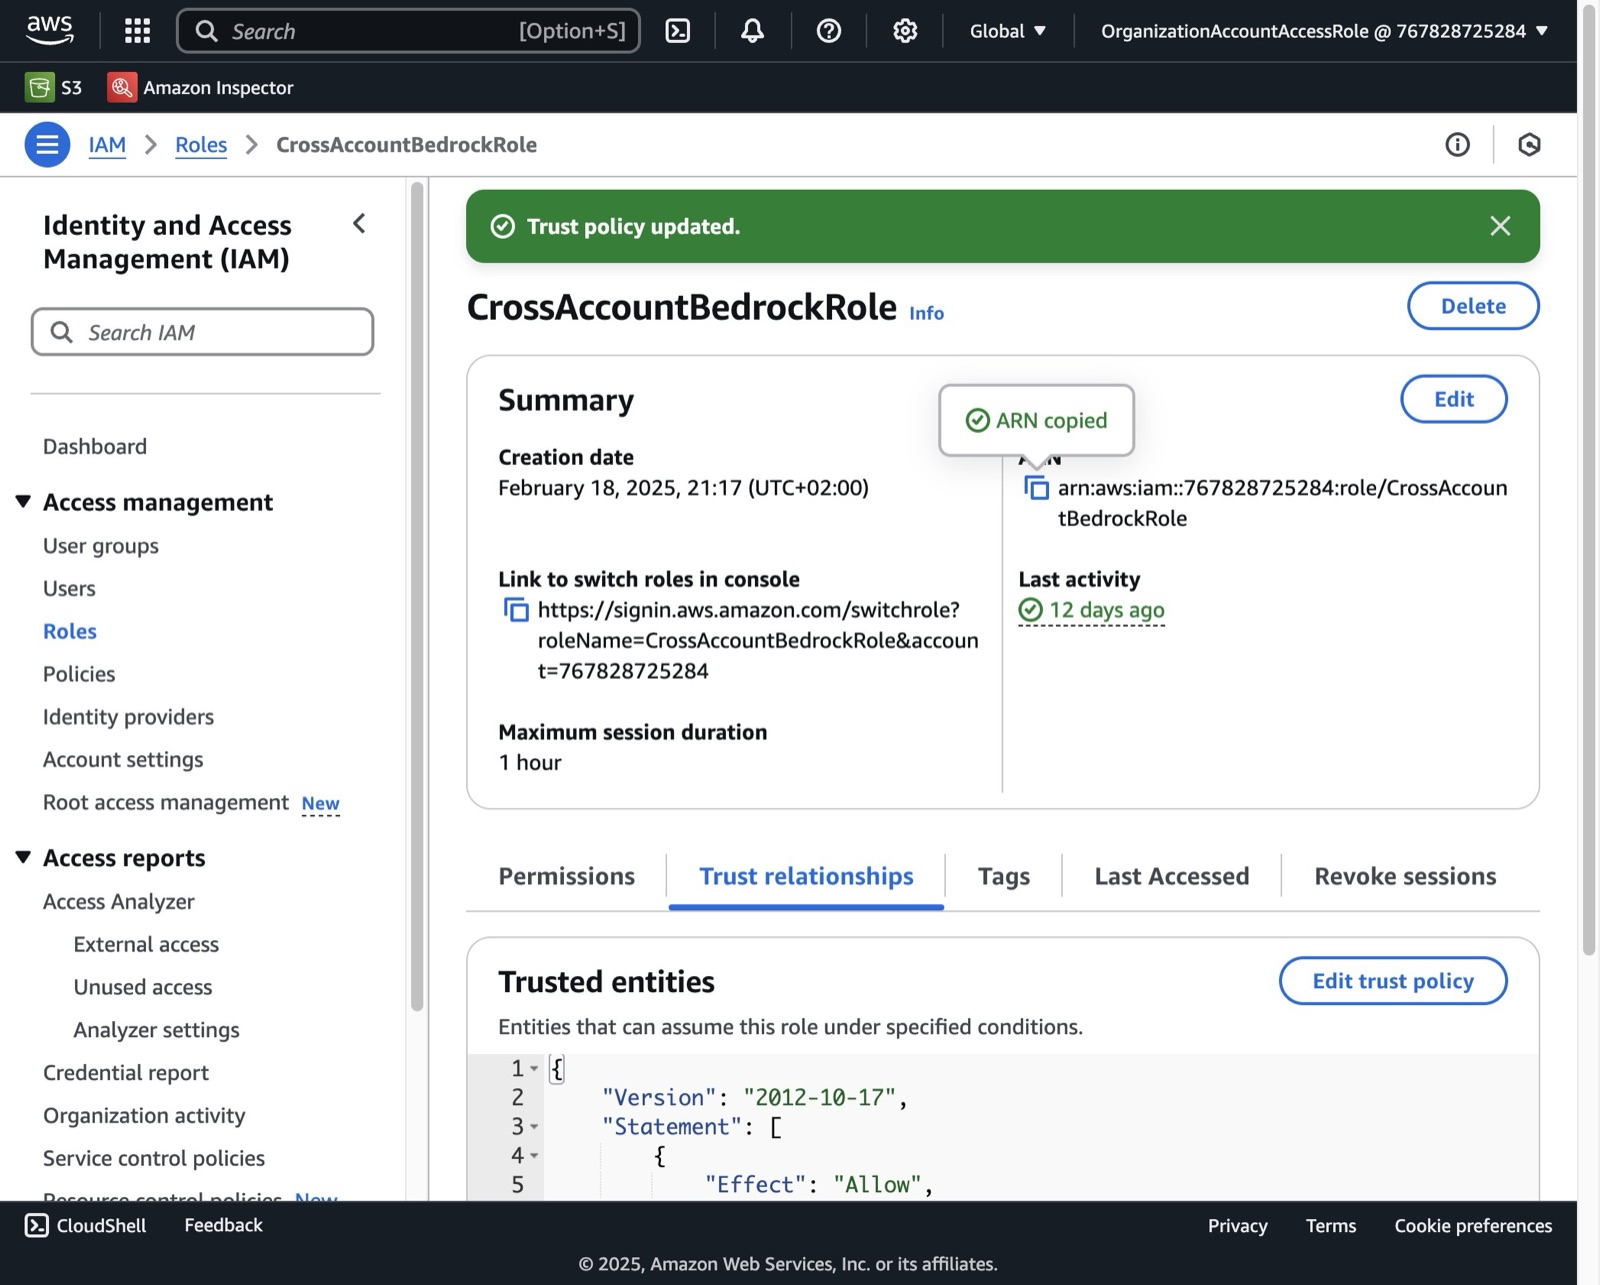
Click the “copy and paste” icon in the role to copy the role ARN.
-
14
Switch to tab DevOpser AI Webhosting"
-
15
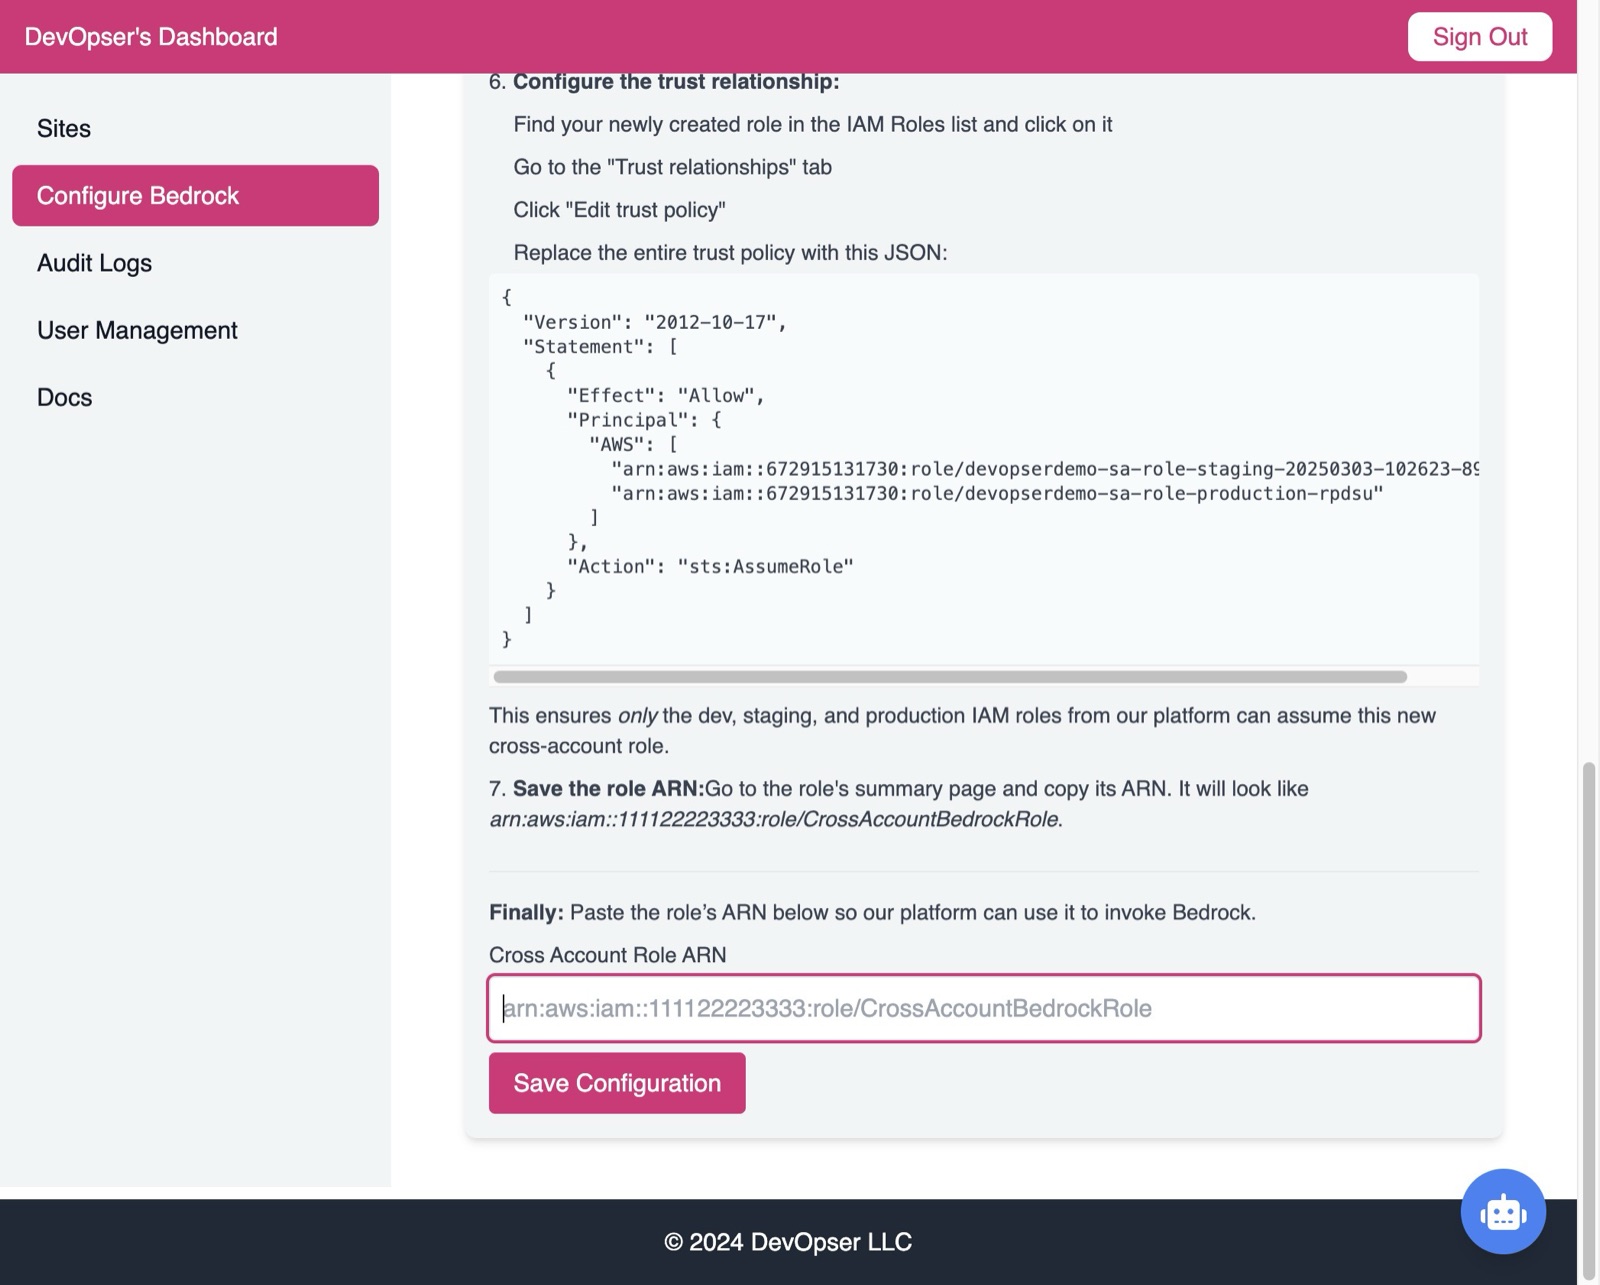
Click the “Cross Account Role ARN” field.
-
16
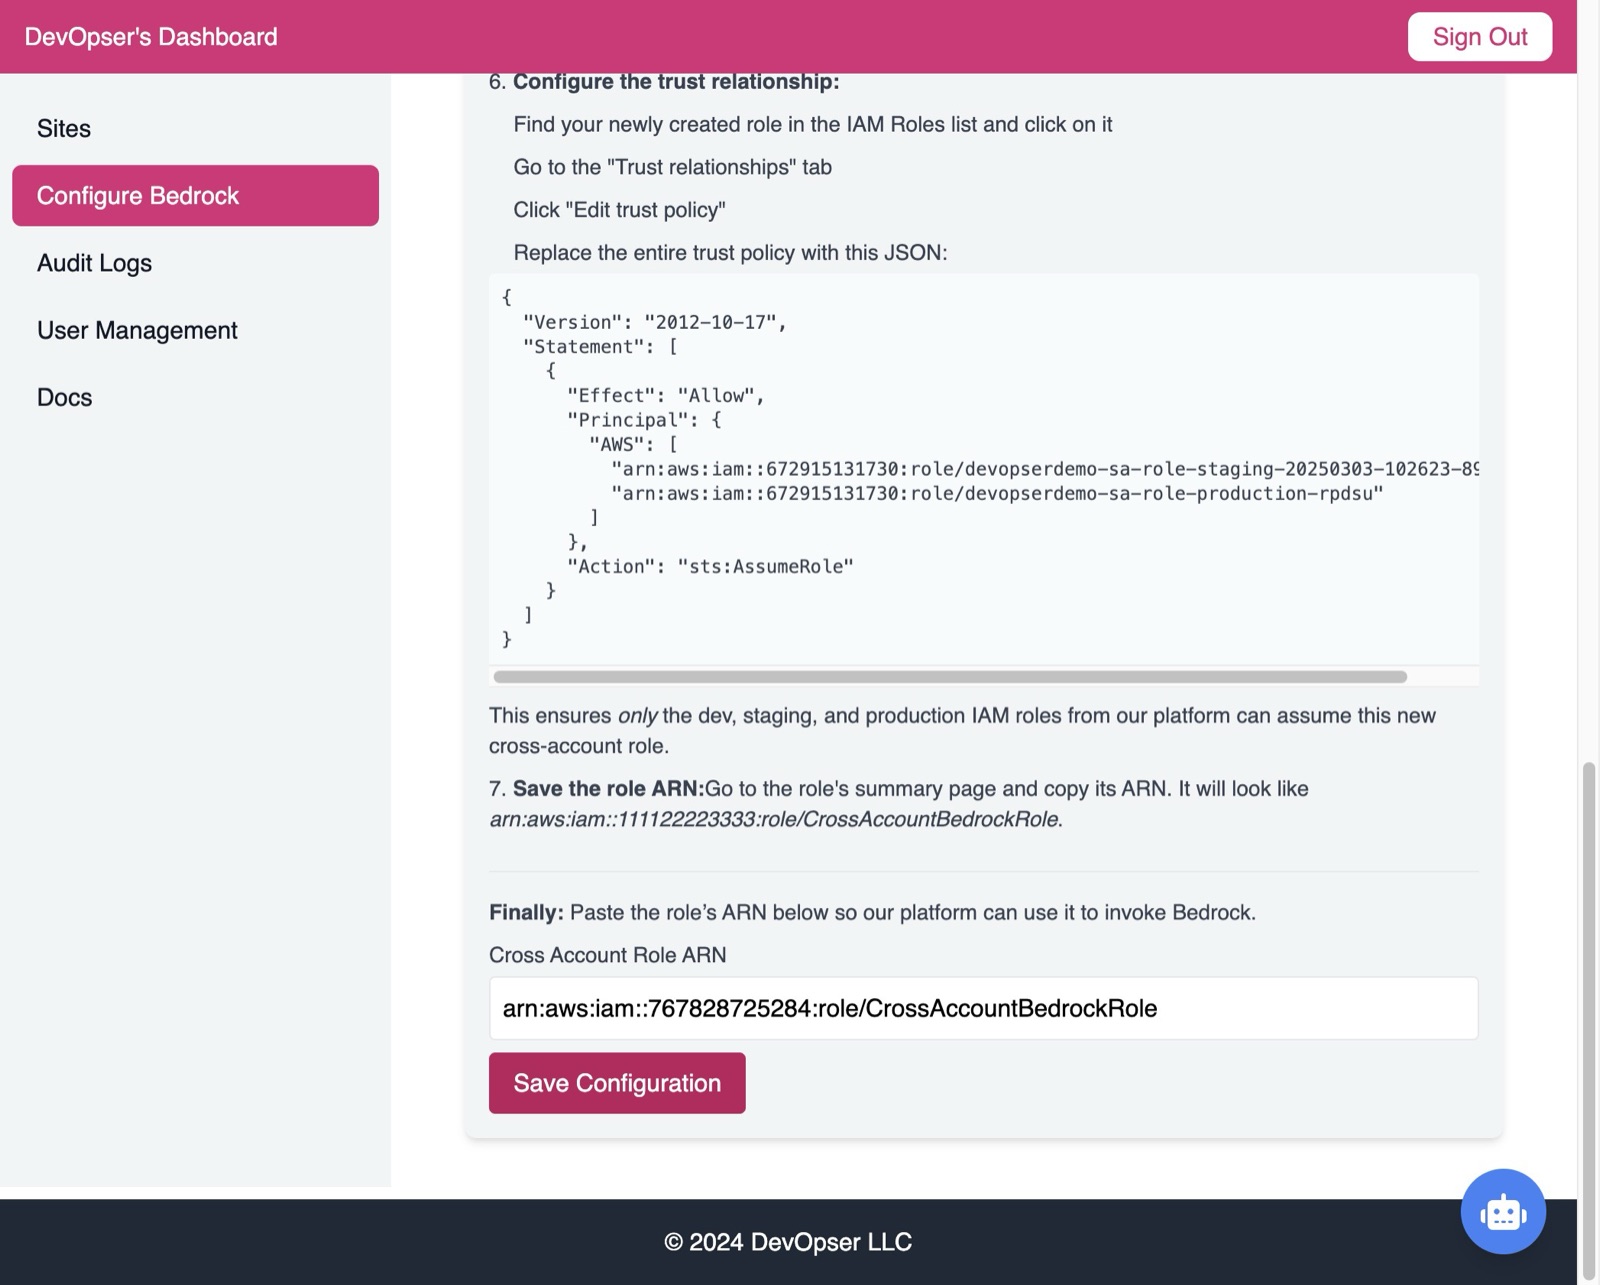
Paste the cross account role ARN into the field by pressing [[cmd]] + [[v]]
-
17
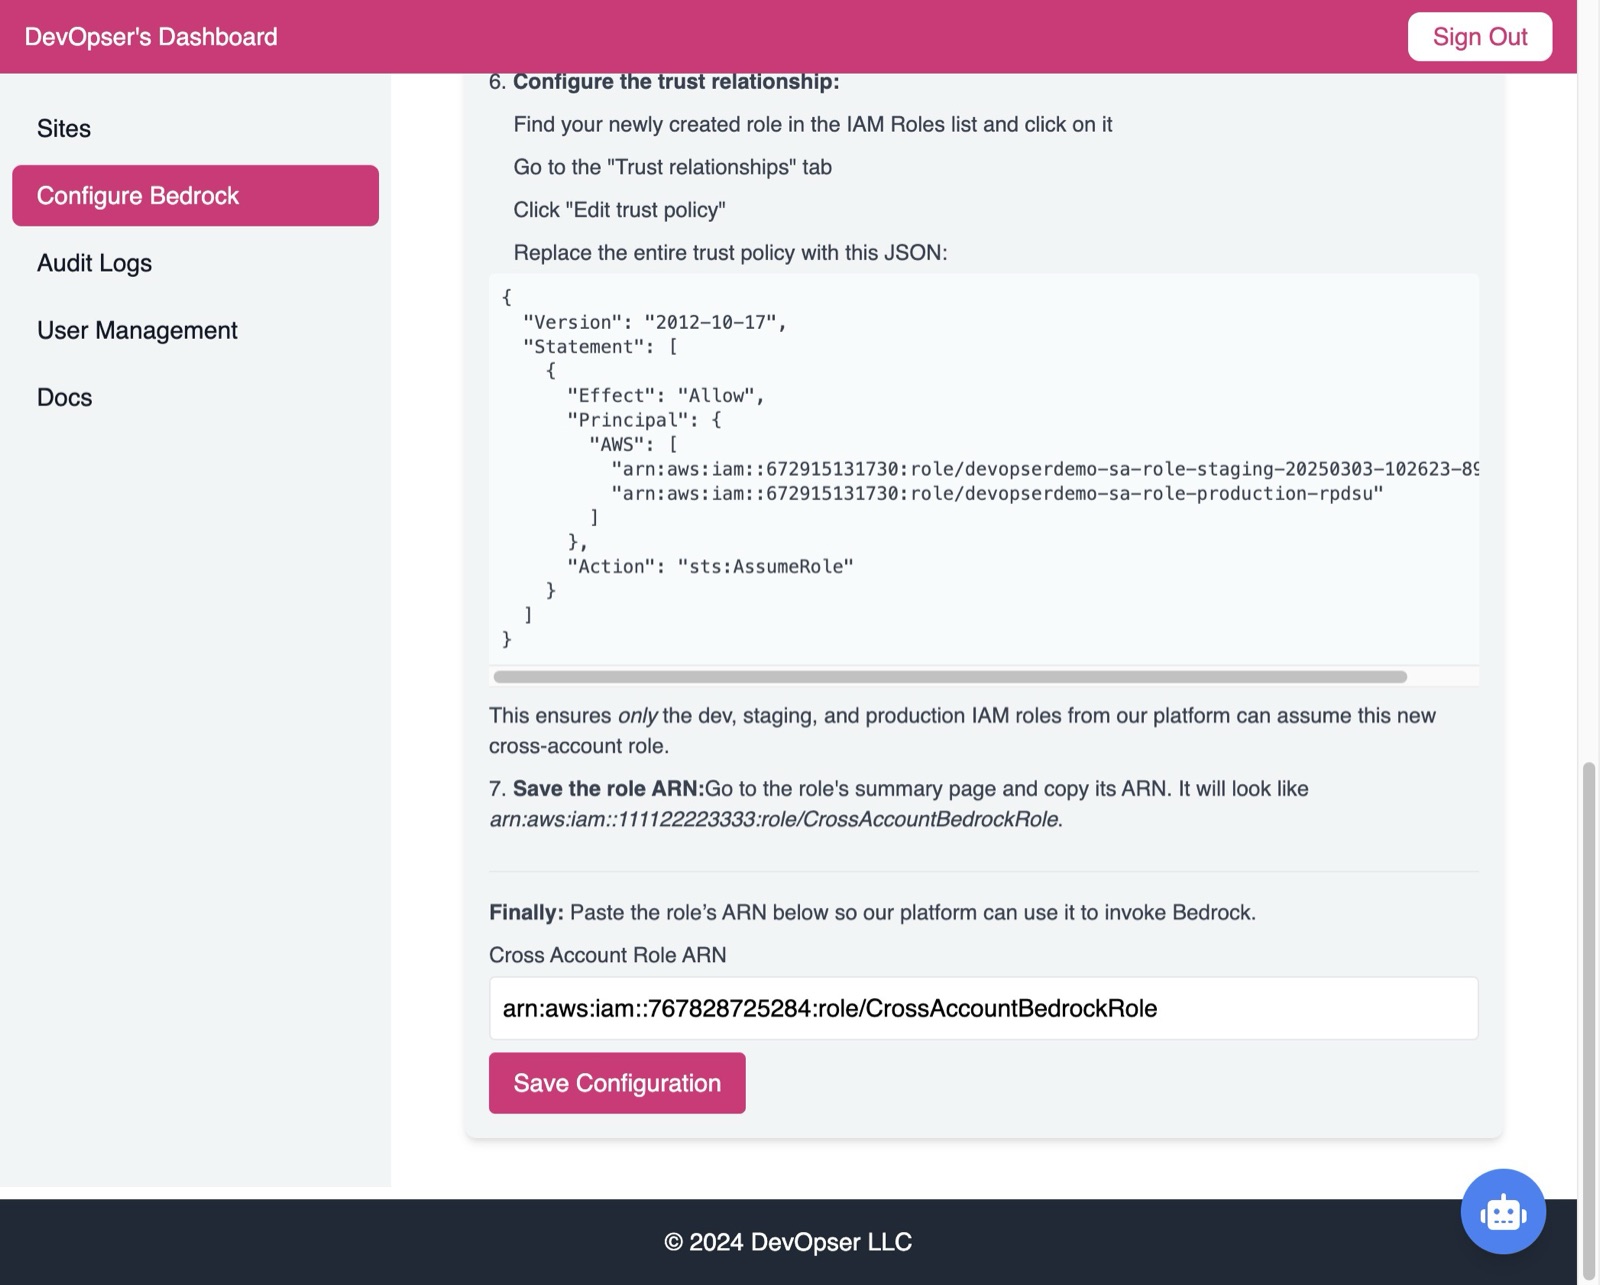
Click “Save Configuration”
-
18
Click “Sites”
-
19
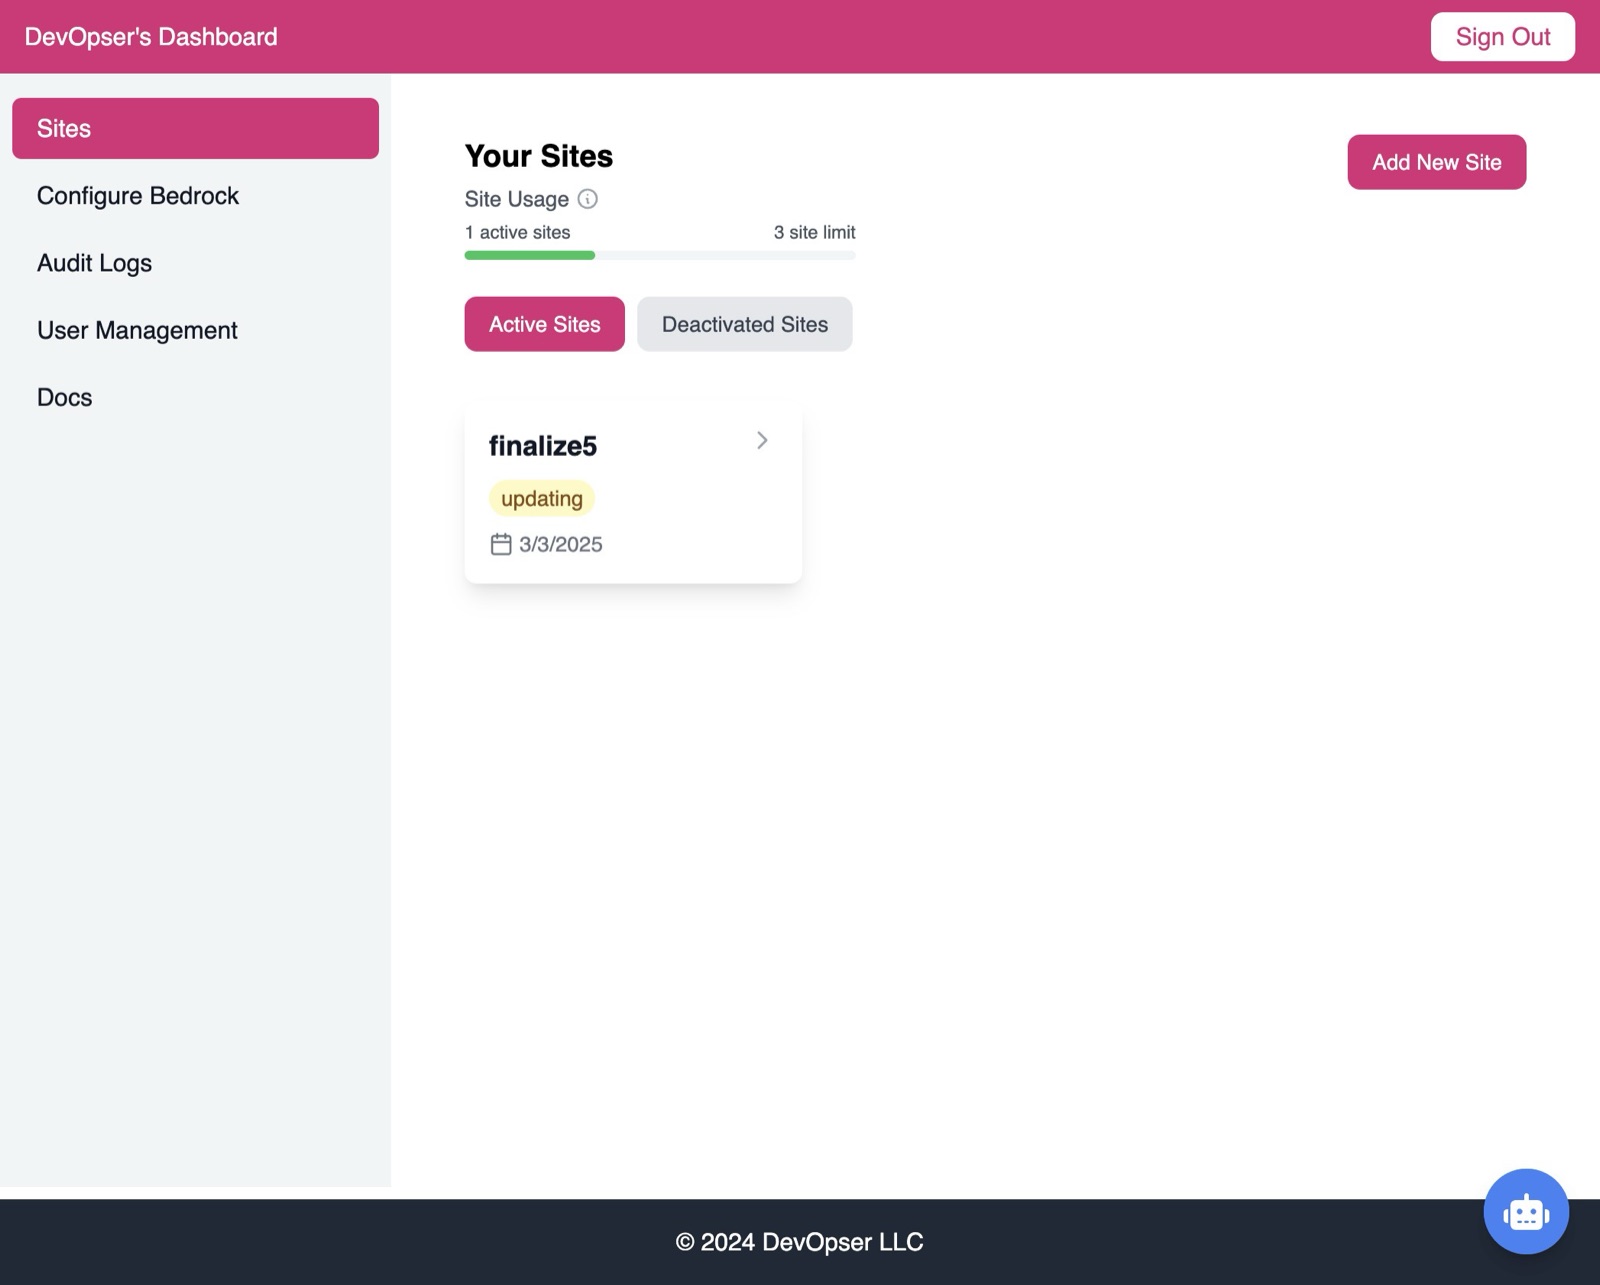
Click your site to get to the Site Detail page.
-
20
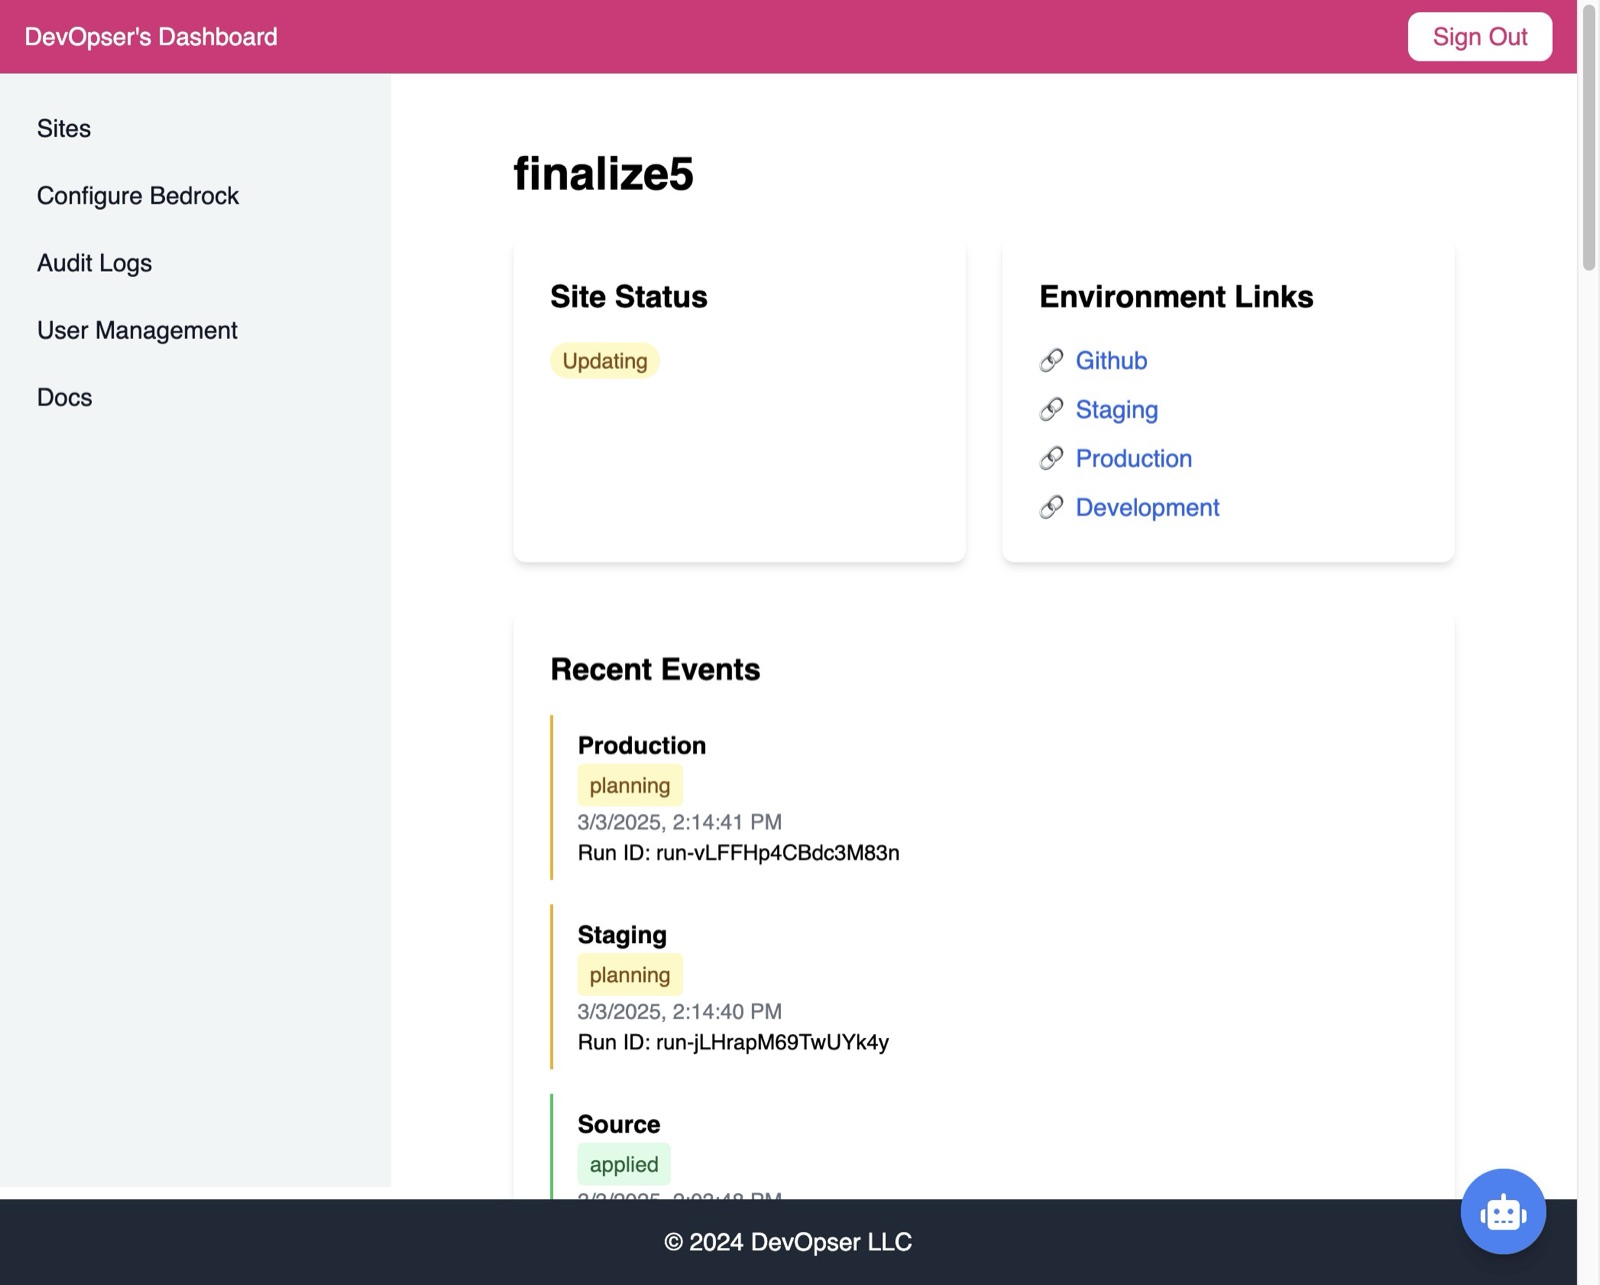
You should see your Staging and Production workspaces in a planning state.
-
21
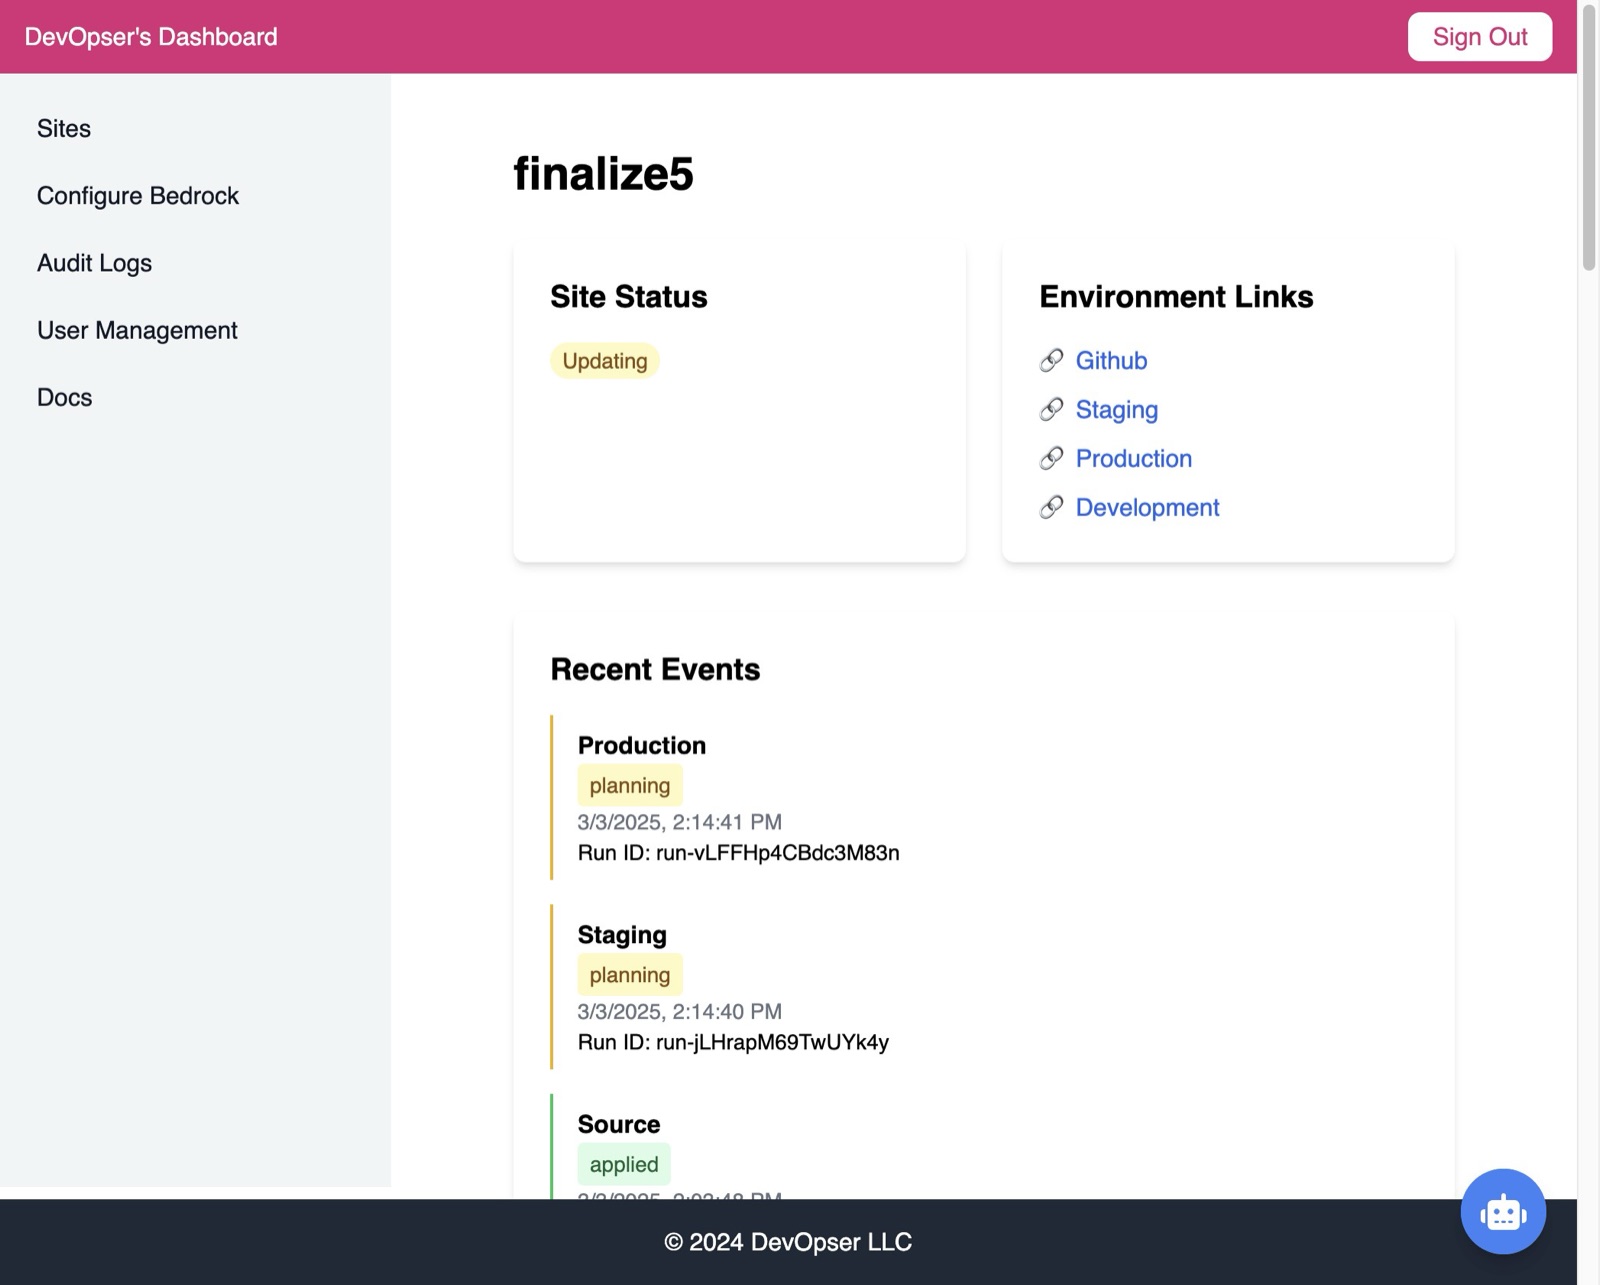
Your Site status should be in “updating” status
-
22
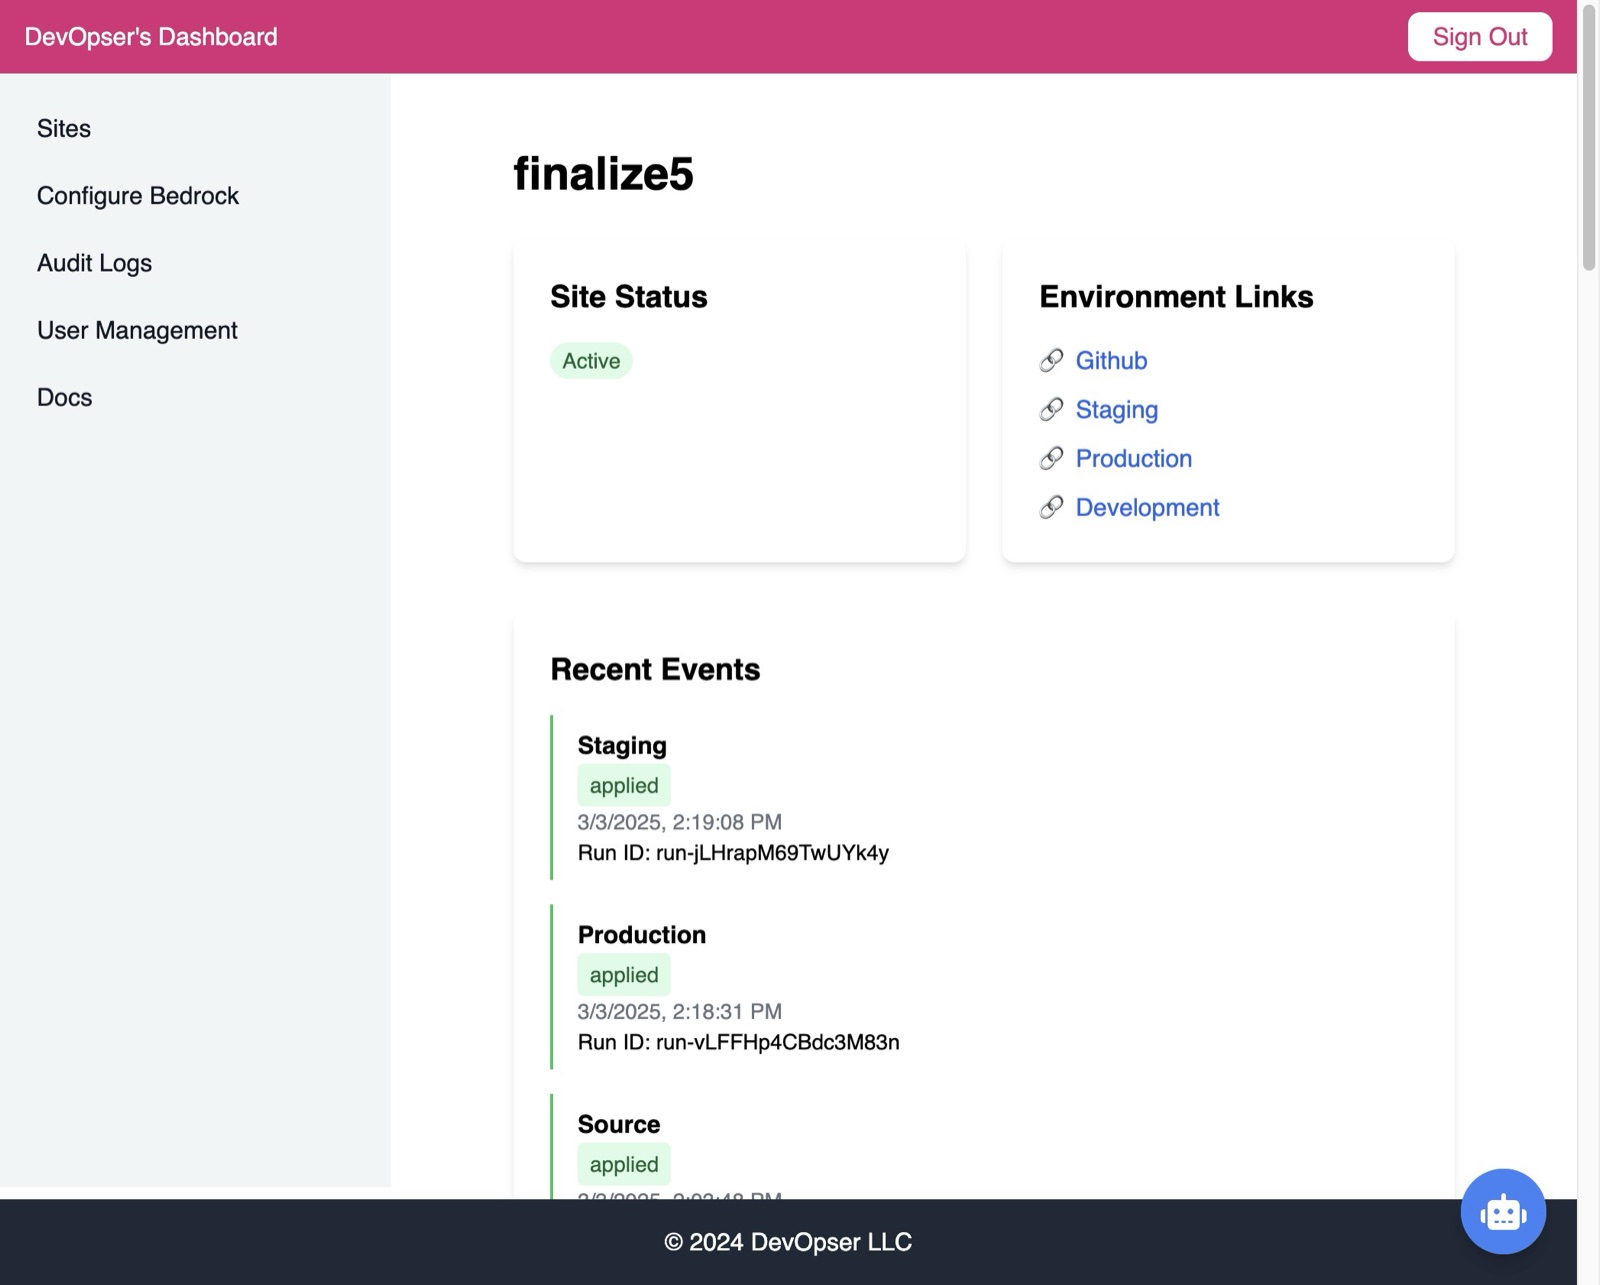
Once both workspaces are in “applied” status and the Site Status is “Active”
-
23
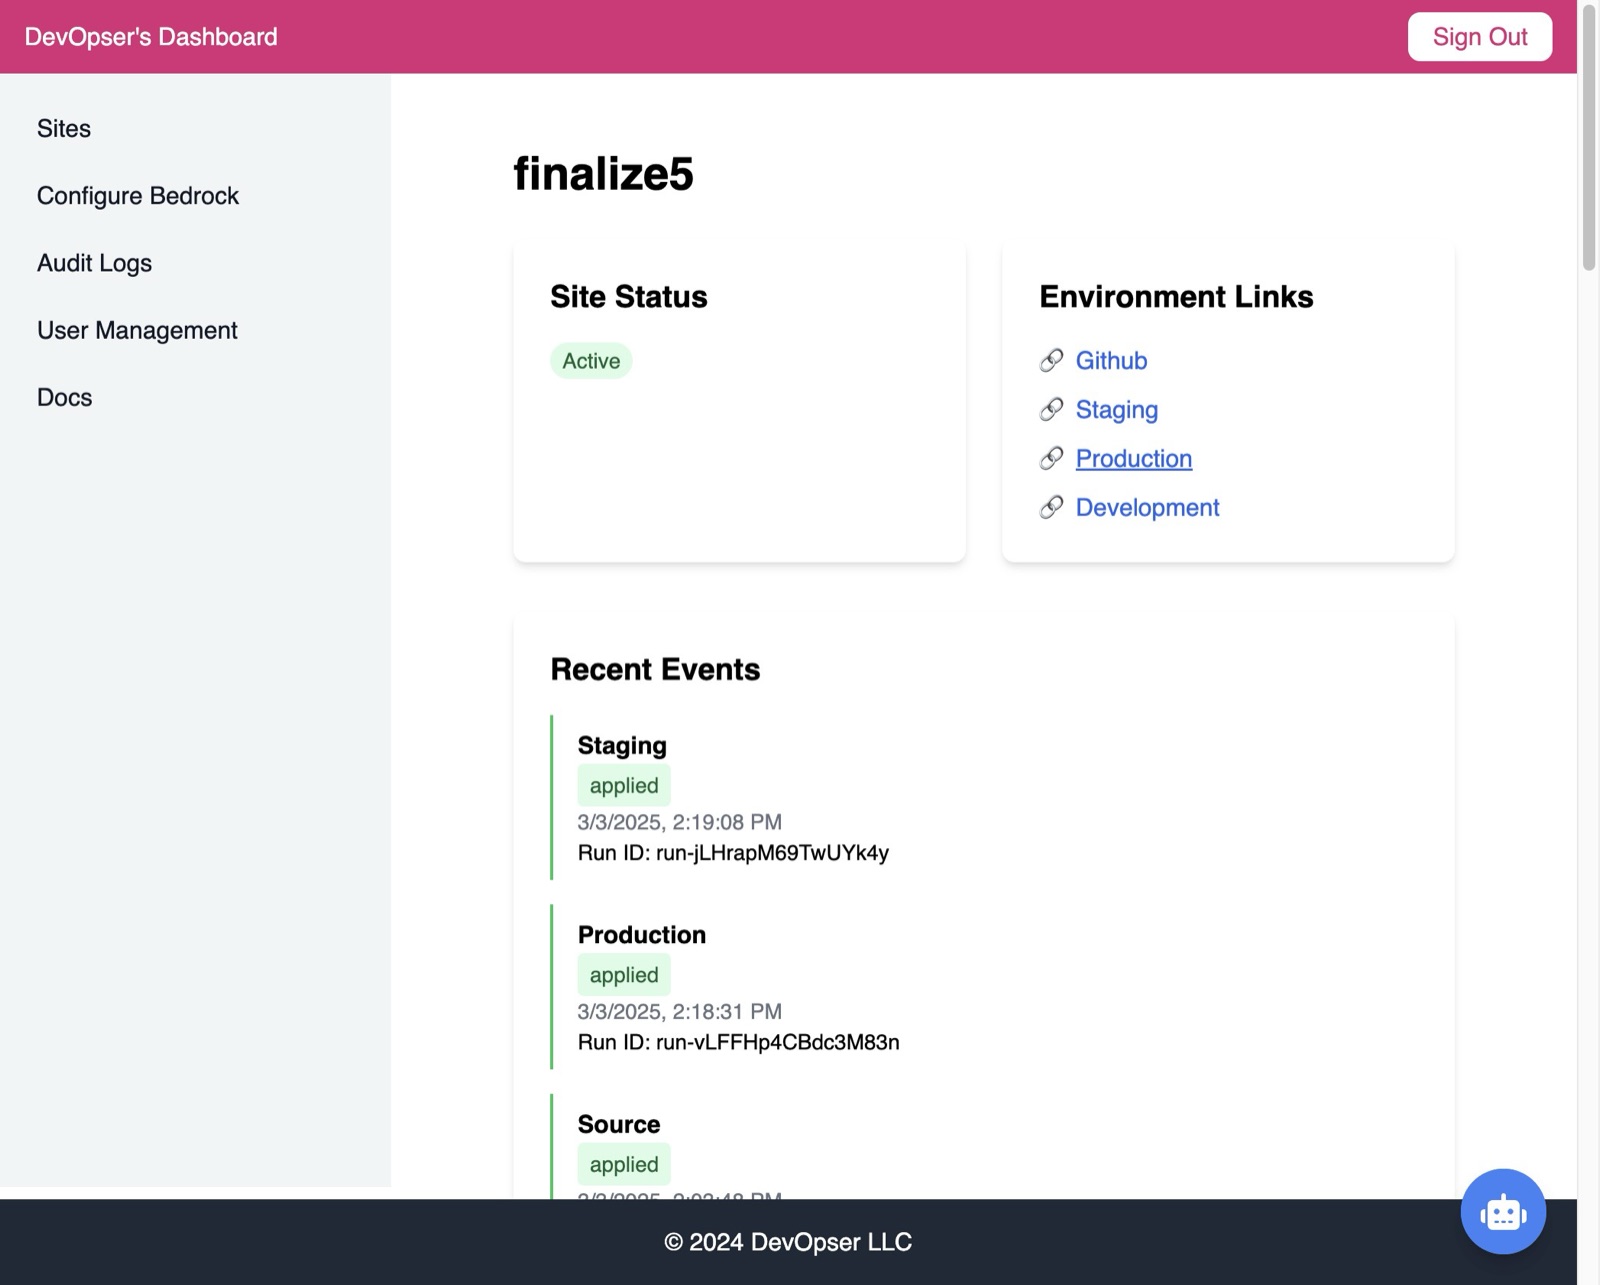
Click “Production” or “Staging” to navigate to your site.
-
24
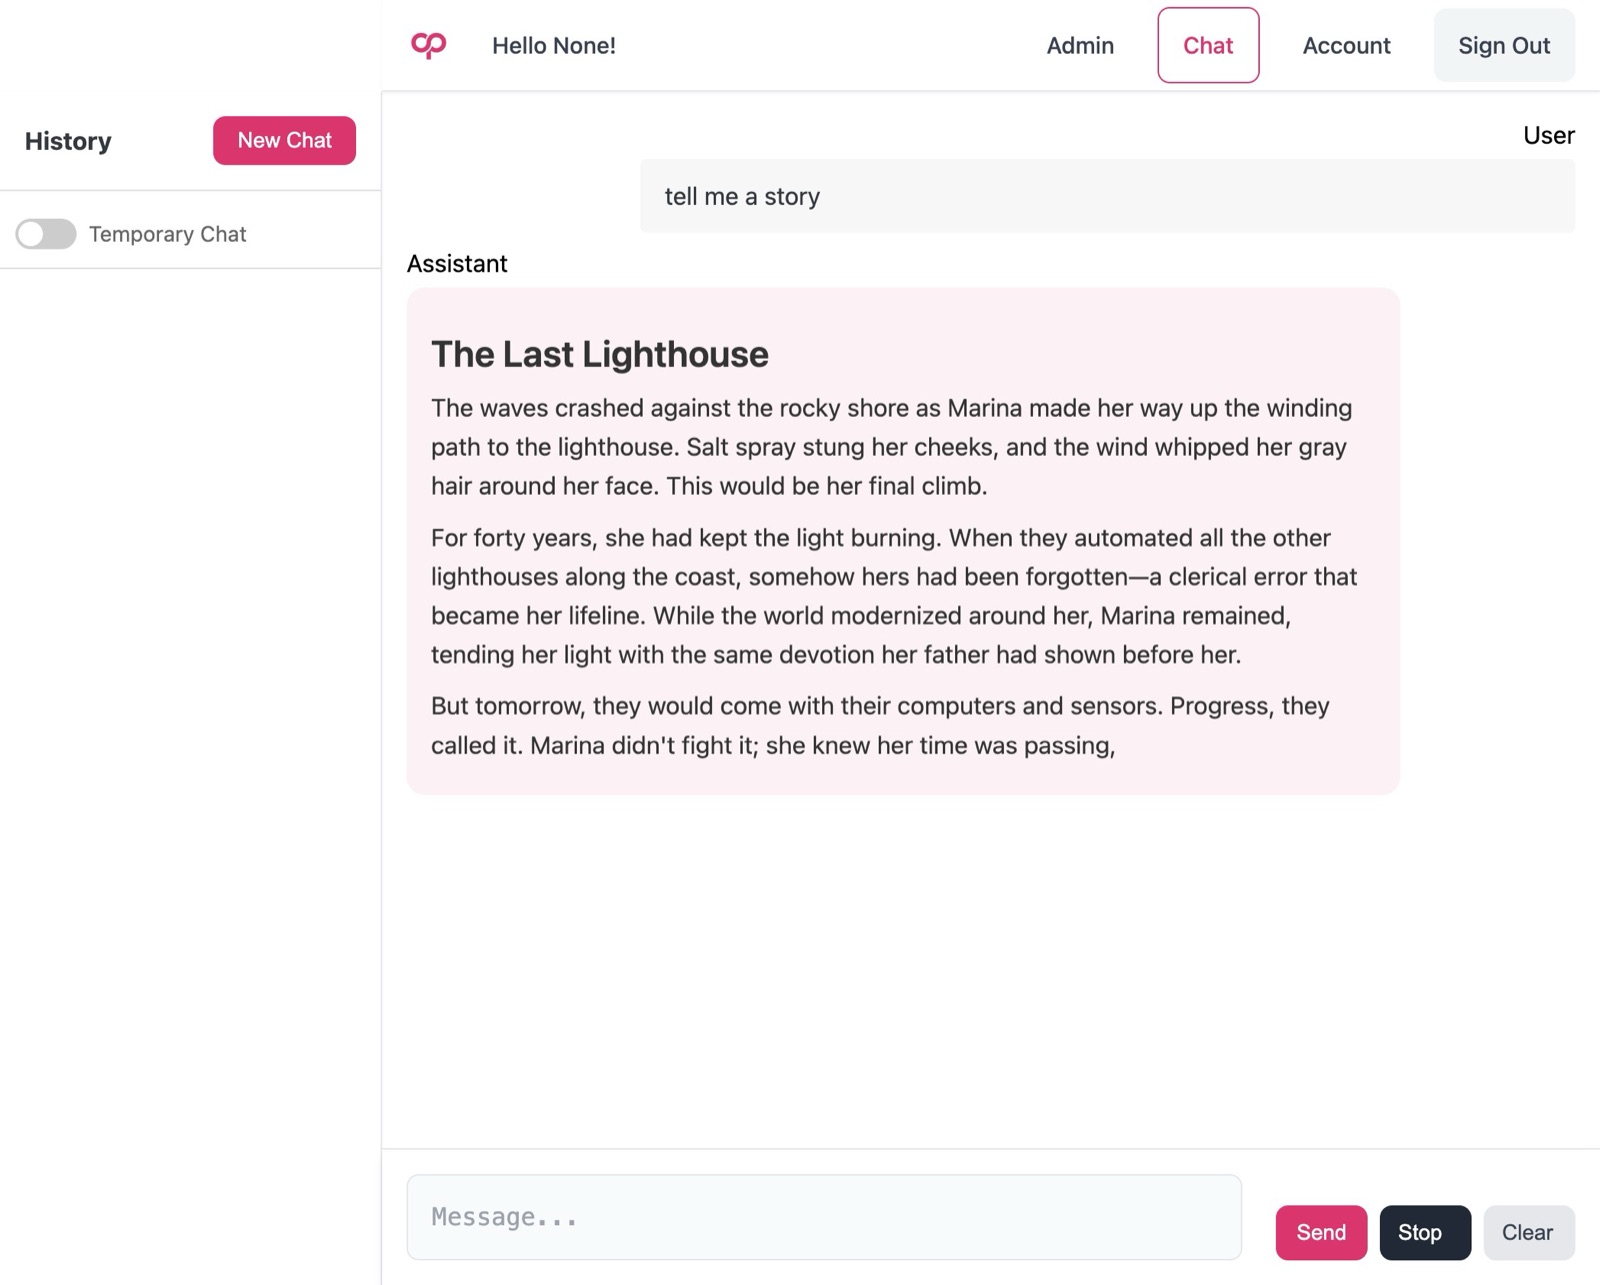
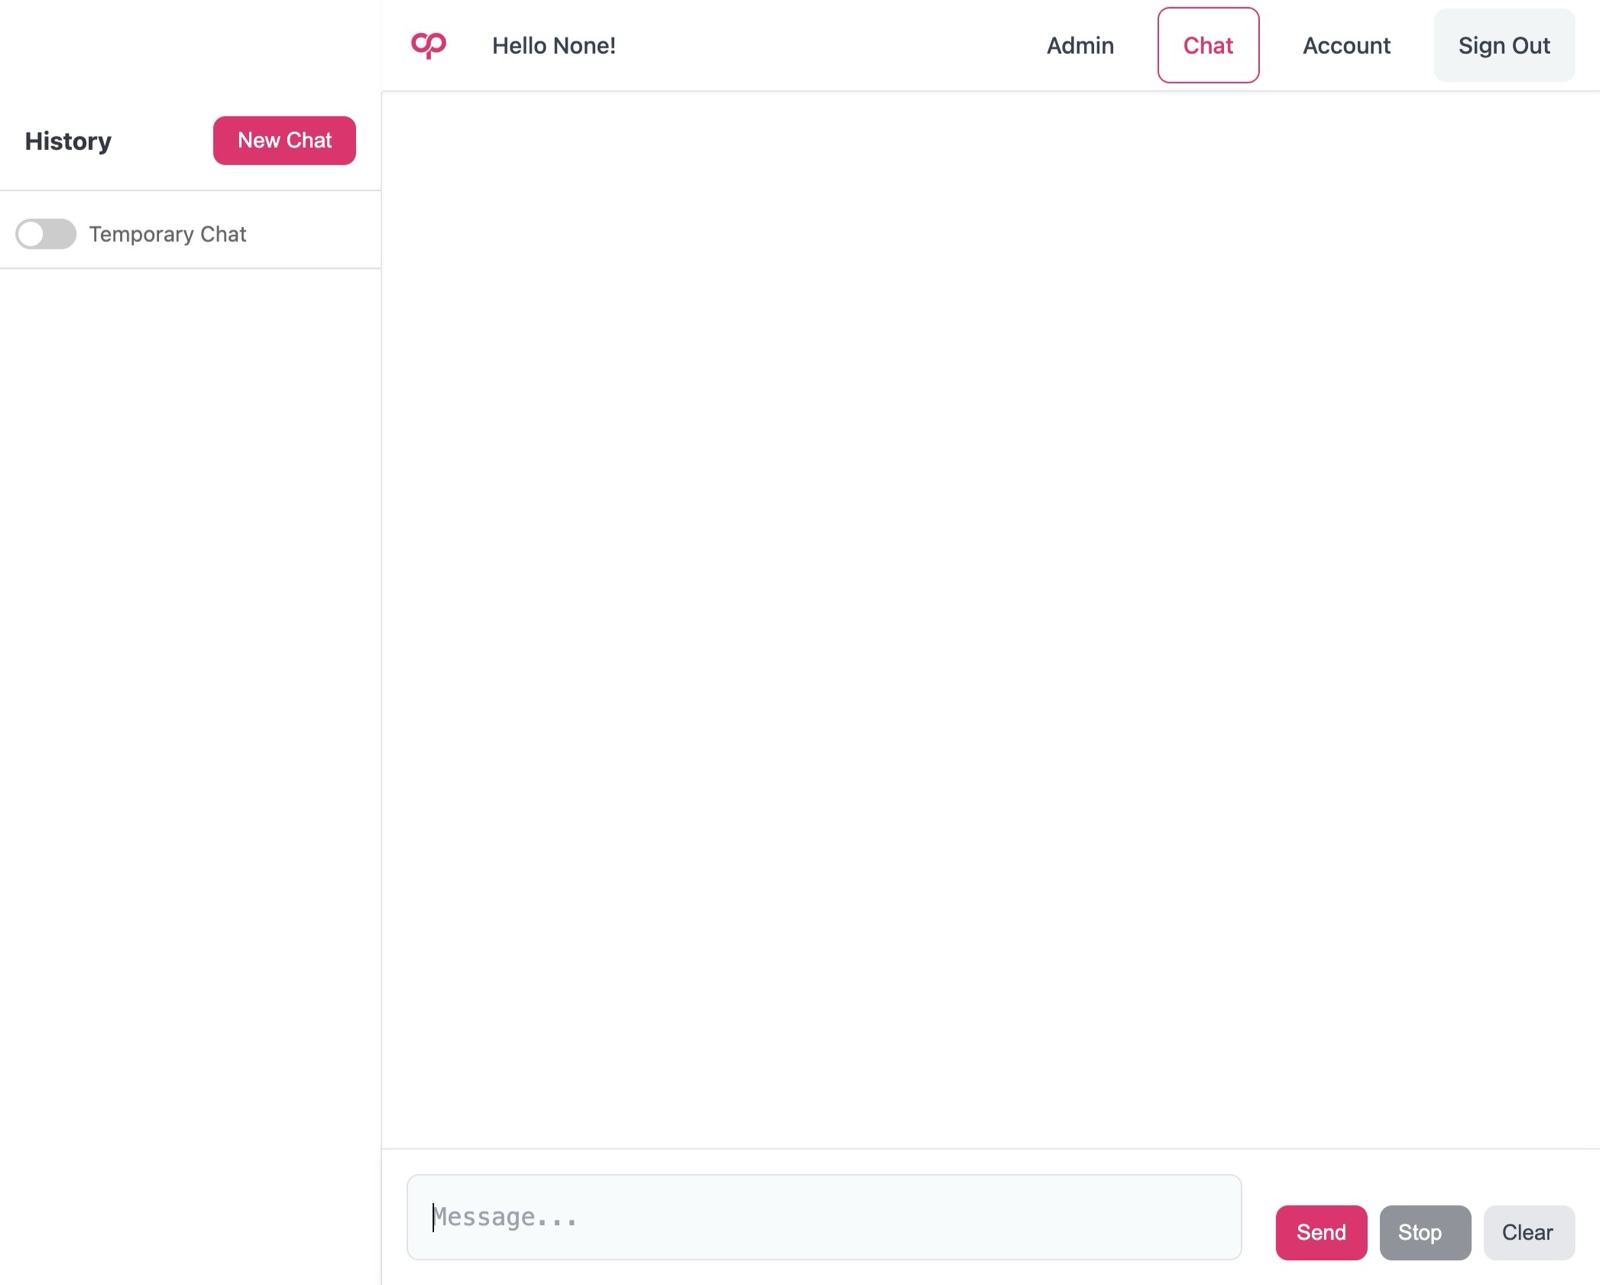
Click the “Message...” field.
-
25
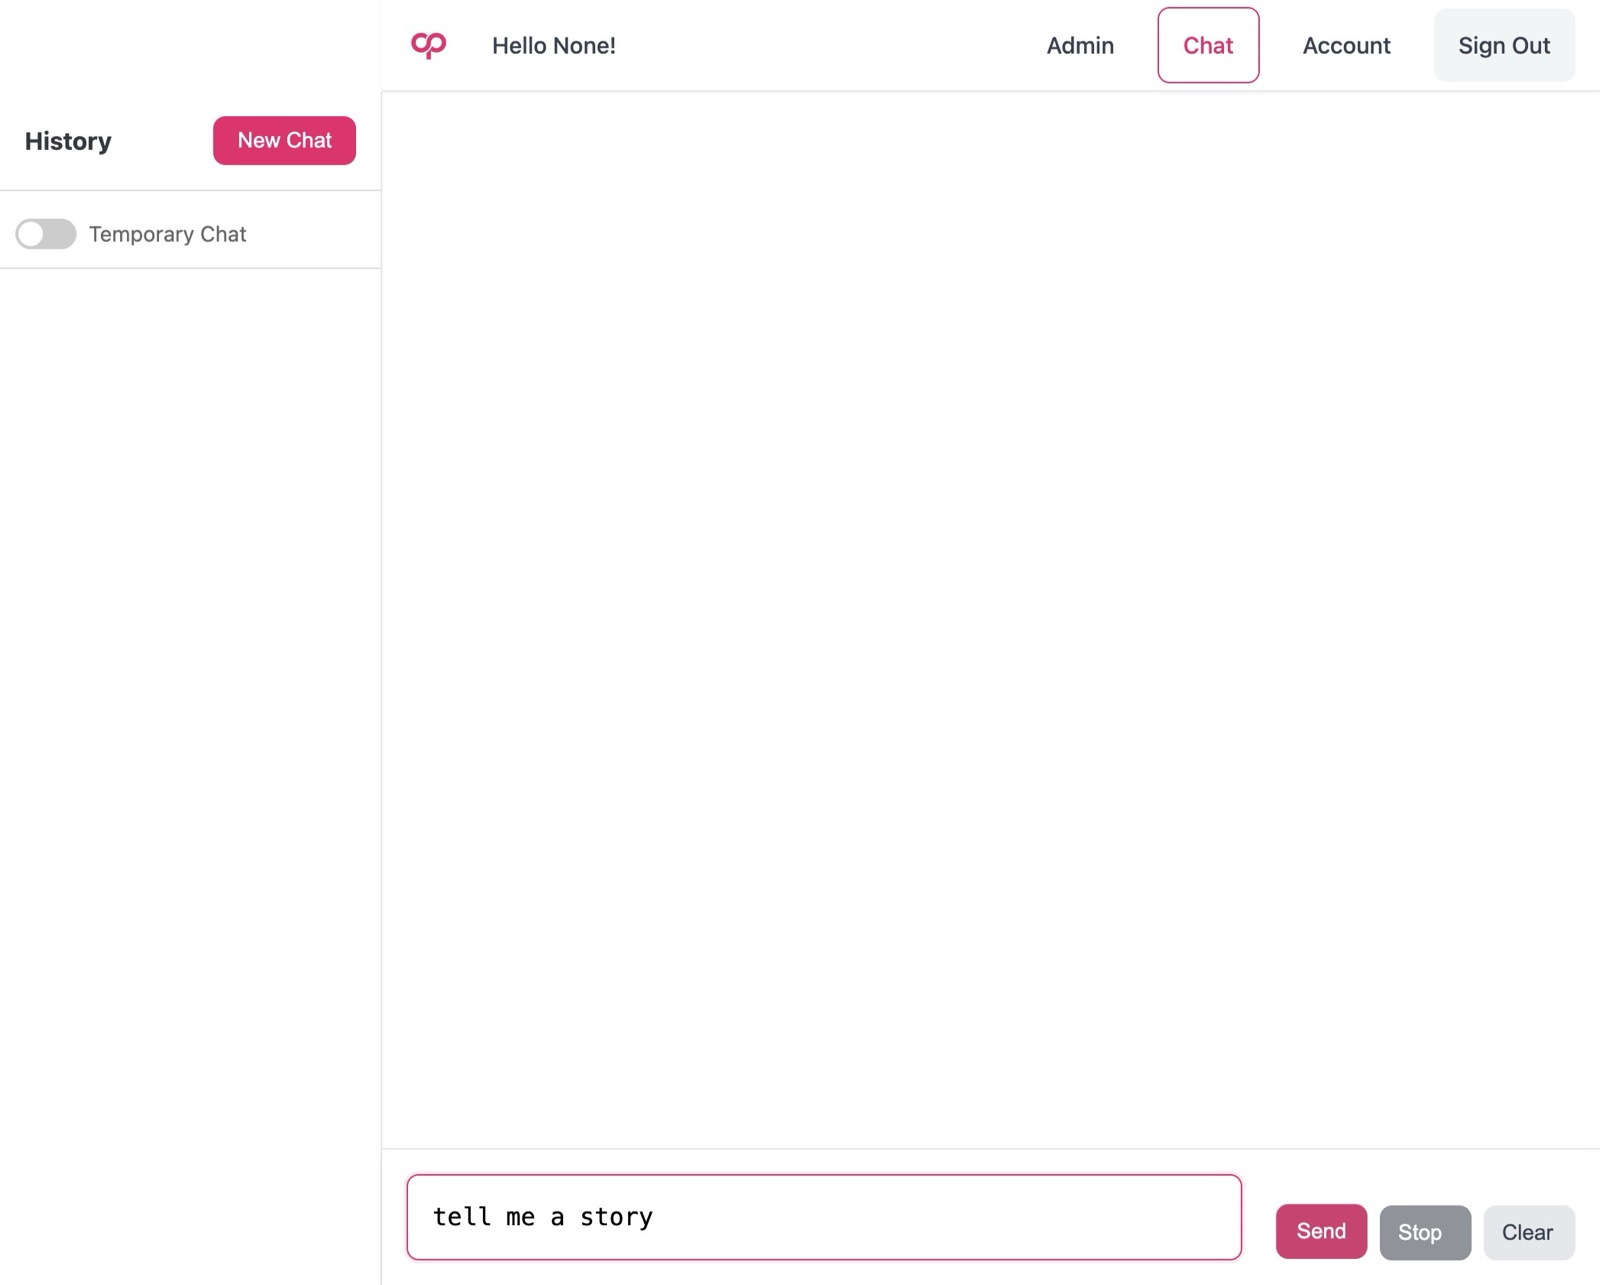
Type “tell me a story” or another test prompt
-
26
Click “Send”
-
27
If you have correctly followed the instructions, you will see Bedrock providing output - congratulations, you have successfully configured Bedrock!