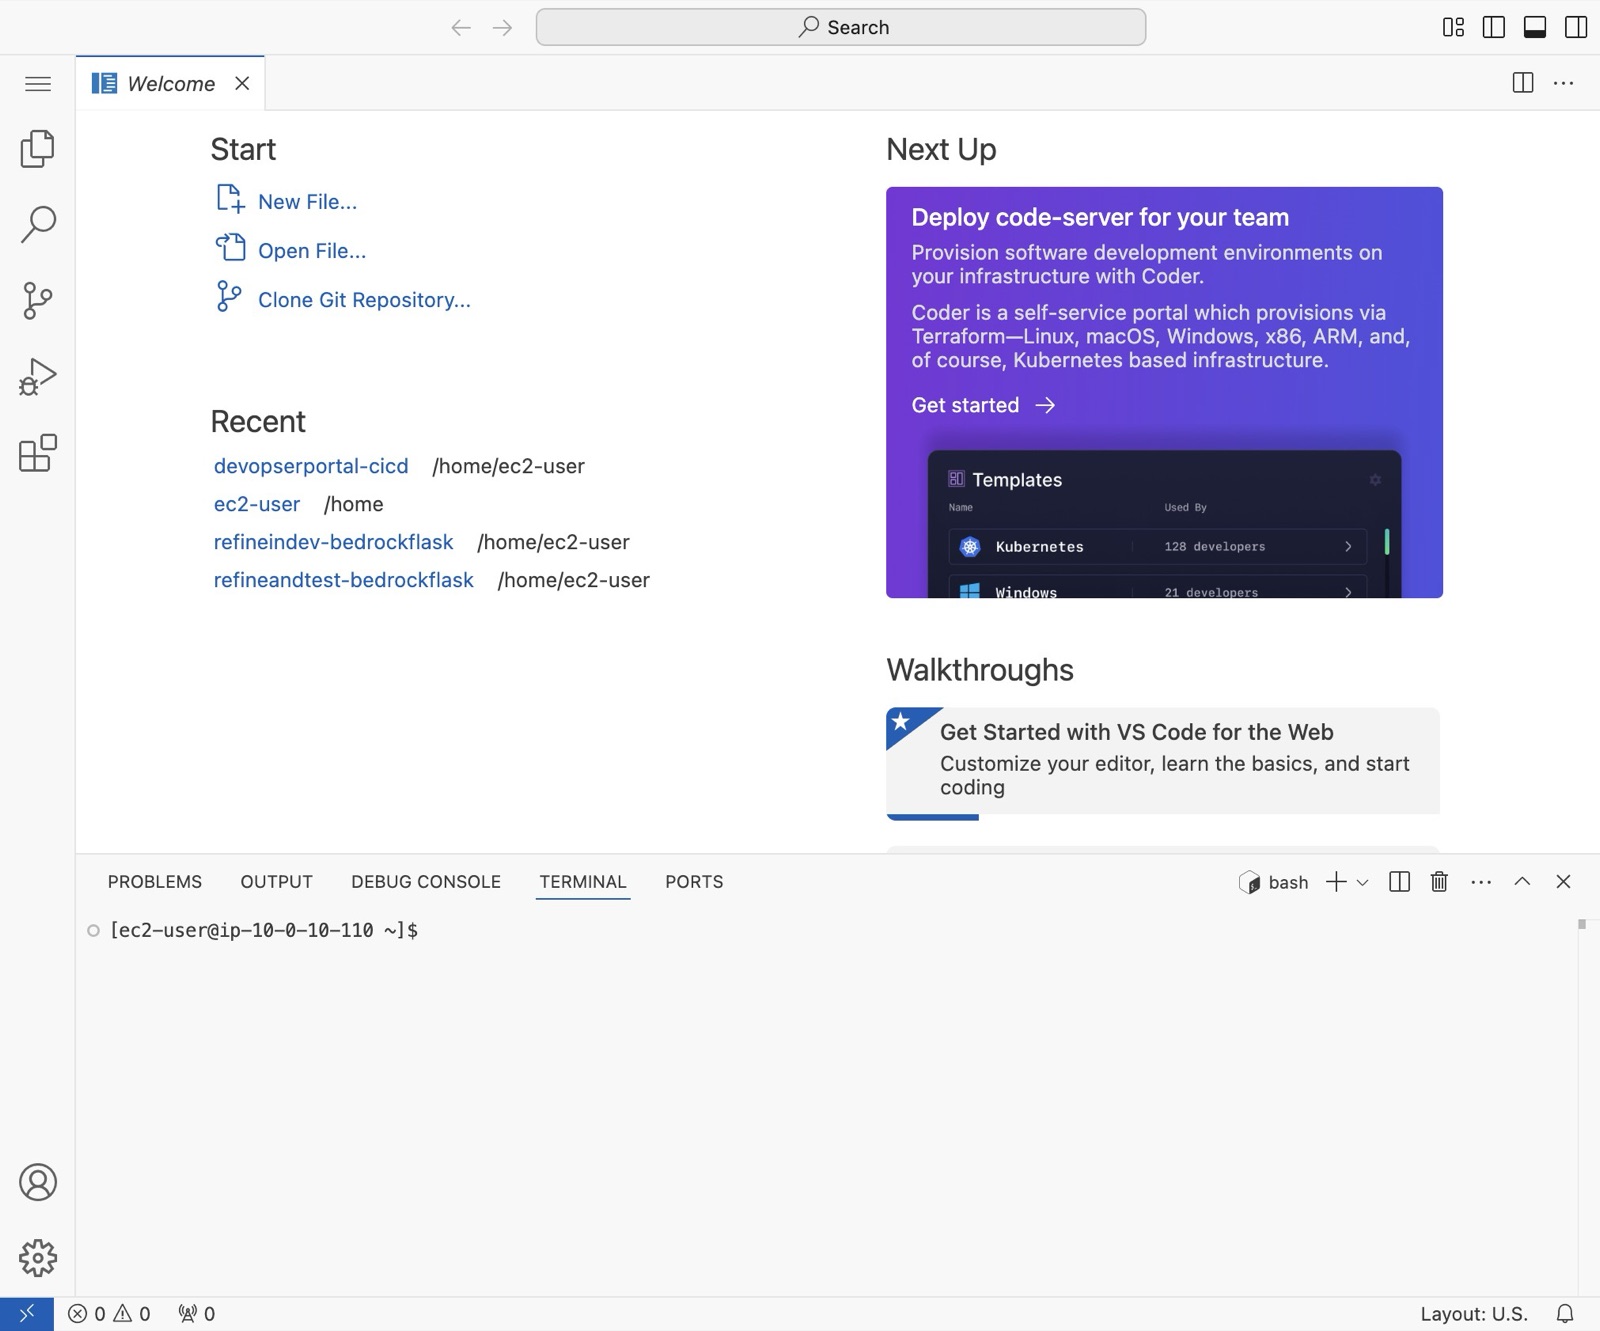
Launch Your Development Environment
Start your Development environment and open it in the browser.
-
1
Navigate to https://app.devopser.io/sites
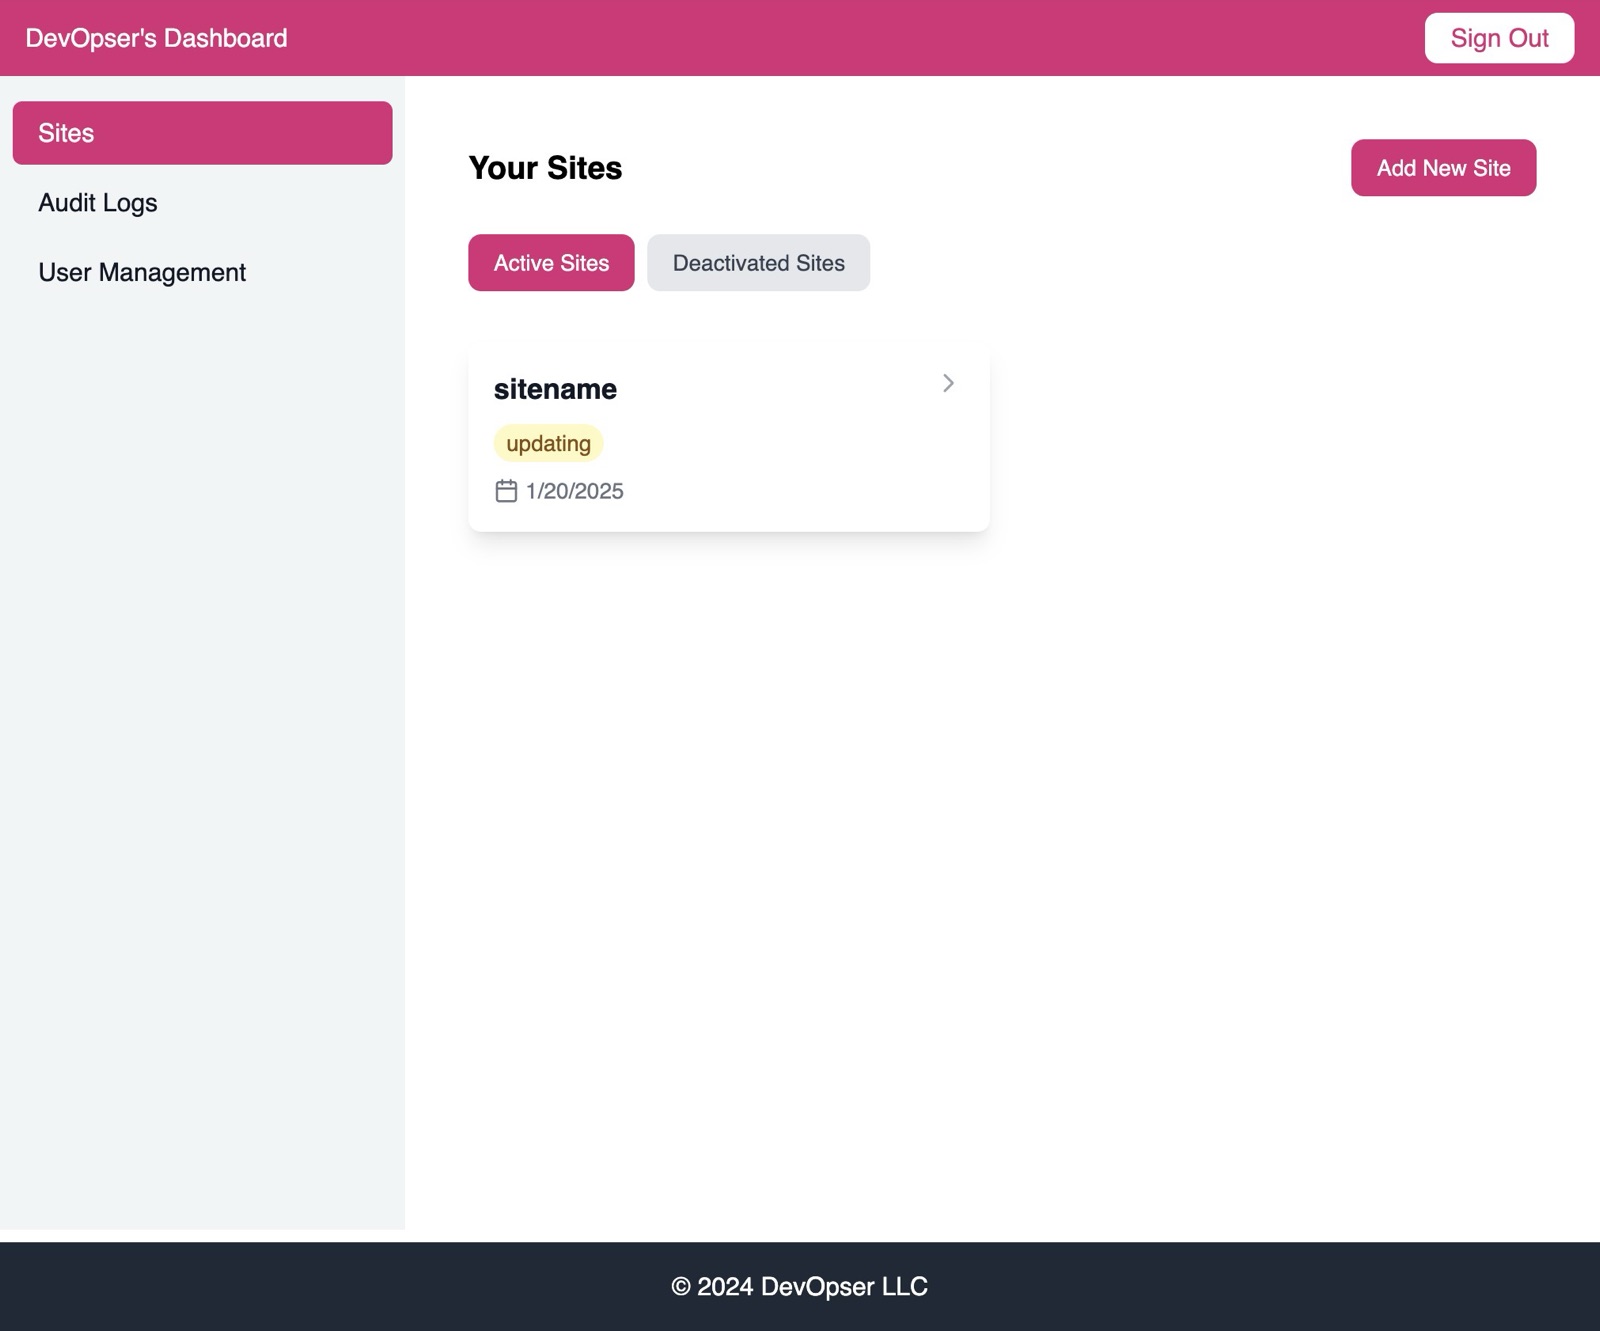
-
2
Click into your site's detail page.
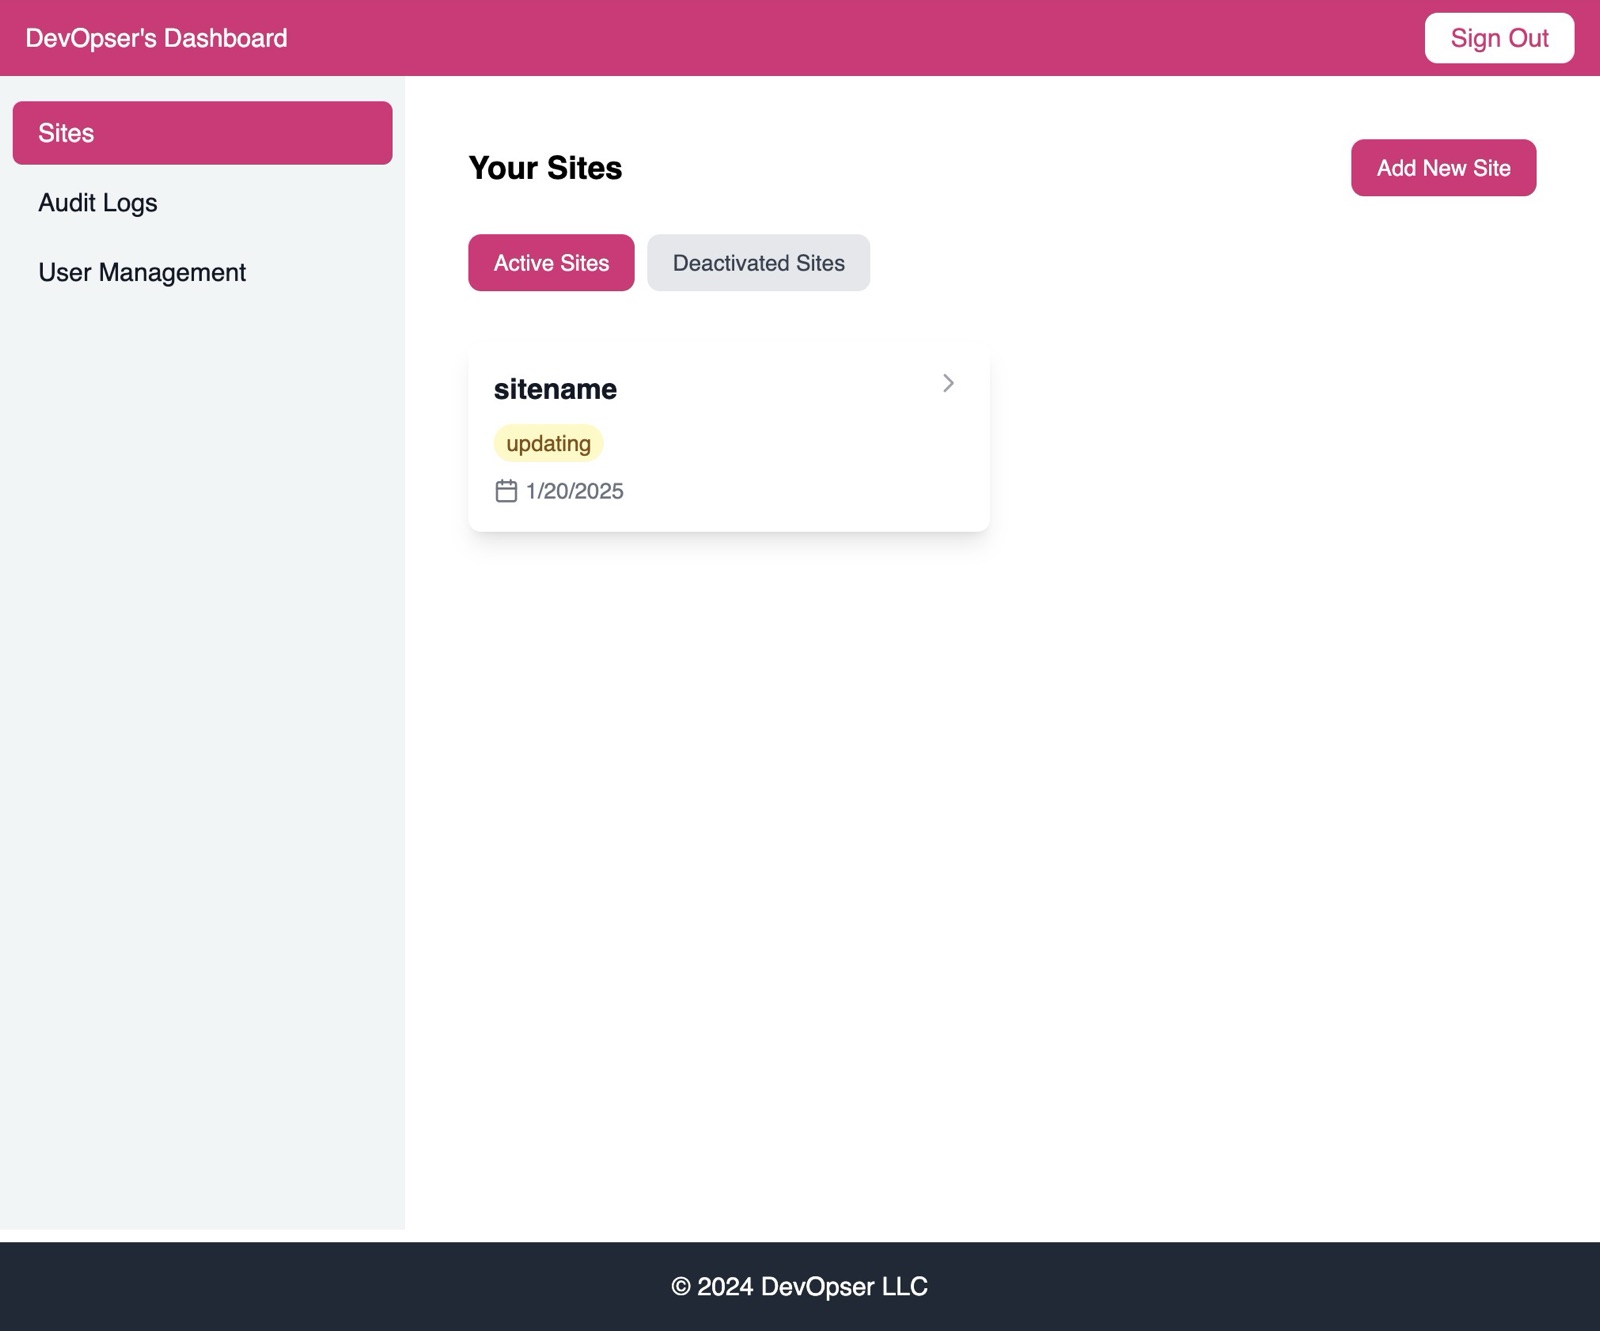
-
3
Prior to triggering the development environment build, you need to configure your development secrets. To do so: click “🔐 Configure Development Secrets”
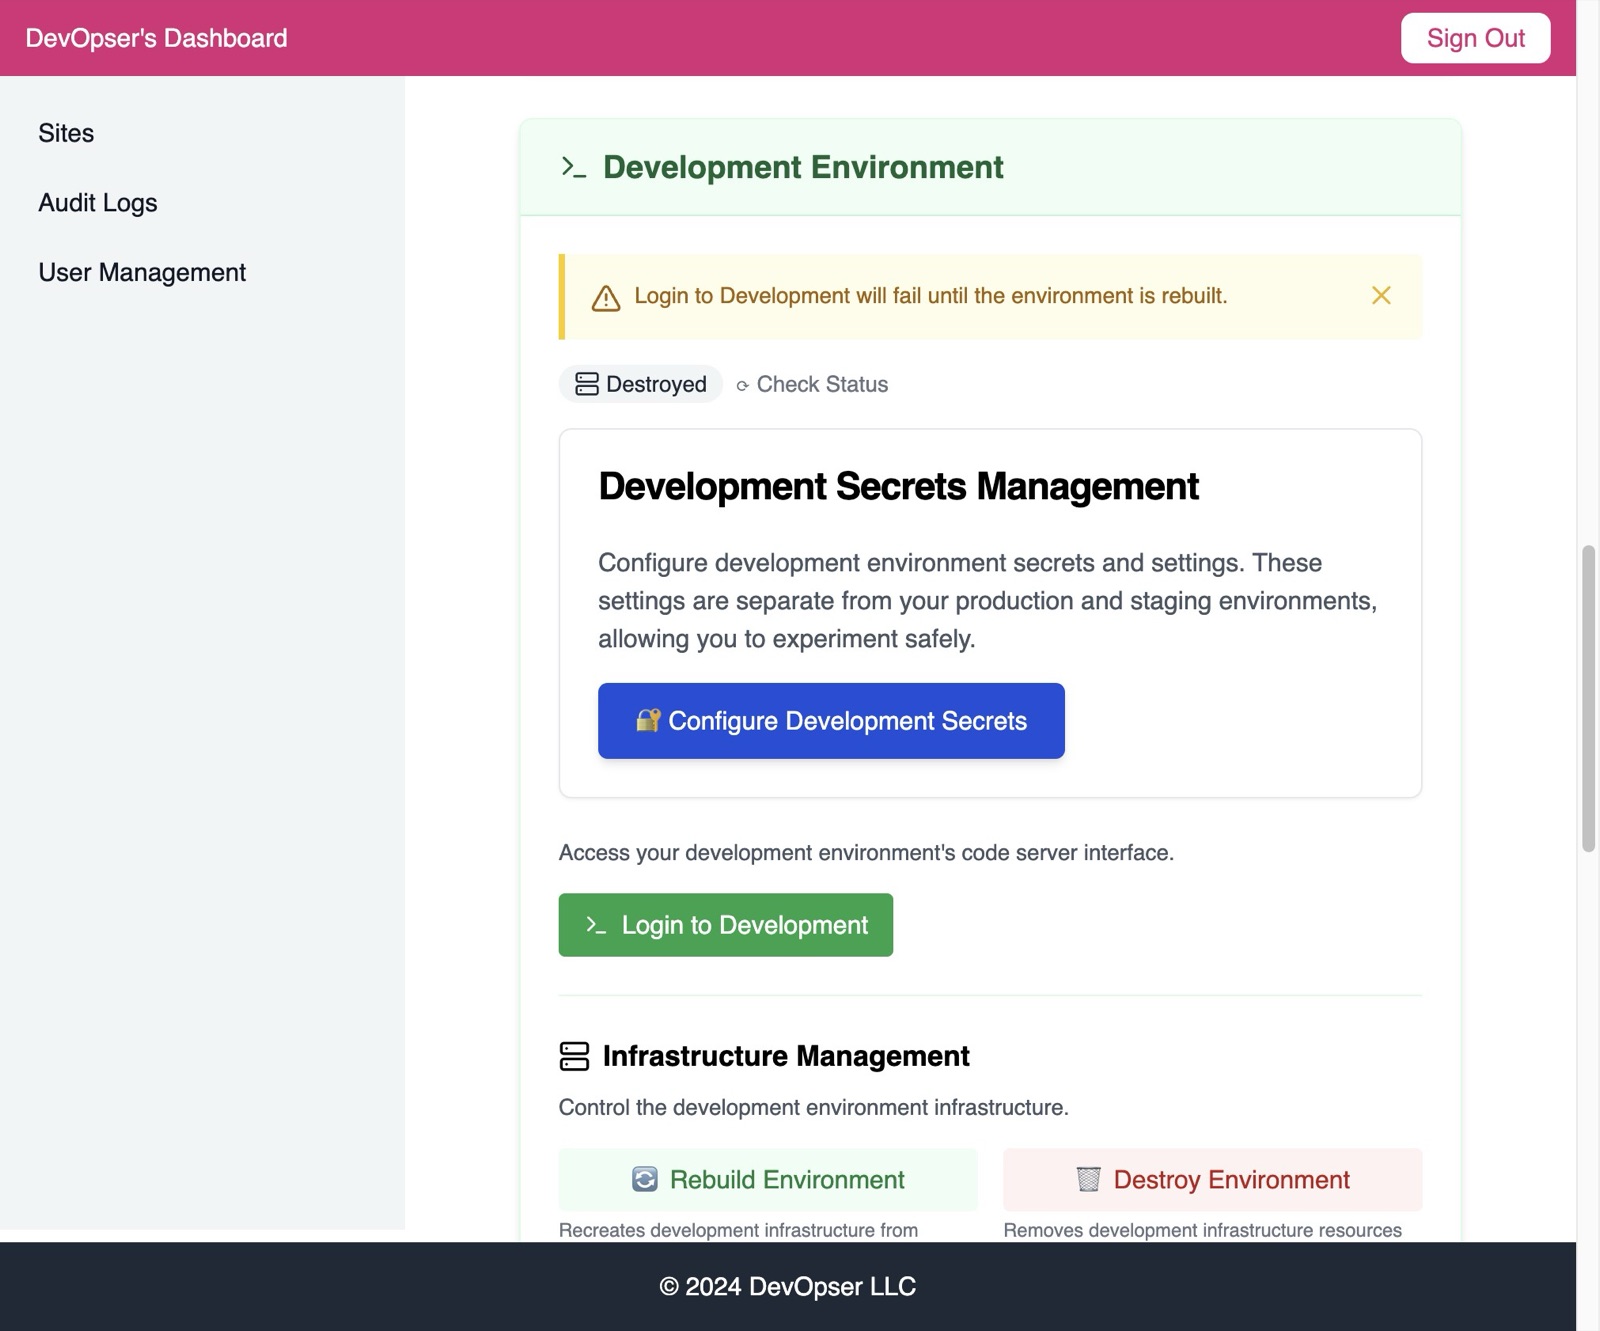
-
4
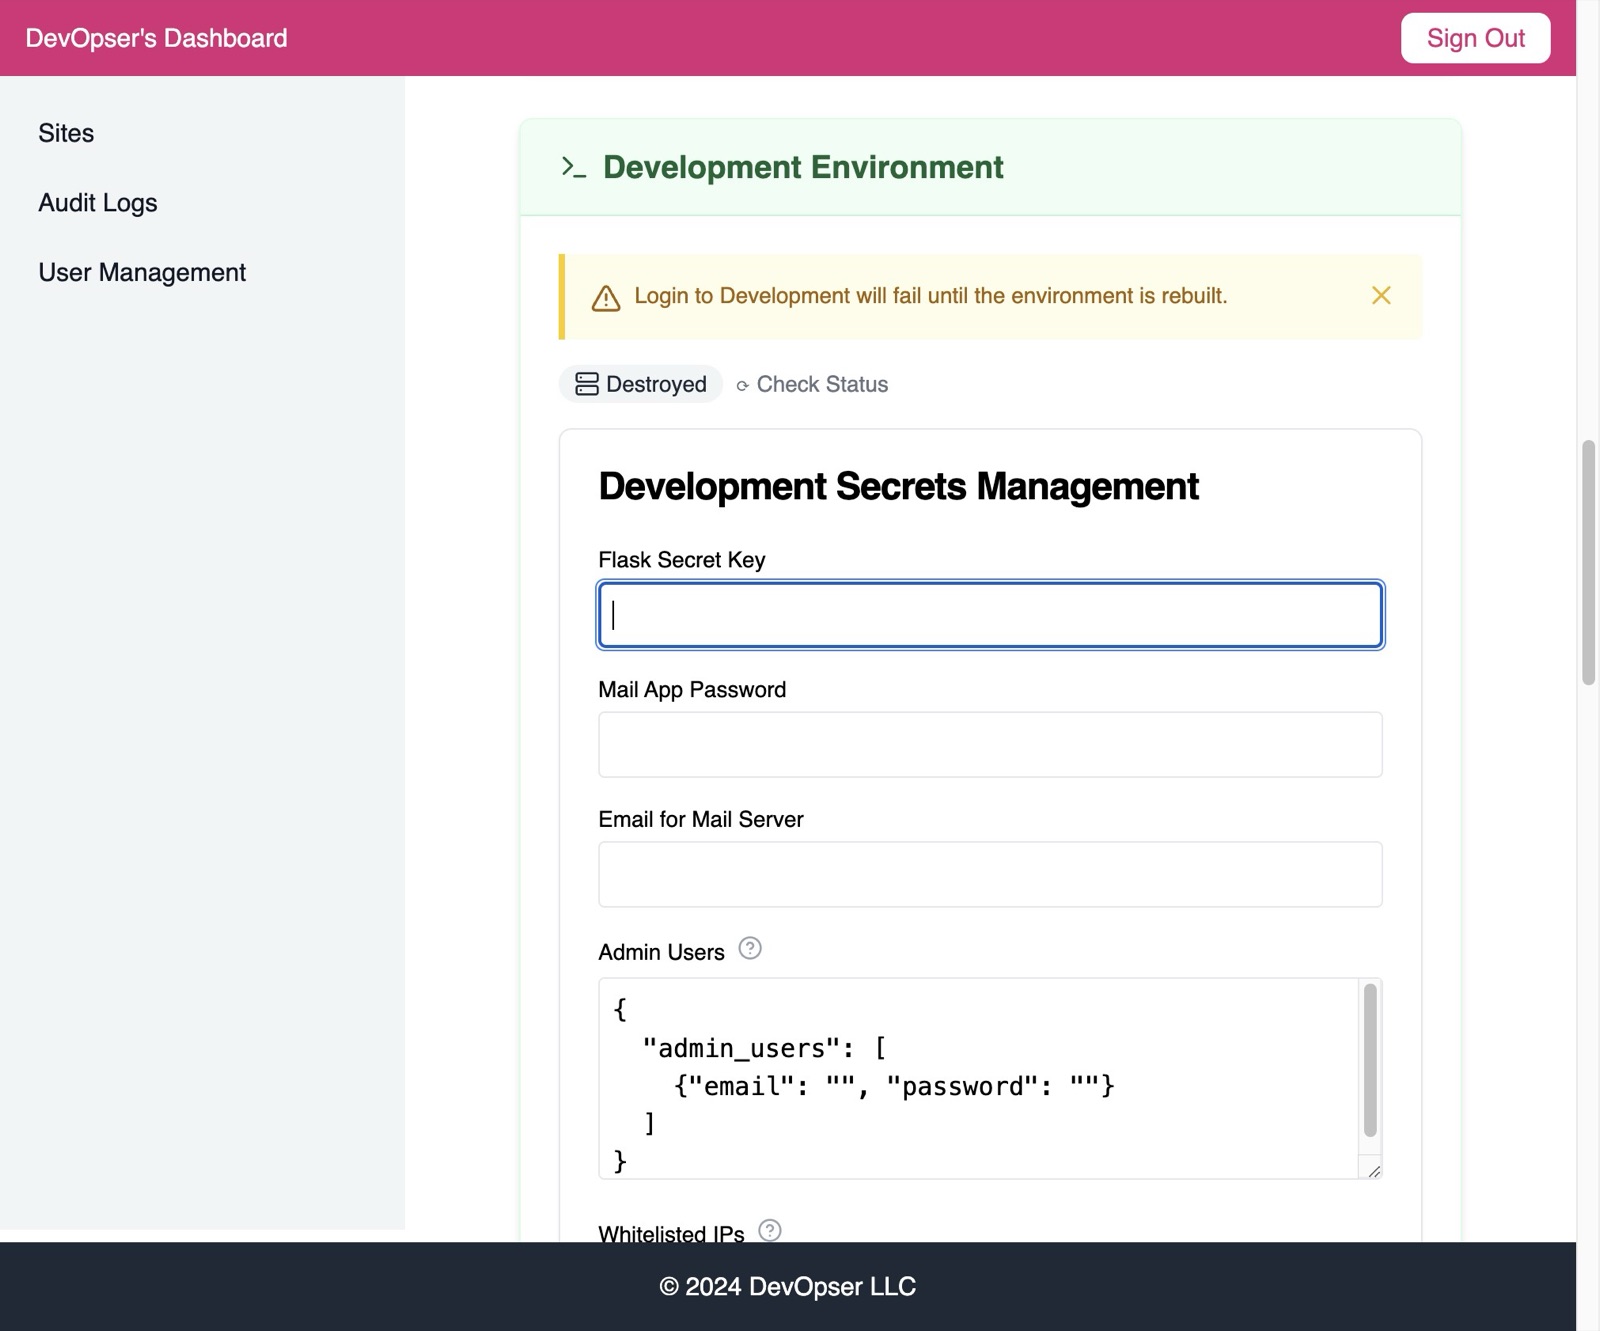
Flask Secret Key is an arbitrary string value - make sure to note what you use.
-
5
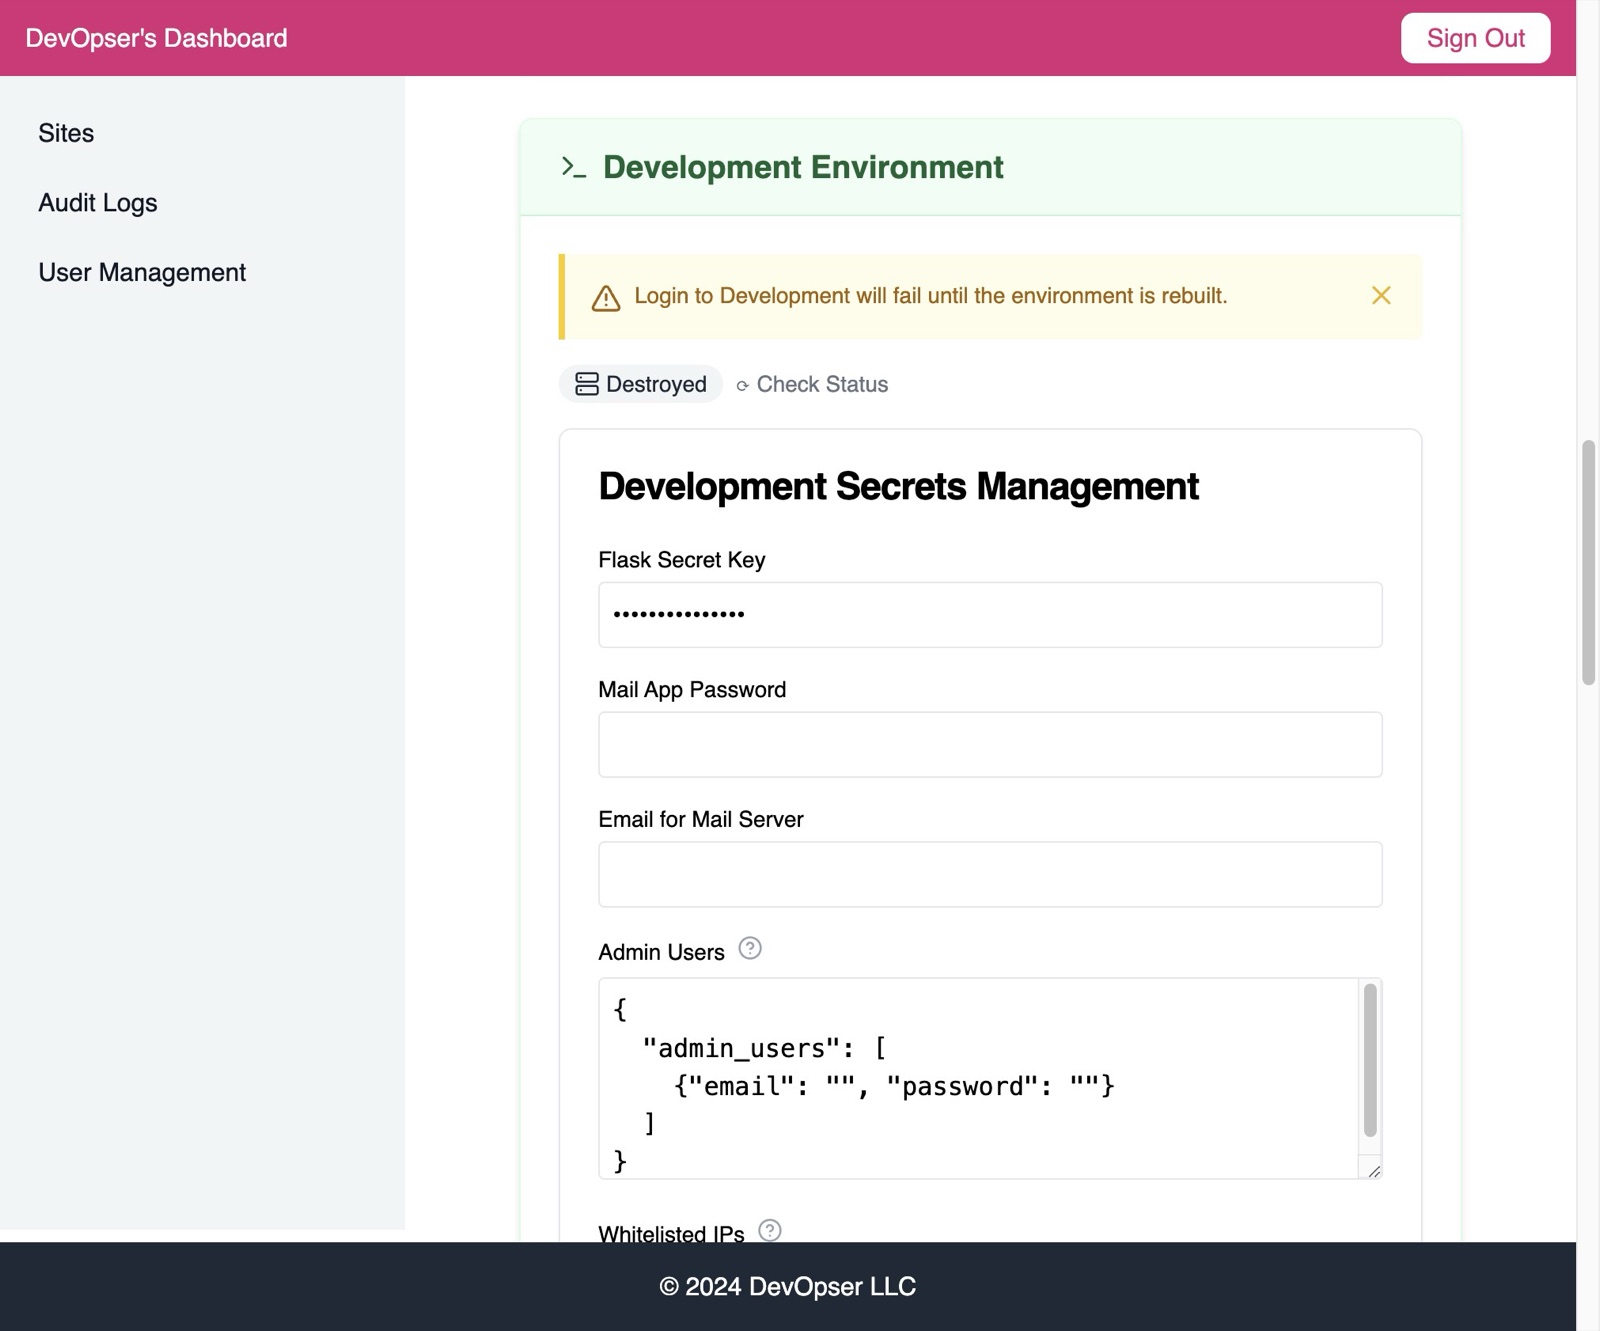
“Mail App Password” is retrieved from your mail provider for the application's mail server.
-
6
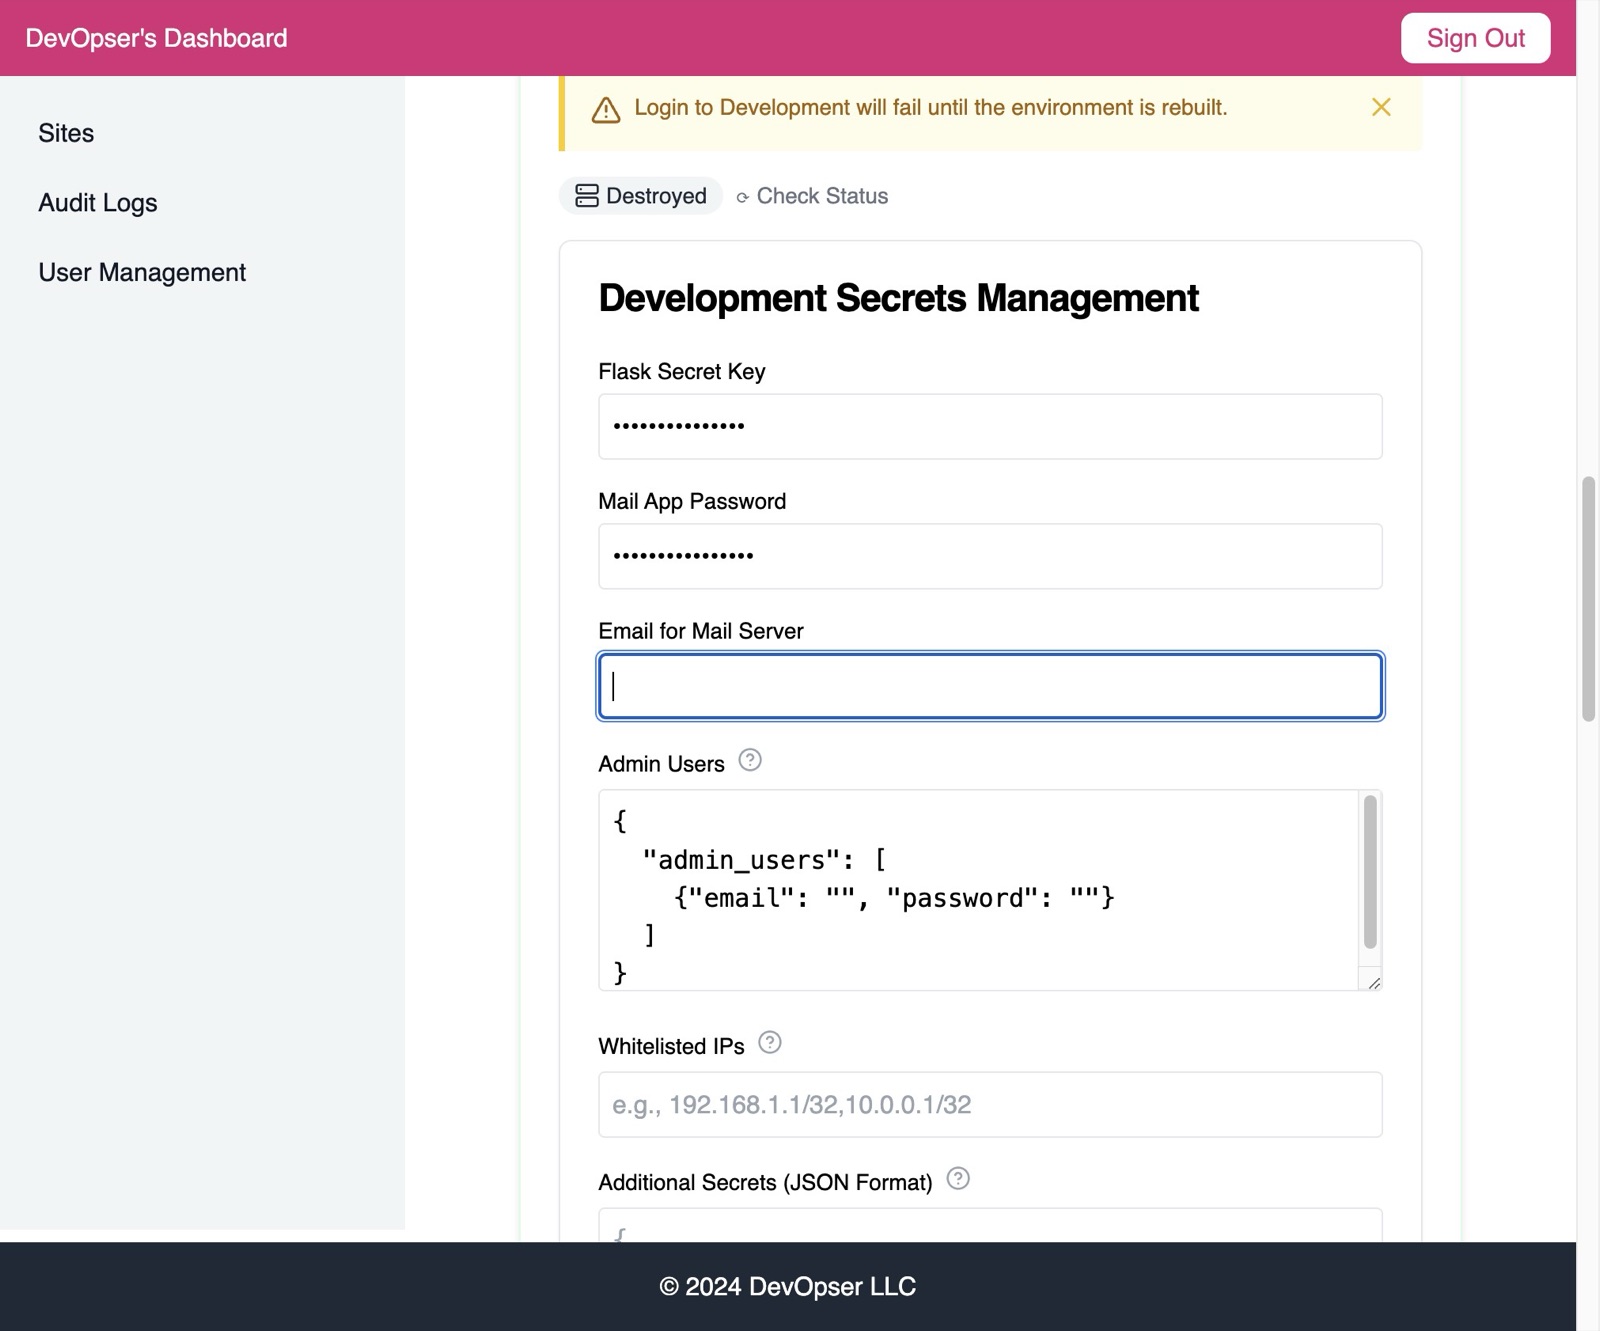
“Email for Mail Server” is the email that your app password is associated to.
-
7
“Whitelisted IPs” are for any IPs that will be using the development environment. If they are not added they will not be able to access it. In the form: “xxx.xxx.xxx.xxx/32”
-
8
“Additional Secrets (JSON Format)” Any 3rd party secrets you need, for example API keys.
-
9
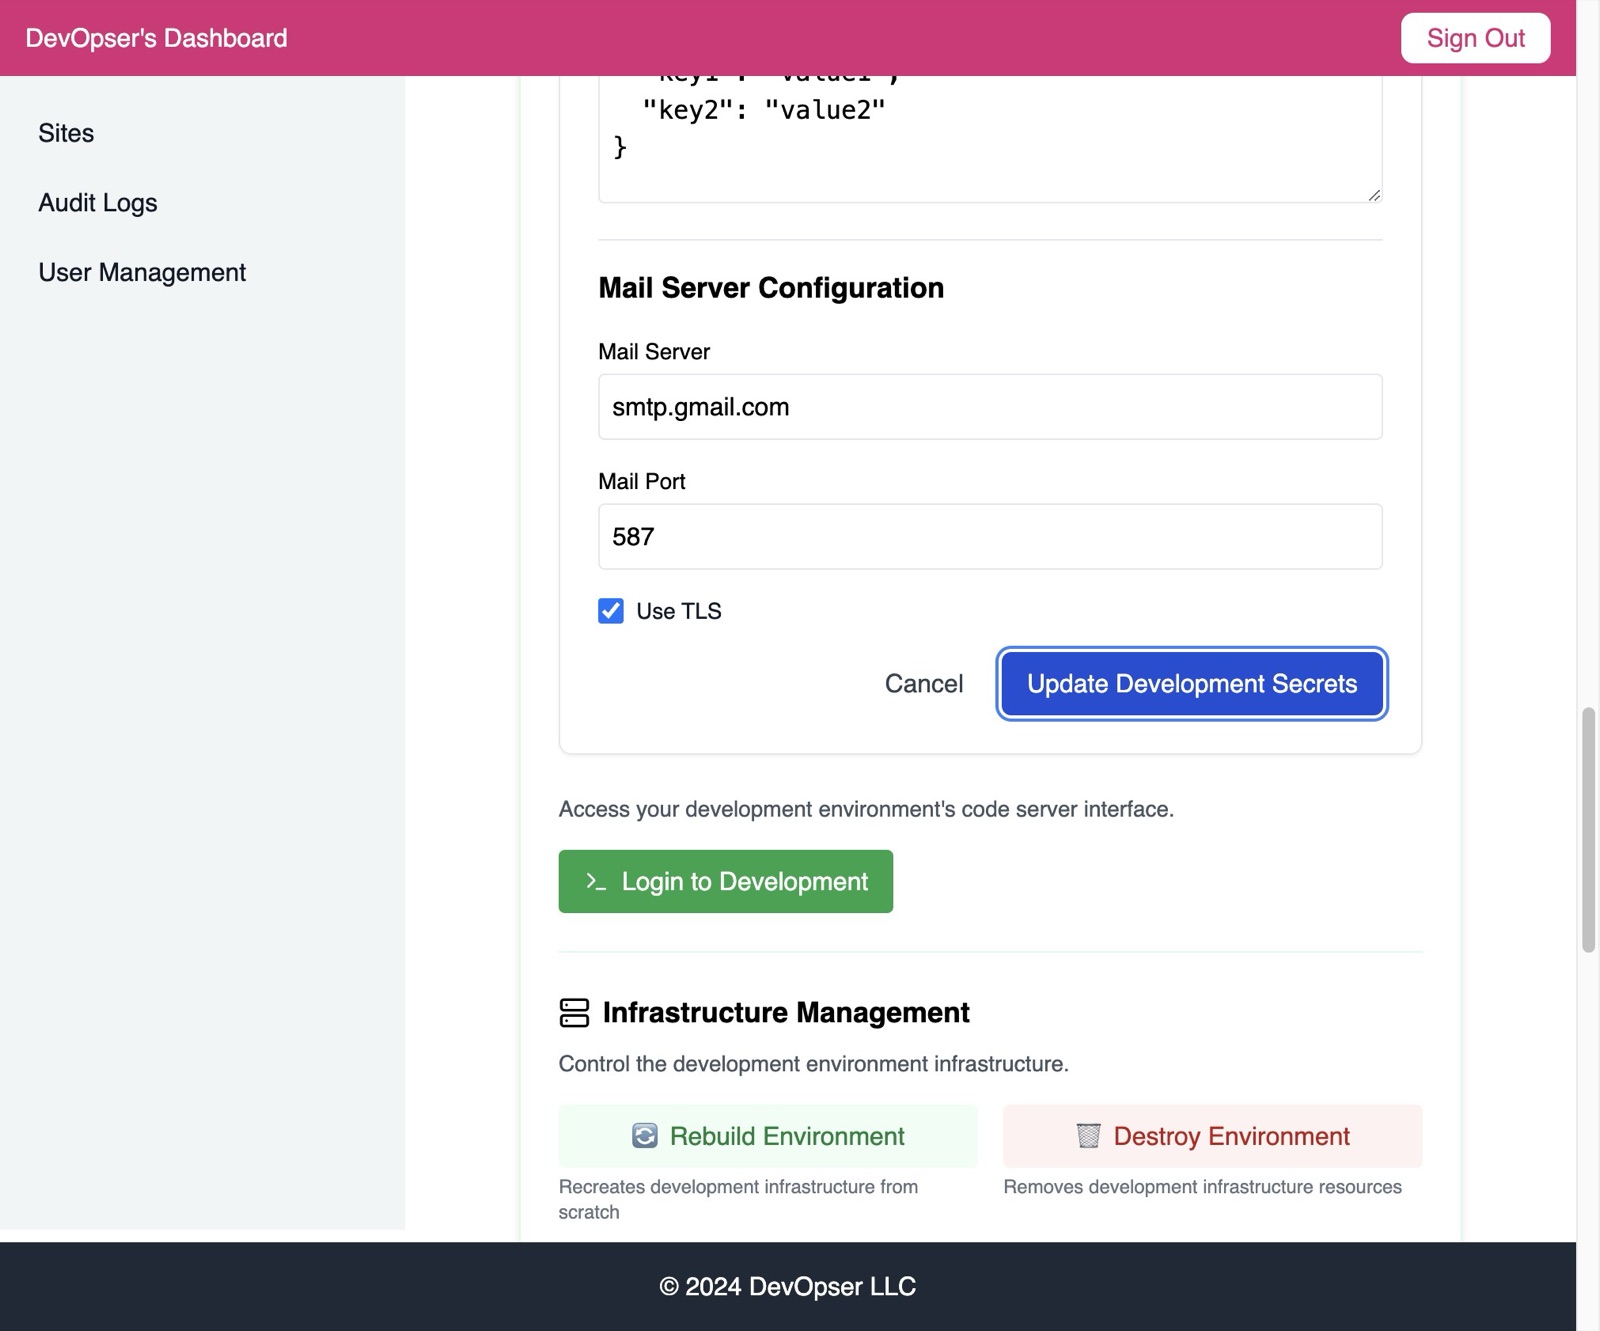
Click “Update Development Secrets”
-
10
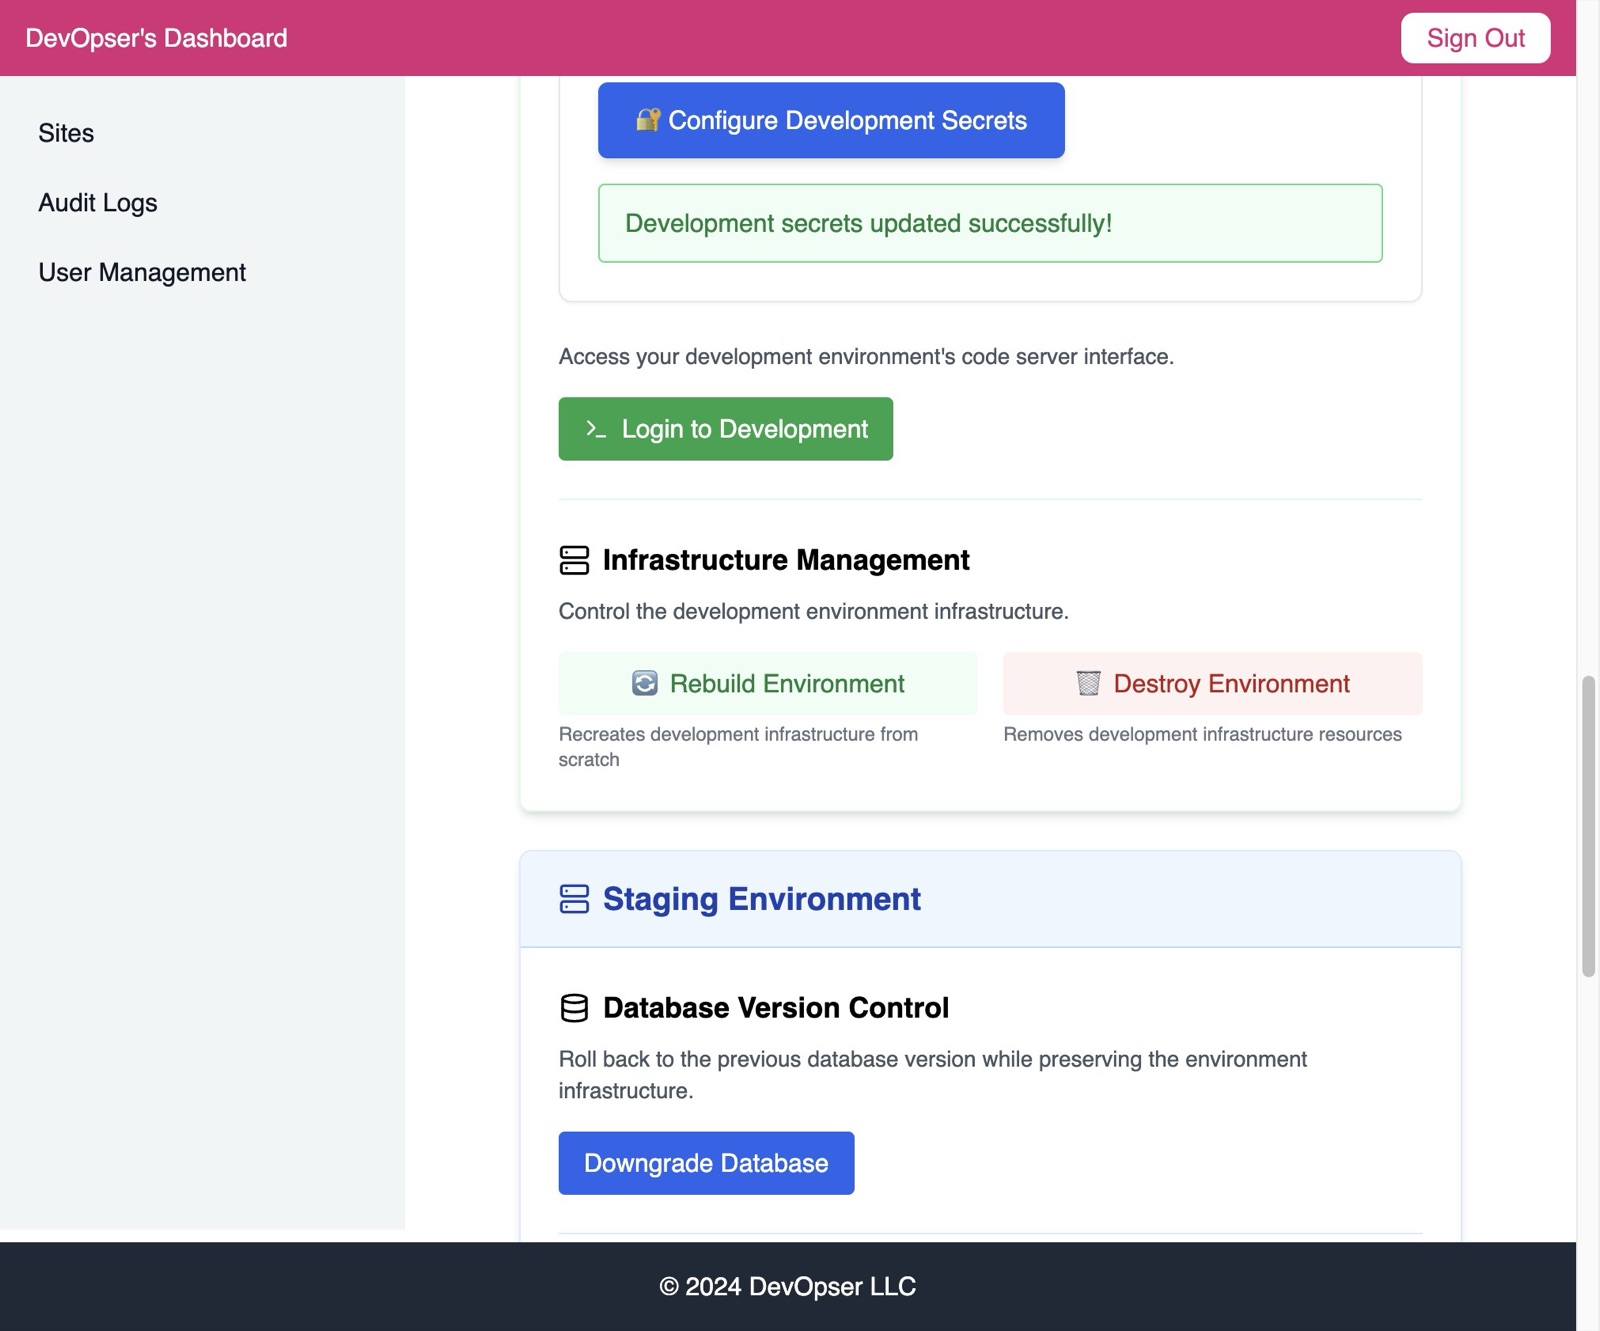
Please notice the “Development secrets updated successfully!” notification - if this fails, please raise a ticket to slack.
-
11
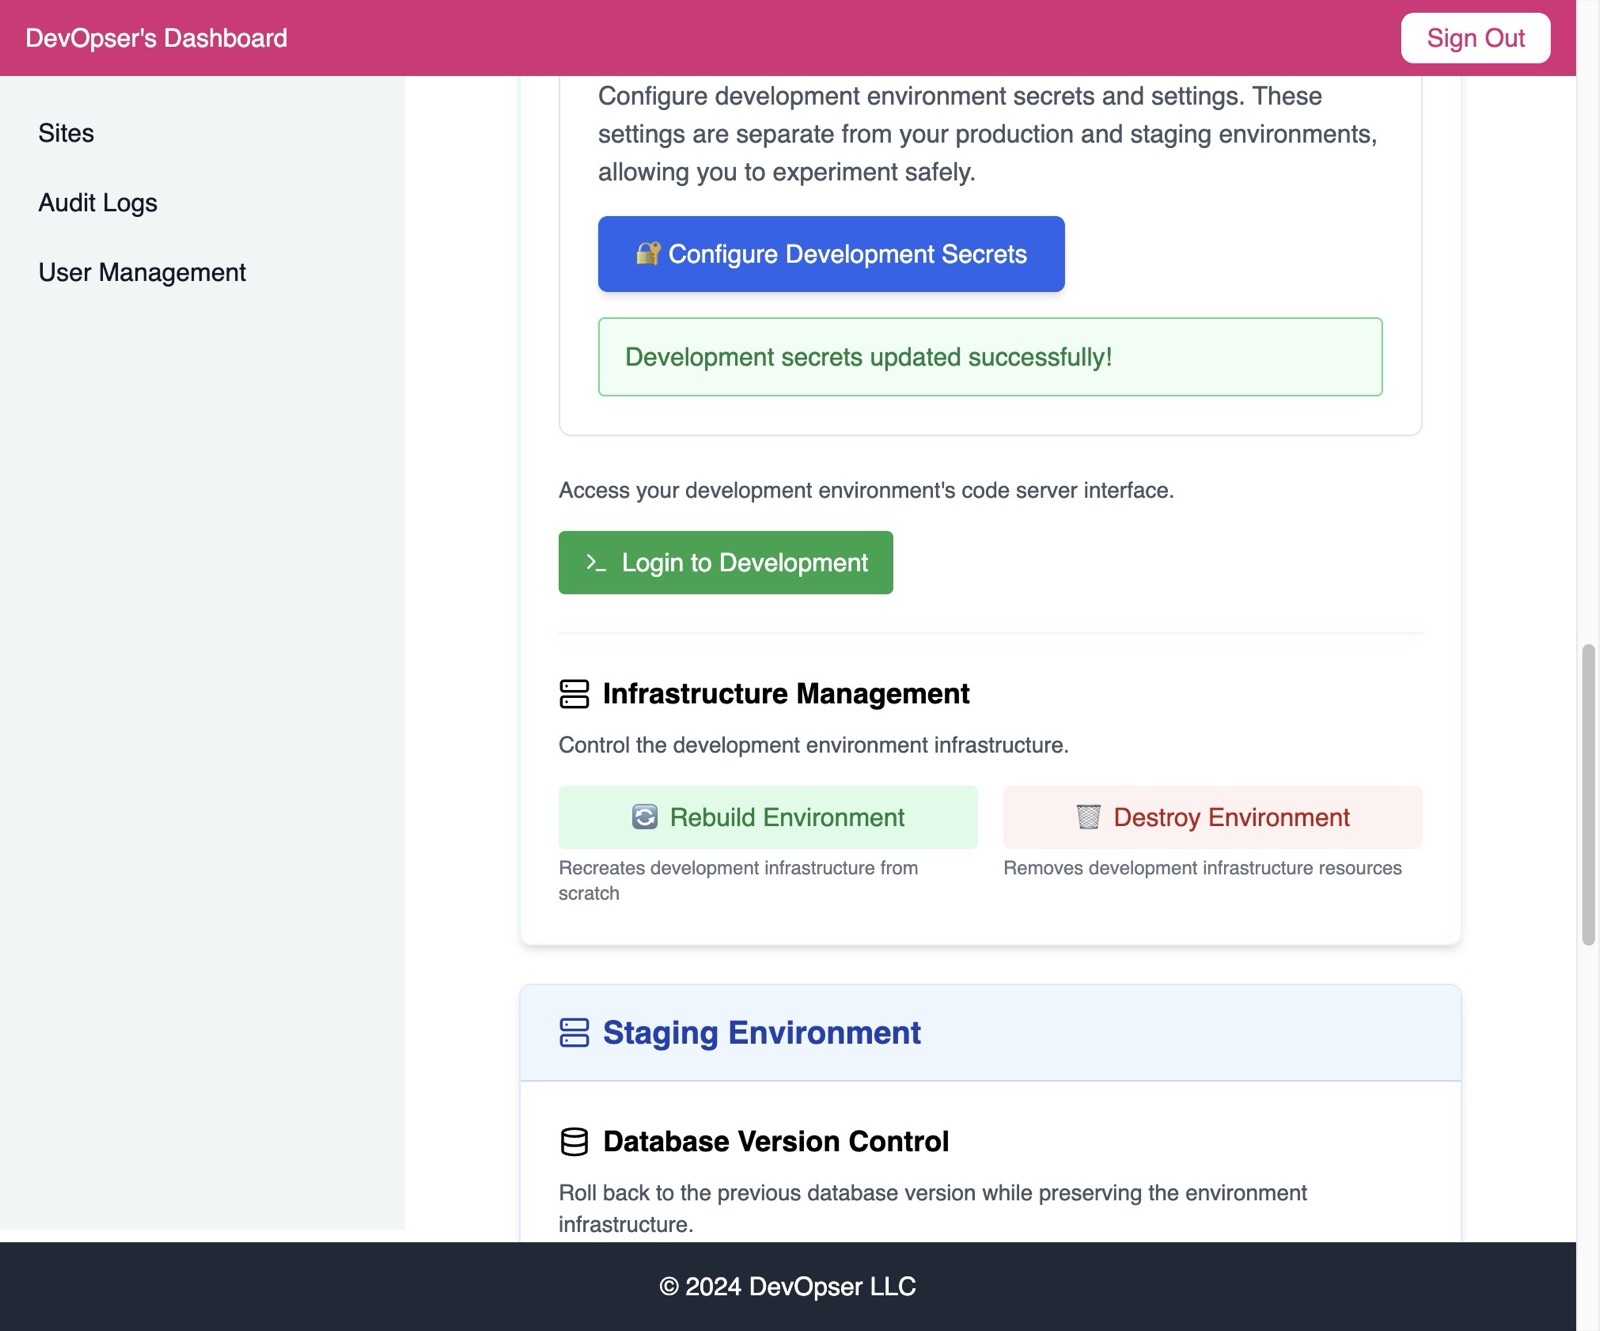
Click “Rebuild Environment” to launch the development environment.
-
12
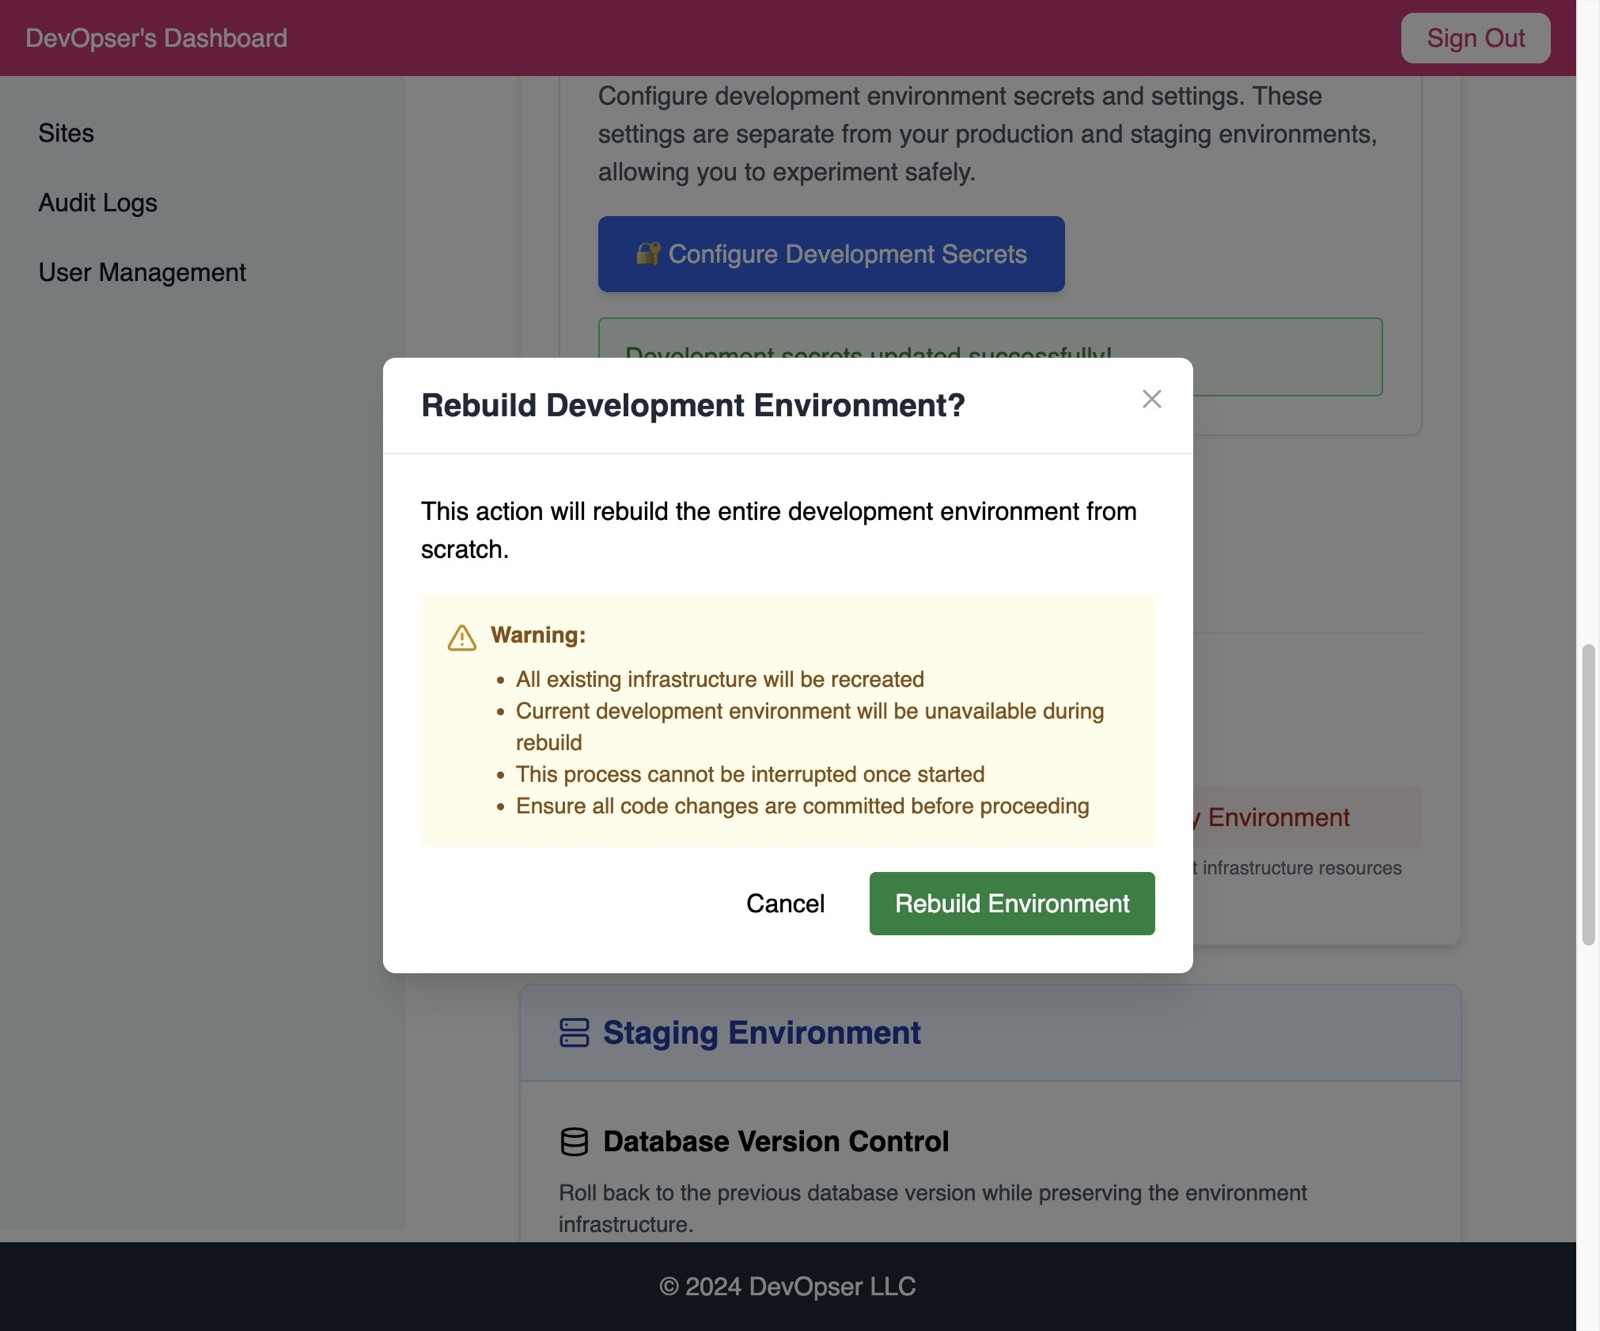
Click “Rebuild Environment” in the modal.
-
13
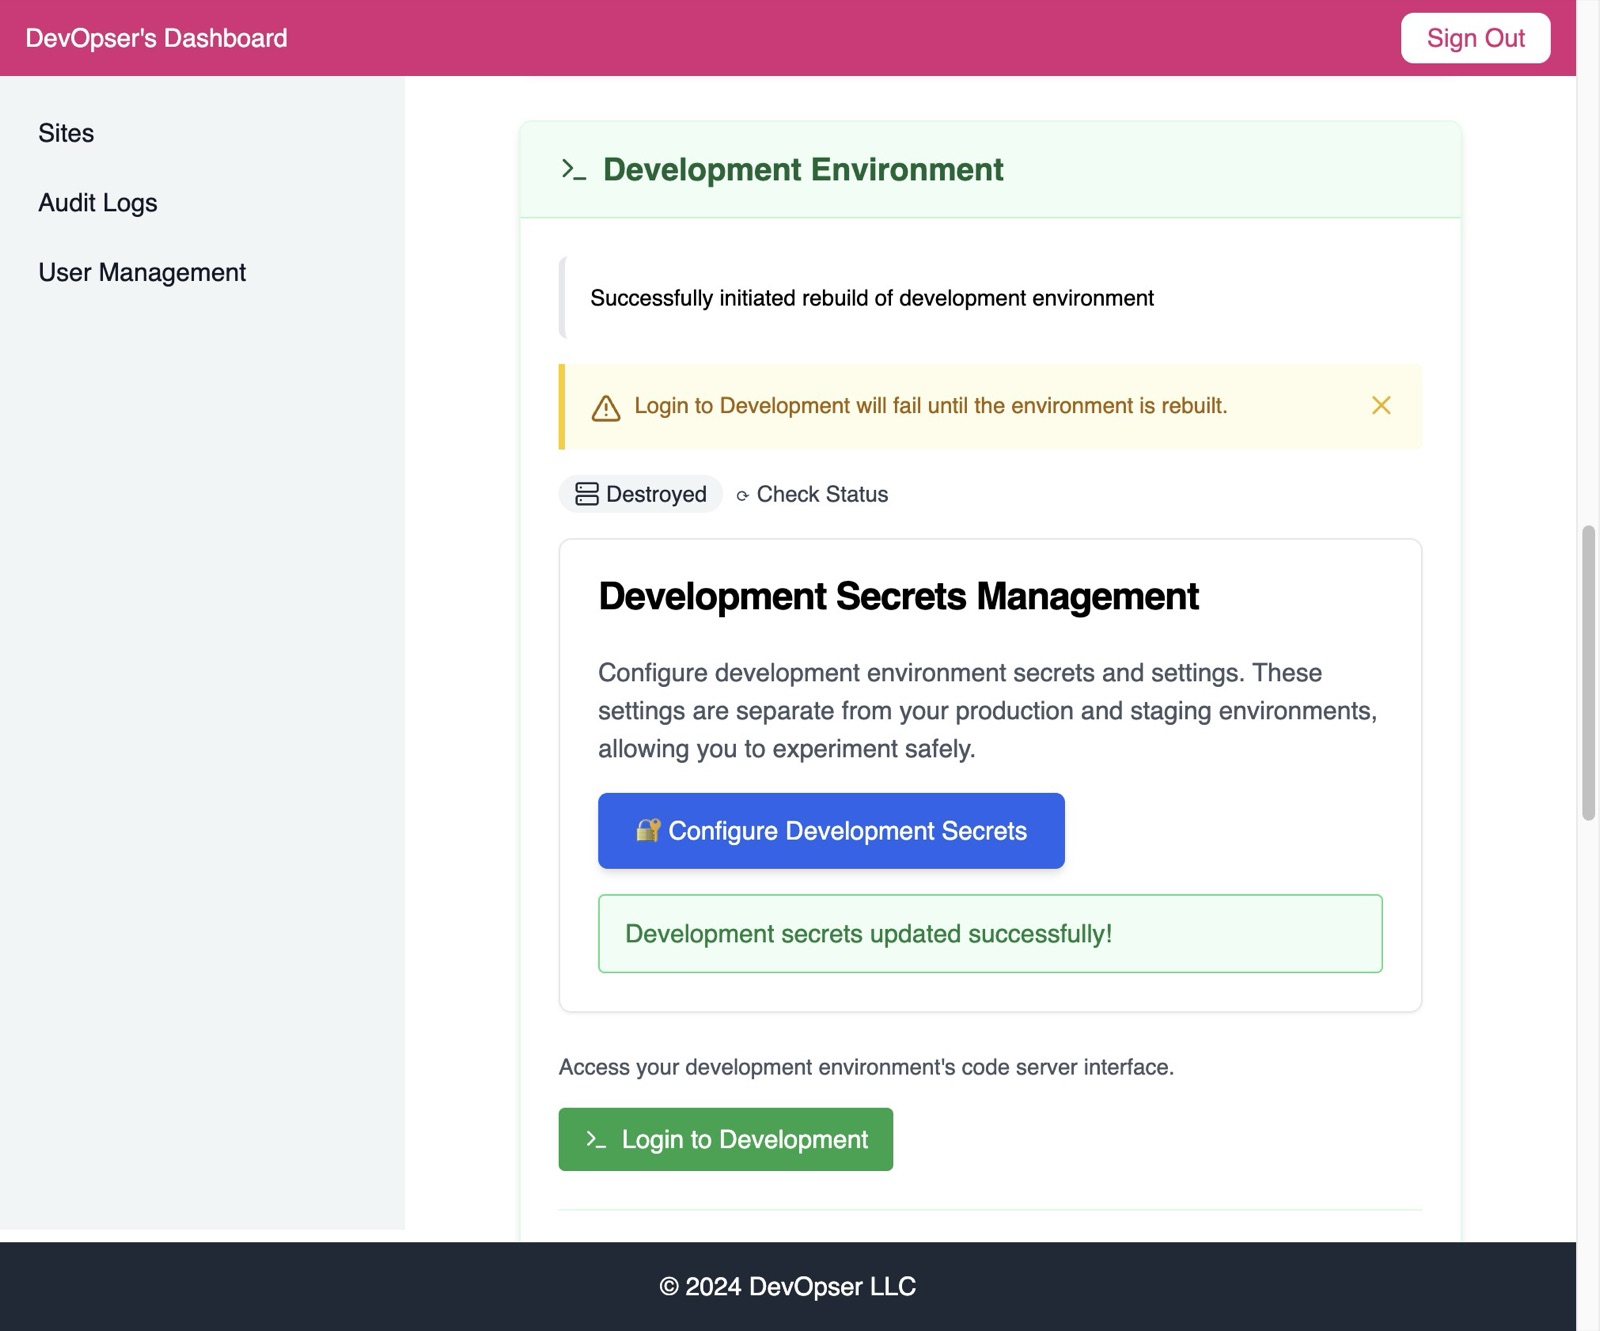
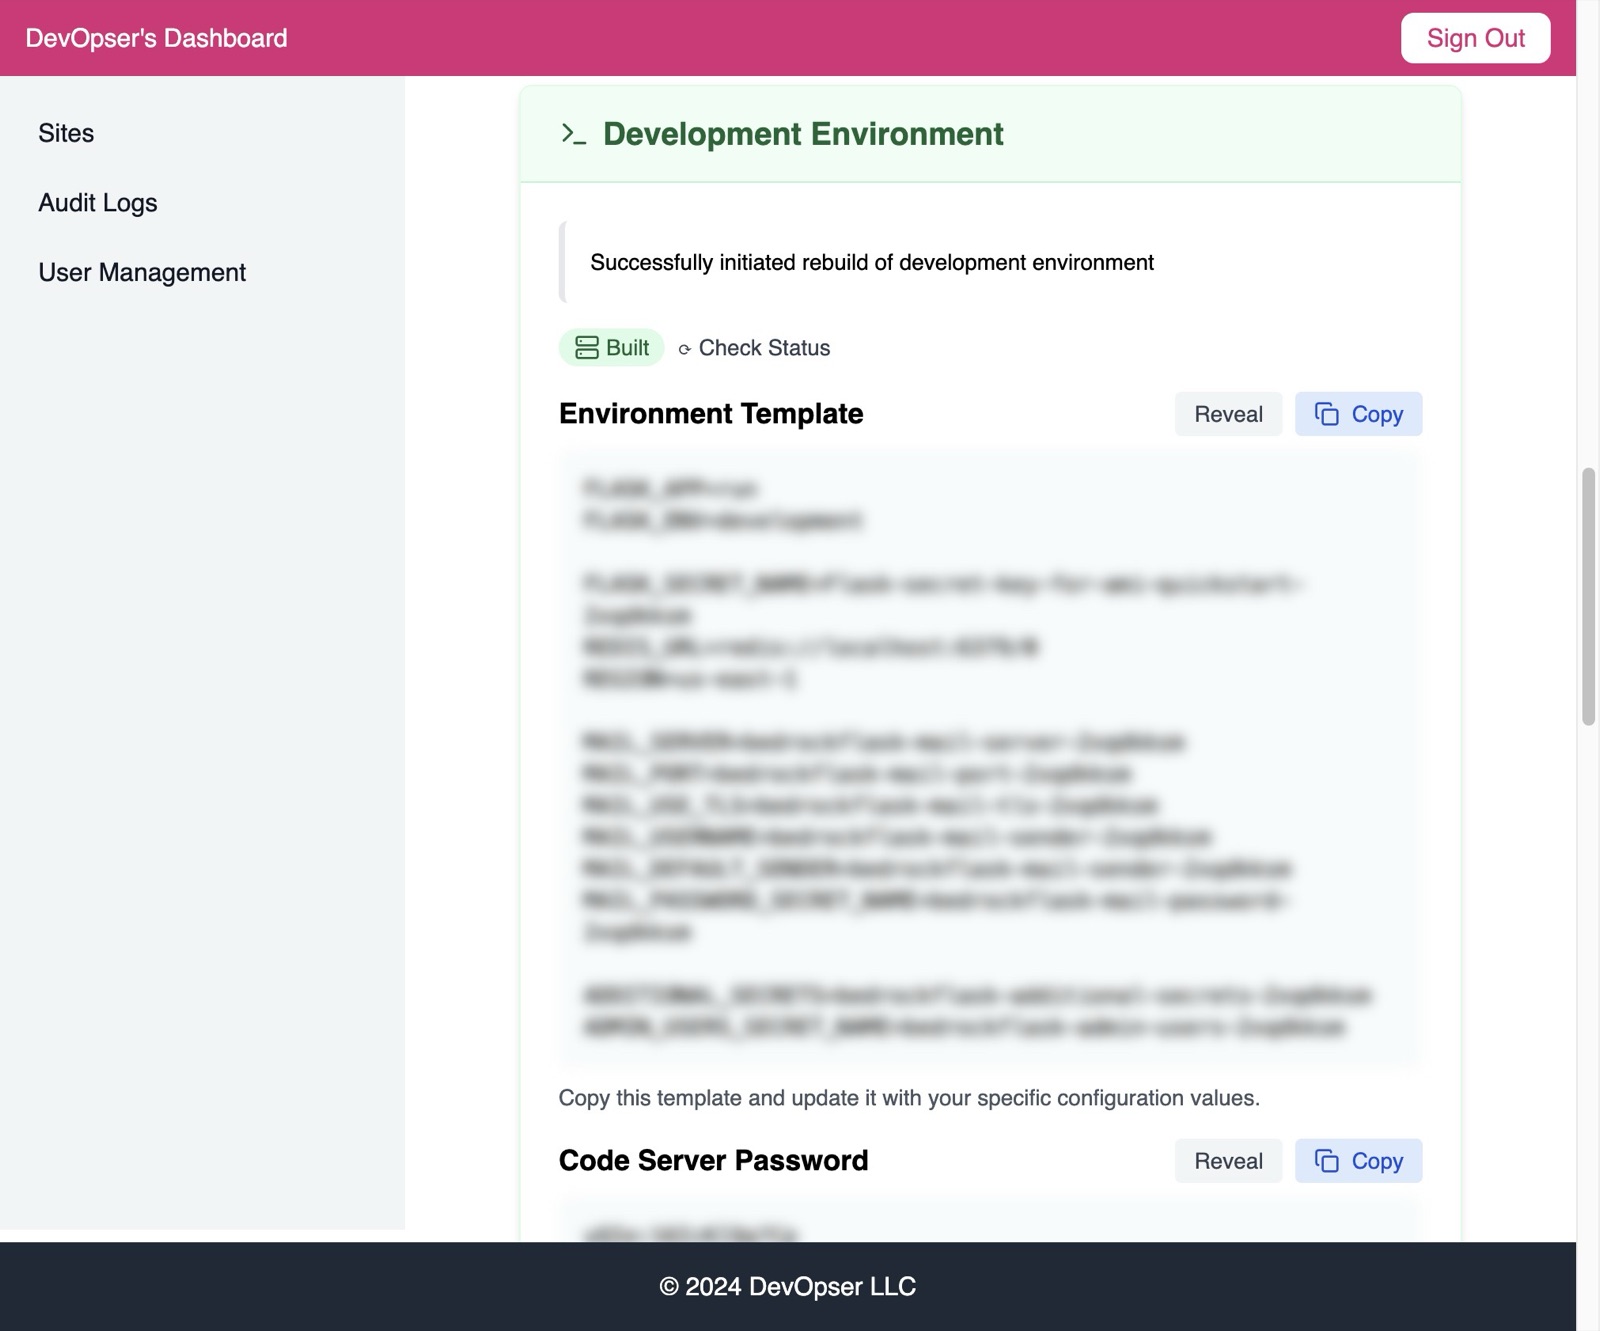
Click “⟳ Check Status” to understand if the dev environment is built or destroyed.
-
14
Once the environment has been built, you will see the Environment Template and the Code Server Password information become available in the console.
-
15
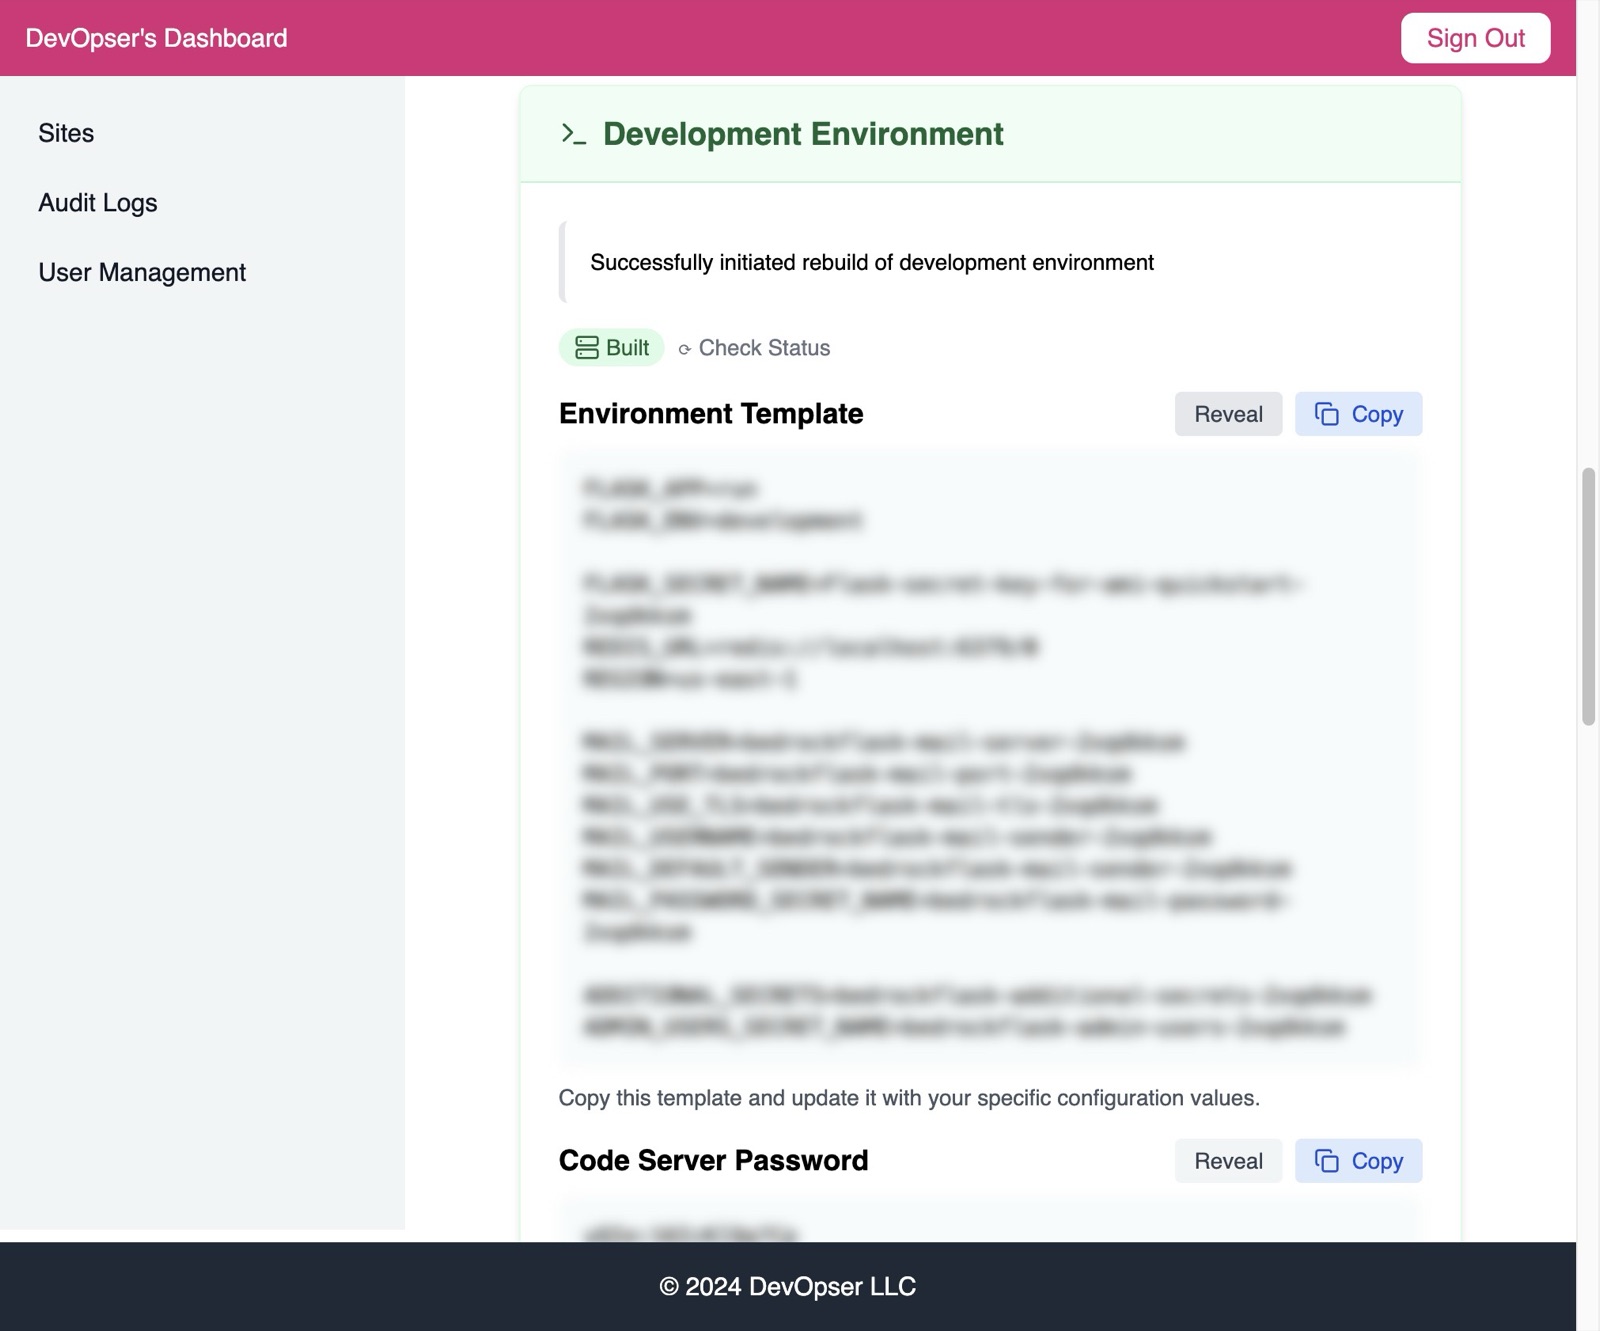
If you want to see the contents, click “Reveal”. This is your .env file contents so you can just copy and paste into your repo.
-
16
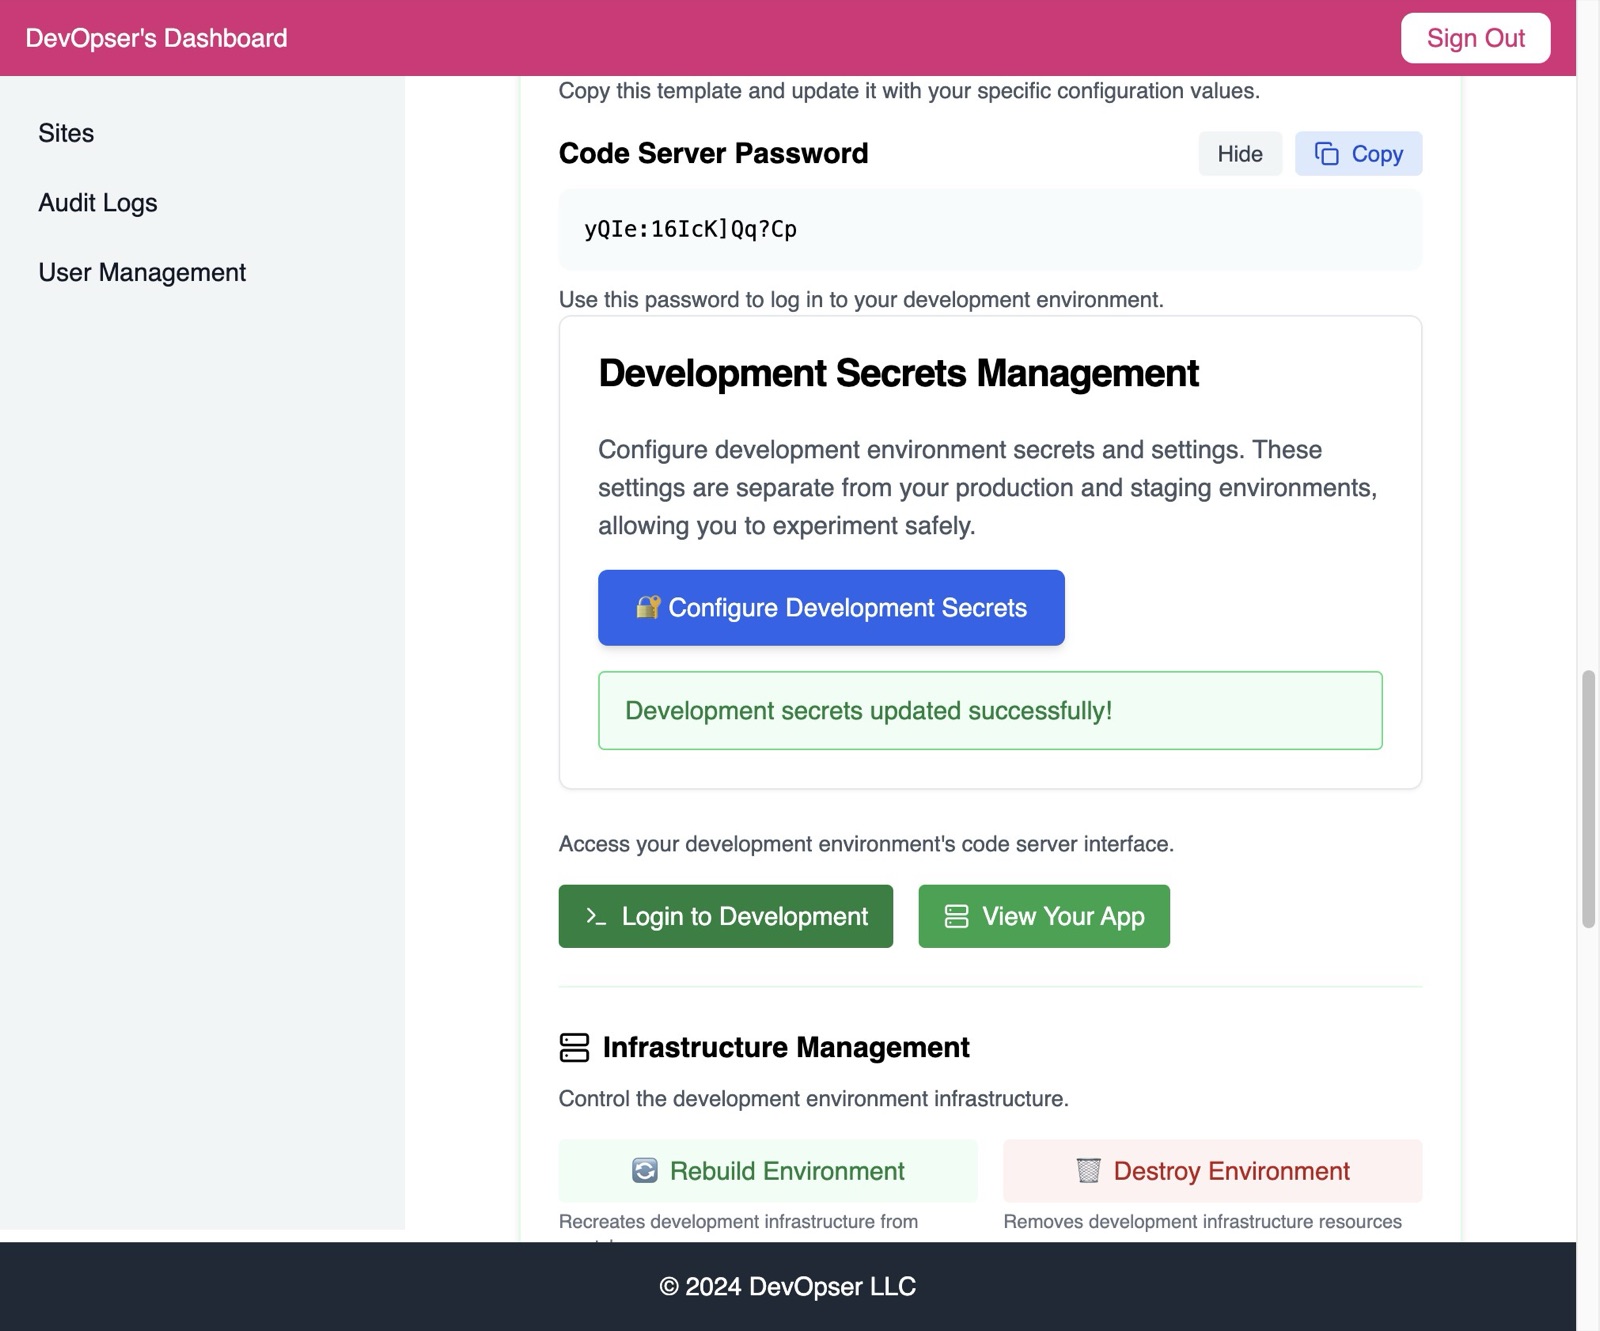
Click “Login to Development” to get to the correct URL for your browser-based access to the development environment.
-
17
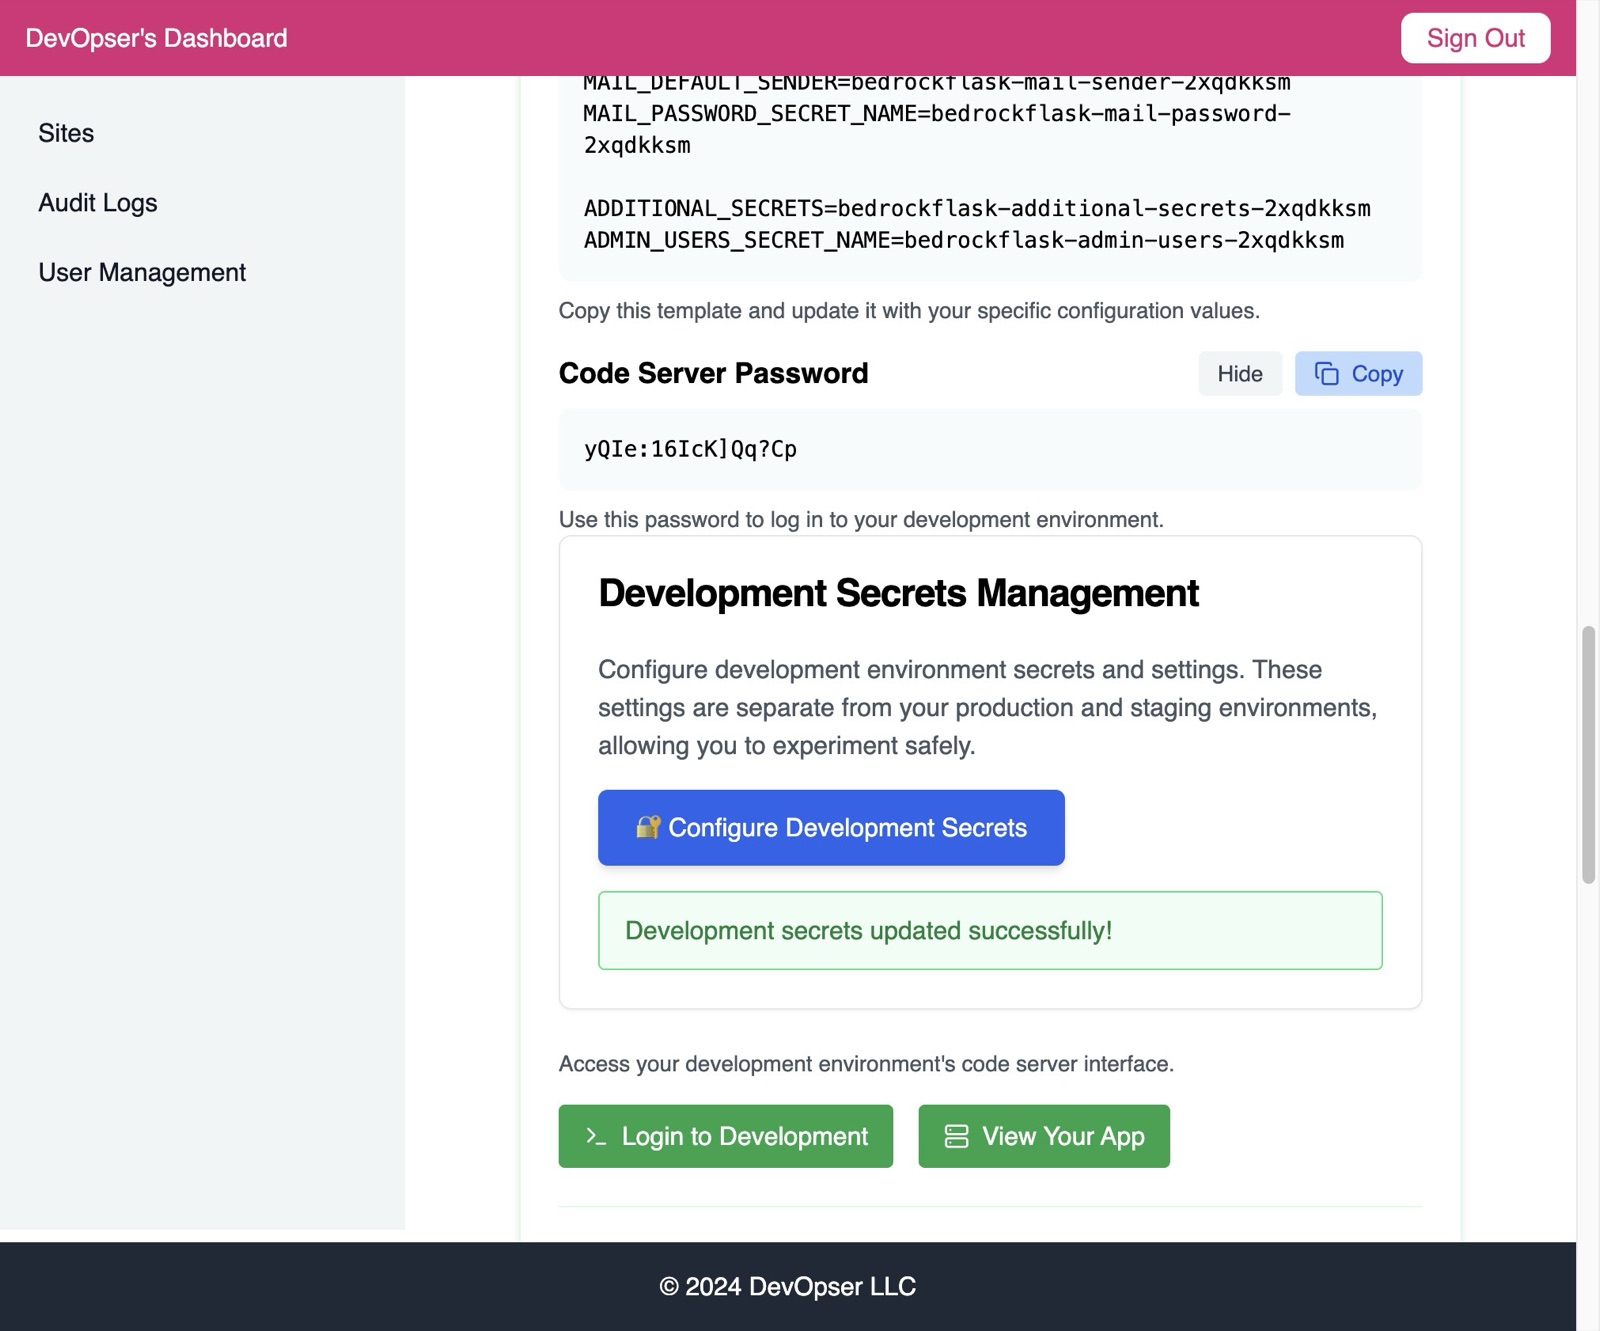
Copy your Code Server password.
-
18
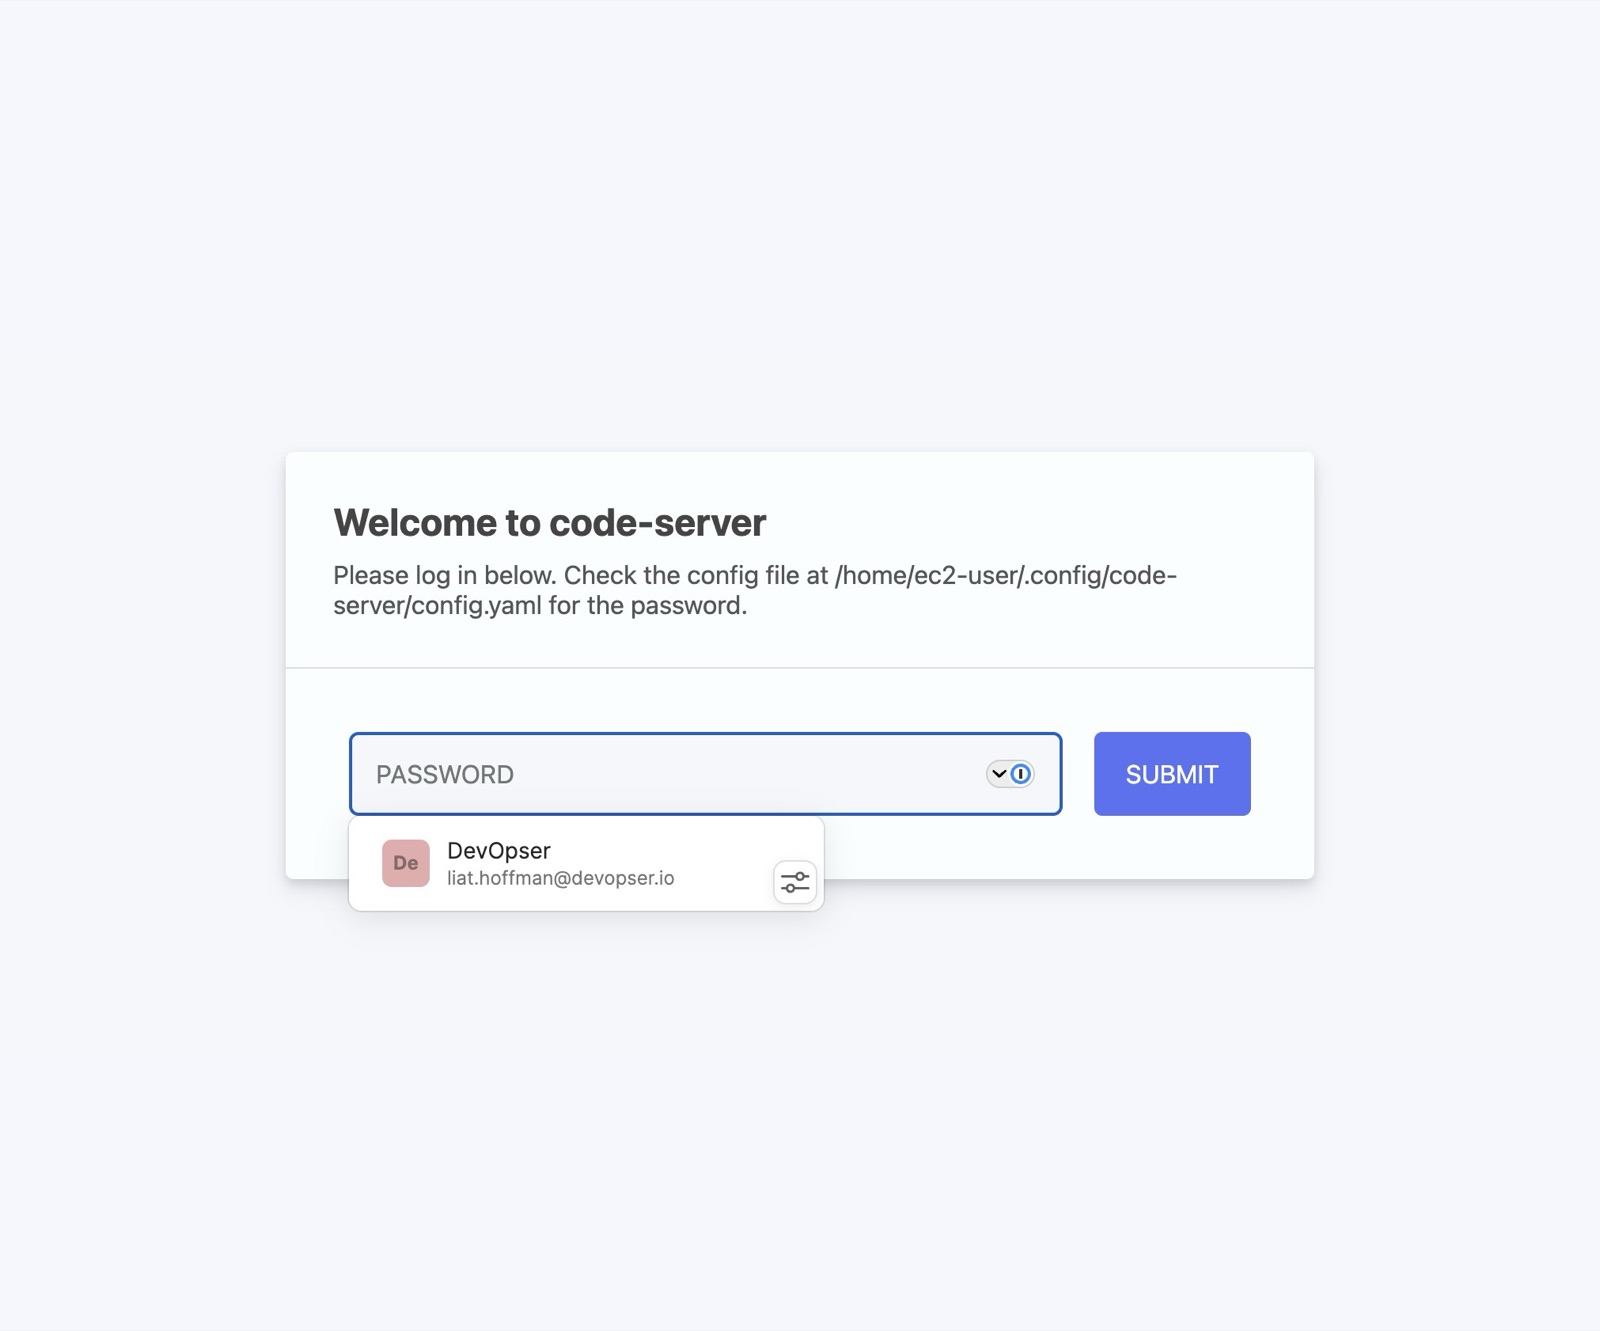
Navigate to the browser tab with the development environment code-server and paste your code-server password into the field.
-
19
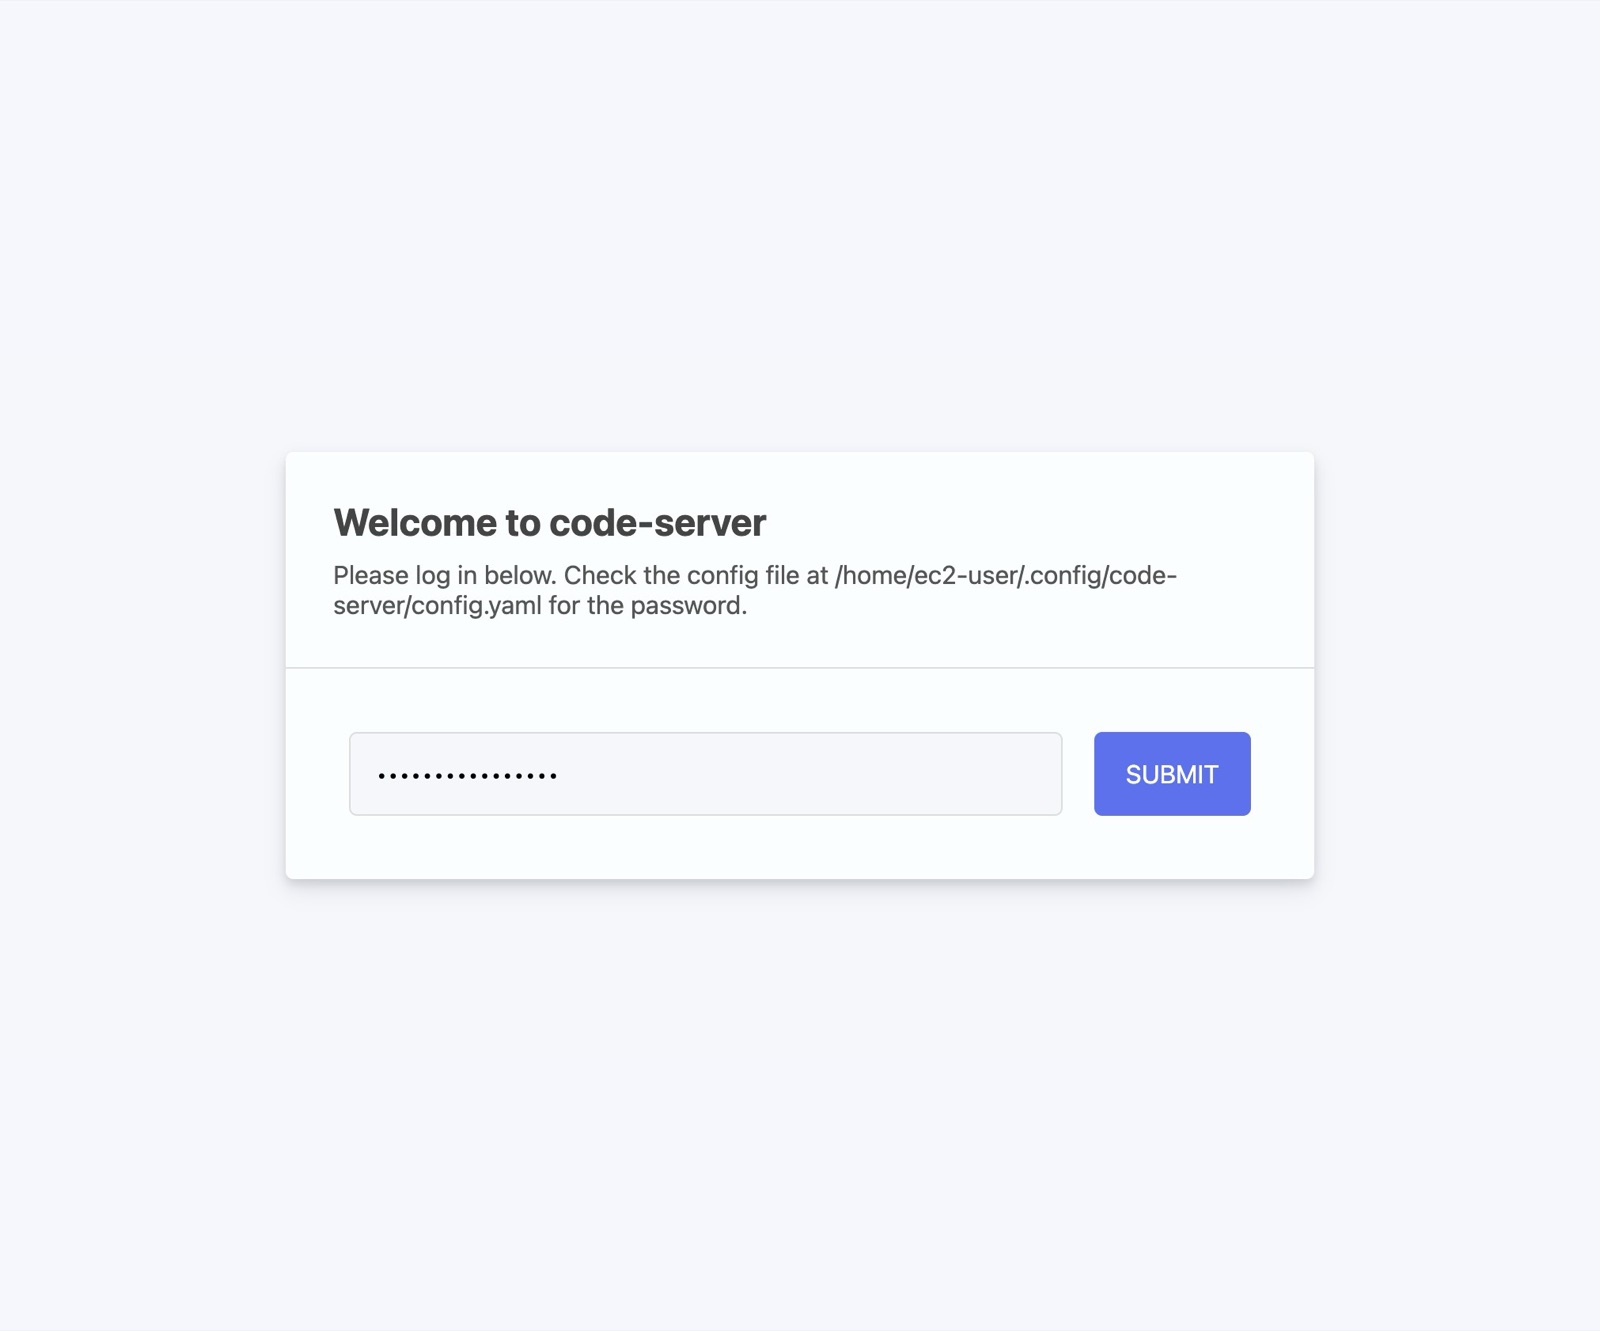
Click Submit.
-
20
You are now in your code-server - VSCode terminal on your development environment via the browser - congrats!