Flask Bedrock Template Walkthrough
A tour of the Flask Bedrock template your DevOpser app is built on.
-
1
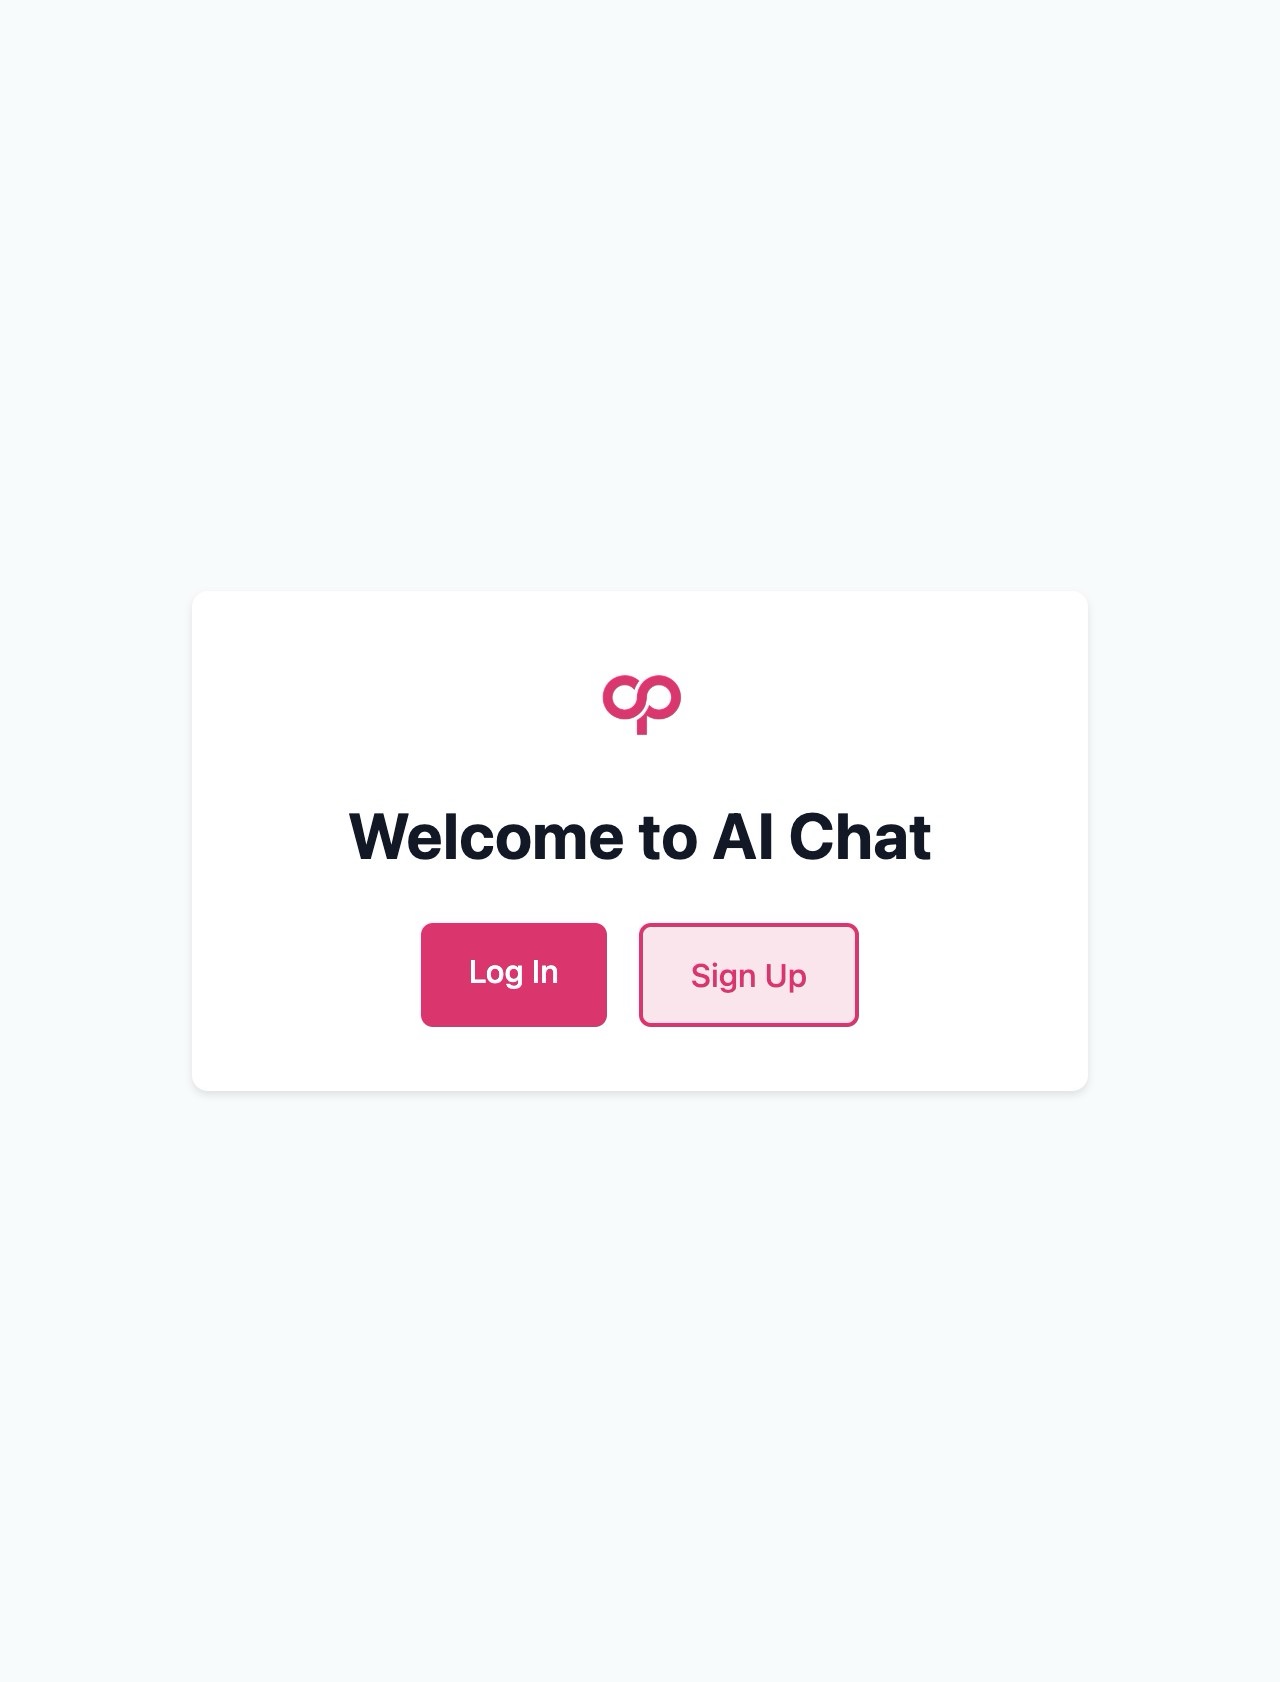
Navigate to your dev, staging or production application URL.
-
2
Click “Sign Up”
-
3
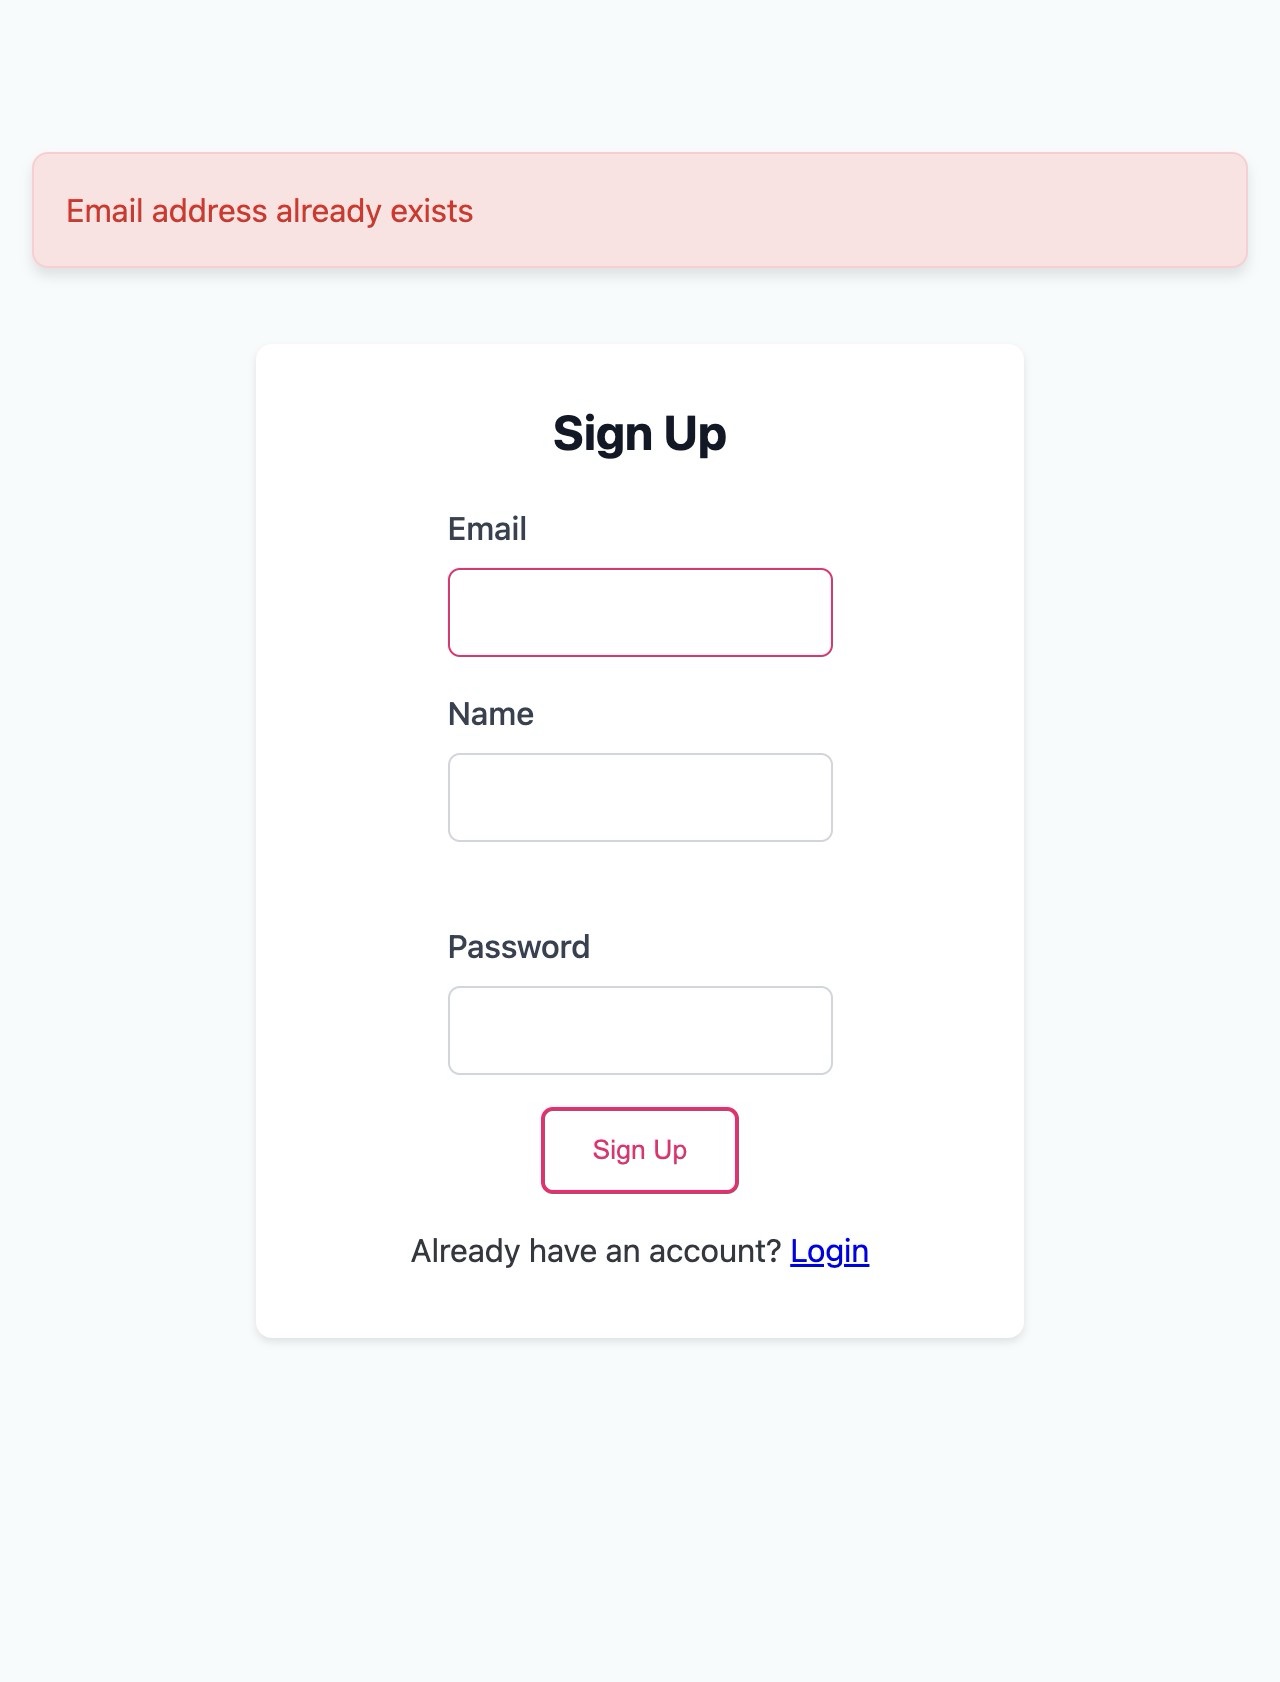
Input your email, name and a secure password.
-
4
If your email is already added an an admin user, you will see the email already exists in the database. Otherwise you will be sent a verification email - click the link to proceed with MFA setup.
-
5
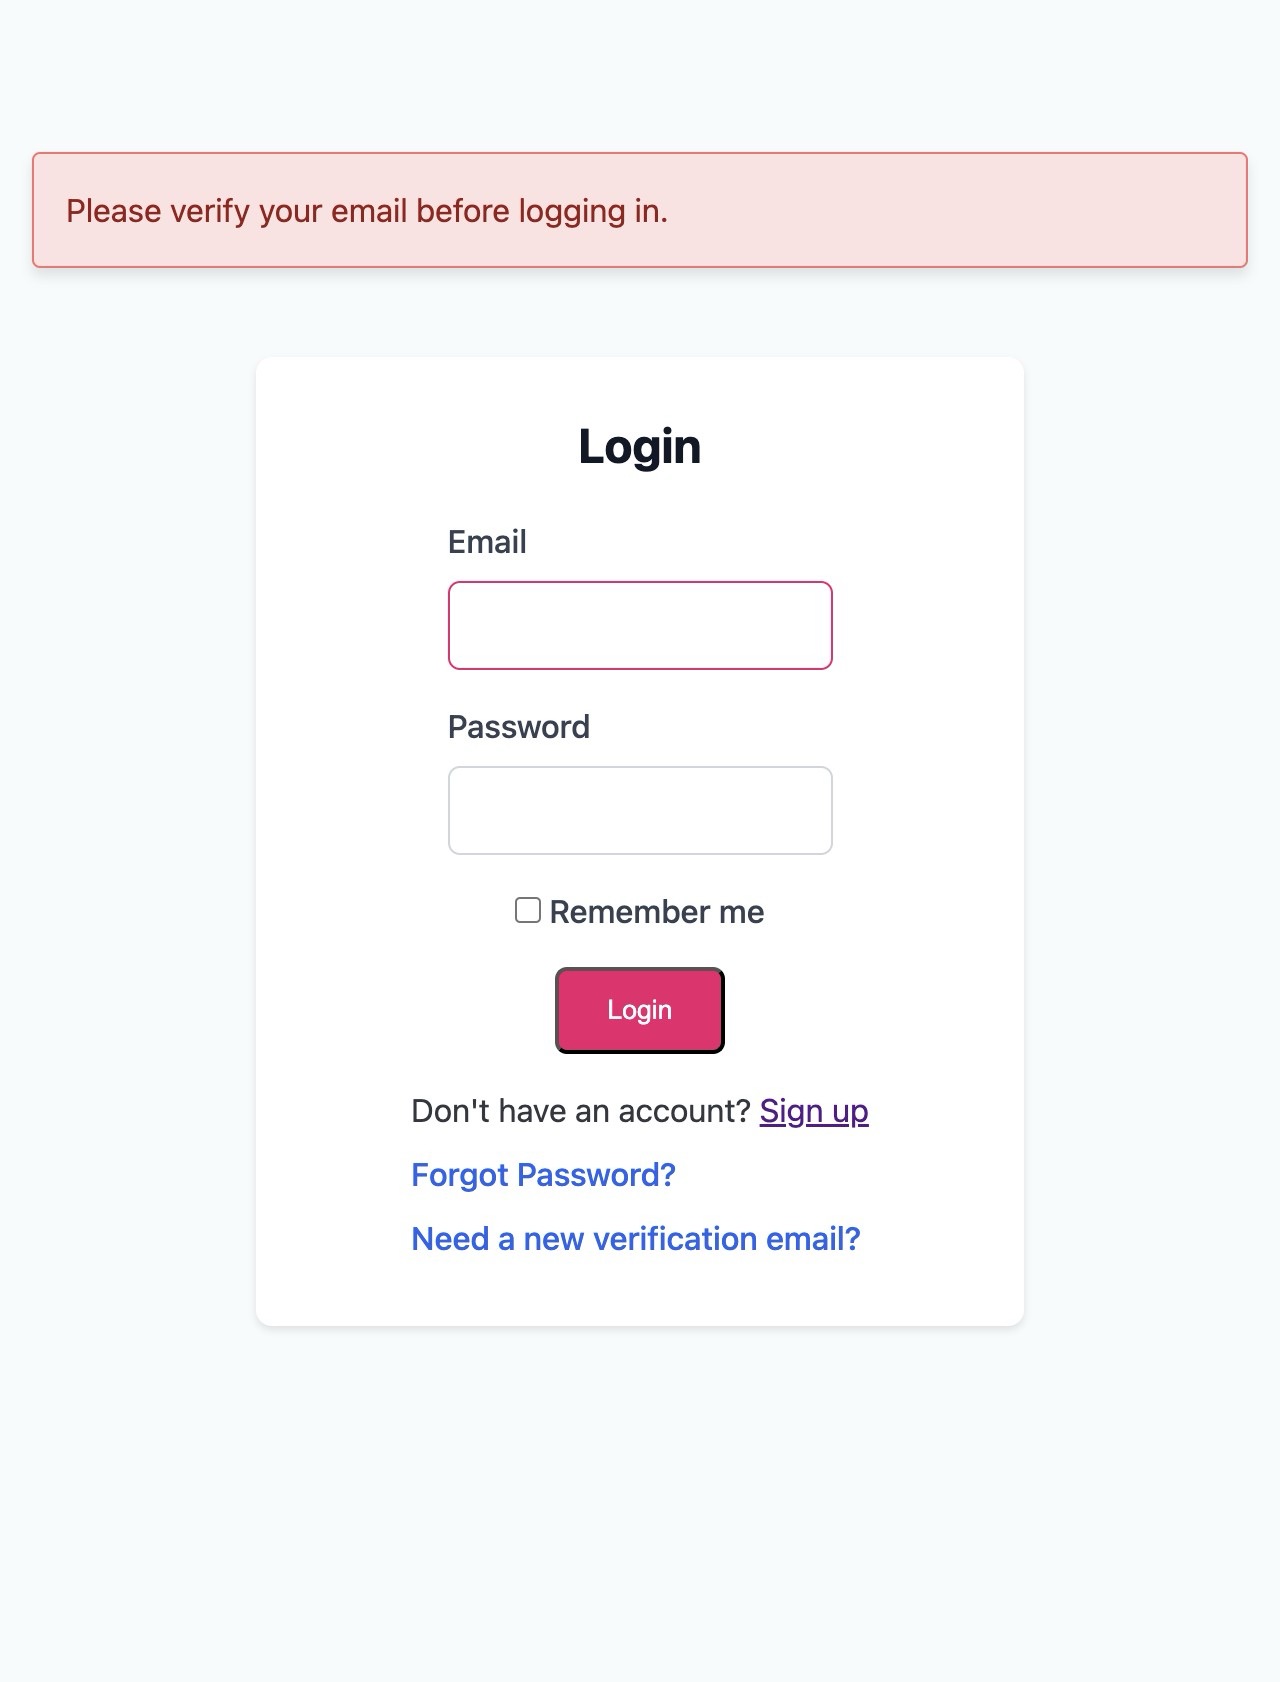
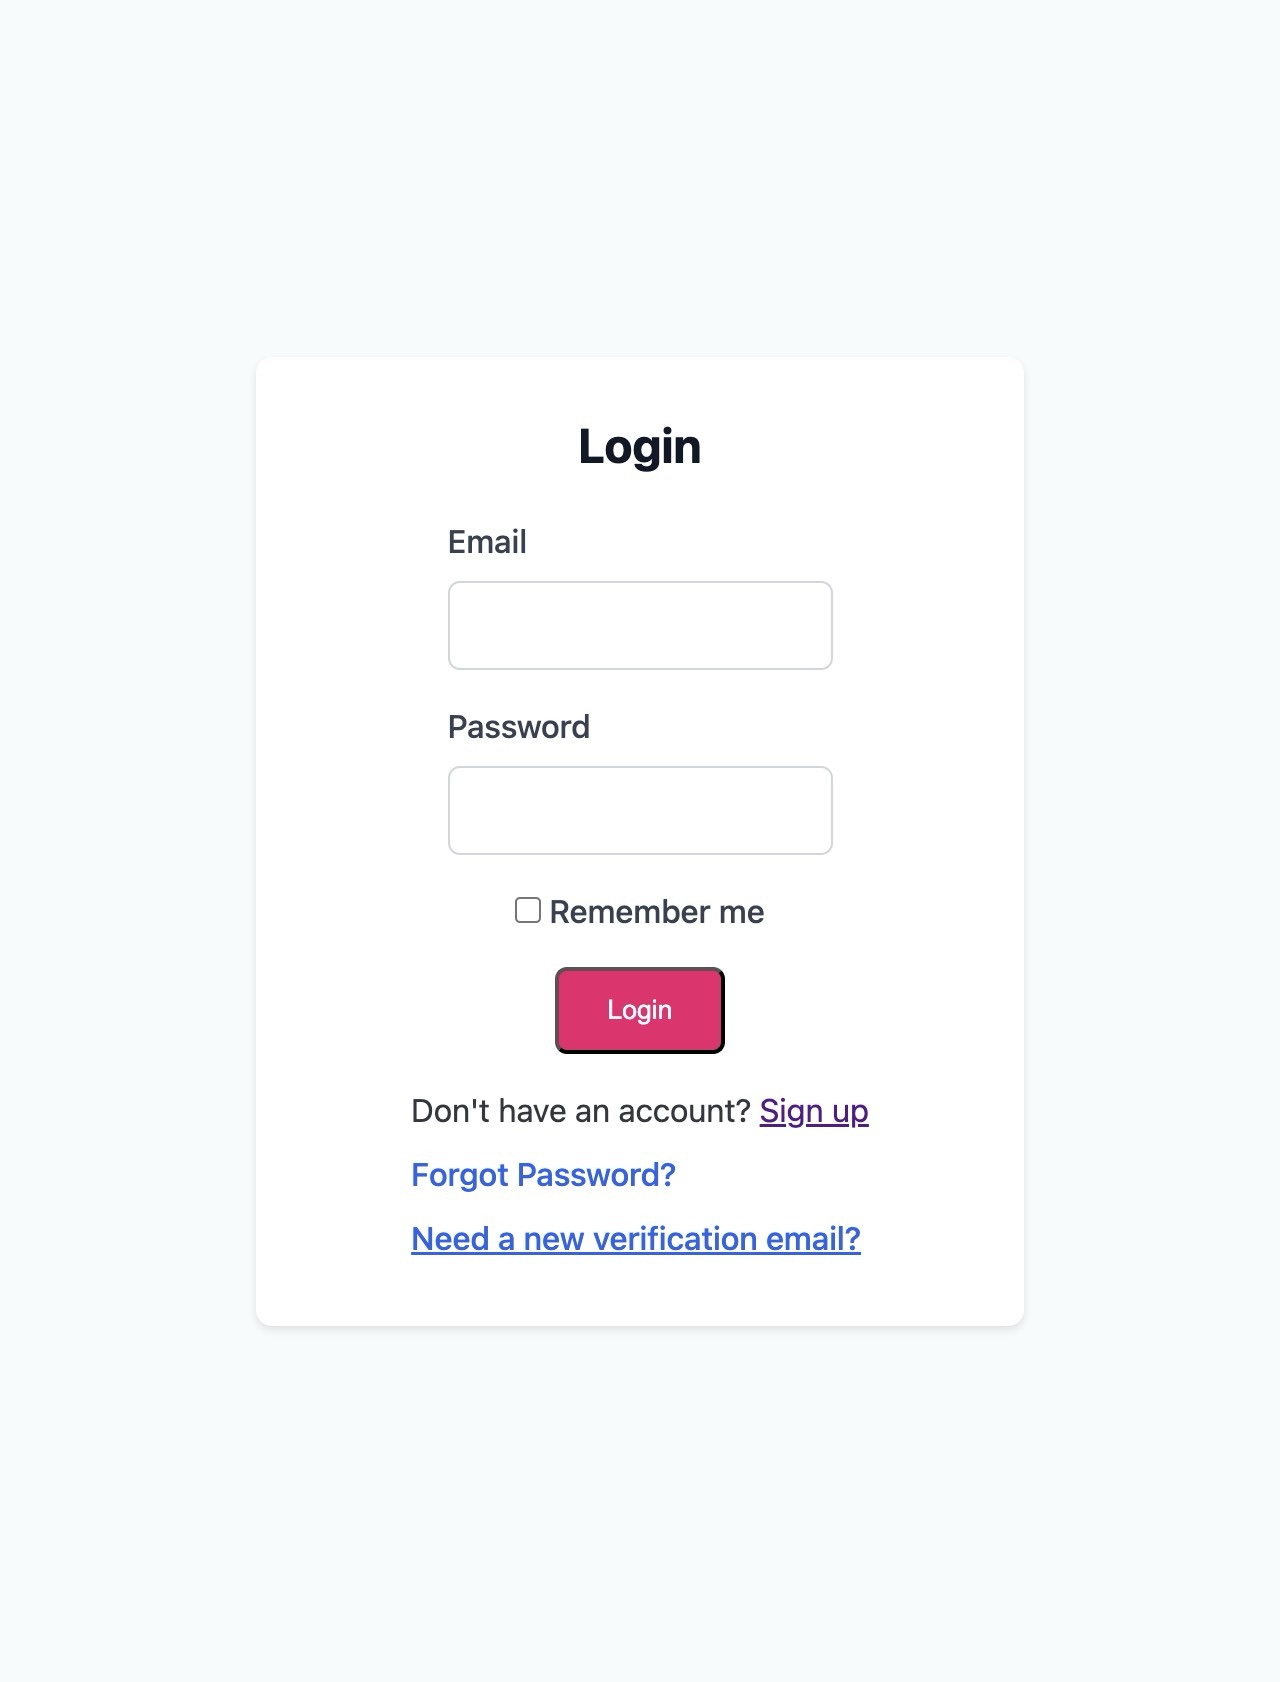
If you try to log in with an unverified user (including an admin user), you will be prompted to verify your email.
-
6
Click “Need a new verification email?” to trigger a new email.
-
7
Input your email address and click “Resend Verification Email”
-
8
After you have verified the email, you should be able to log in.
-
9
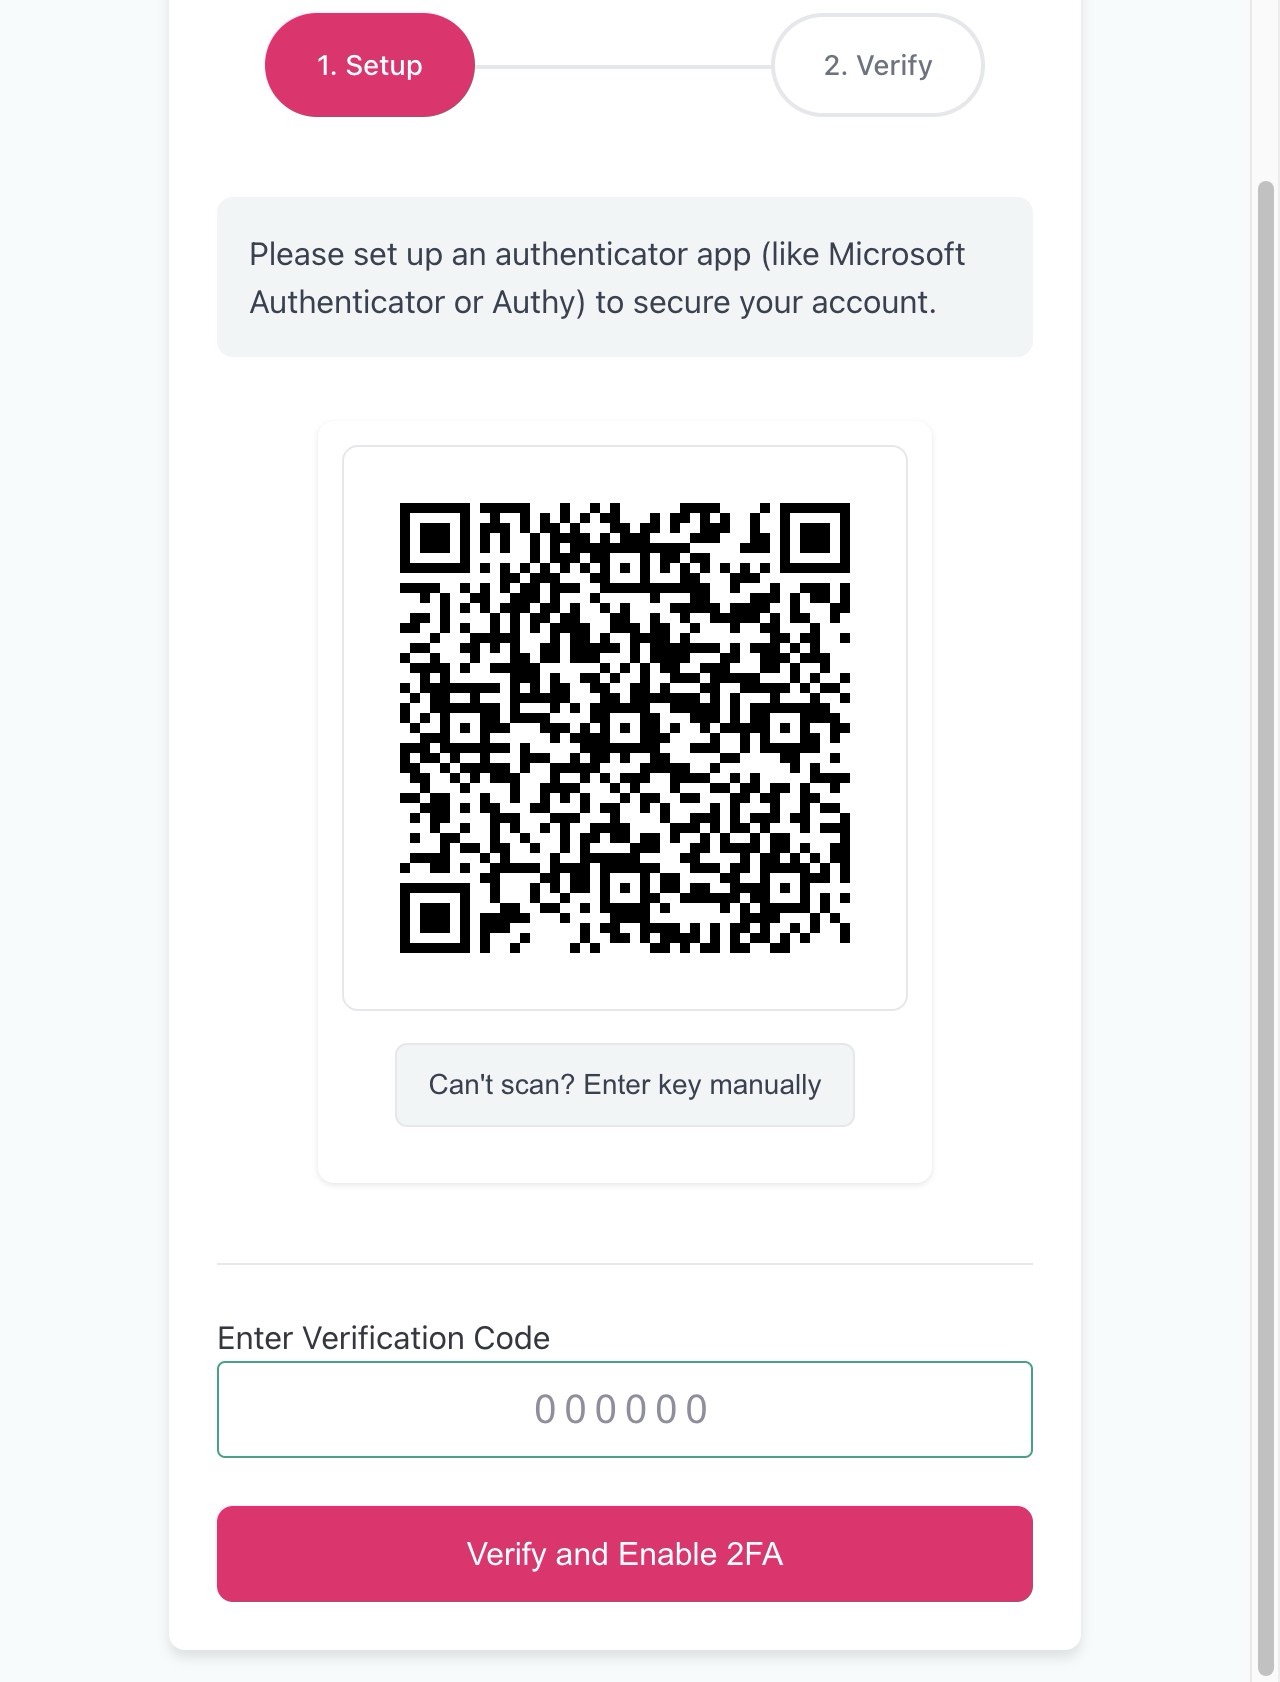
Set up MFA - I use Microsoft Authenticator but you can use any compatible authenticator application.
-
10
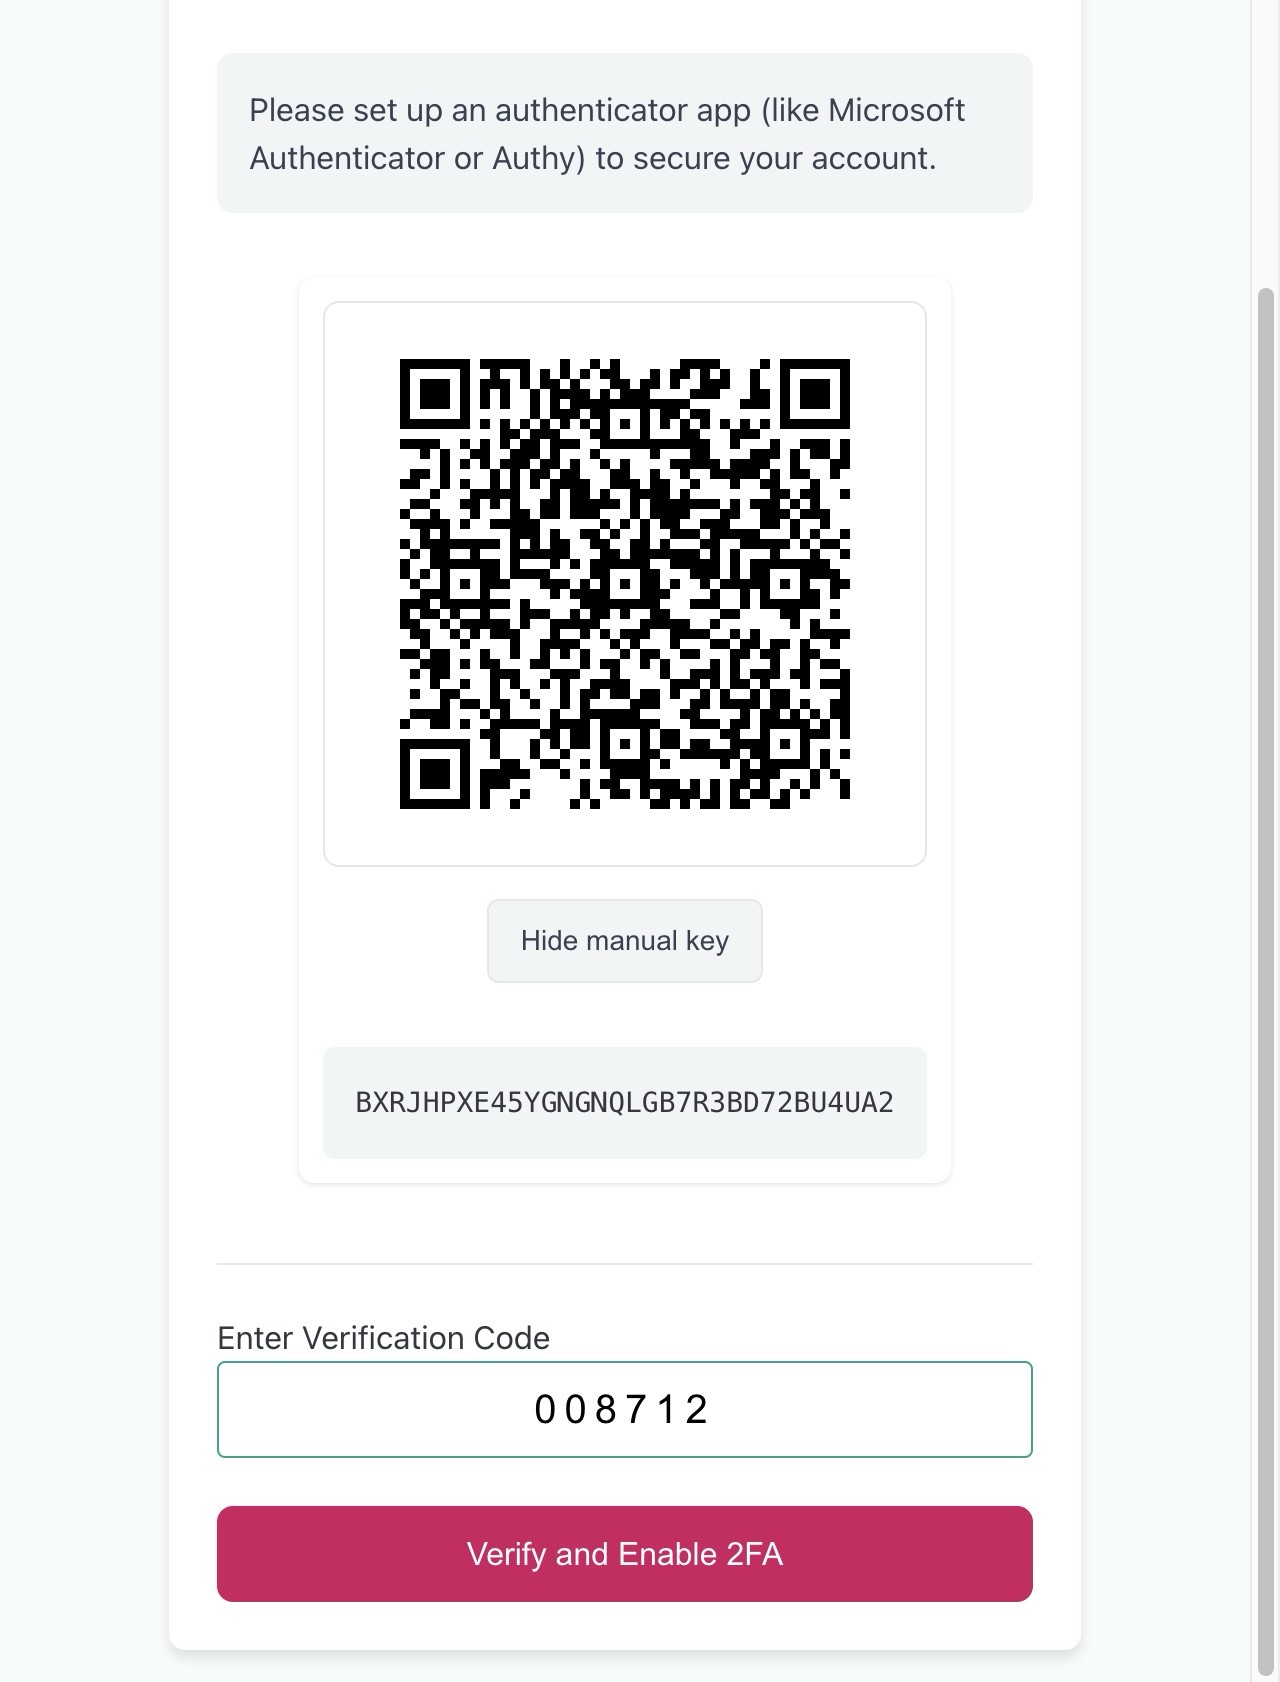
After you set up the authenticator and enter the code, click “Verify and Enable 2FA”
-
11
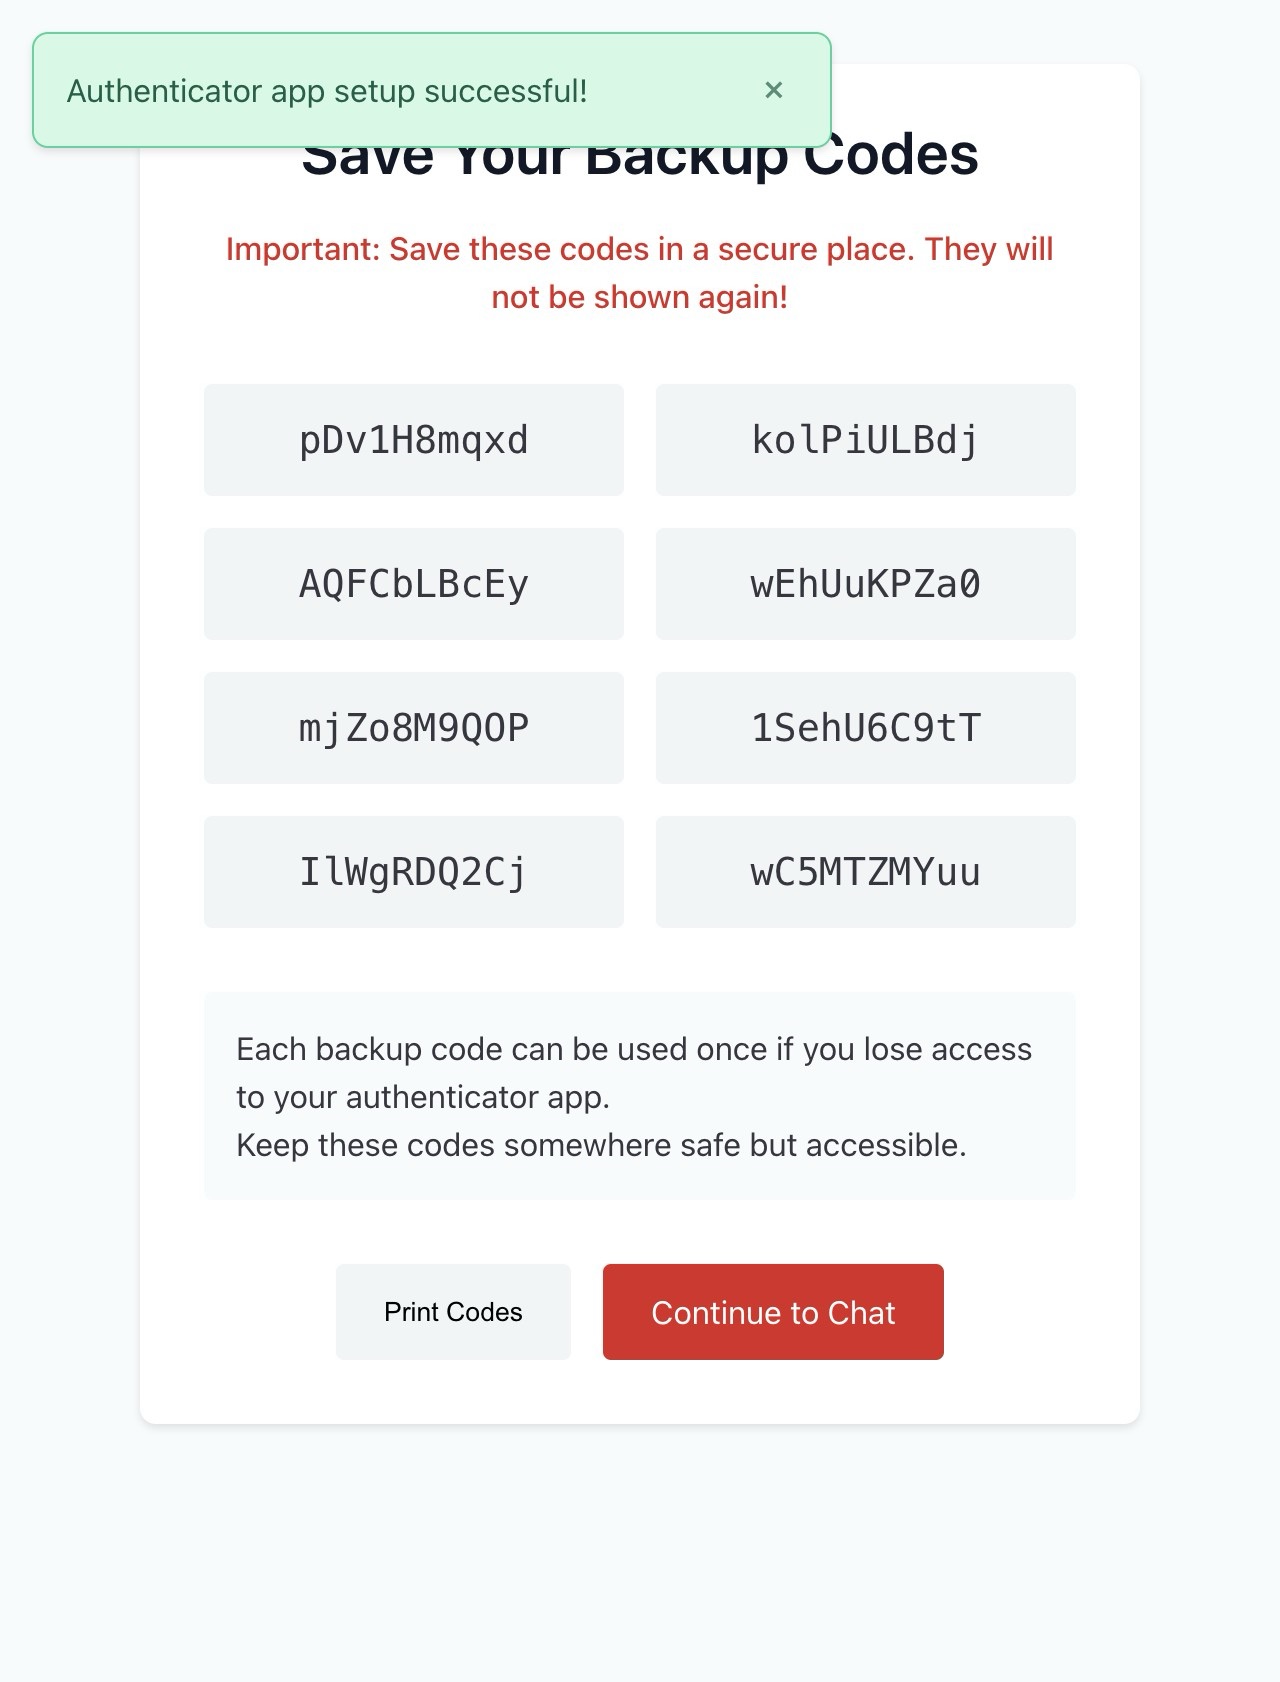
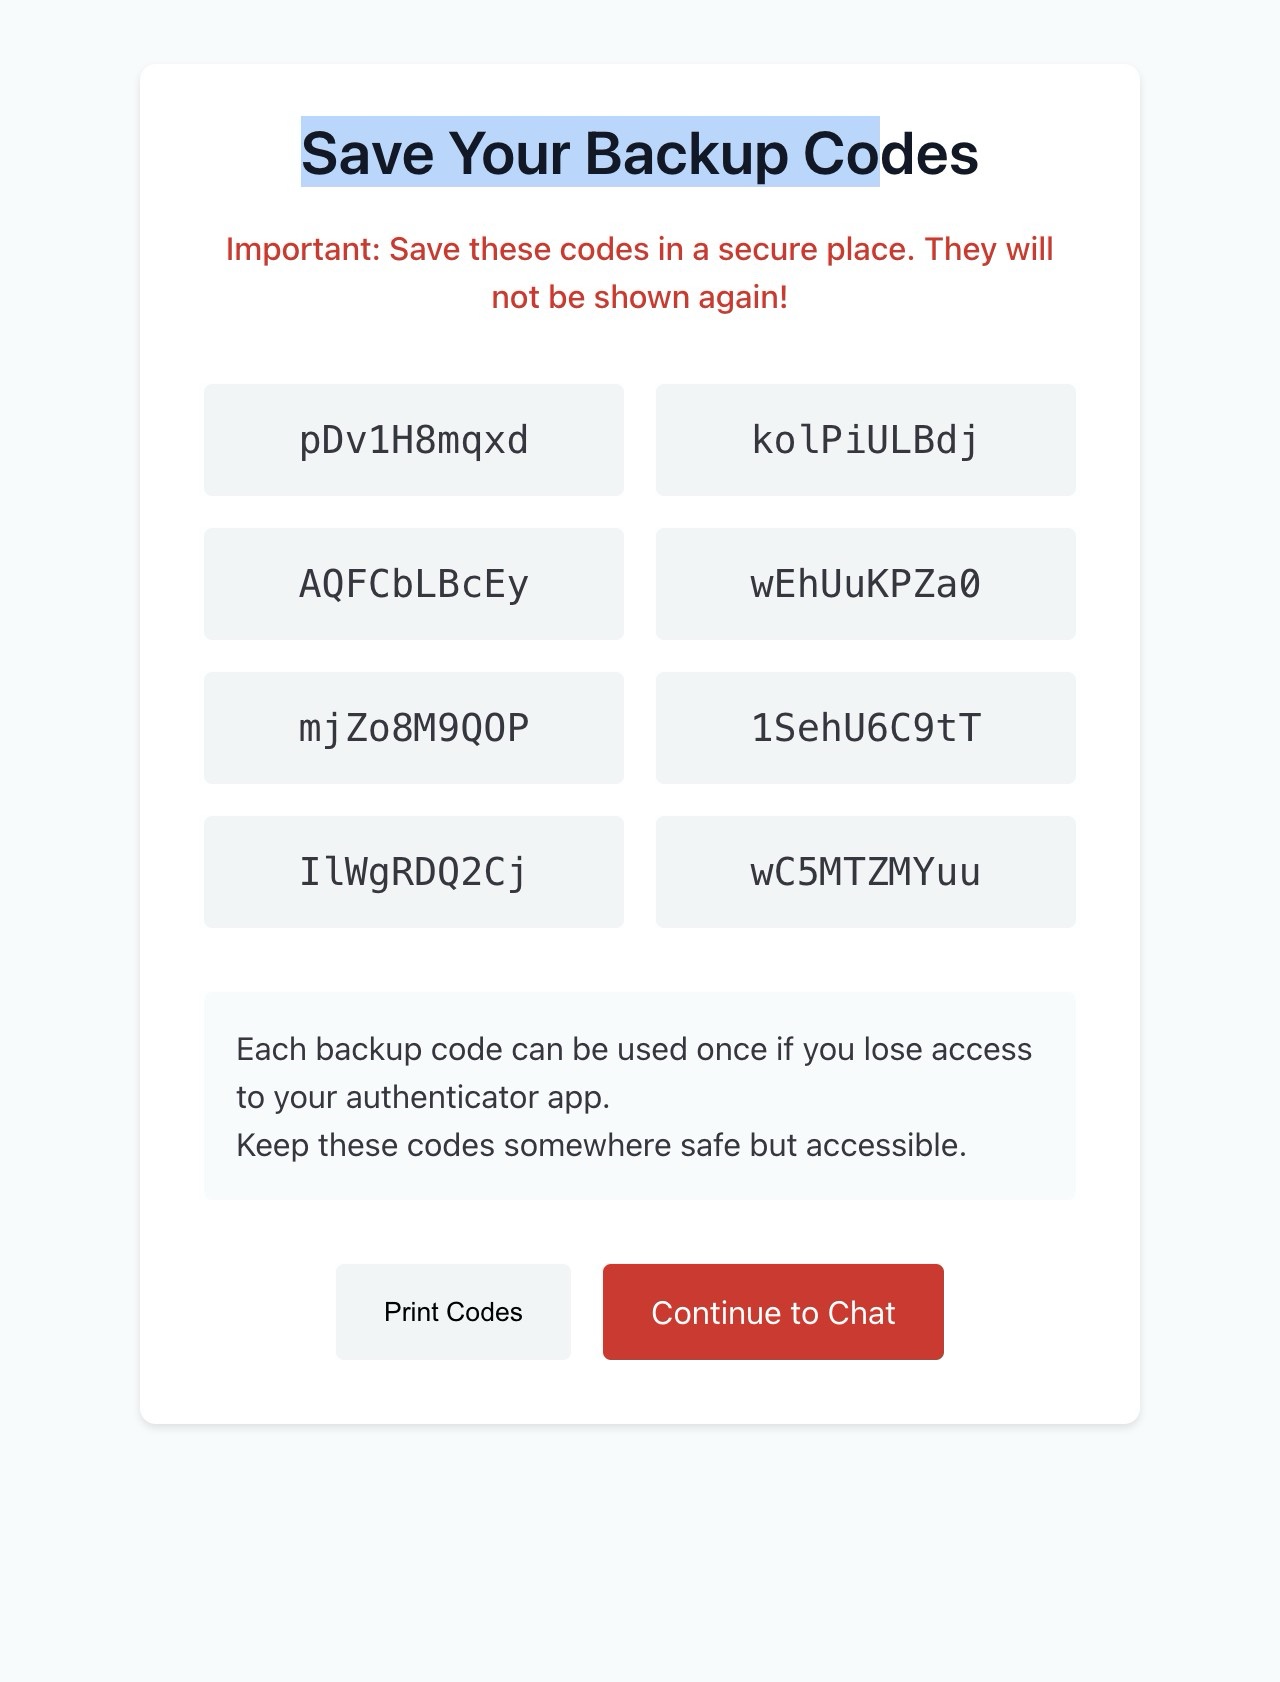
Save your backup codes.
-
12
Click “Continue to Chat”
-
13
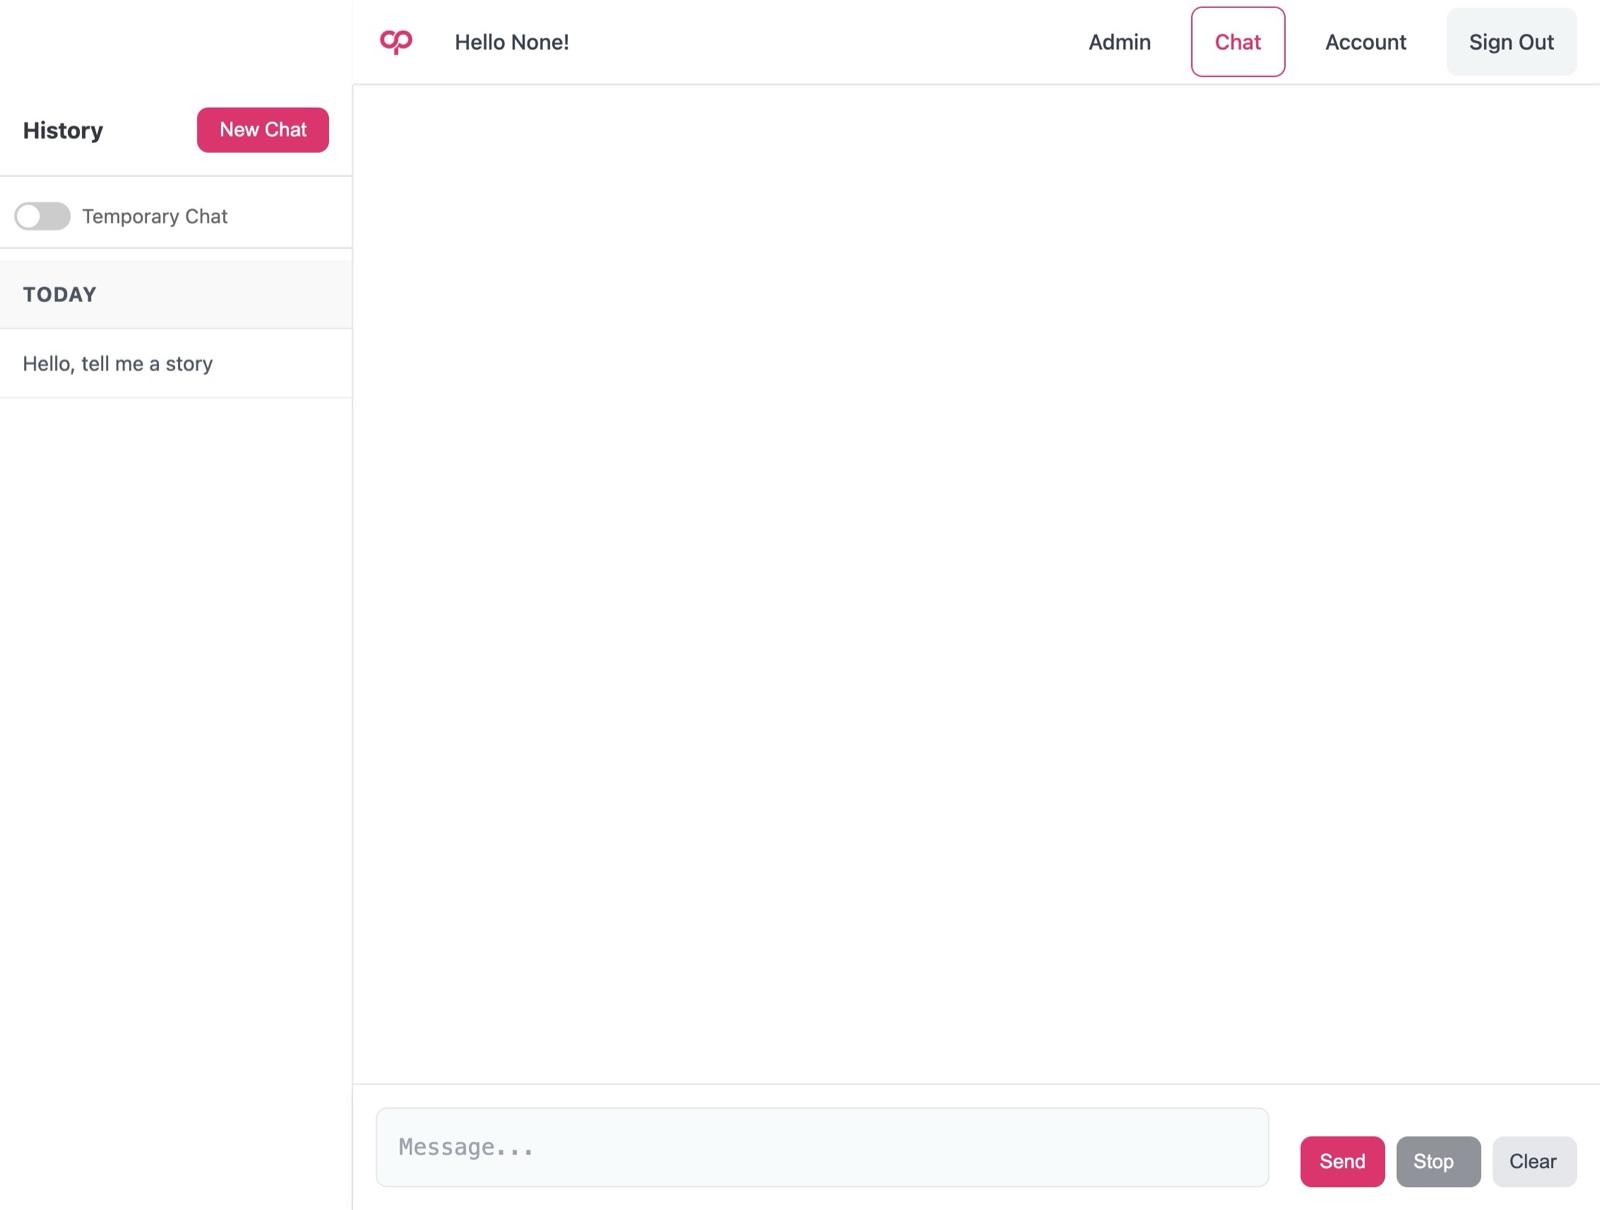
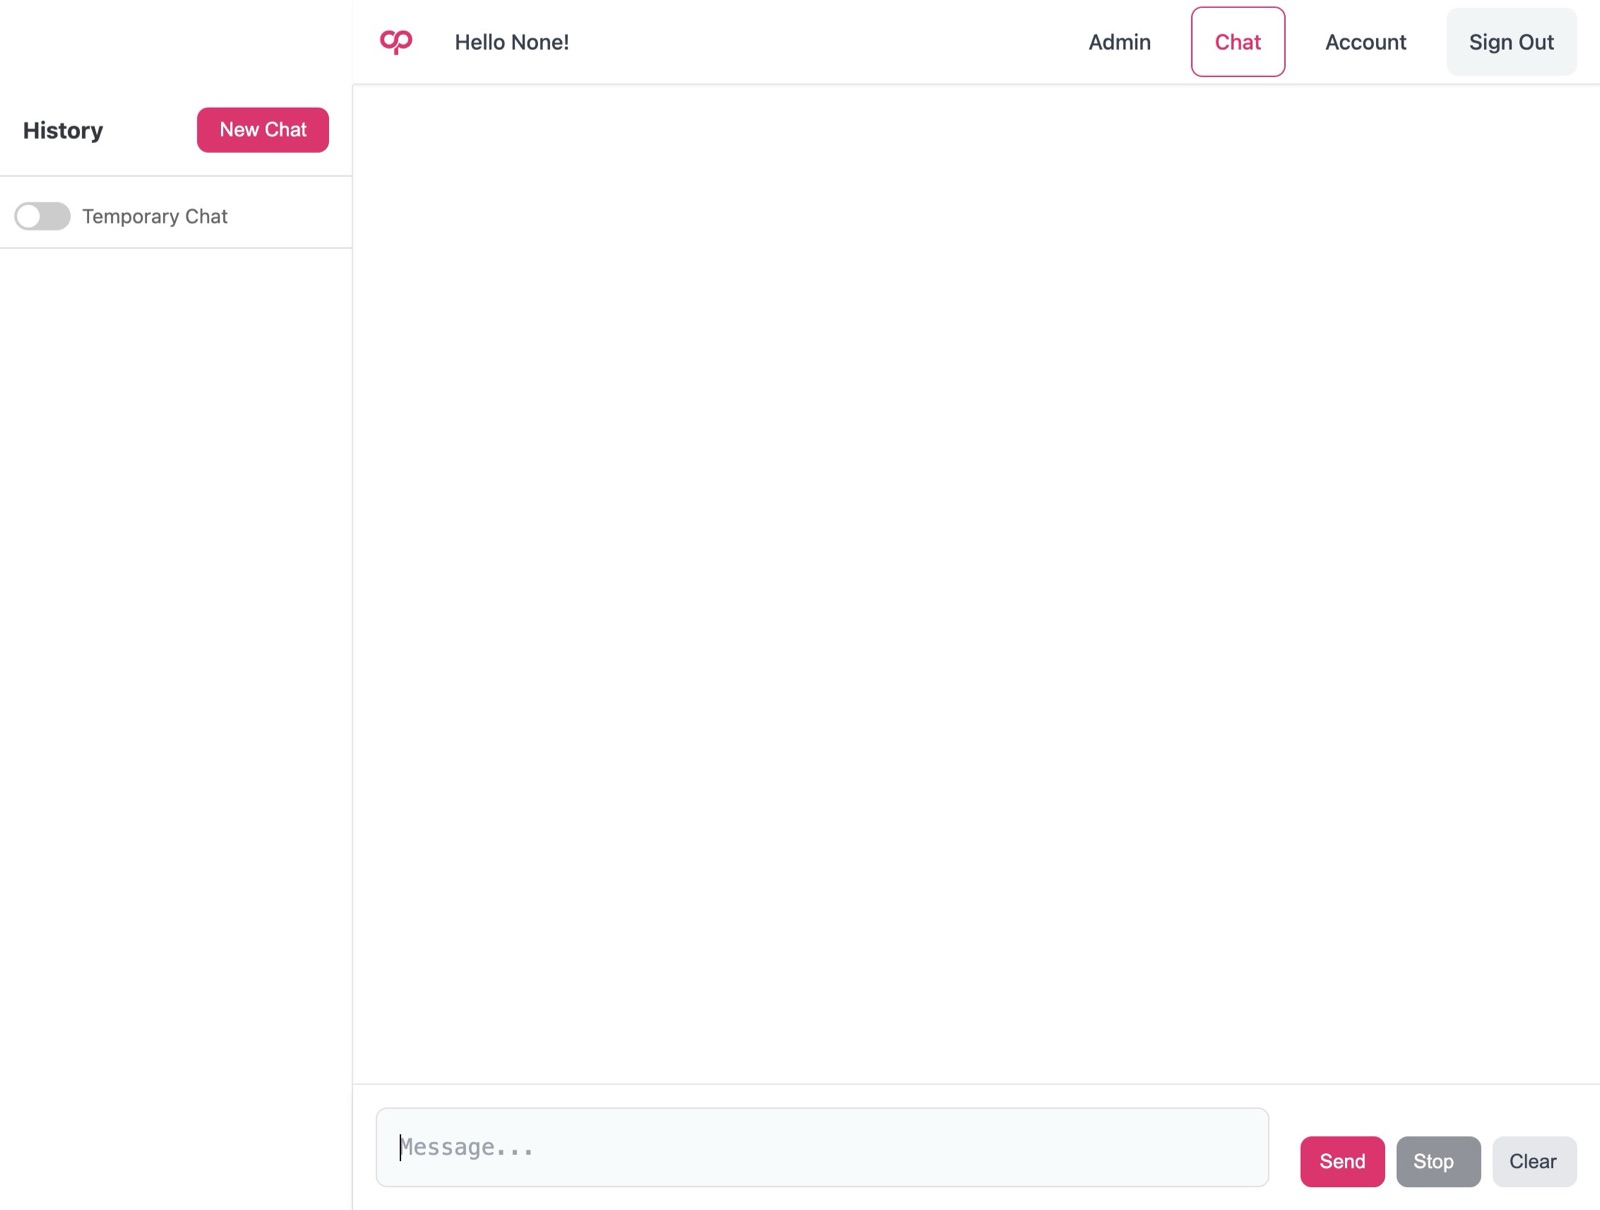
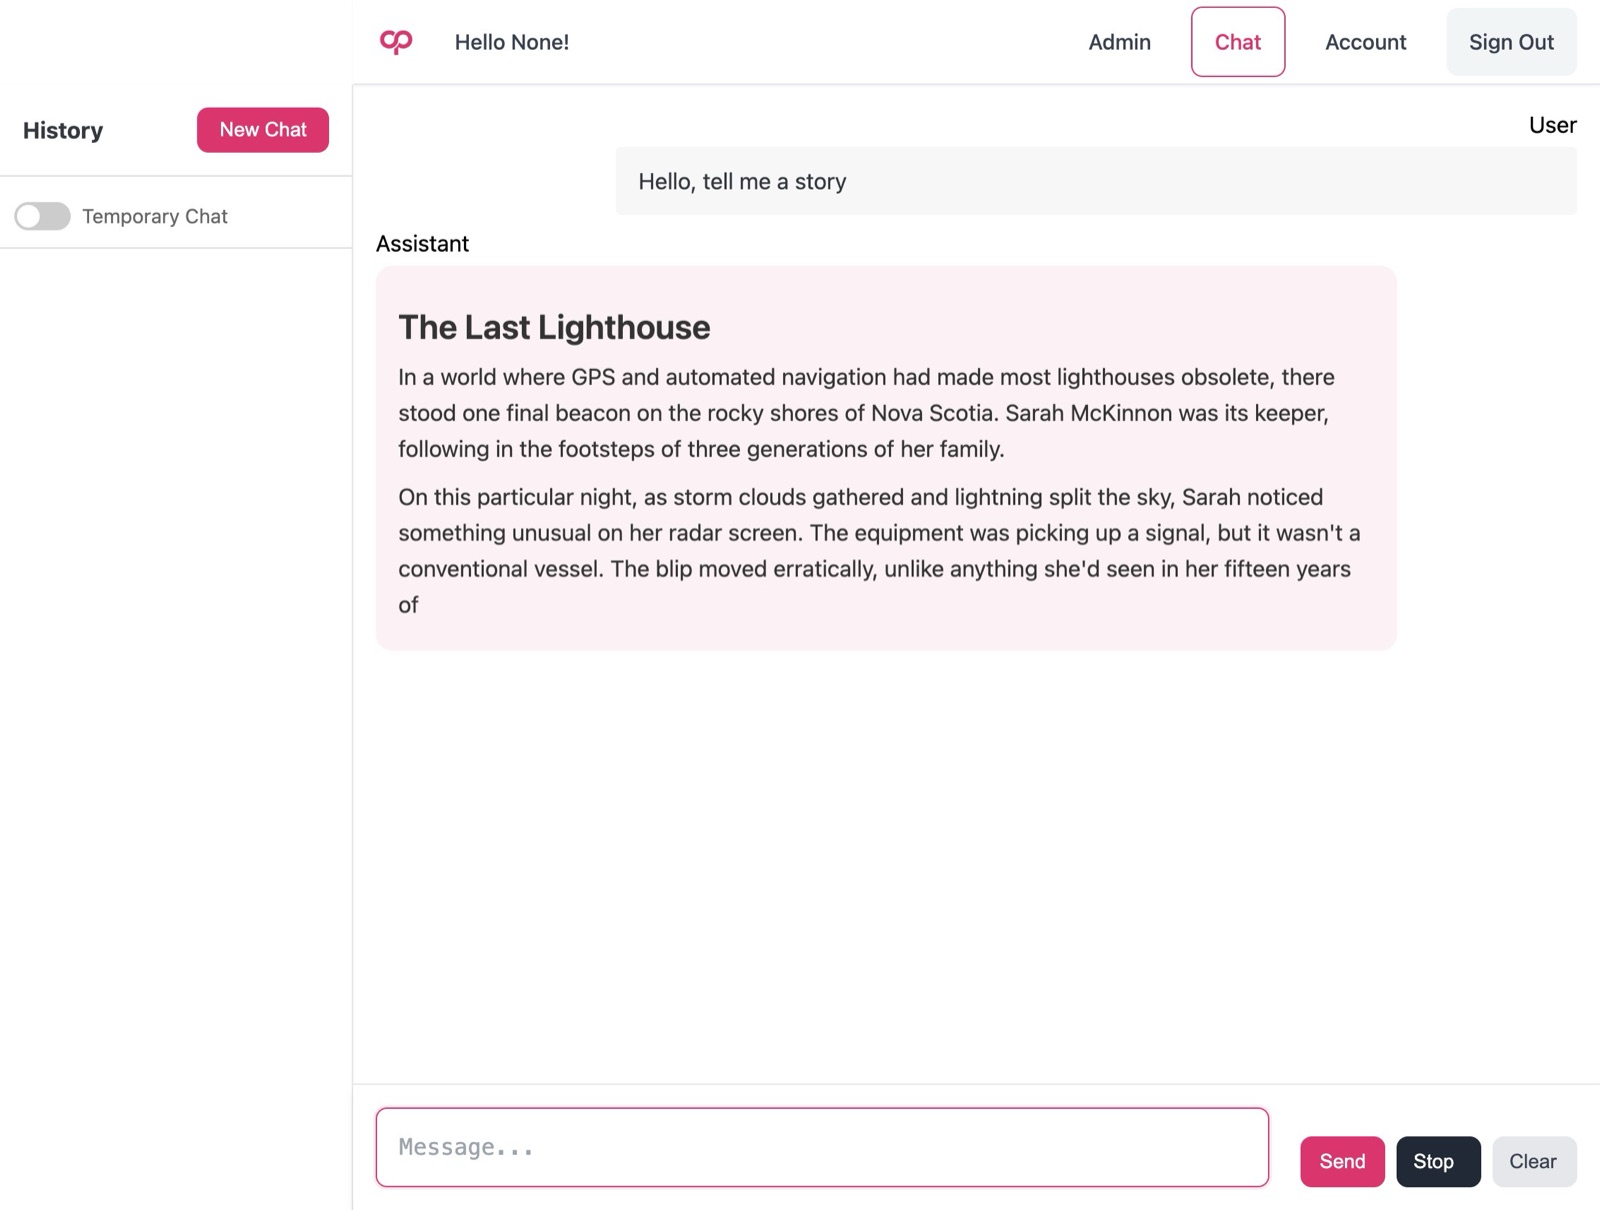
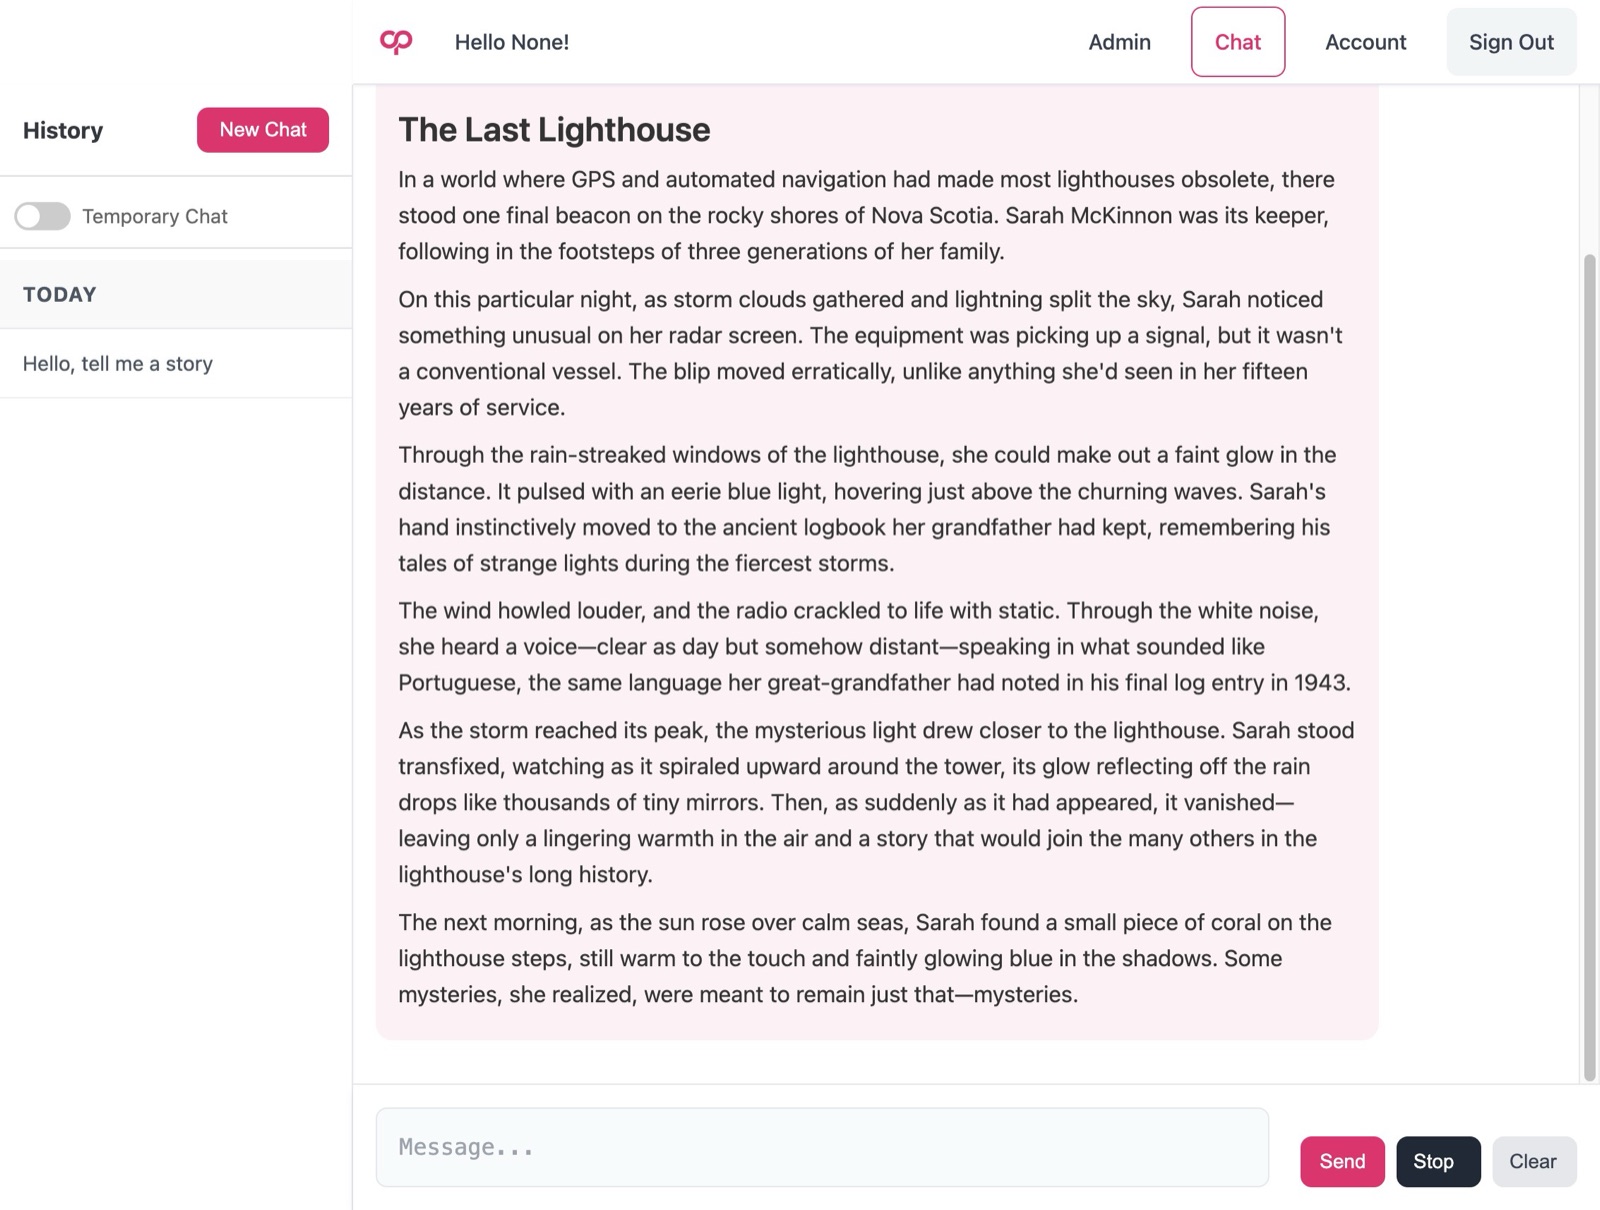
To chat with Bedrock (using Clause Sonnet 3.5 v2), type a message into the input box.
-
14
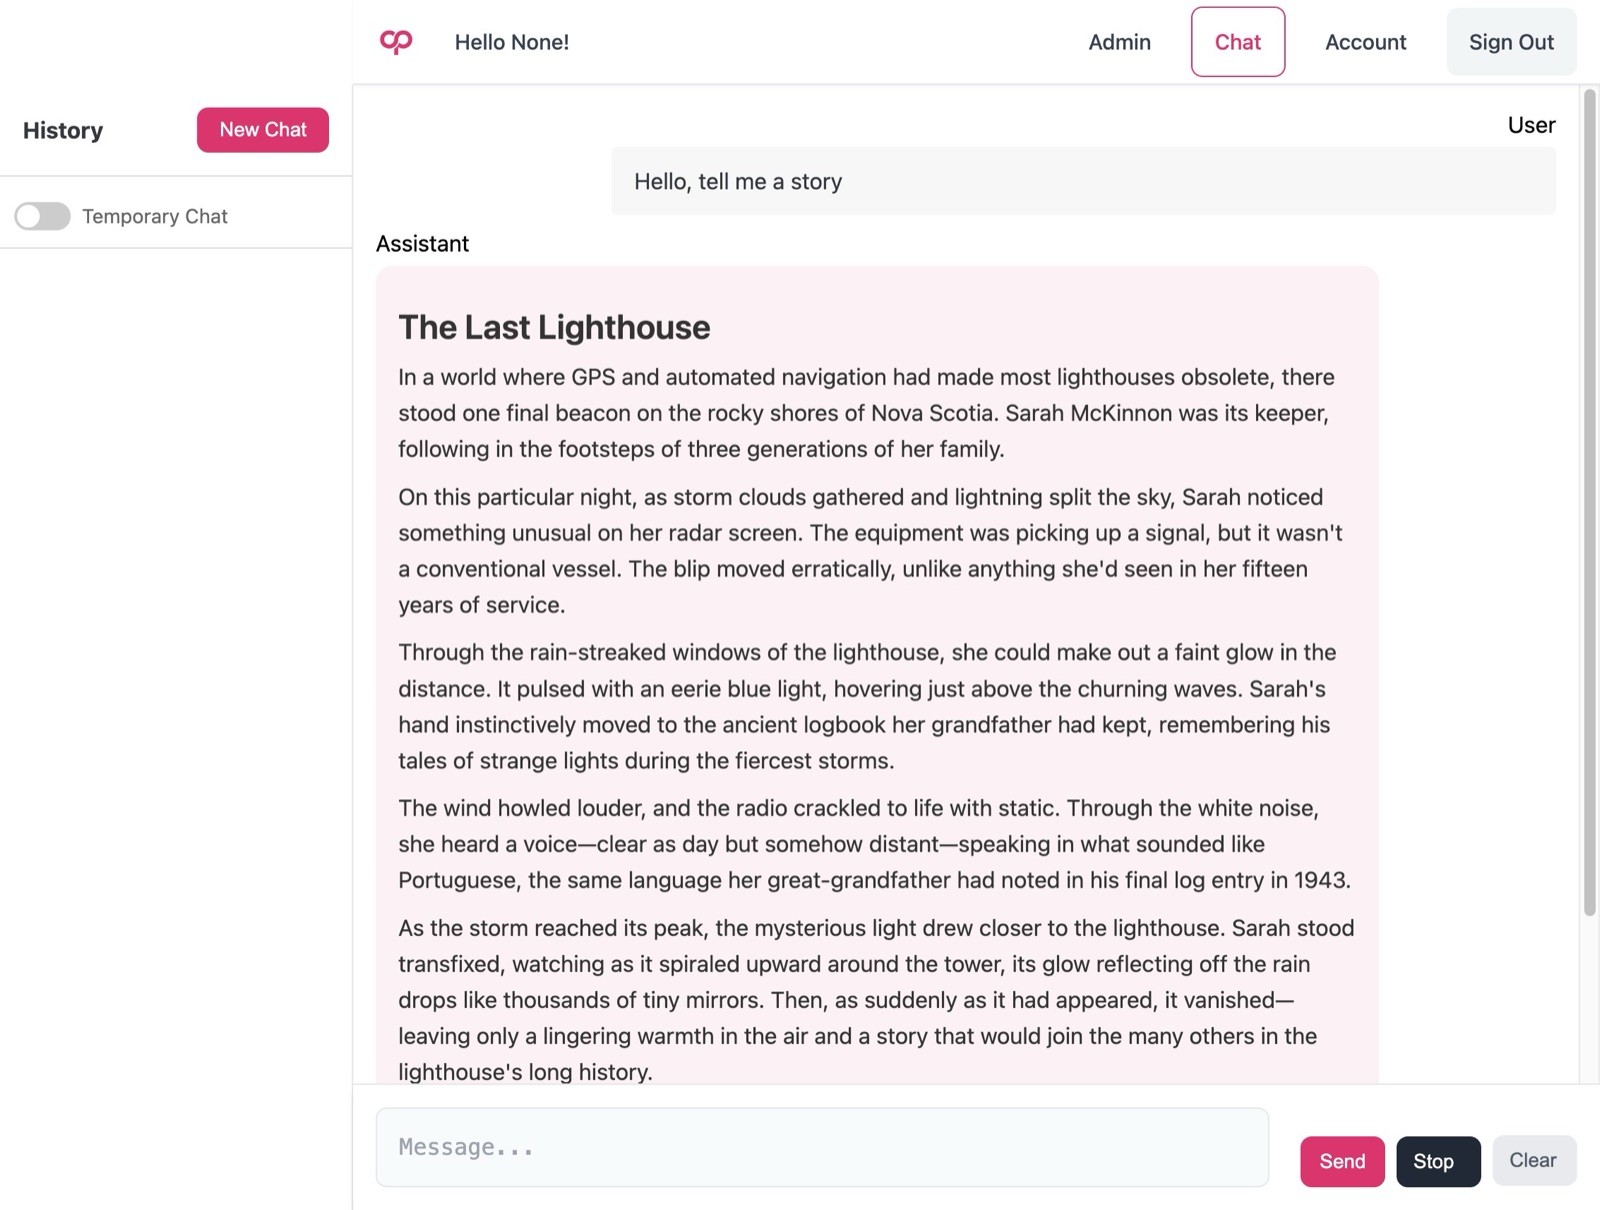
The AI output should come out formatted in markdown.
-
15
To save the chat to history, click “clear” or “new chat”
-
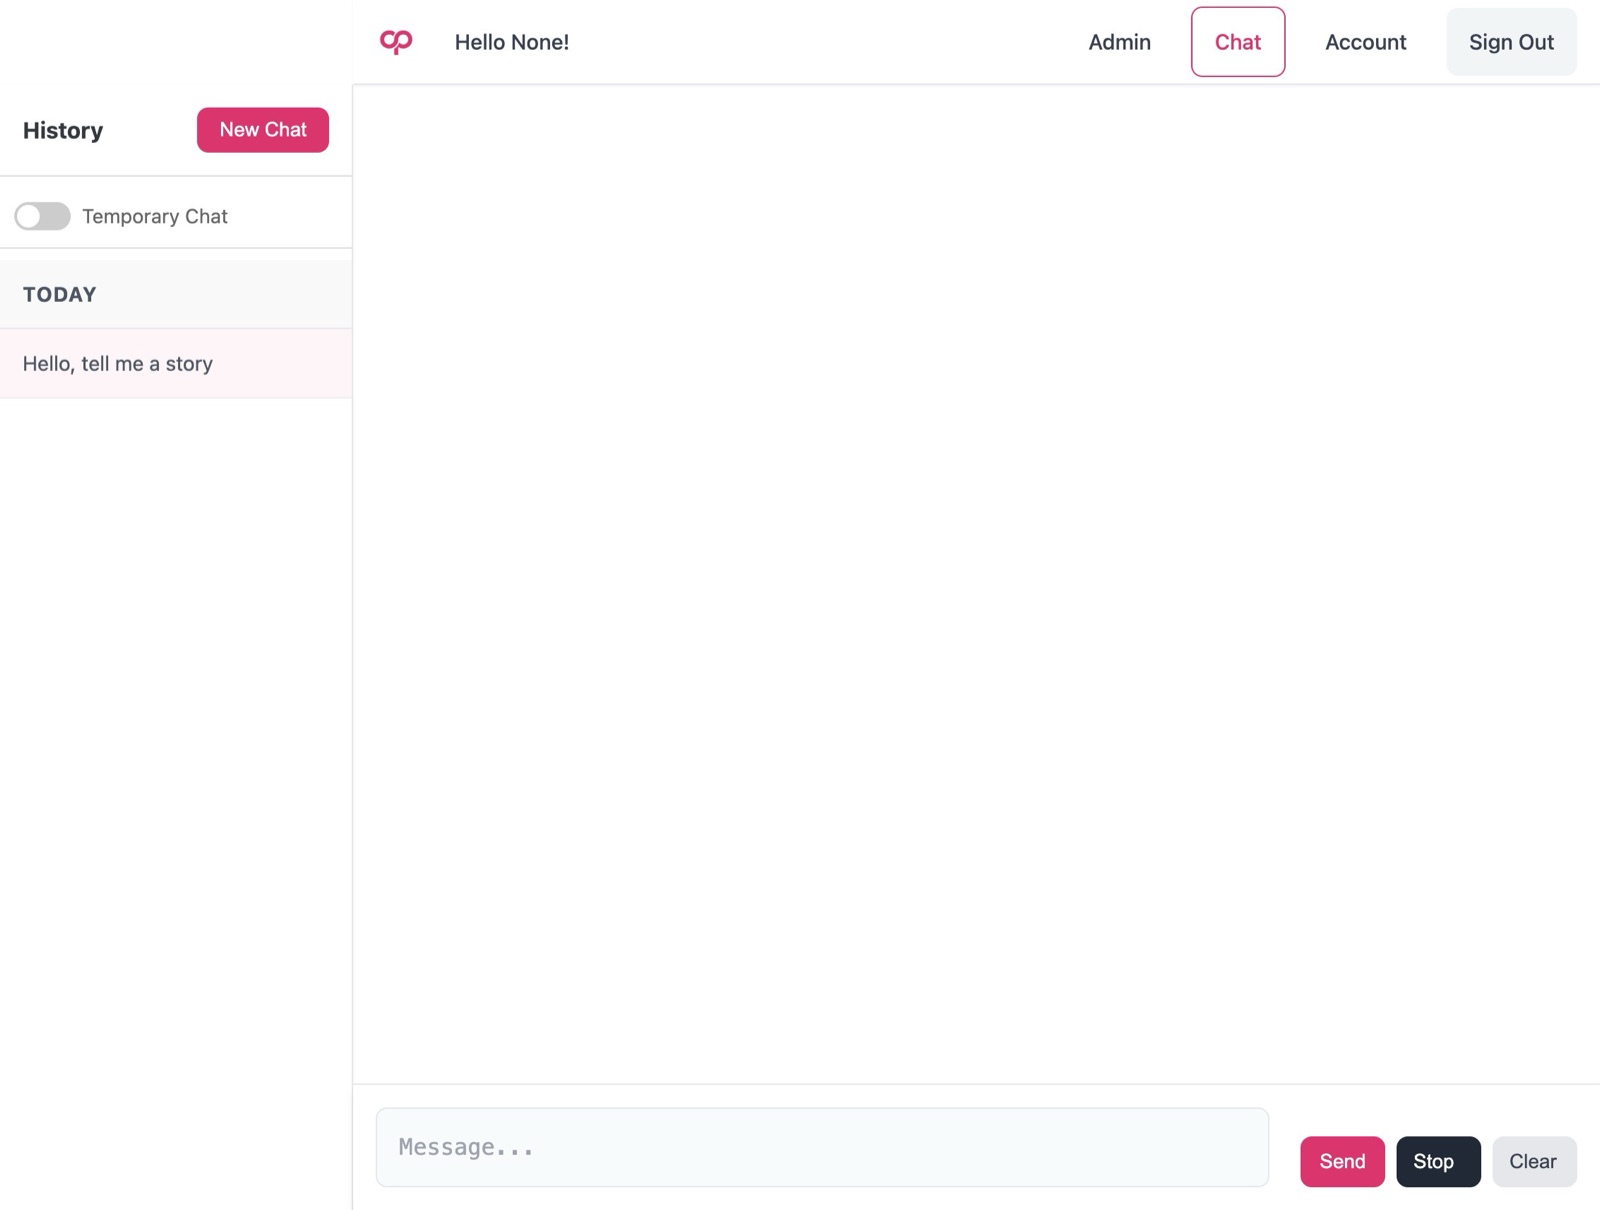
16
You will see saved chats in the side bar.
-
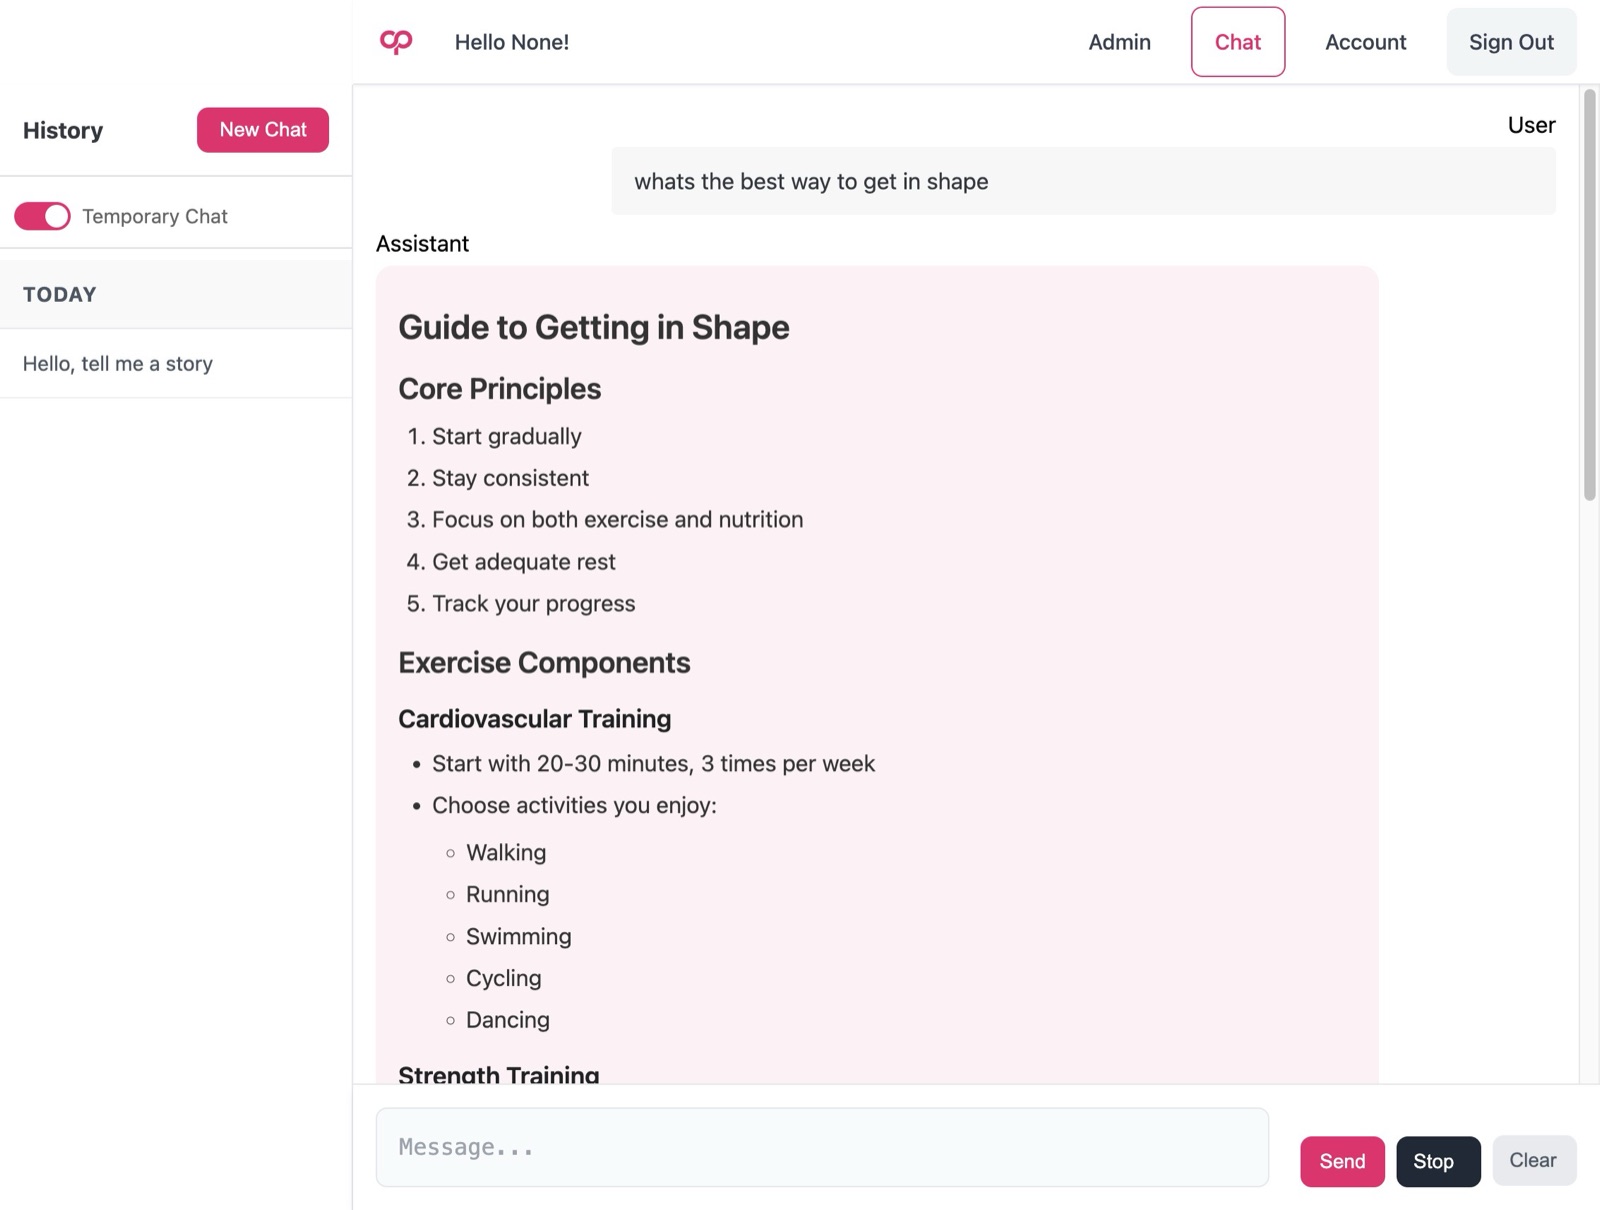
17
For a temporary chat, you toggle this button.
-
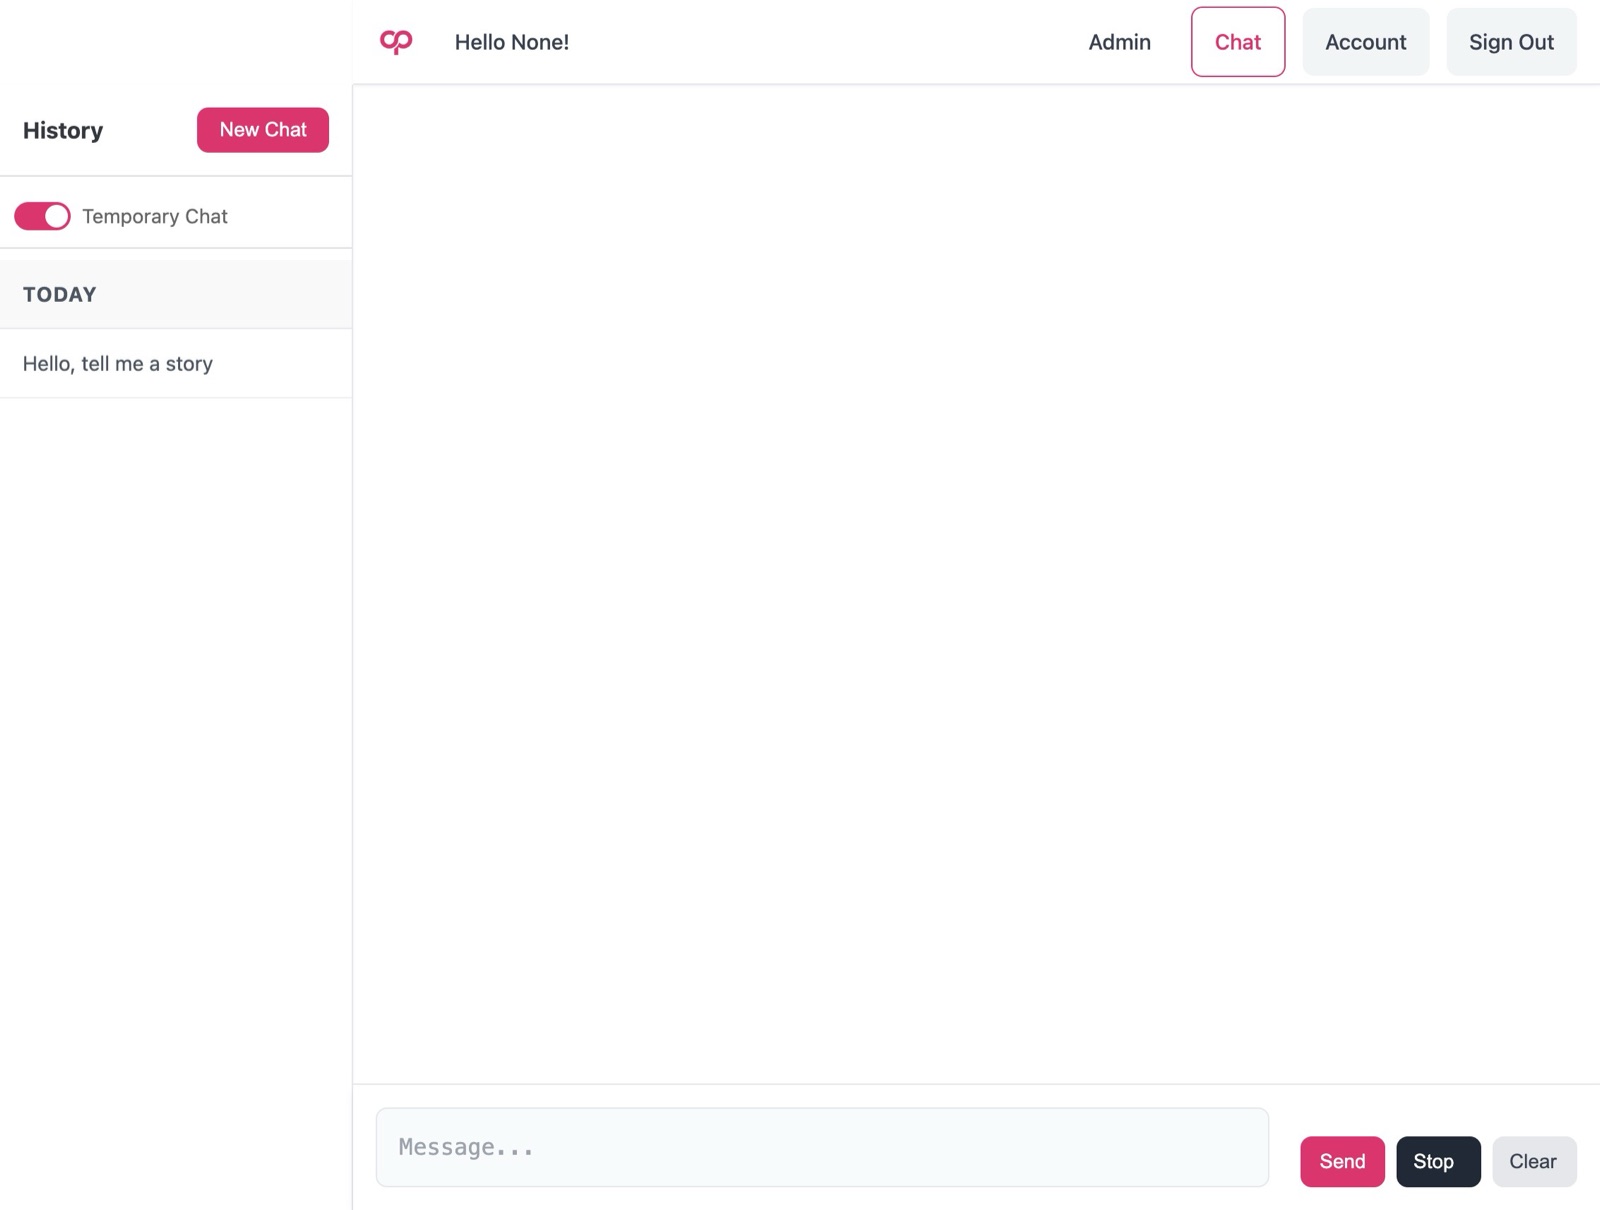
18
Even if you click “clear” or “new chat” the conversation wont be saved in history.
-
19
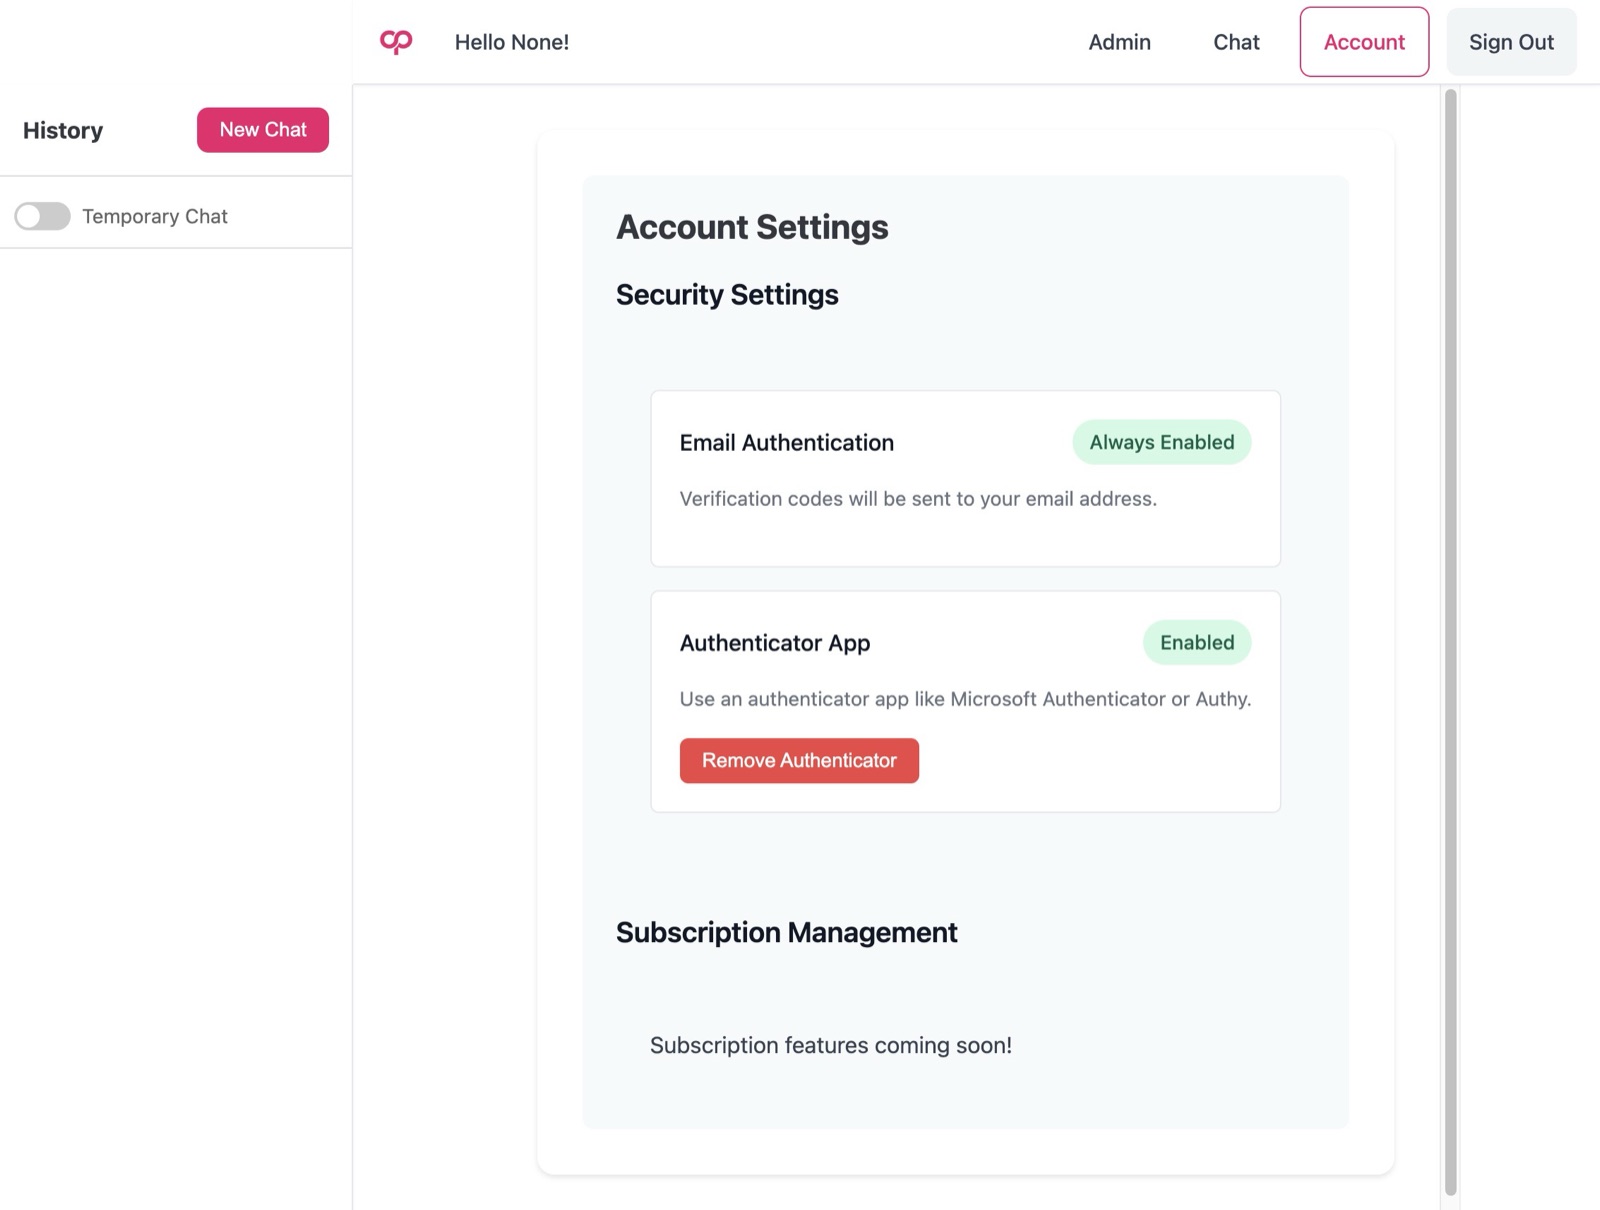
To see the account view, click “Account”
-
20
The template comes with Security Settings pre-set up - the subscription management will be something you need to set up with your own payment provider per their documentation.
-
21
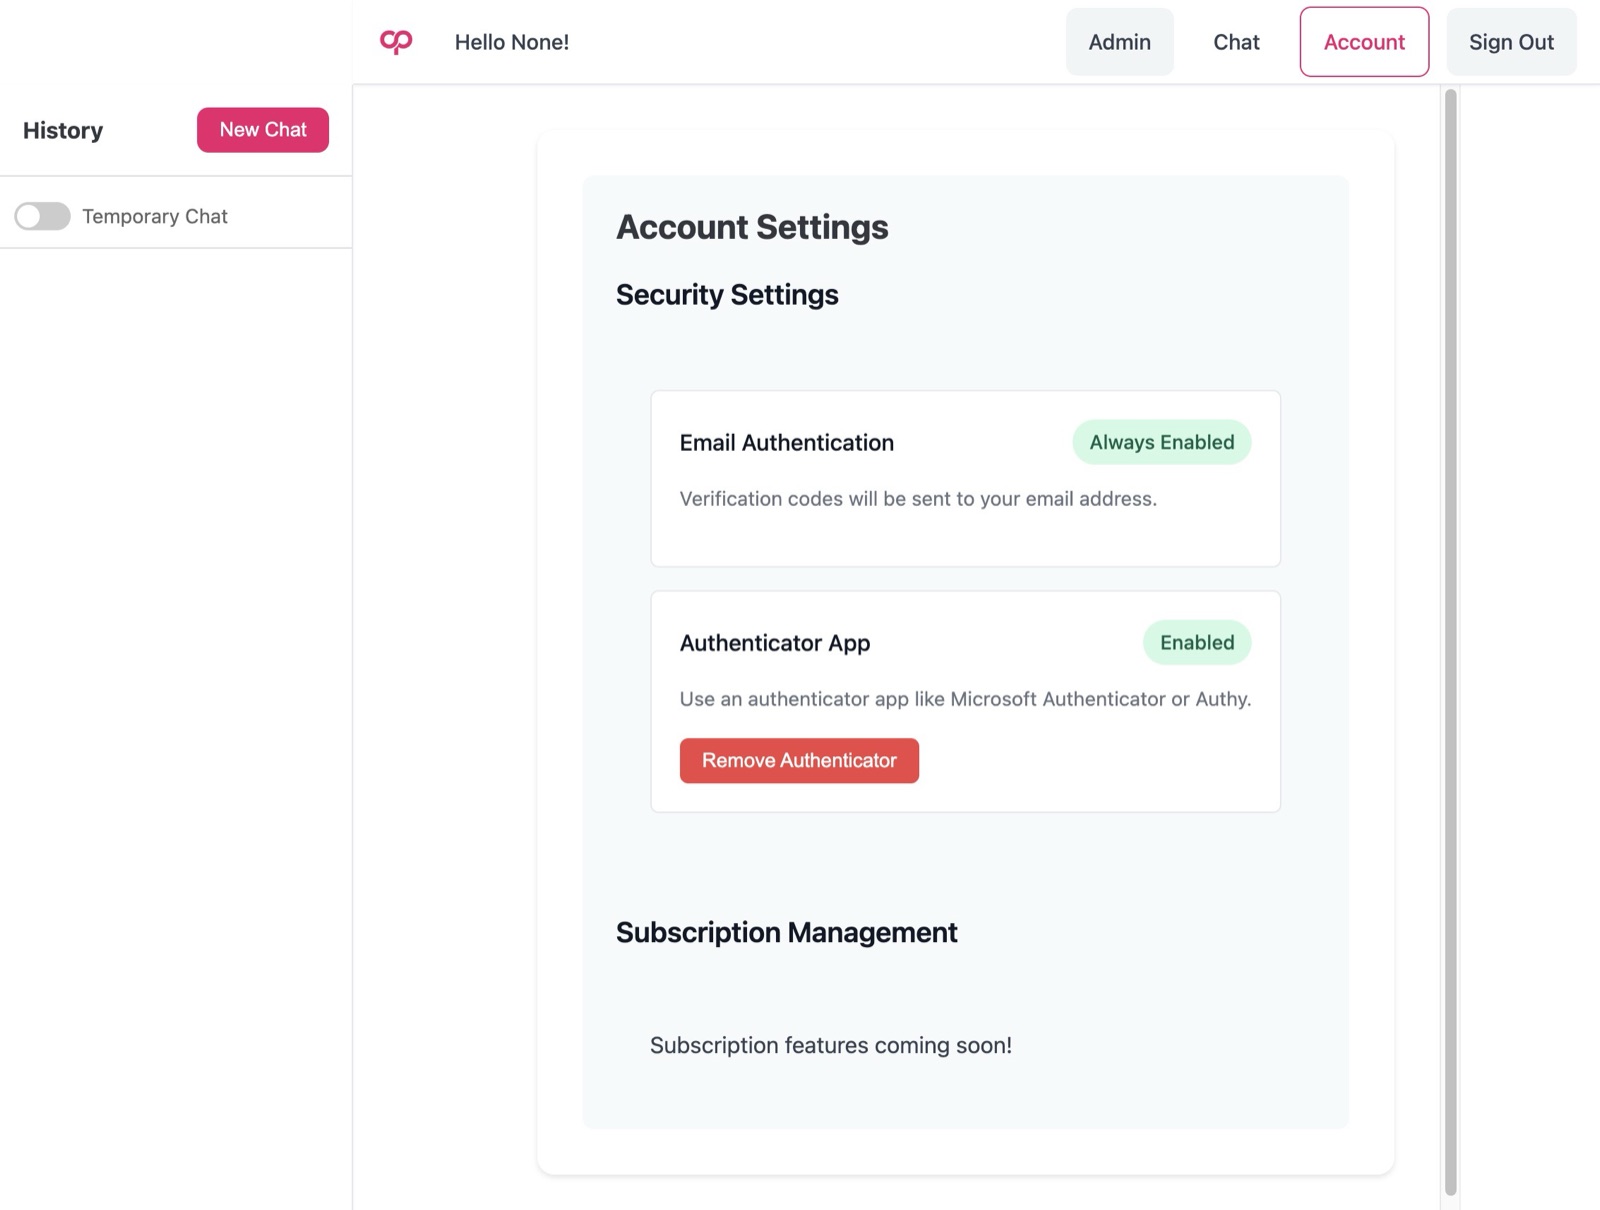
To navigate to the Flask Admin panel, click “Admin”
-
22
The Admin panel is mocked up as an example but it is fully configurable to your application management needs.
-
23
For example, click “User Management”
-
24
Click “Users”
-
25
You can see all your current users.
-
26
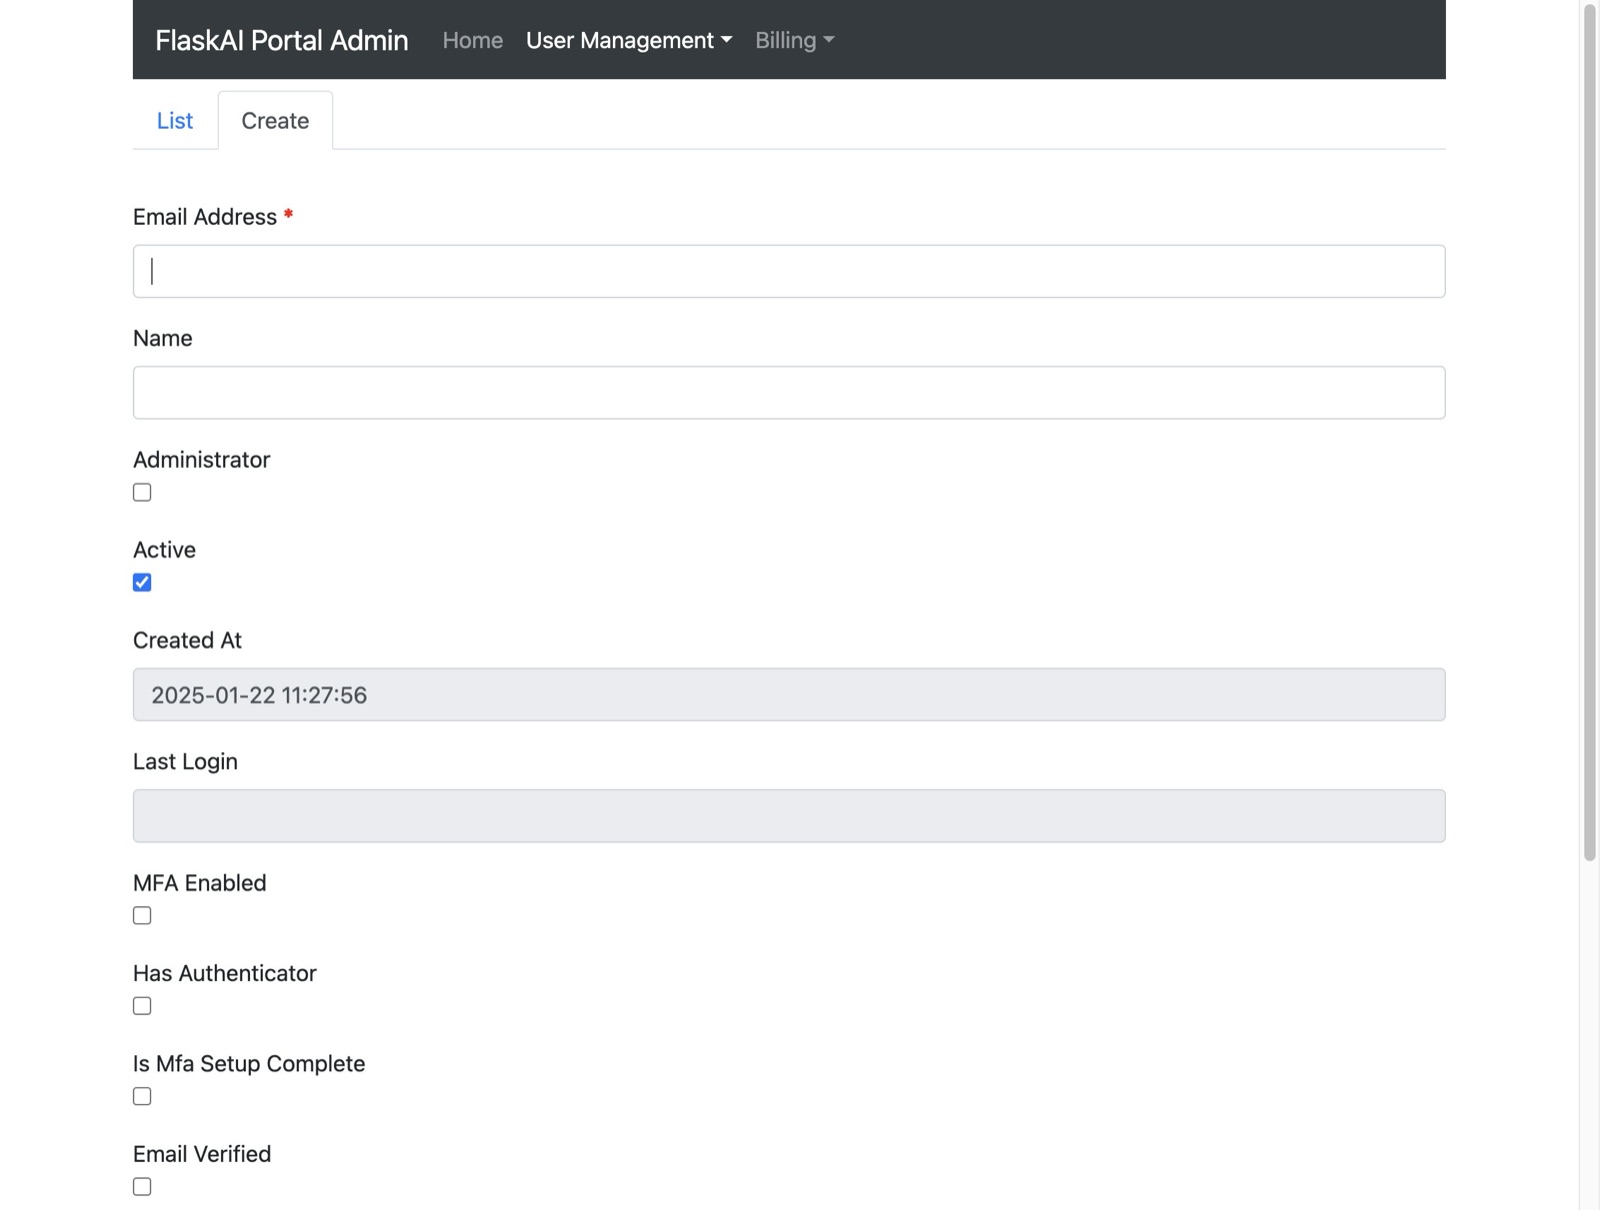
You can add users. Click “Create”
-
27
Input the user's details
-
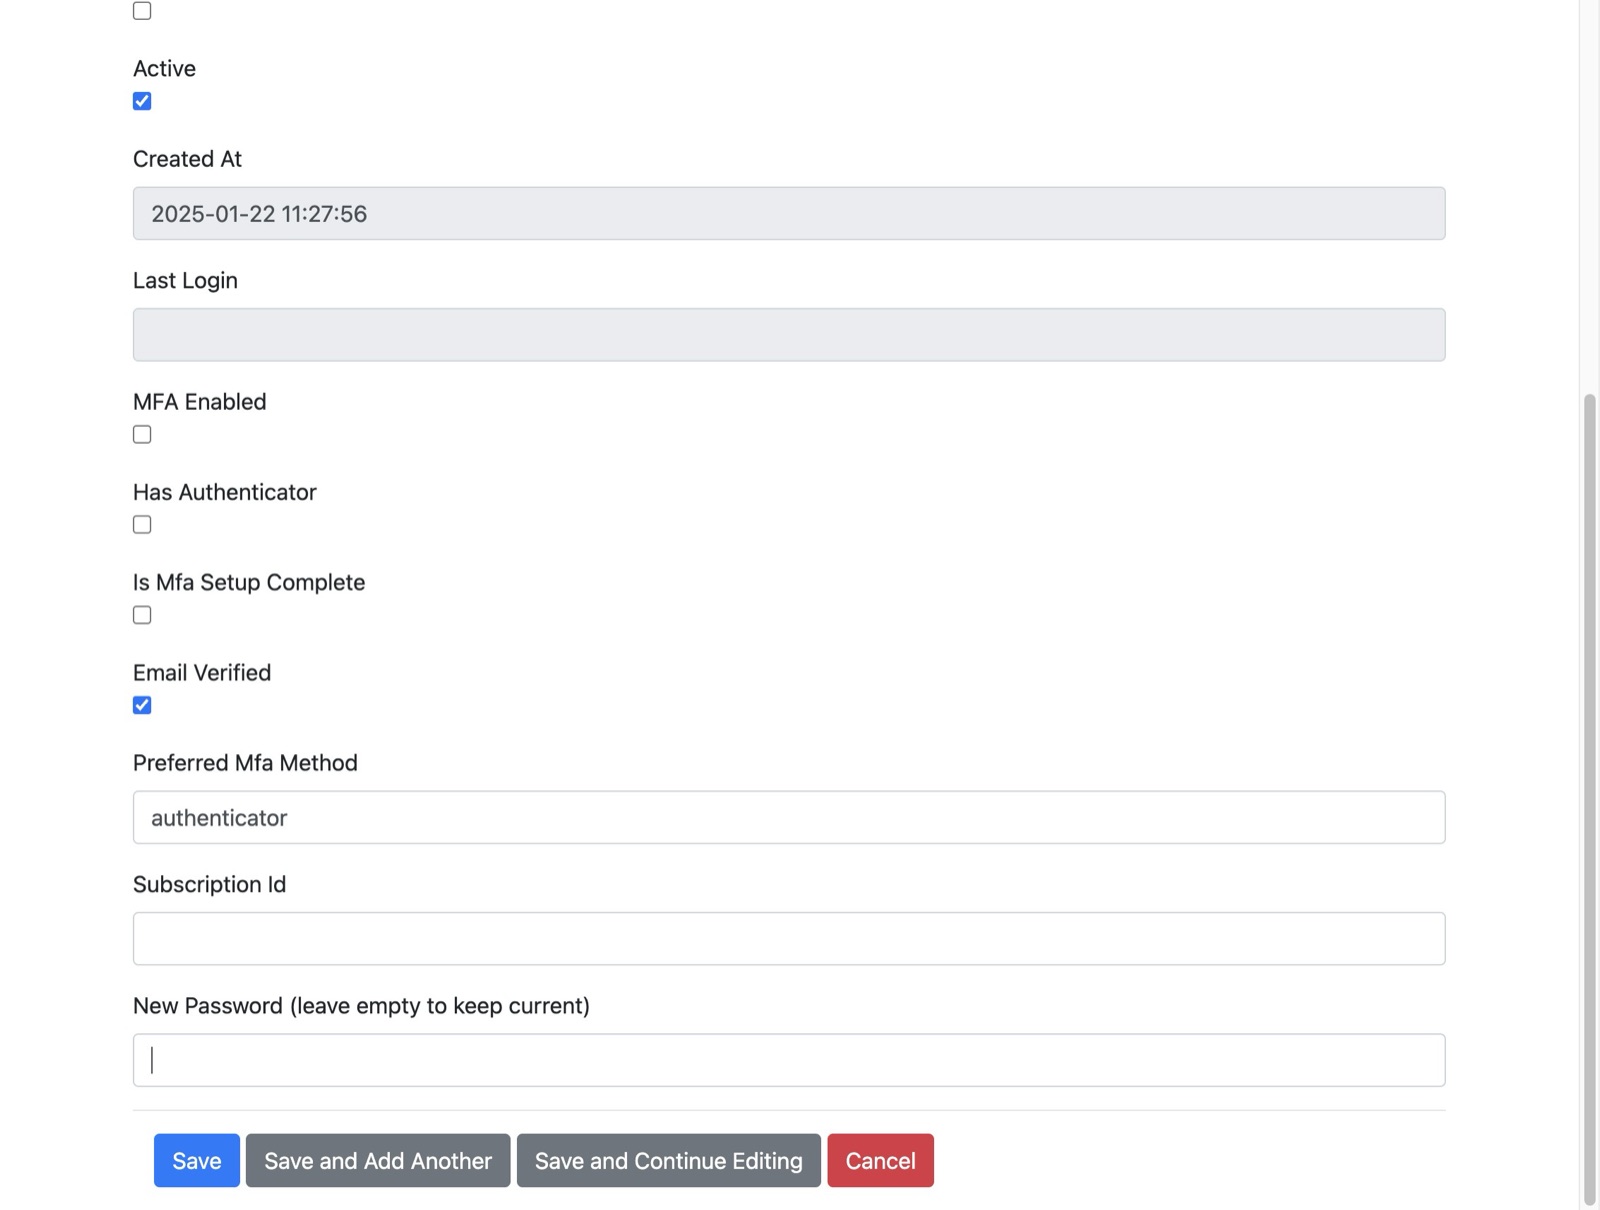
28
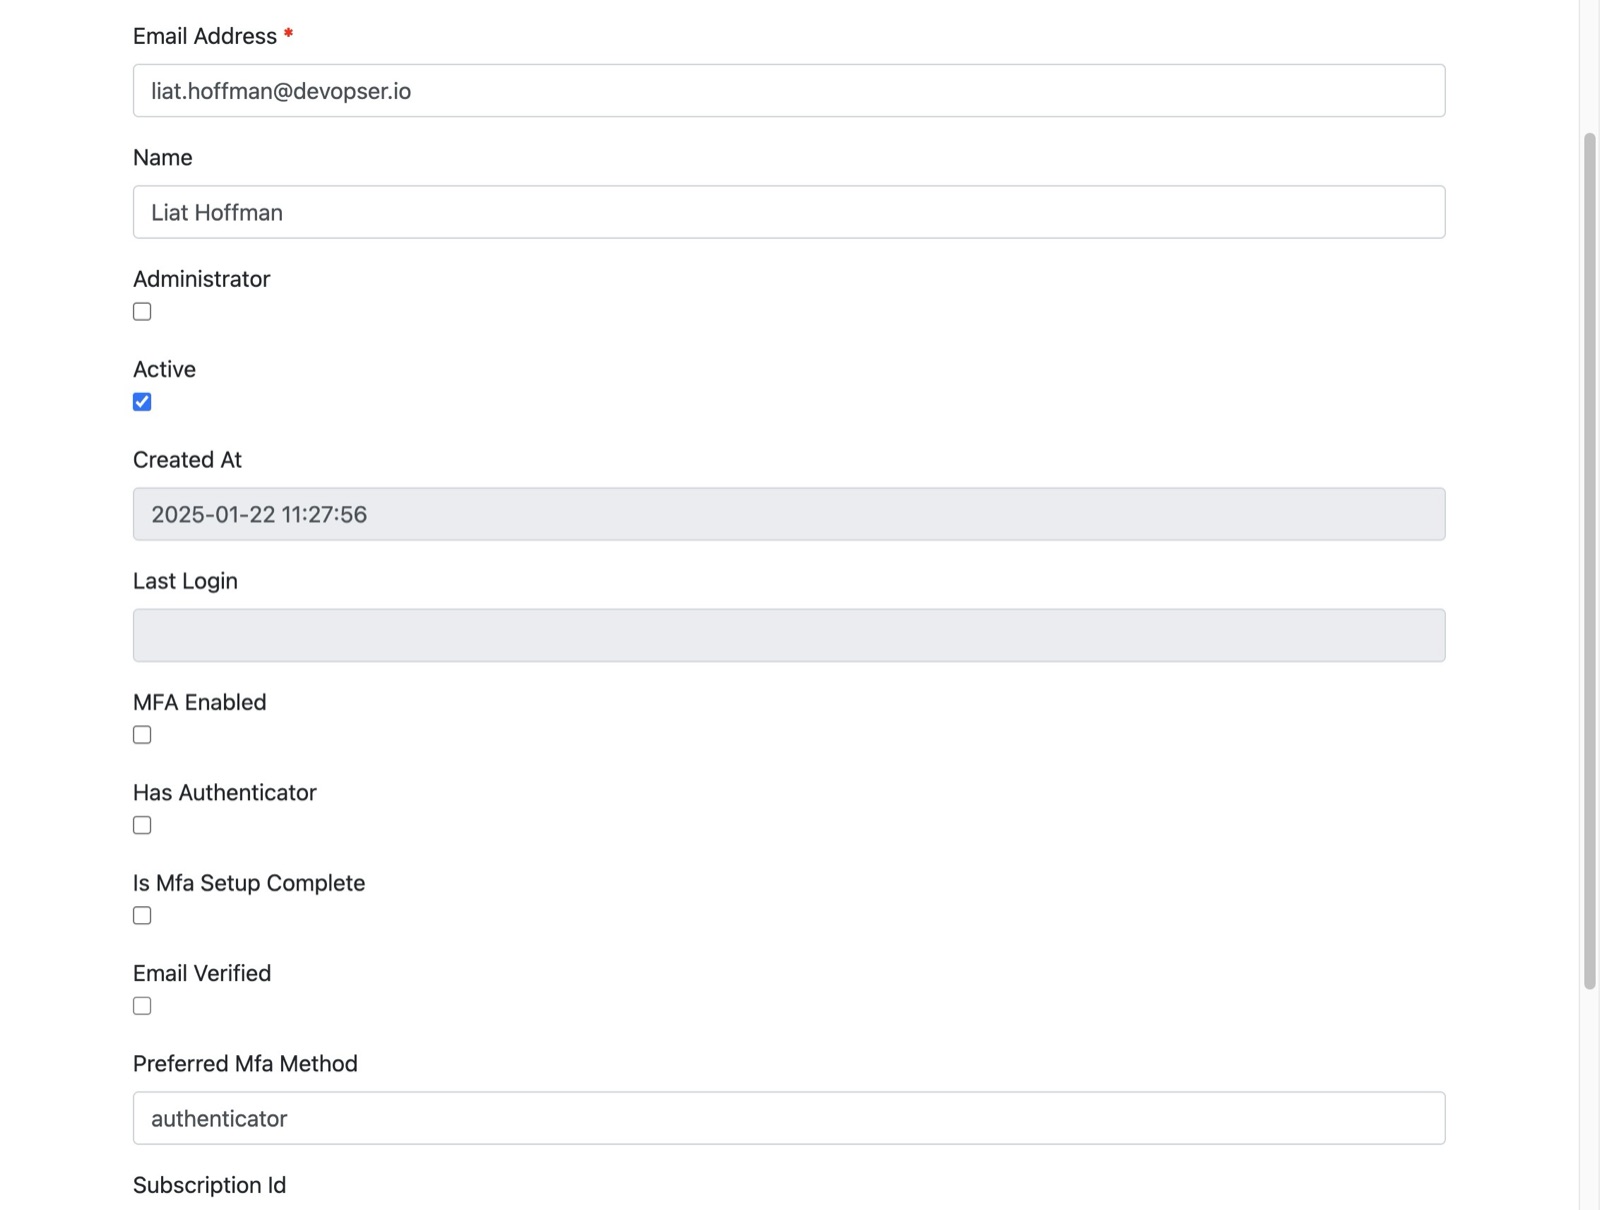
You can click the “Email Verified” field to “True” if you want the user to skip verification step.
-
29
Make sure you give the user a password.
-
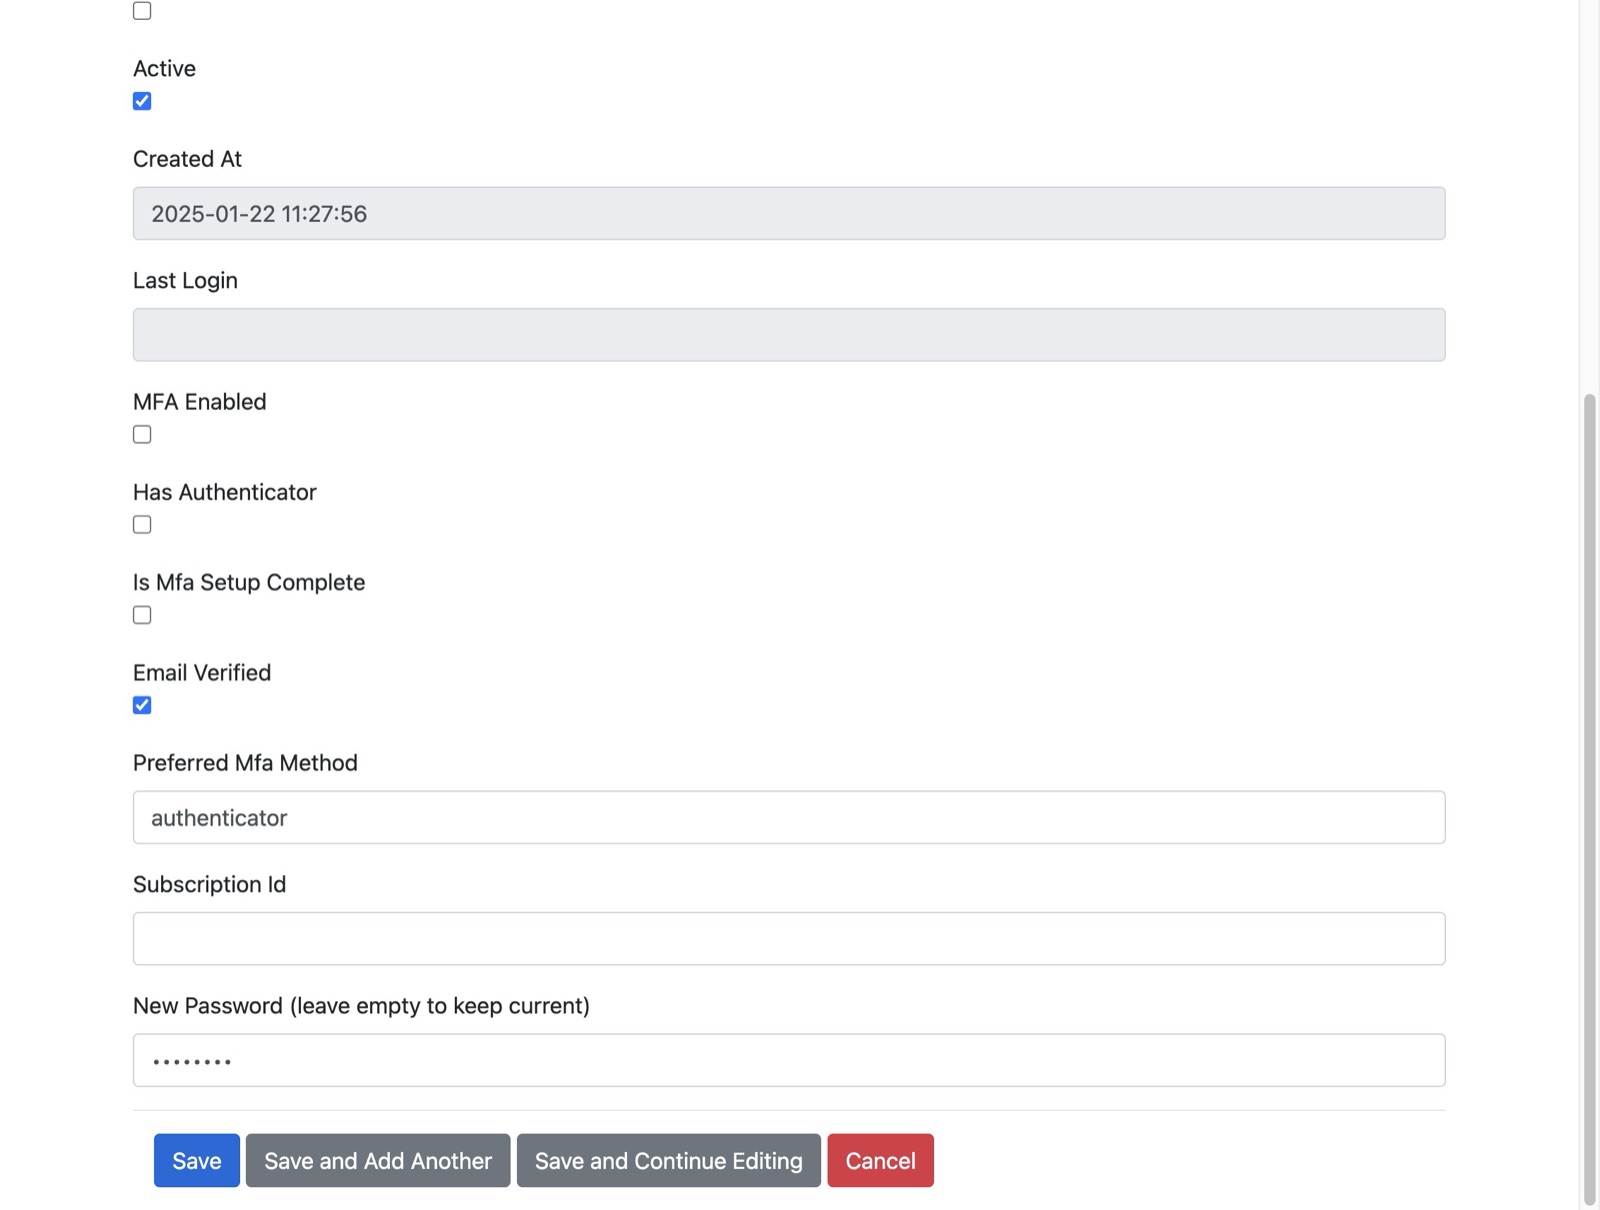
30
Click this button to save the user.
-
31
You can see it completed successfully, and the user is now added to the database.
-
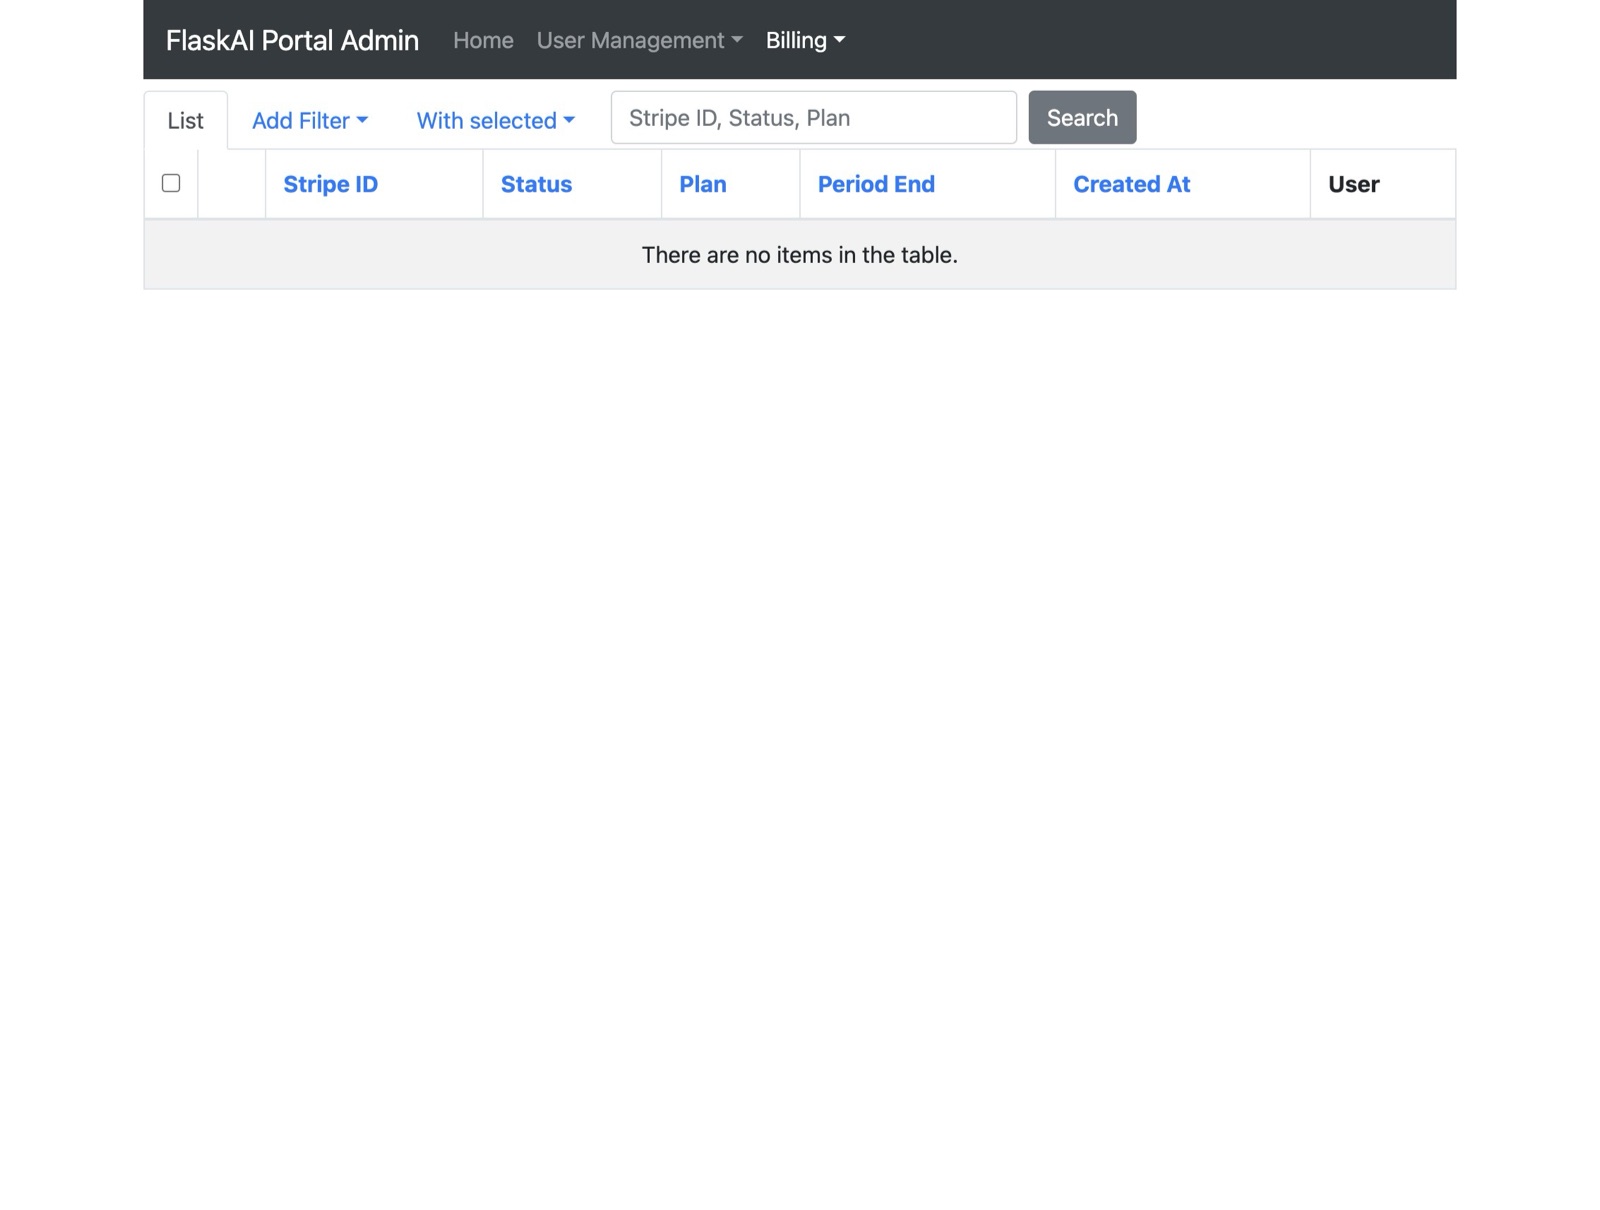
32
Click “Subscriptions”
-
33
This is just a default schema for subscriptions - please check your payment provider's documentation to understand what is needed.
-
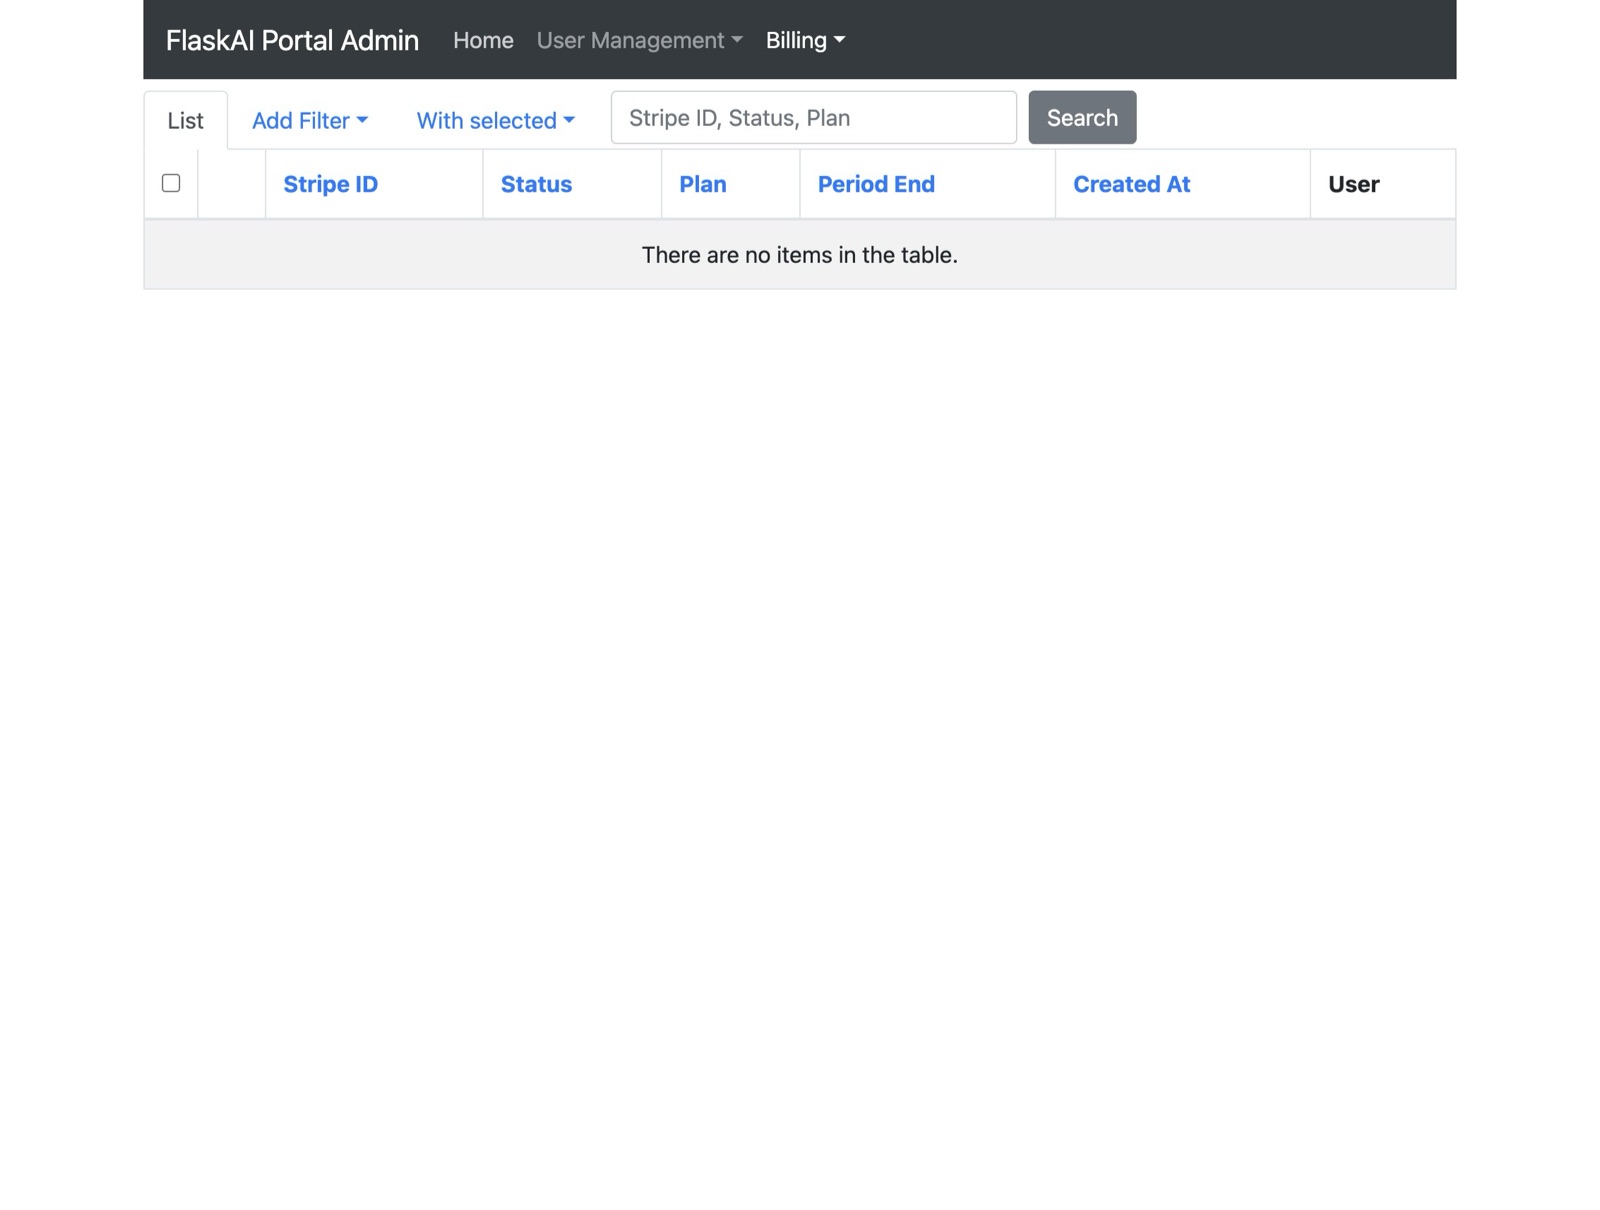
34
To get back to the chat interface, click “Home”
-
35
Click “Return to Chat”
-
36
Click “Sign Out”.