Deploy Your App to the Development Environment
Deploy your application to the Development environment and view it live in the browser.
-
1
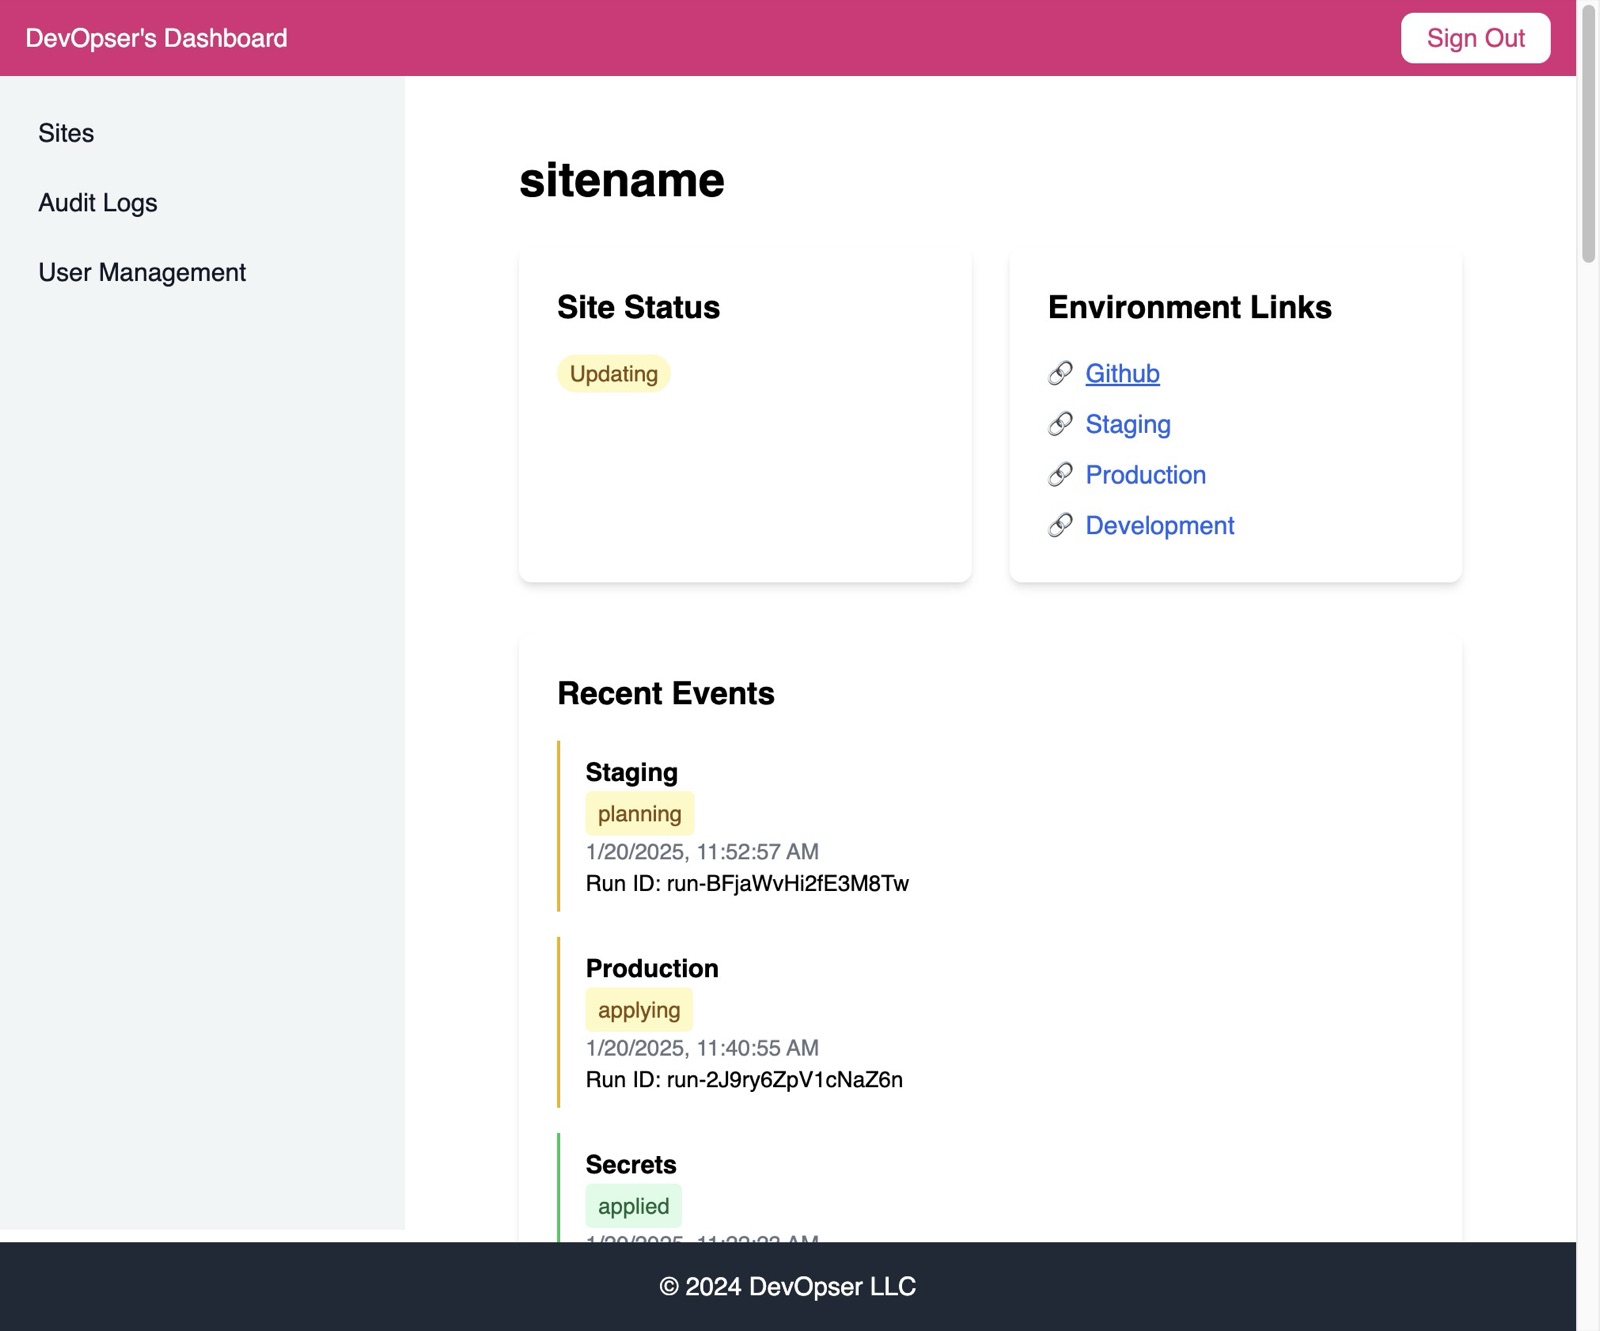
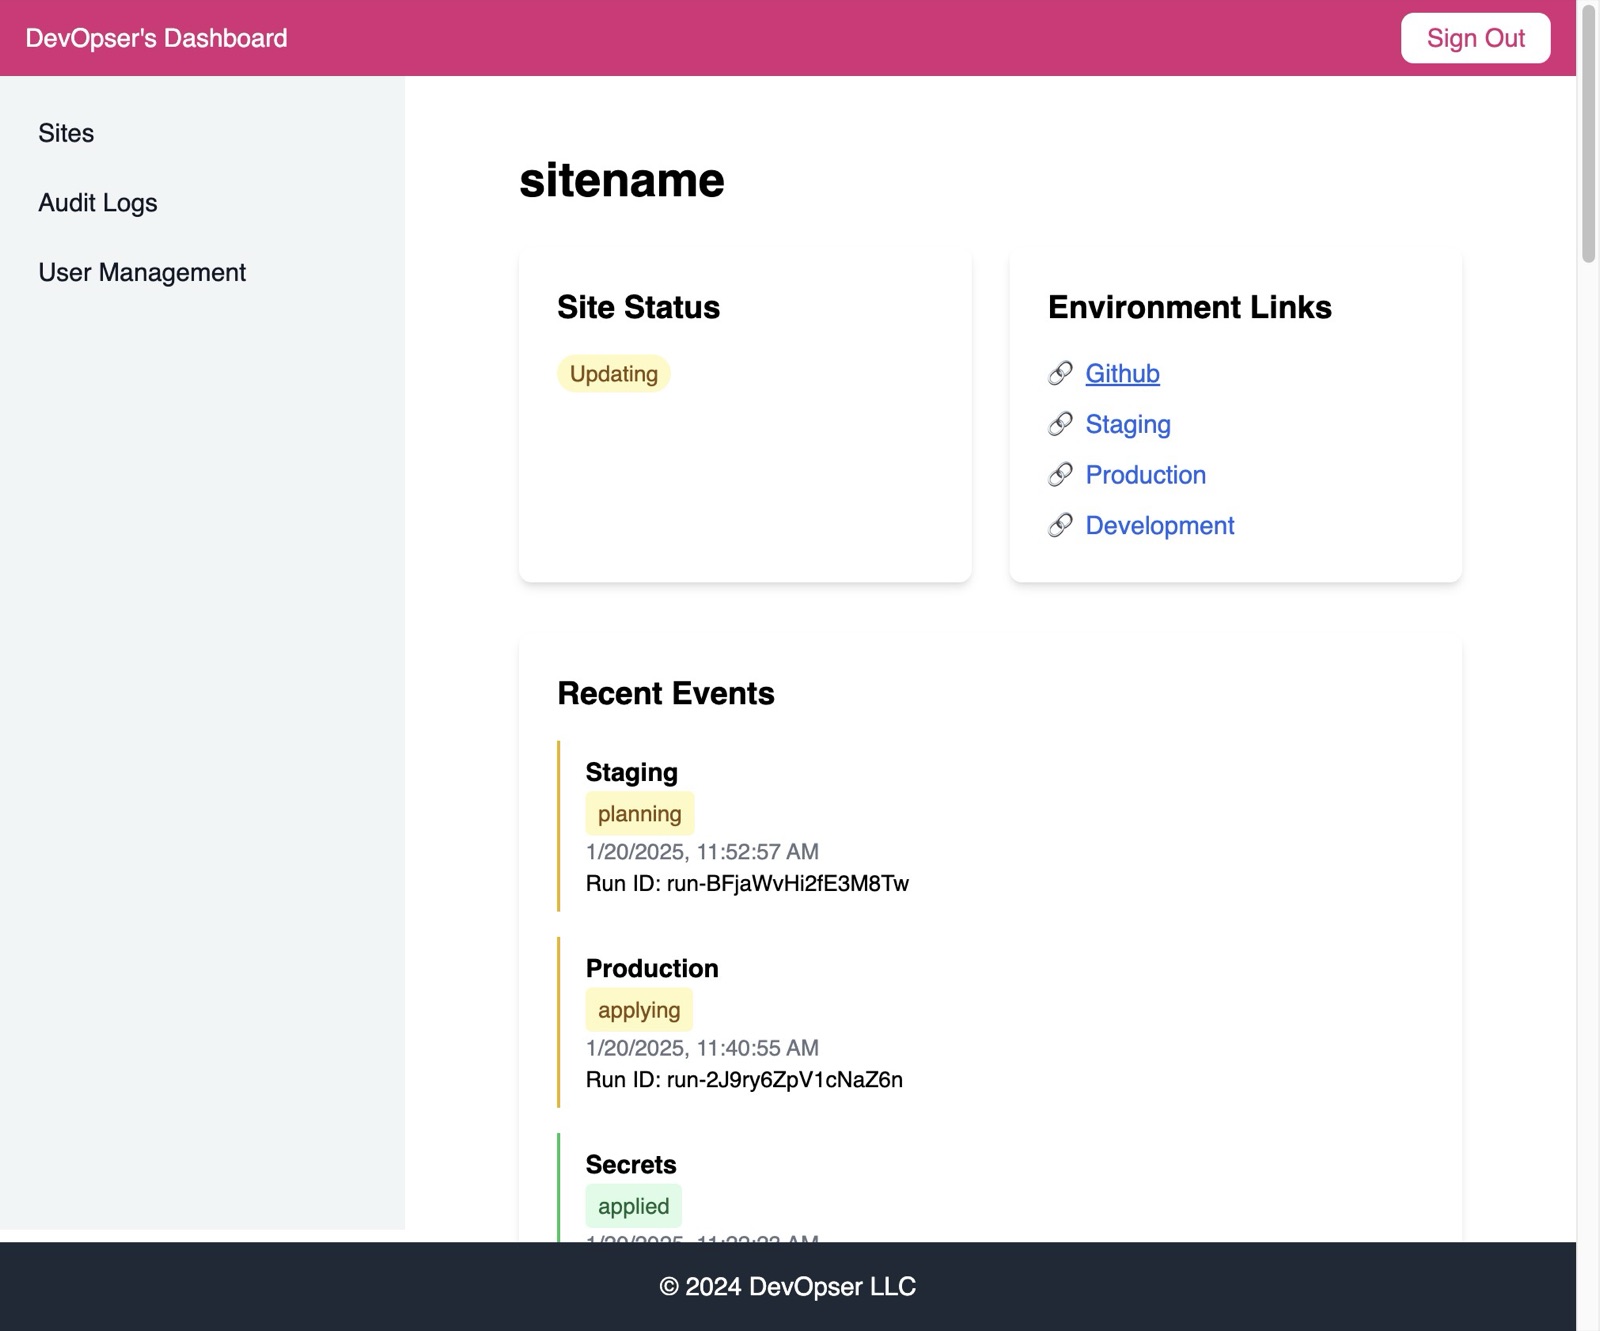
Navigate to your site detail page.
-
2
Click “Github”
-
3
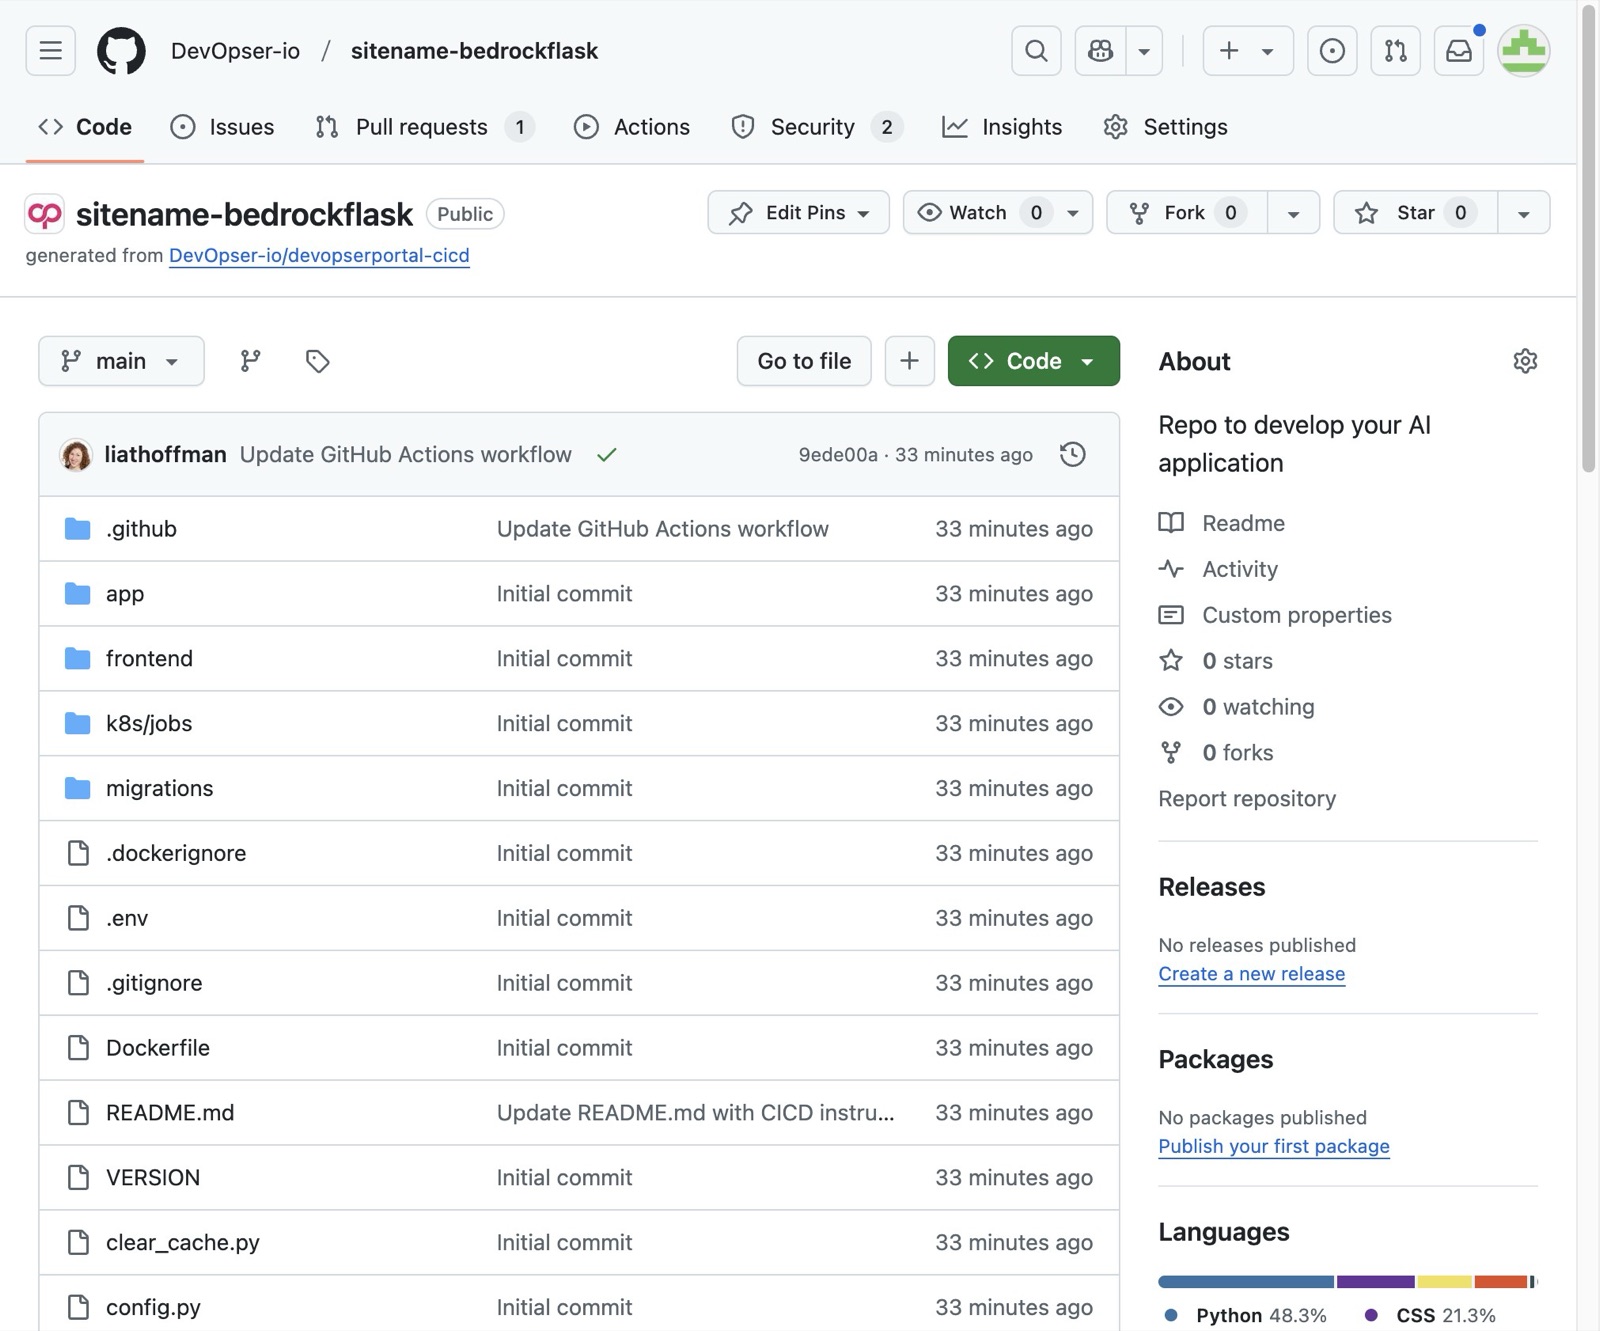
Click “Code”
-
4
Copy your app's repo's URL.
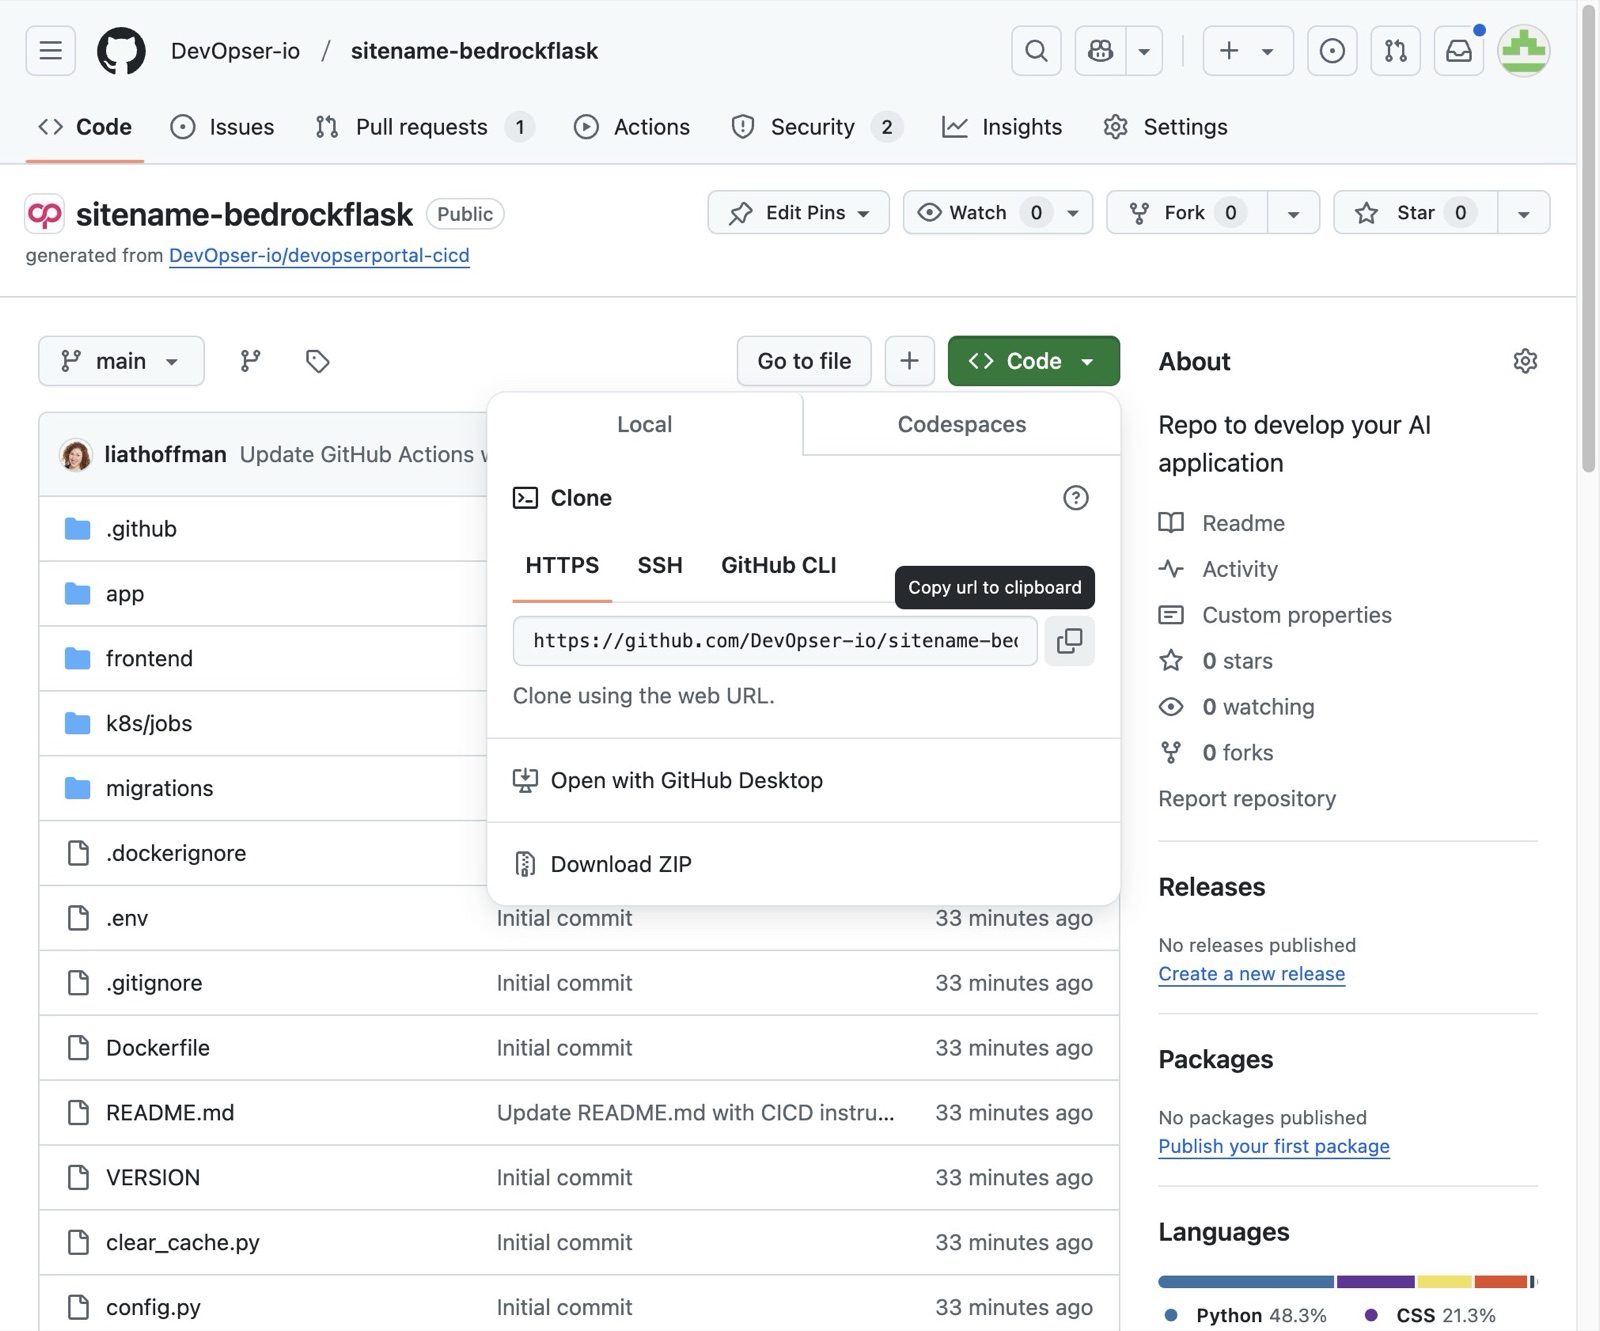
-
5
Go to your Code Server for the Development Environment (via the browser) and type [[git clone <your repo>]]
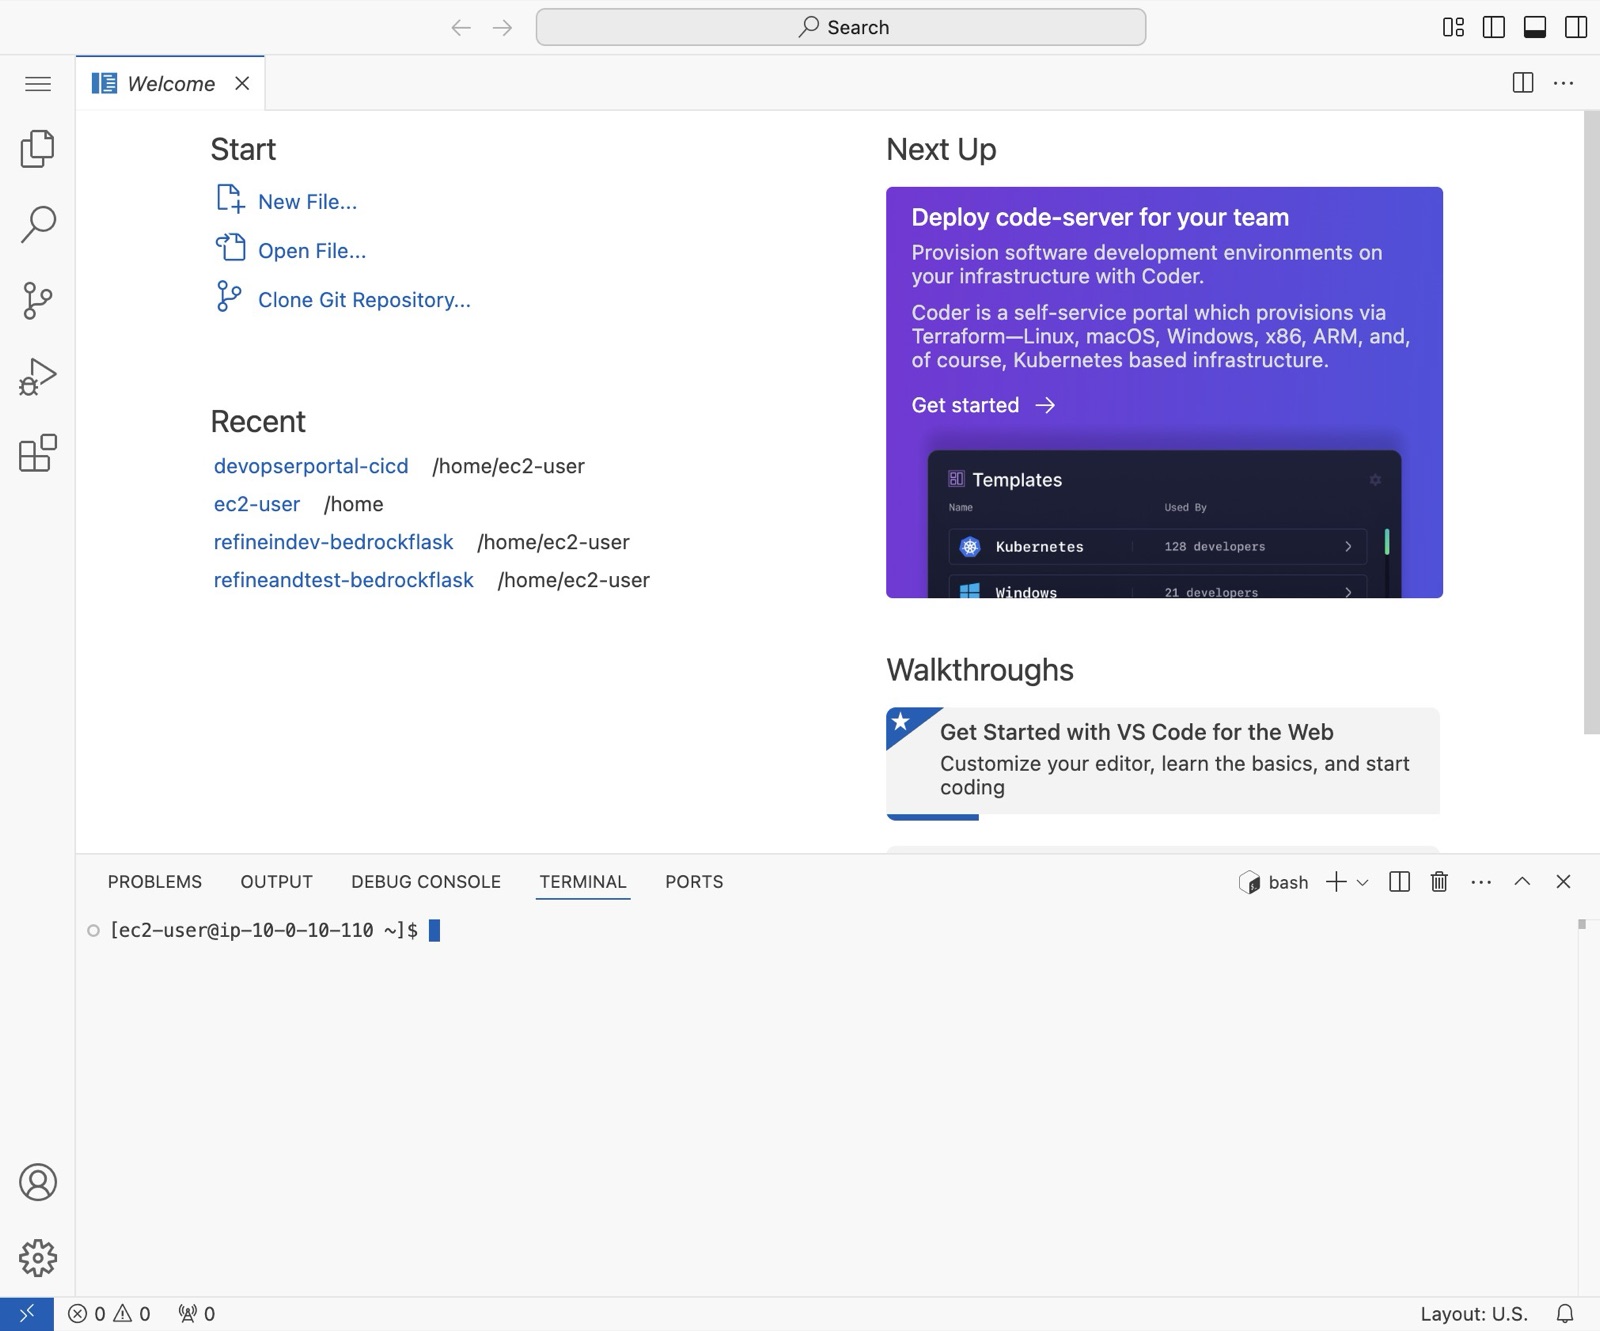
-
6
To see the file tree for your repo, click this icon.
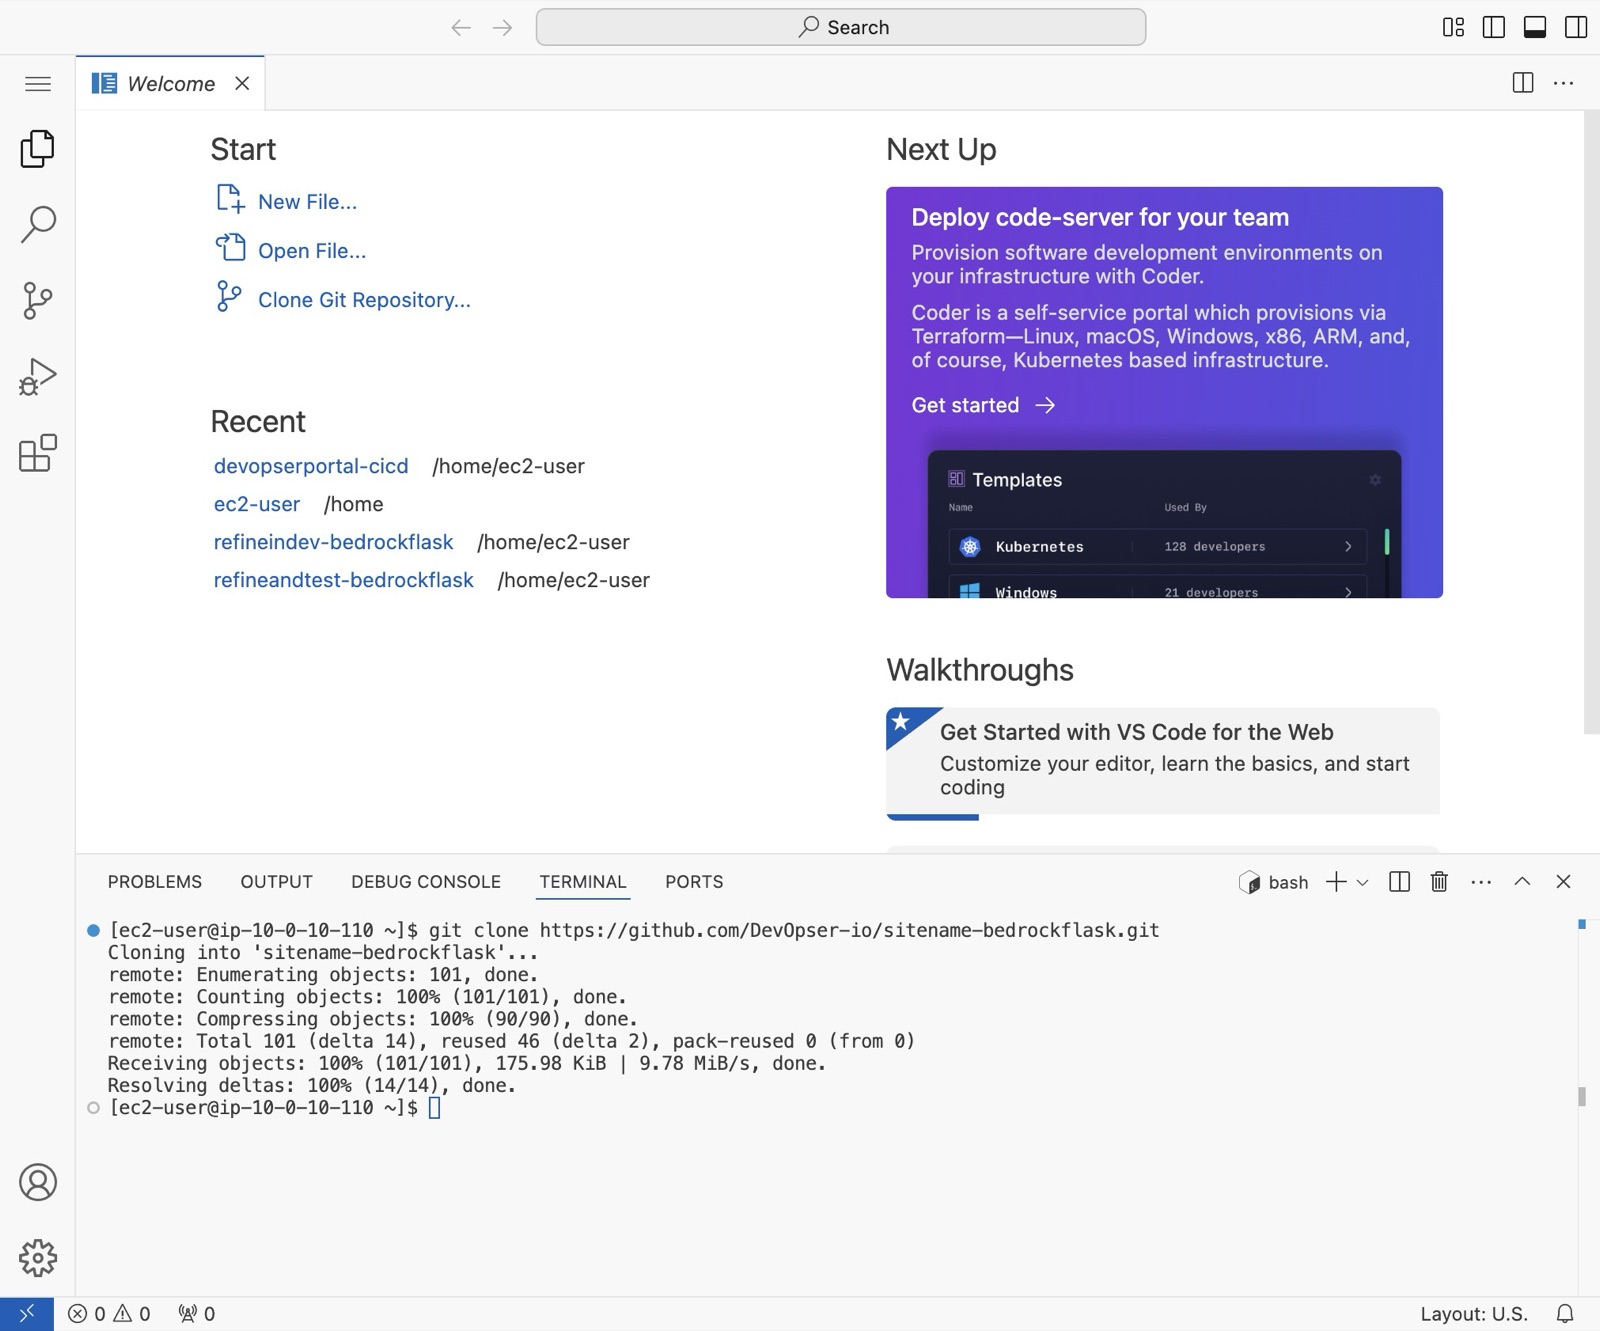
-
7
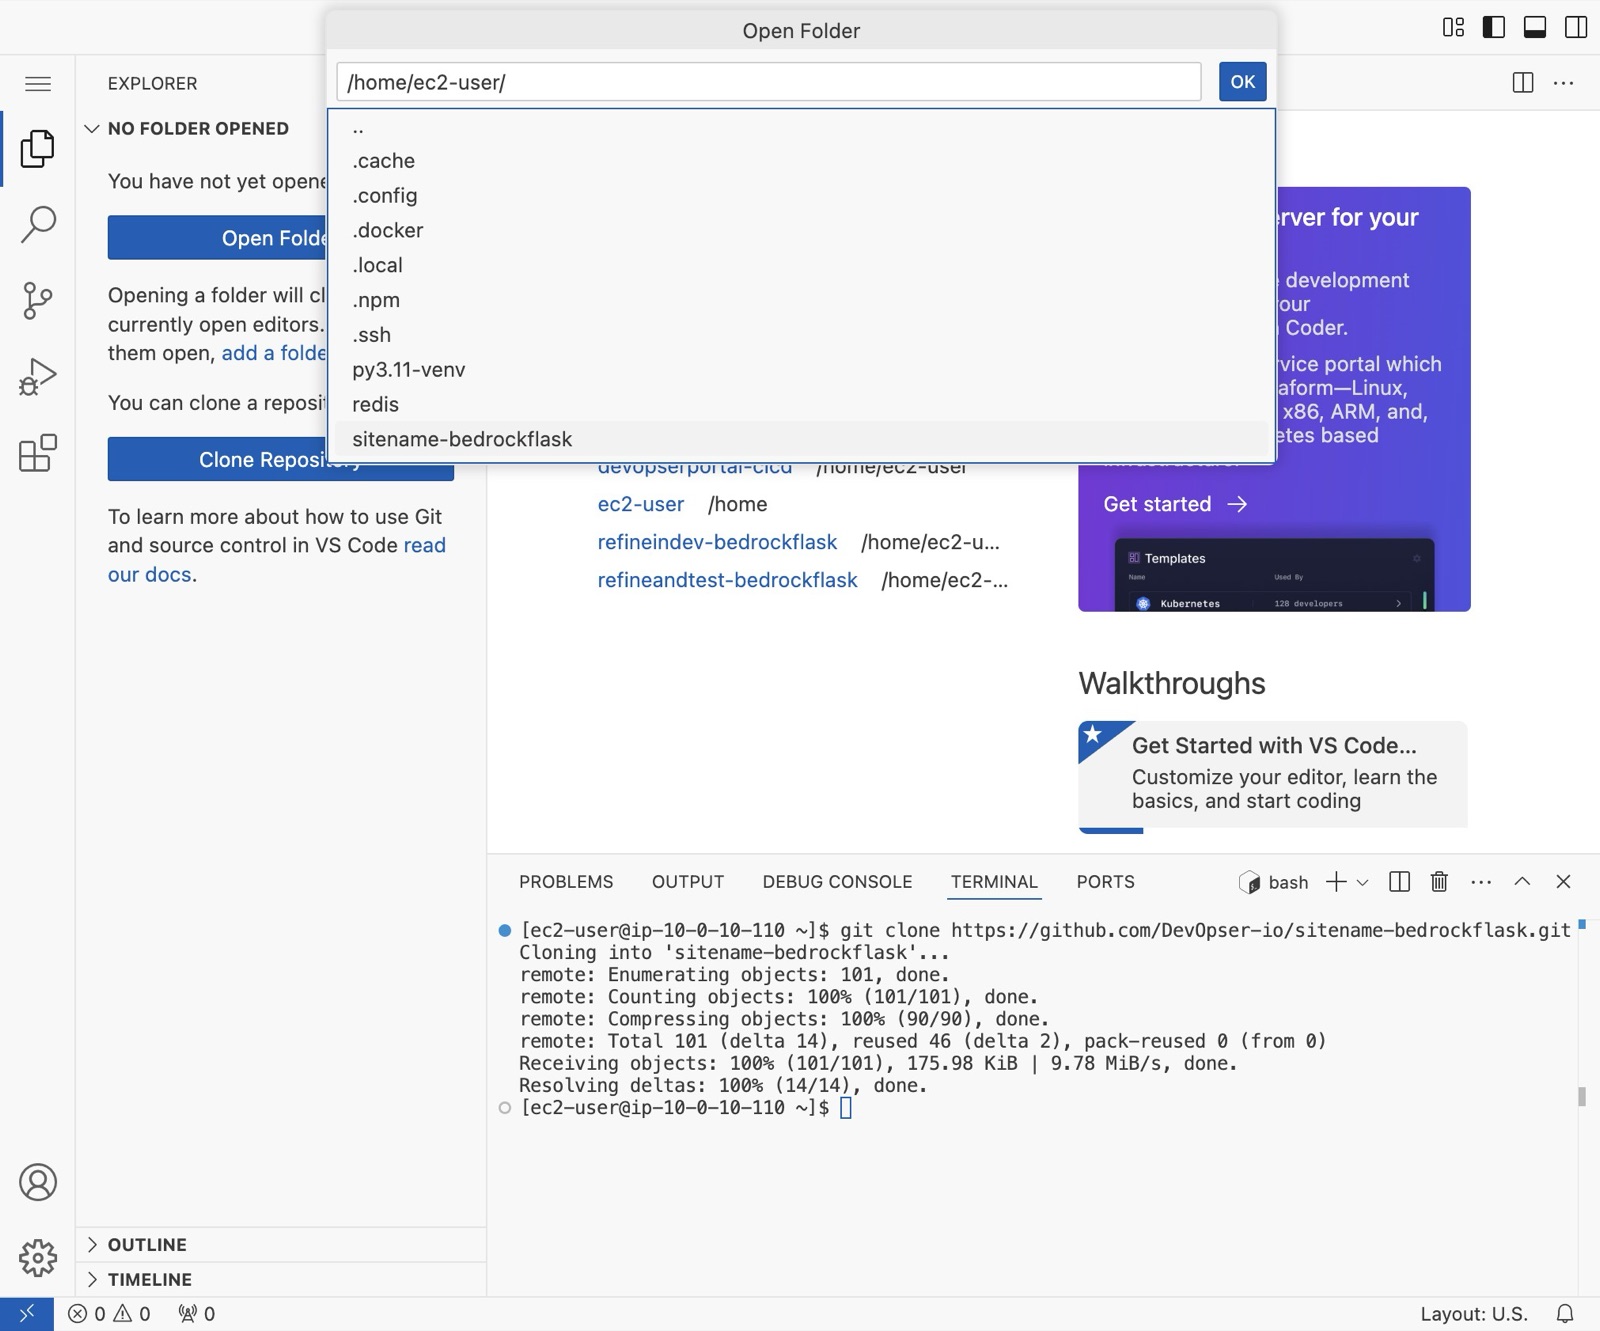
Click “Open Folder”
-
8
Click your repo name - eg: “sitename-bedrockflask”
-
9
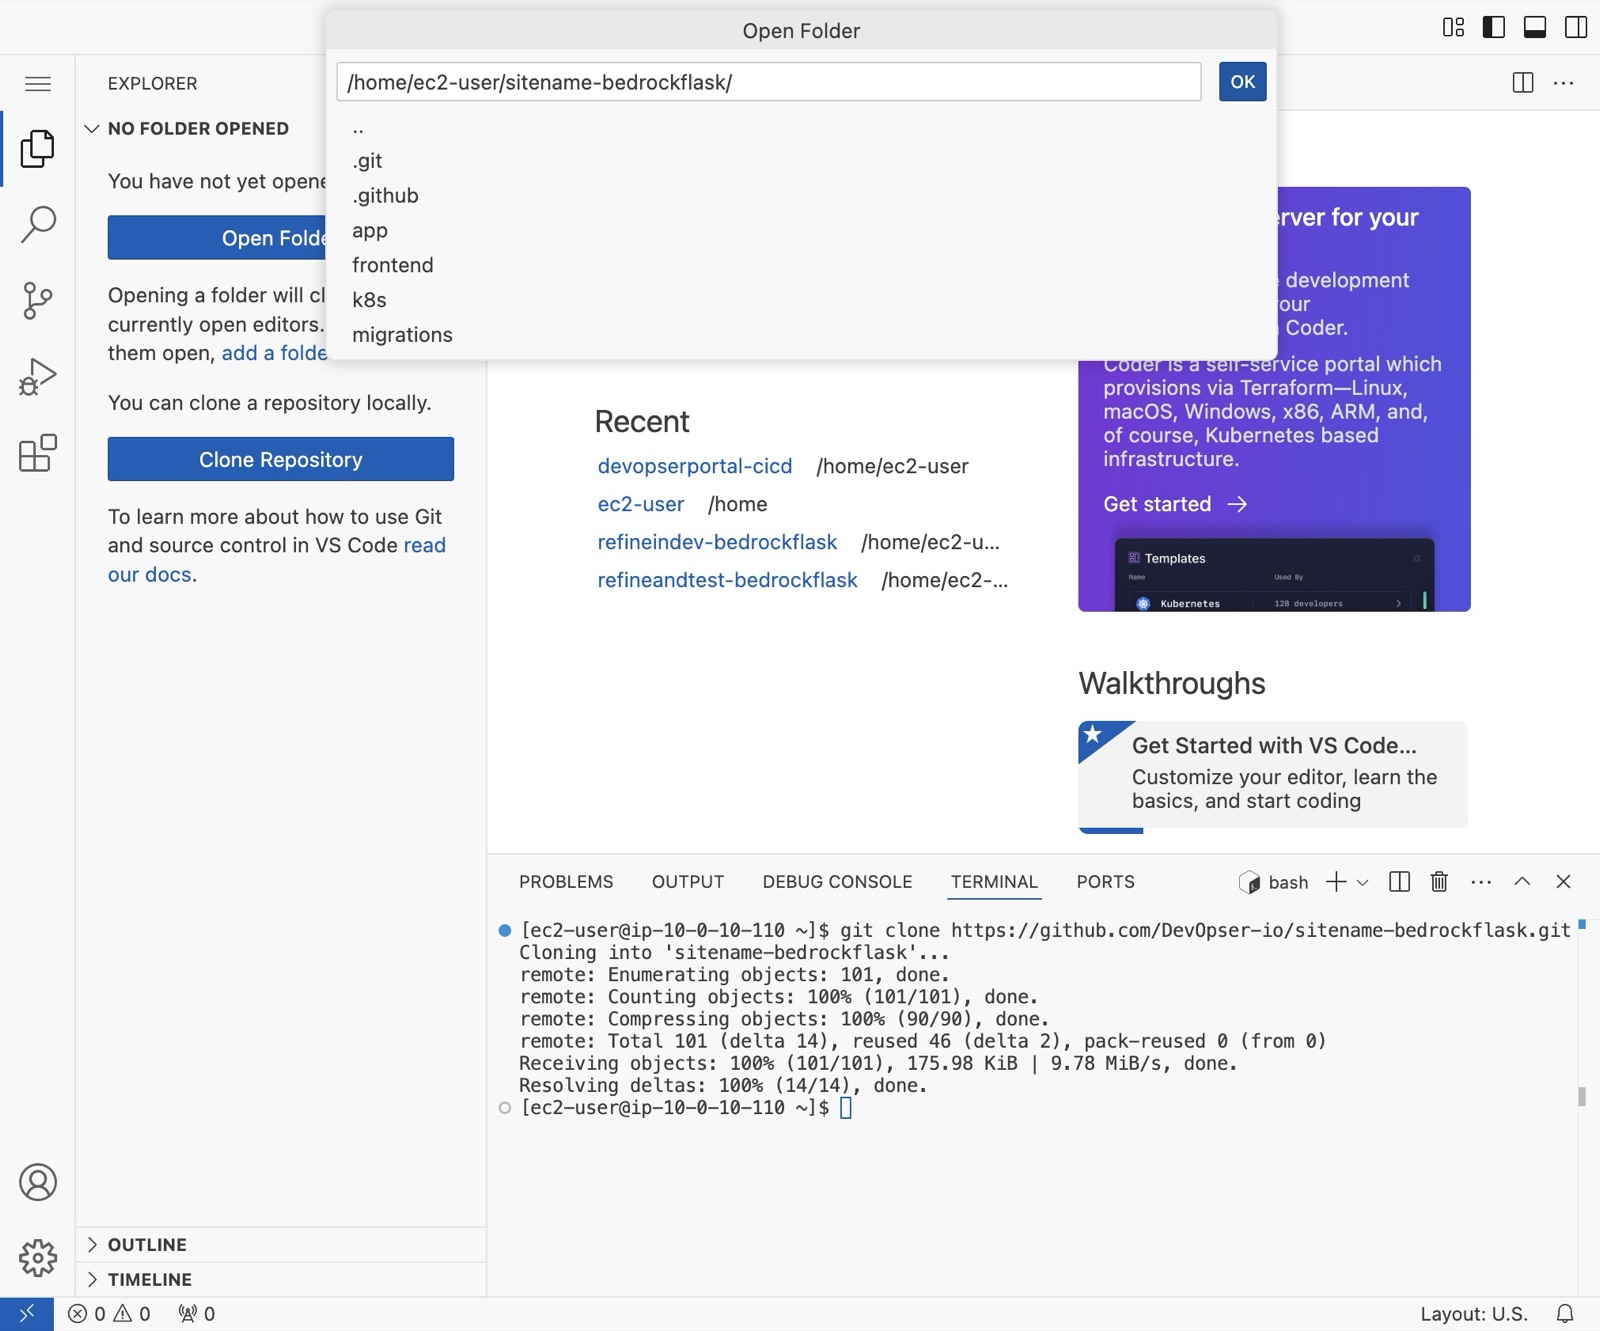
Click “OK”
-
10
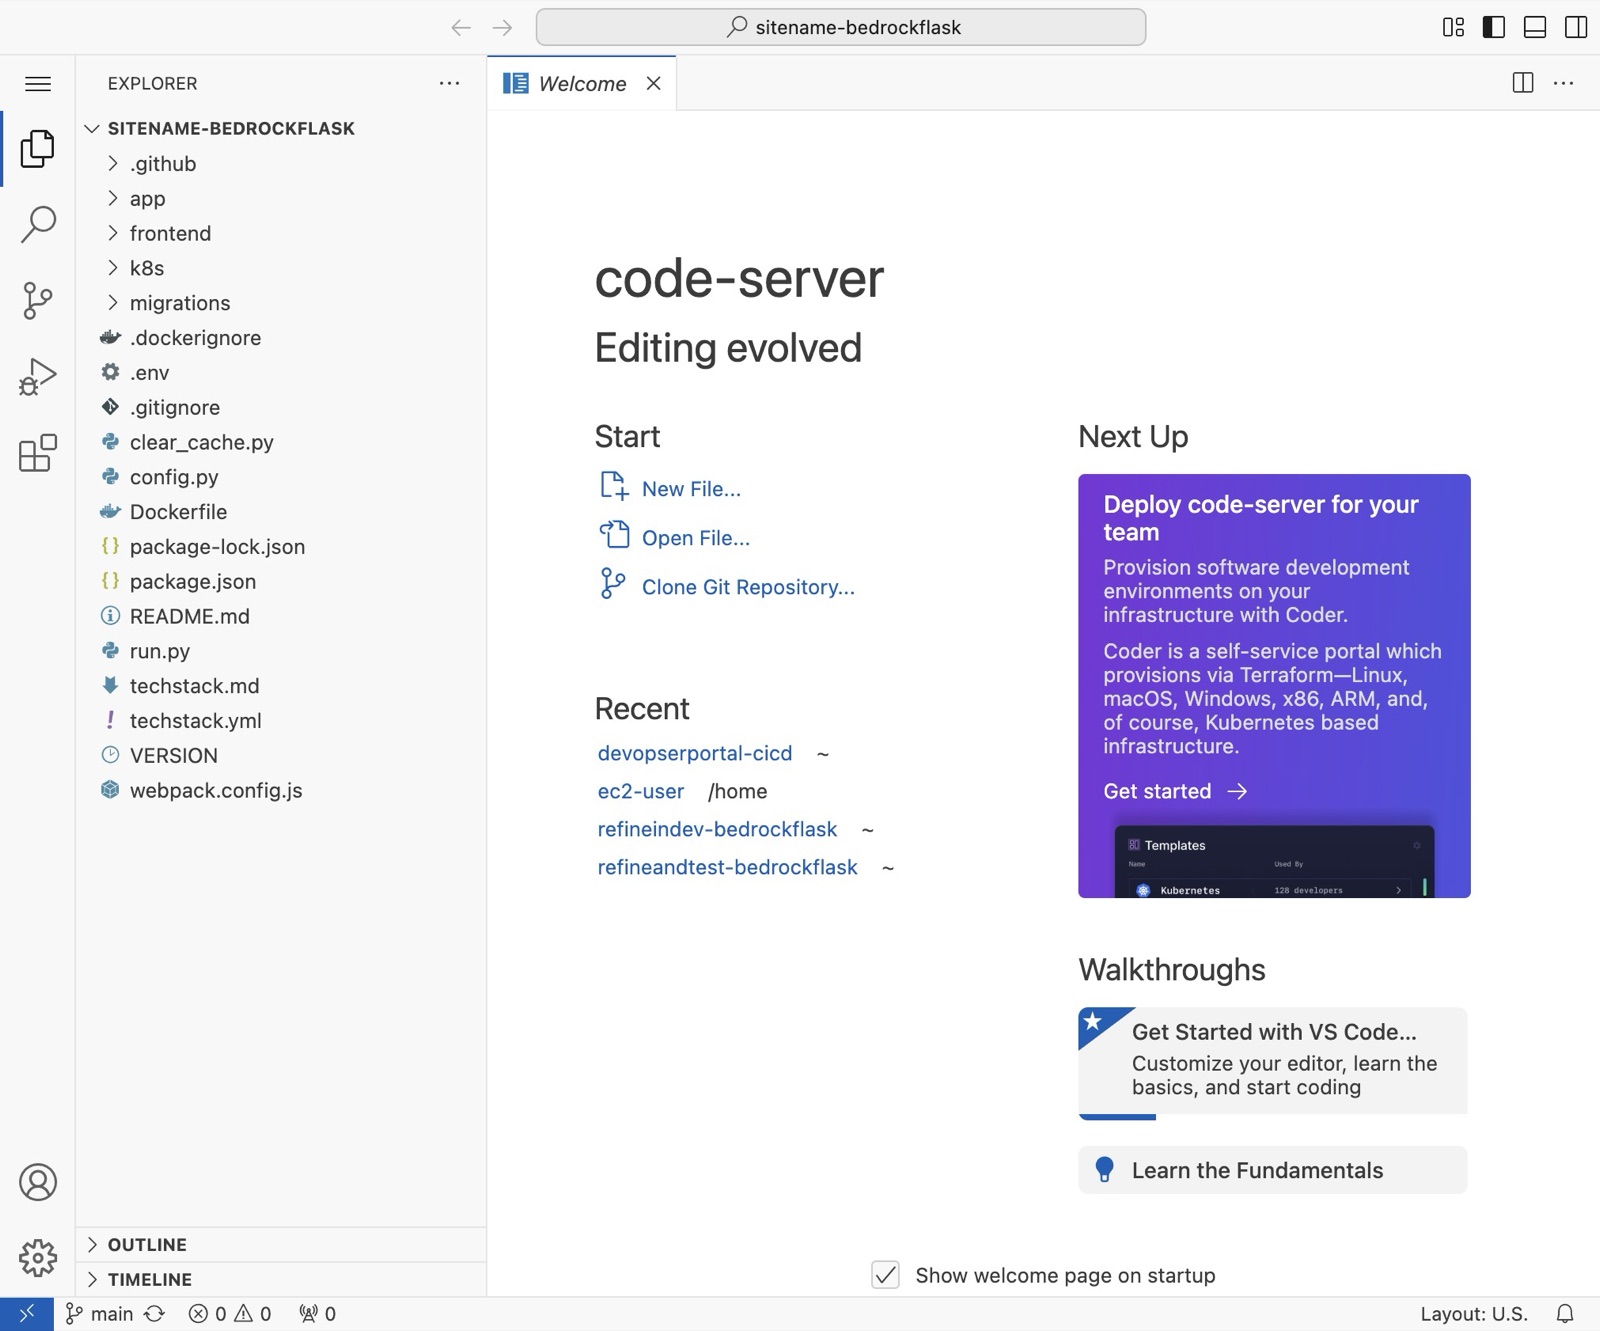
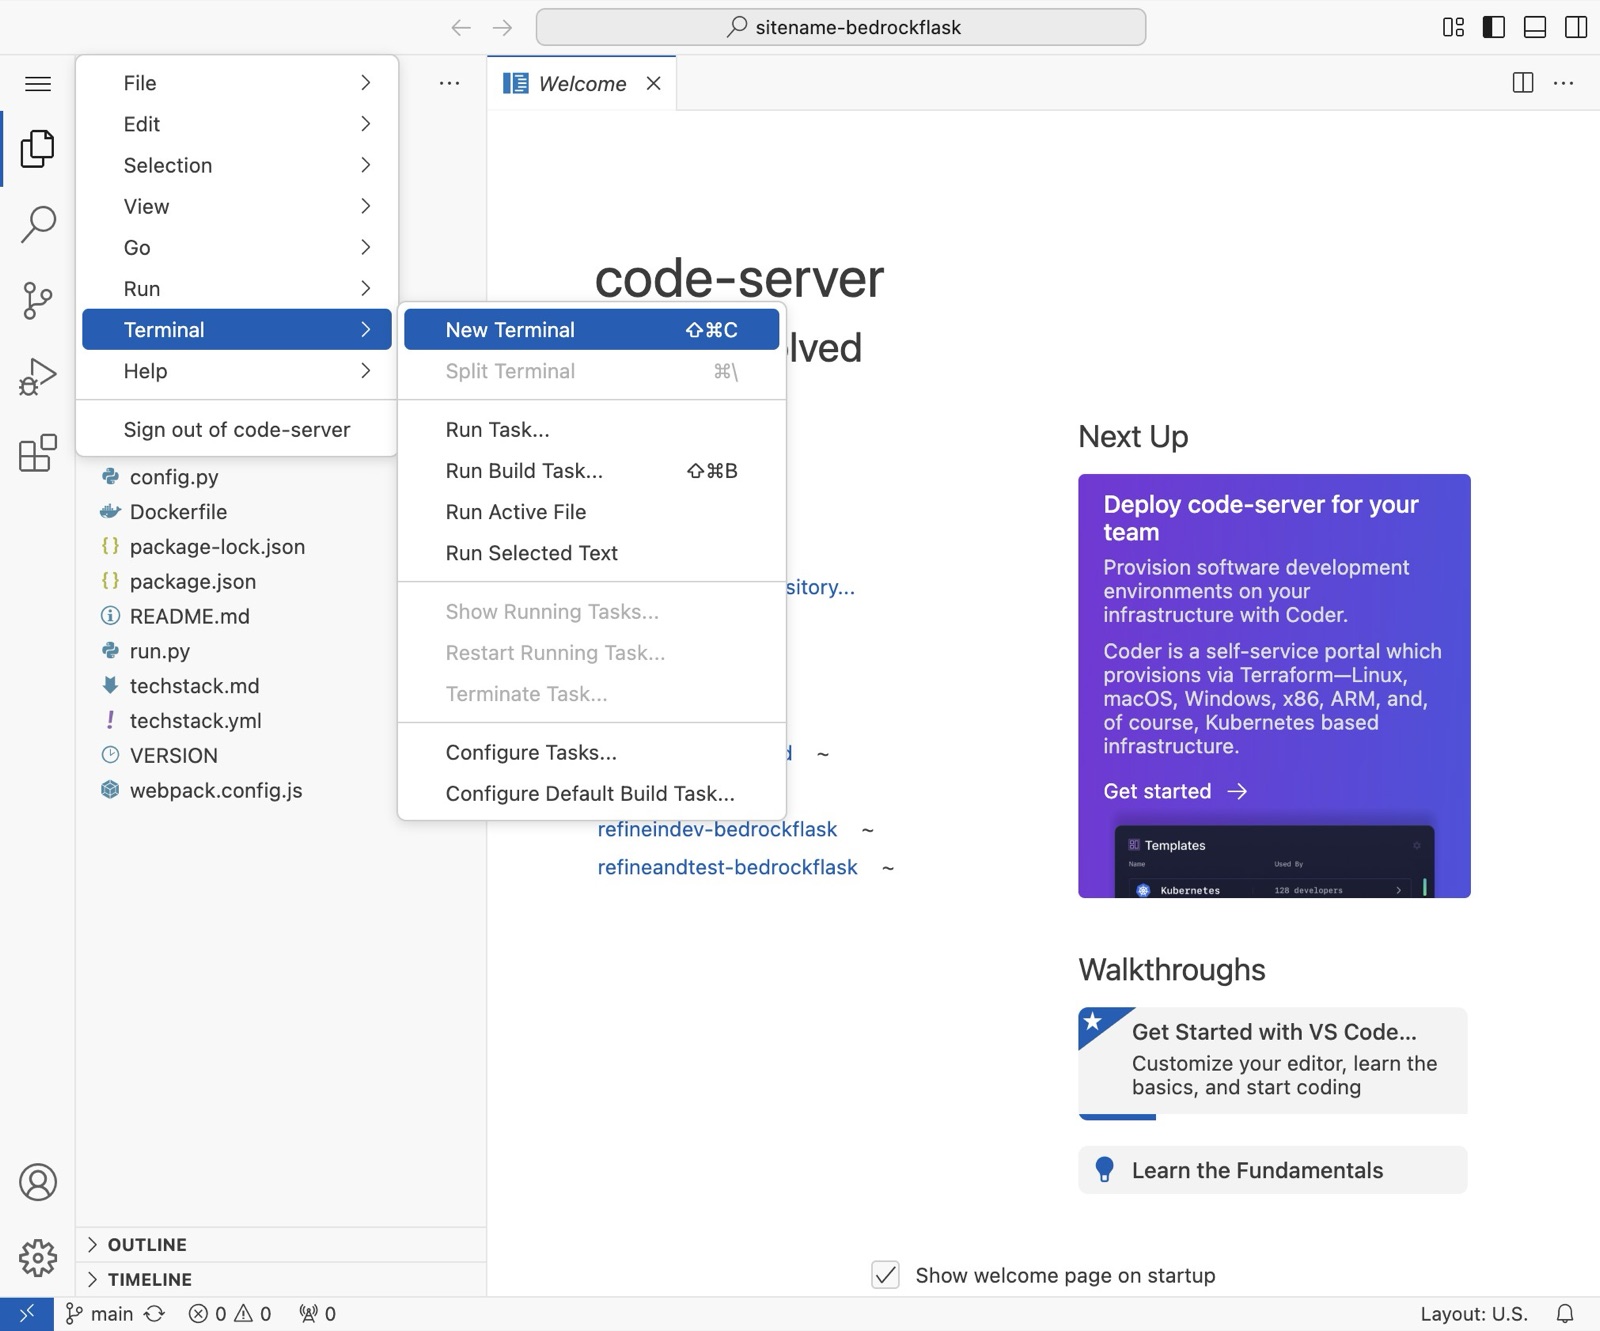
Open 2 terminals by clicking the hamburger menu on the very top of the left nav.
-
11
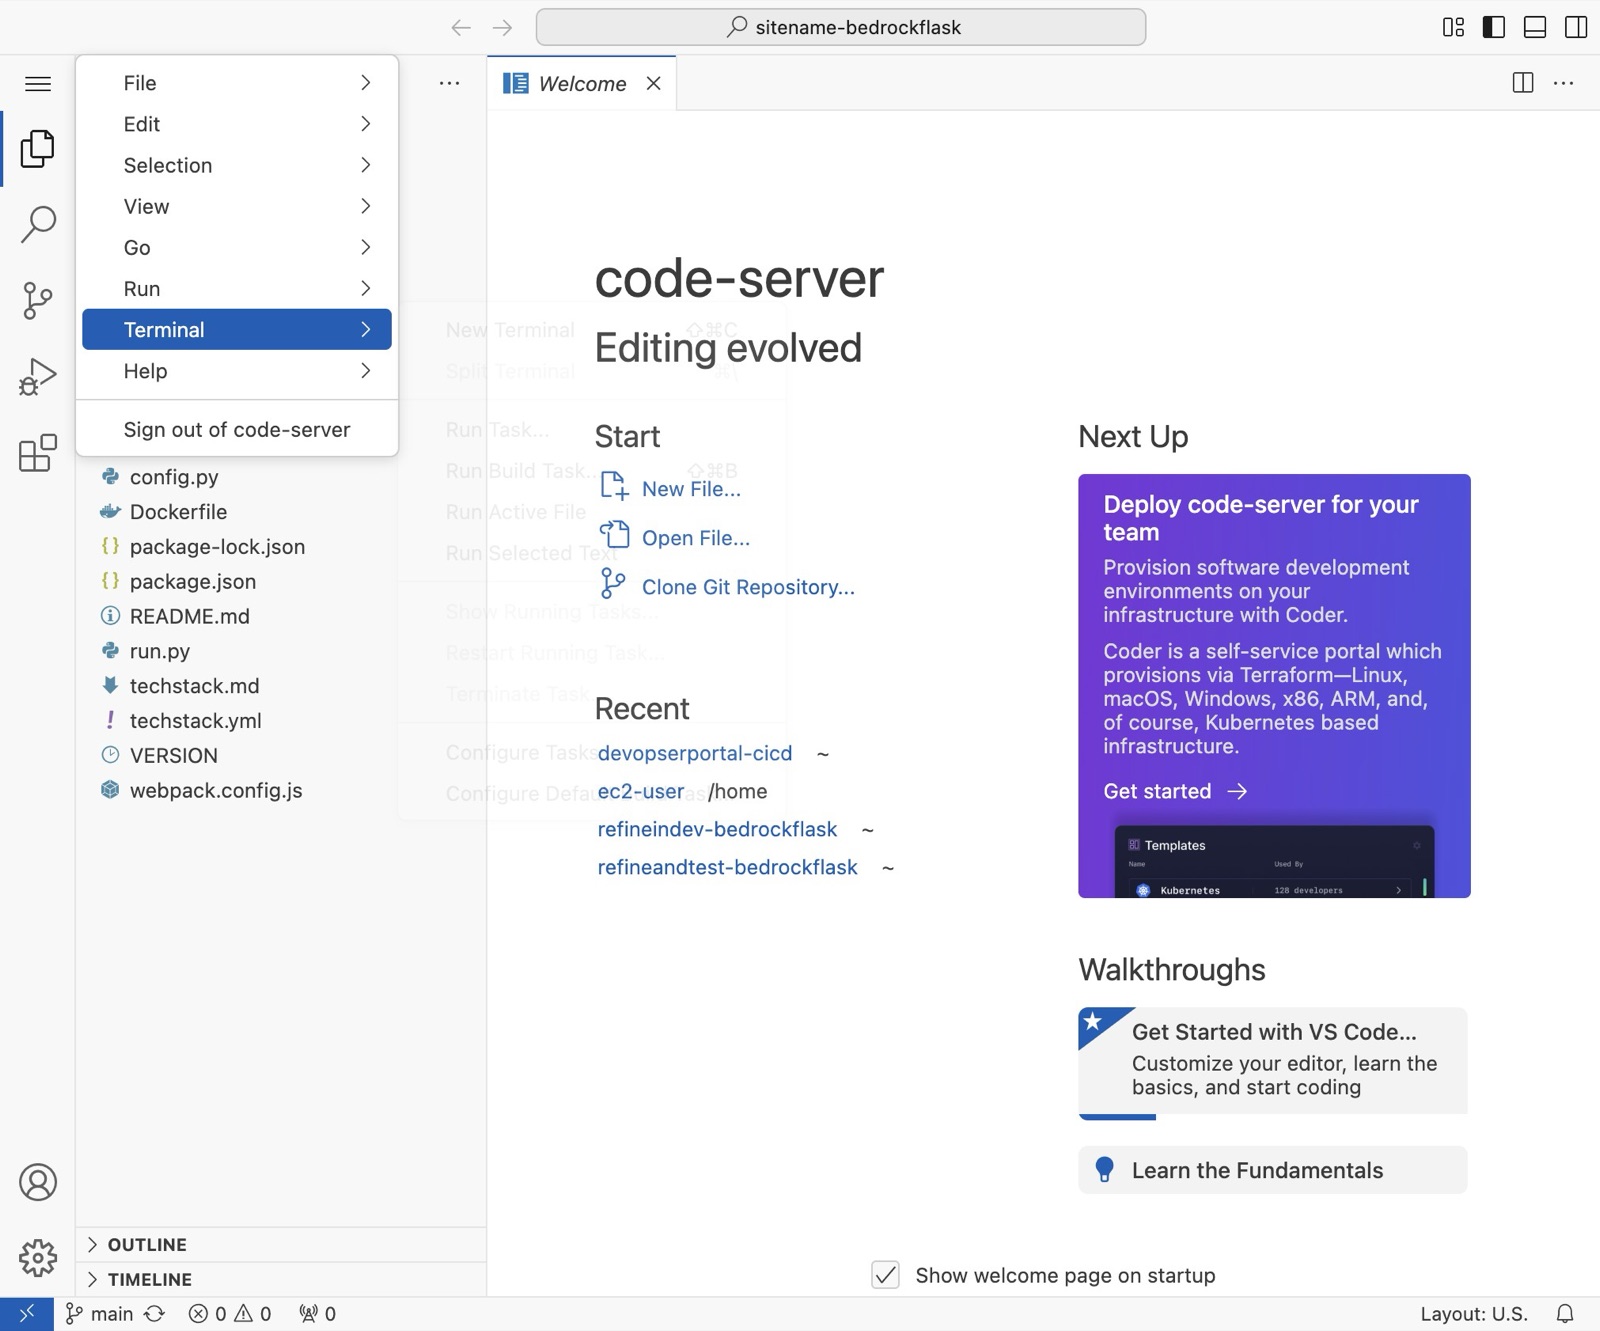
Click “Terminal”
-
12
Click “New Terminal”
-
13
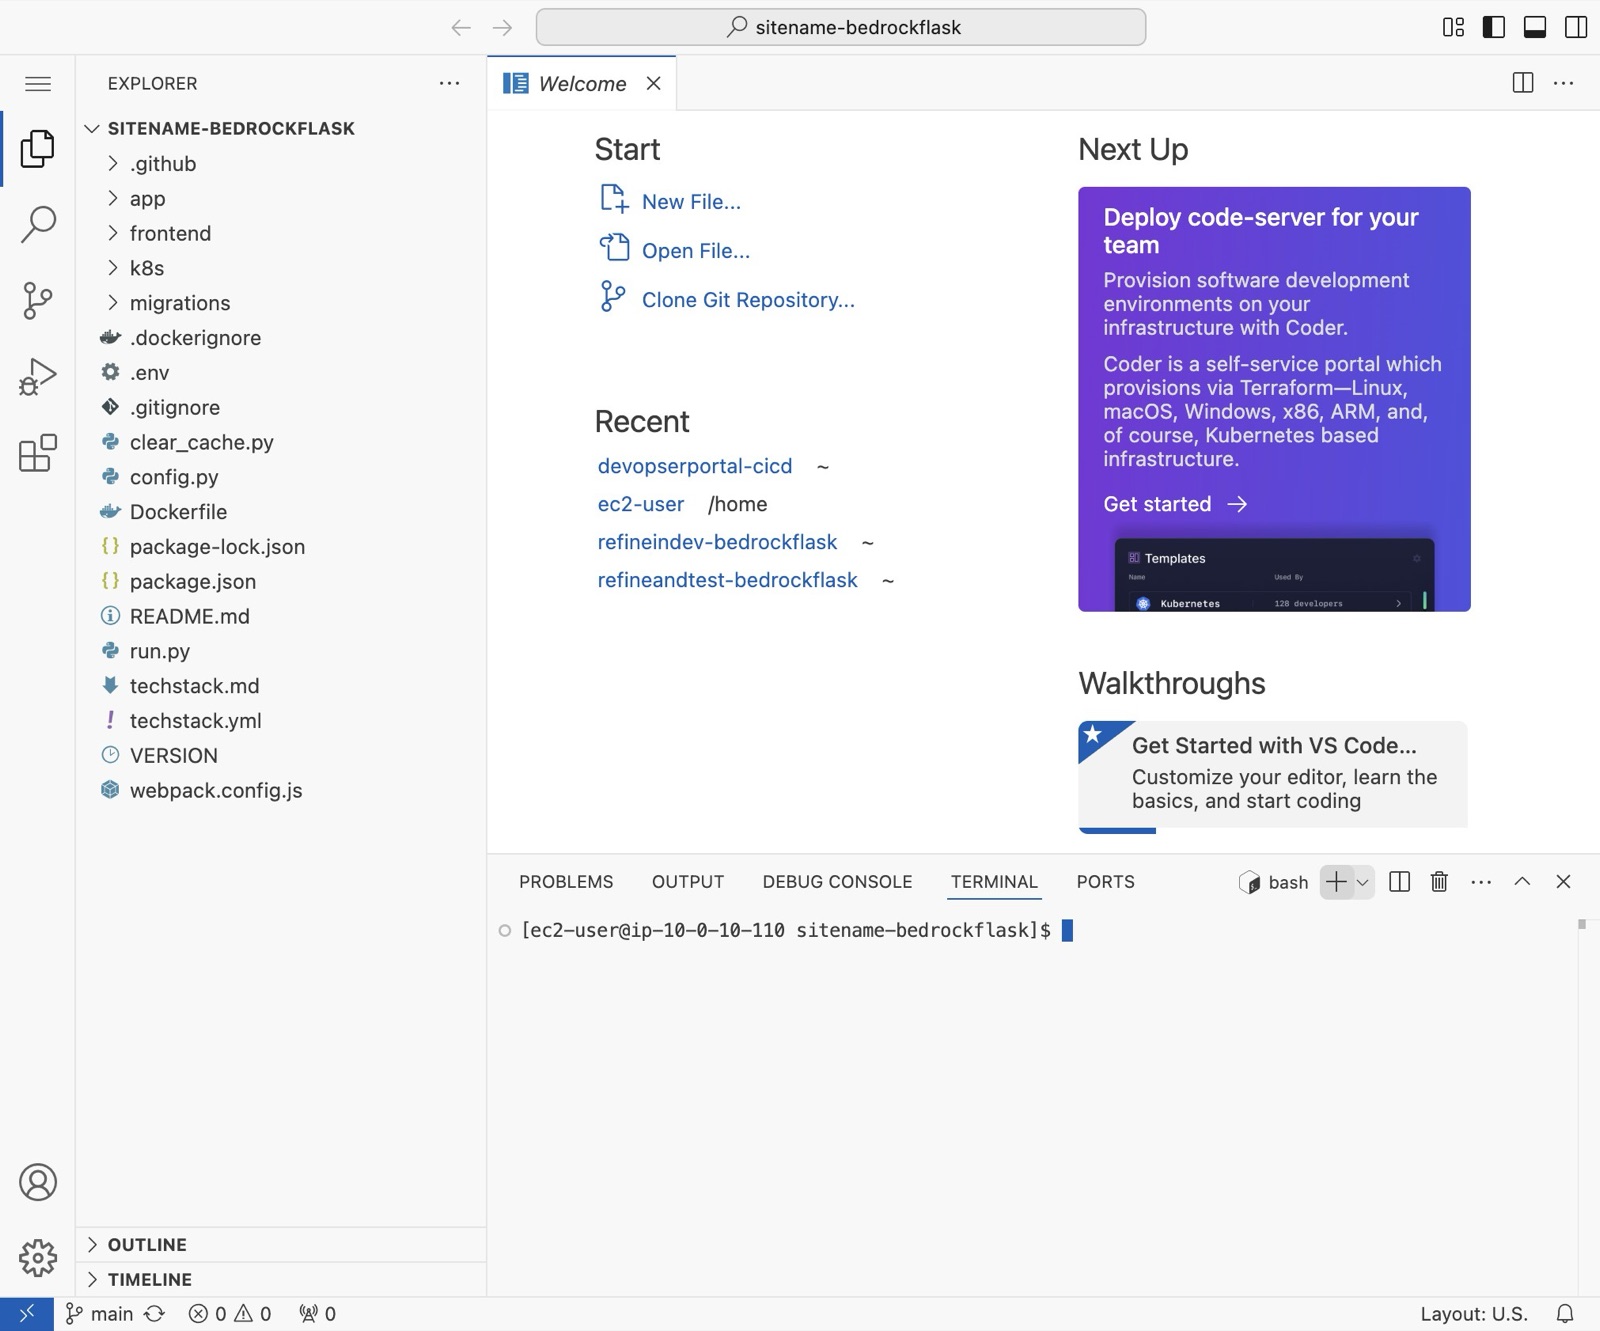
To duplicate the terminal (which you will need for frontend and backend) click the “+”
-
14
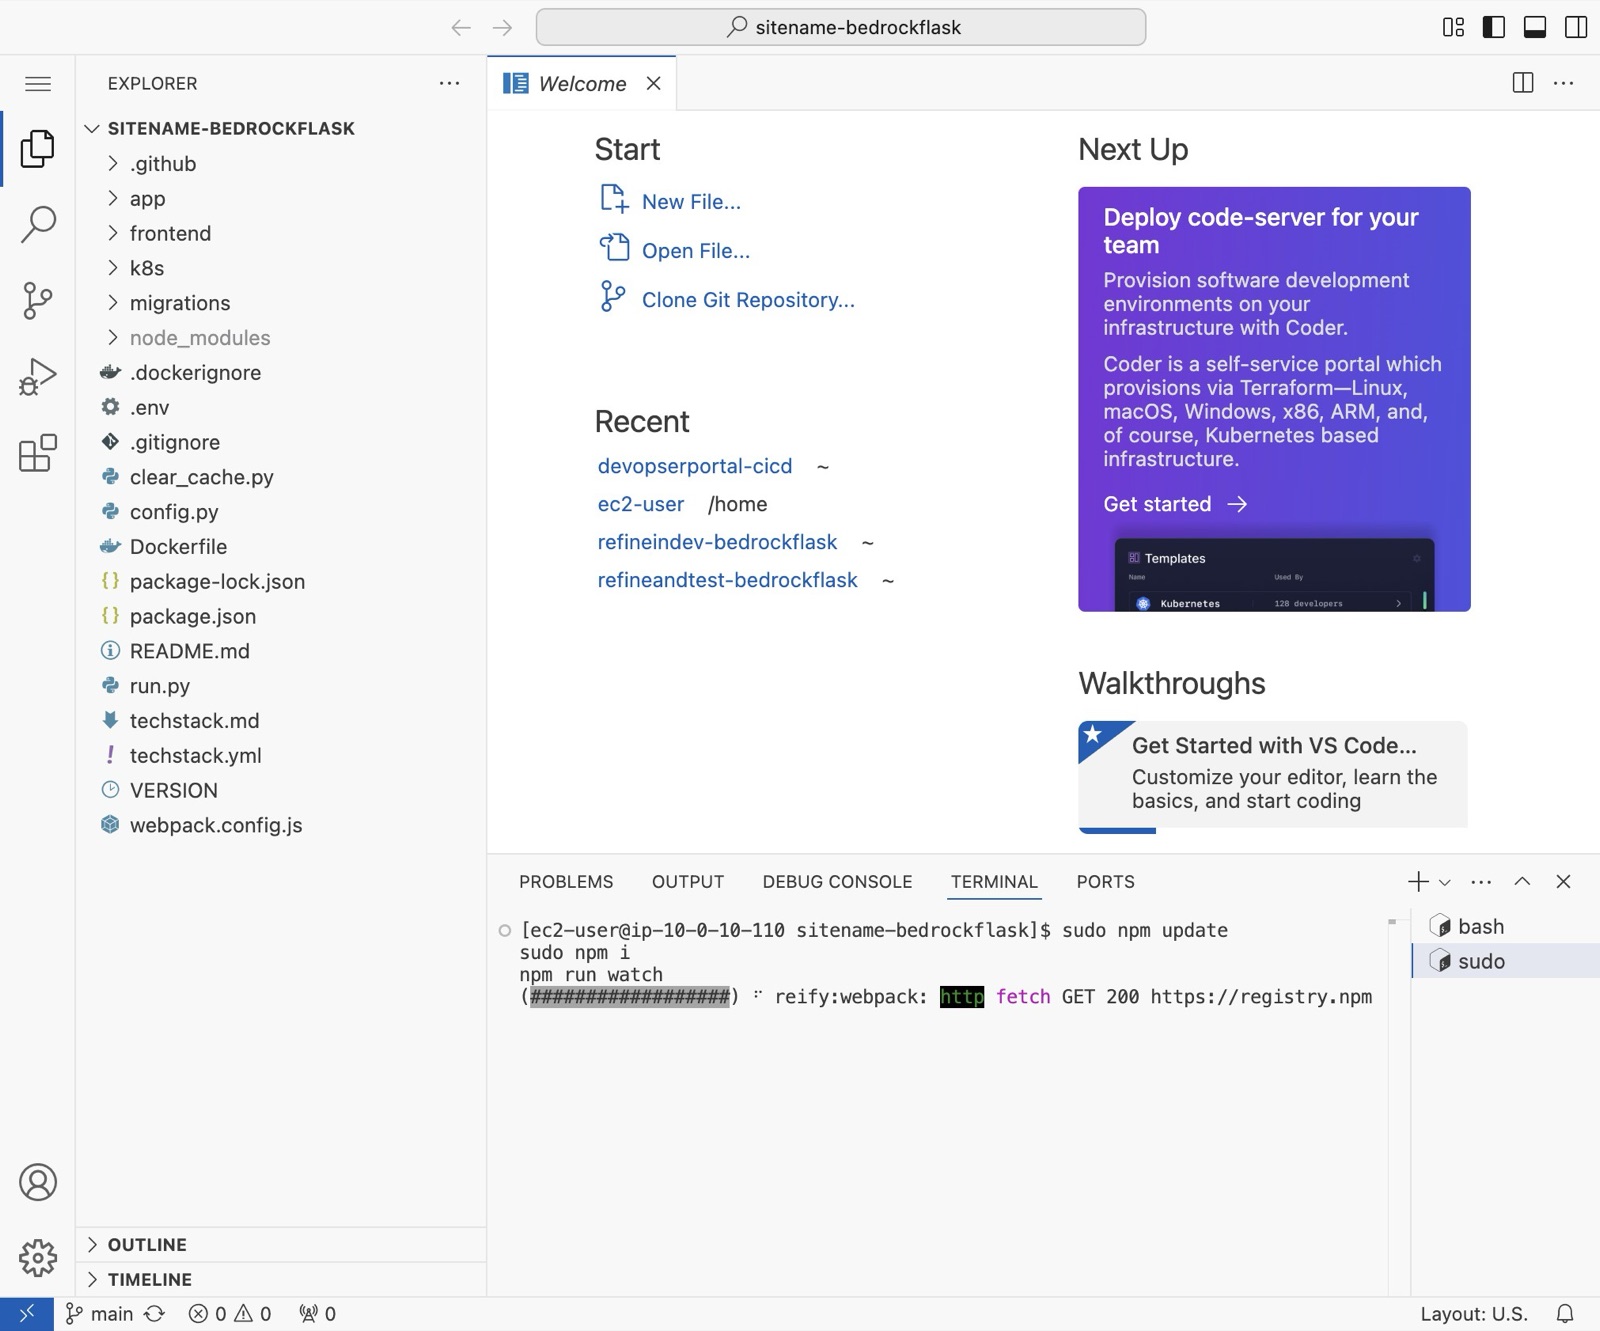
In one tab, install your frontend webpack by typing the following:\ \ [[sudo npm update]]\ [[sudo npm i]]\ [[npm run watch]]
-
15
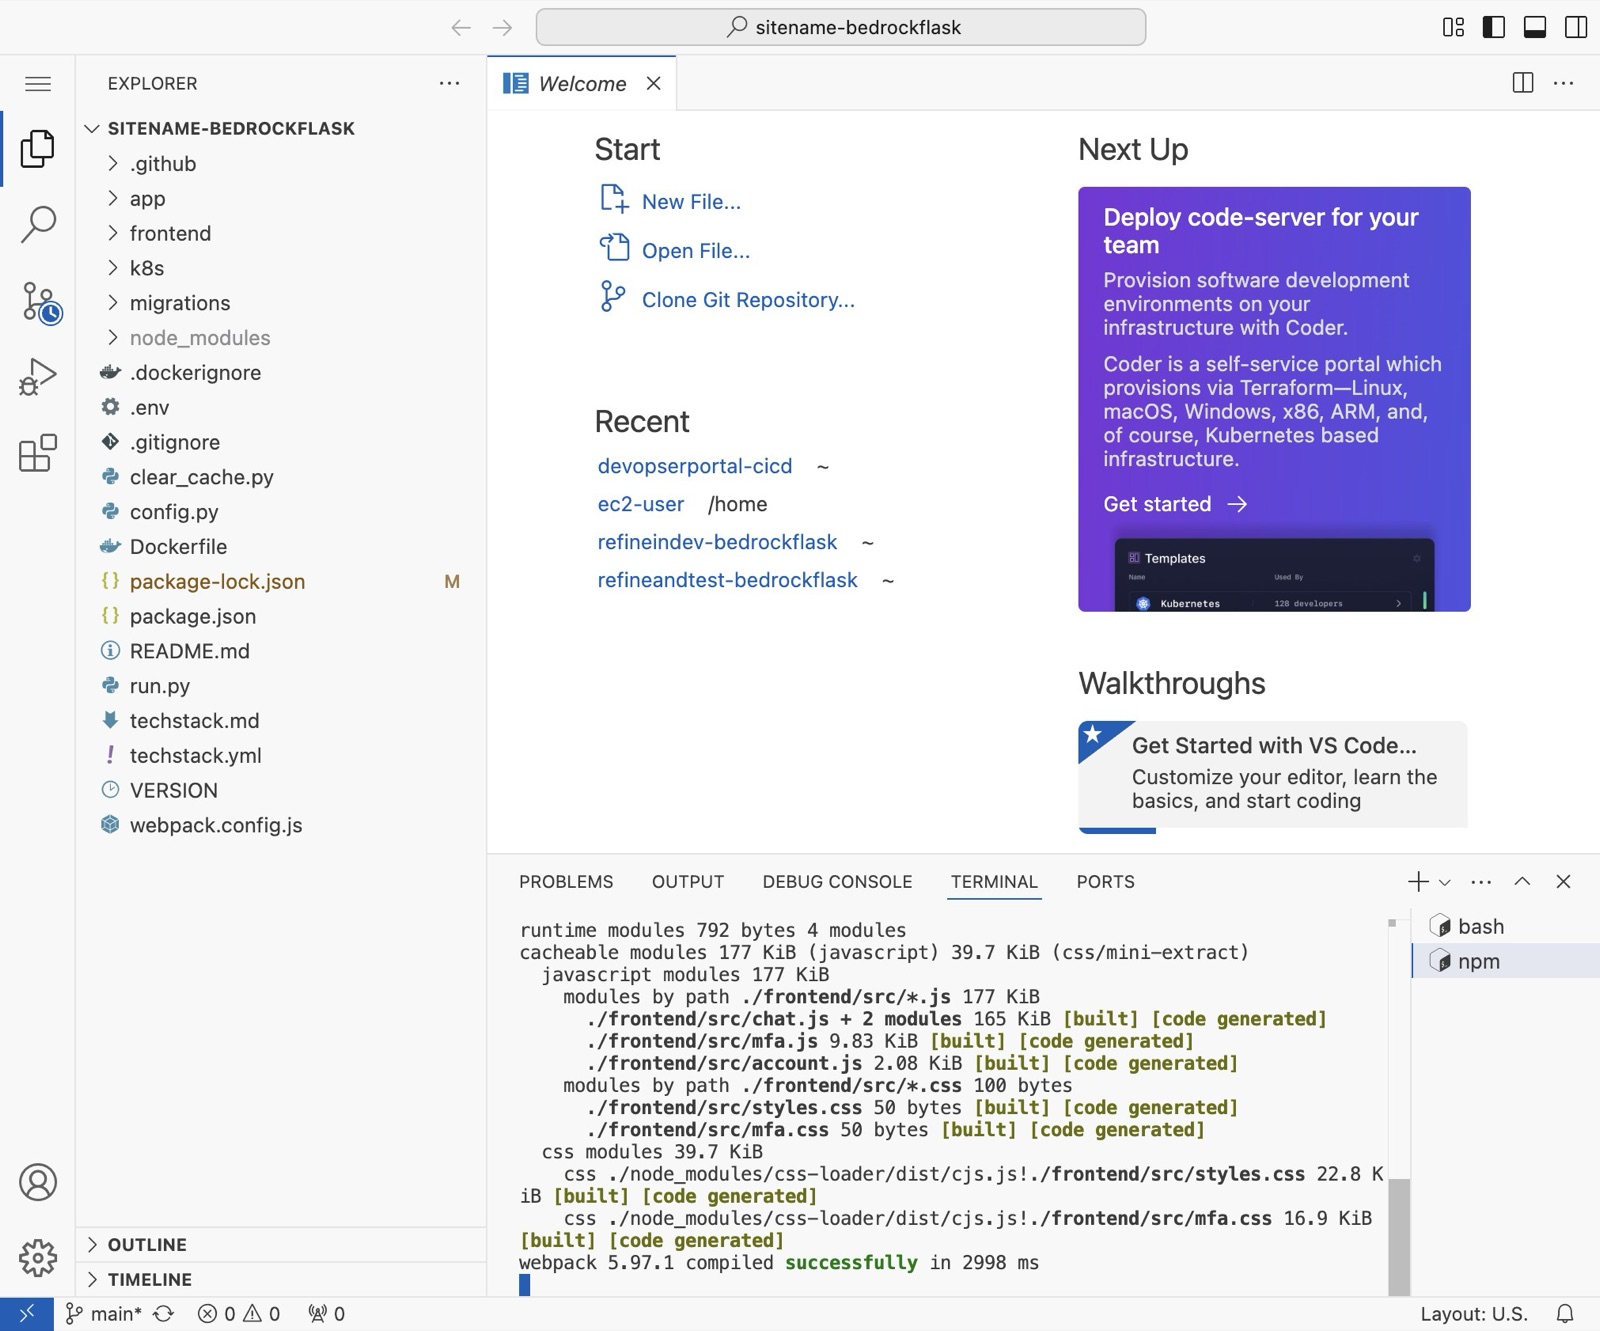
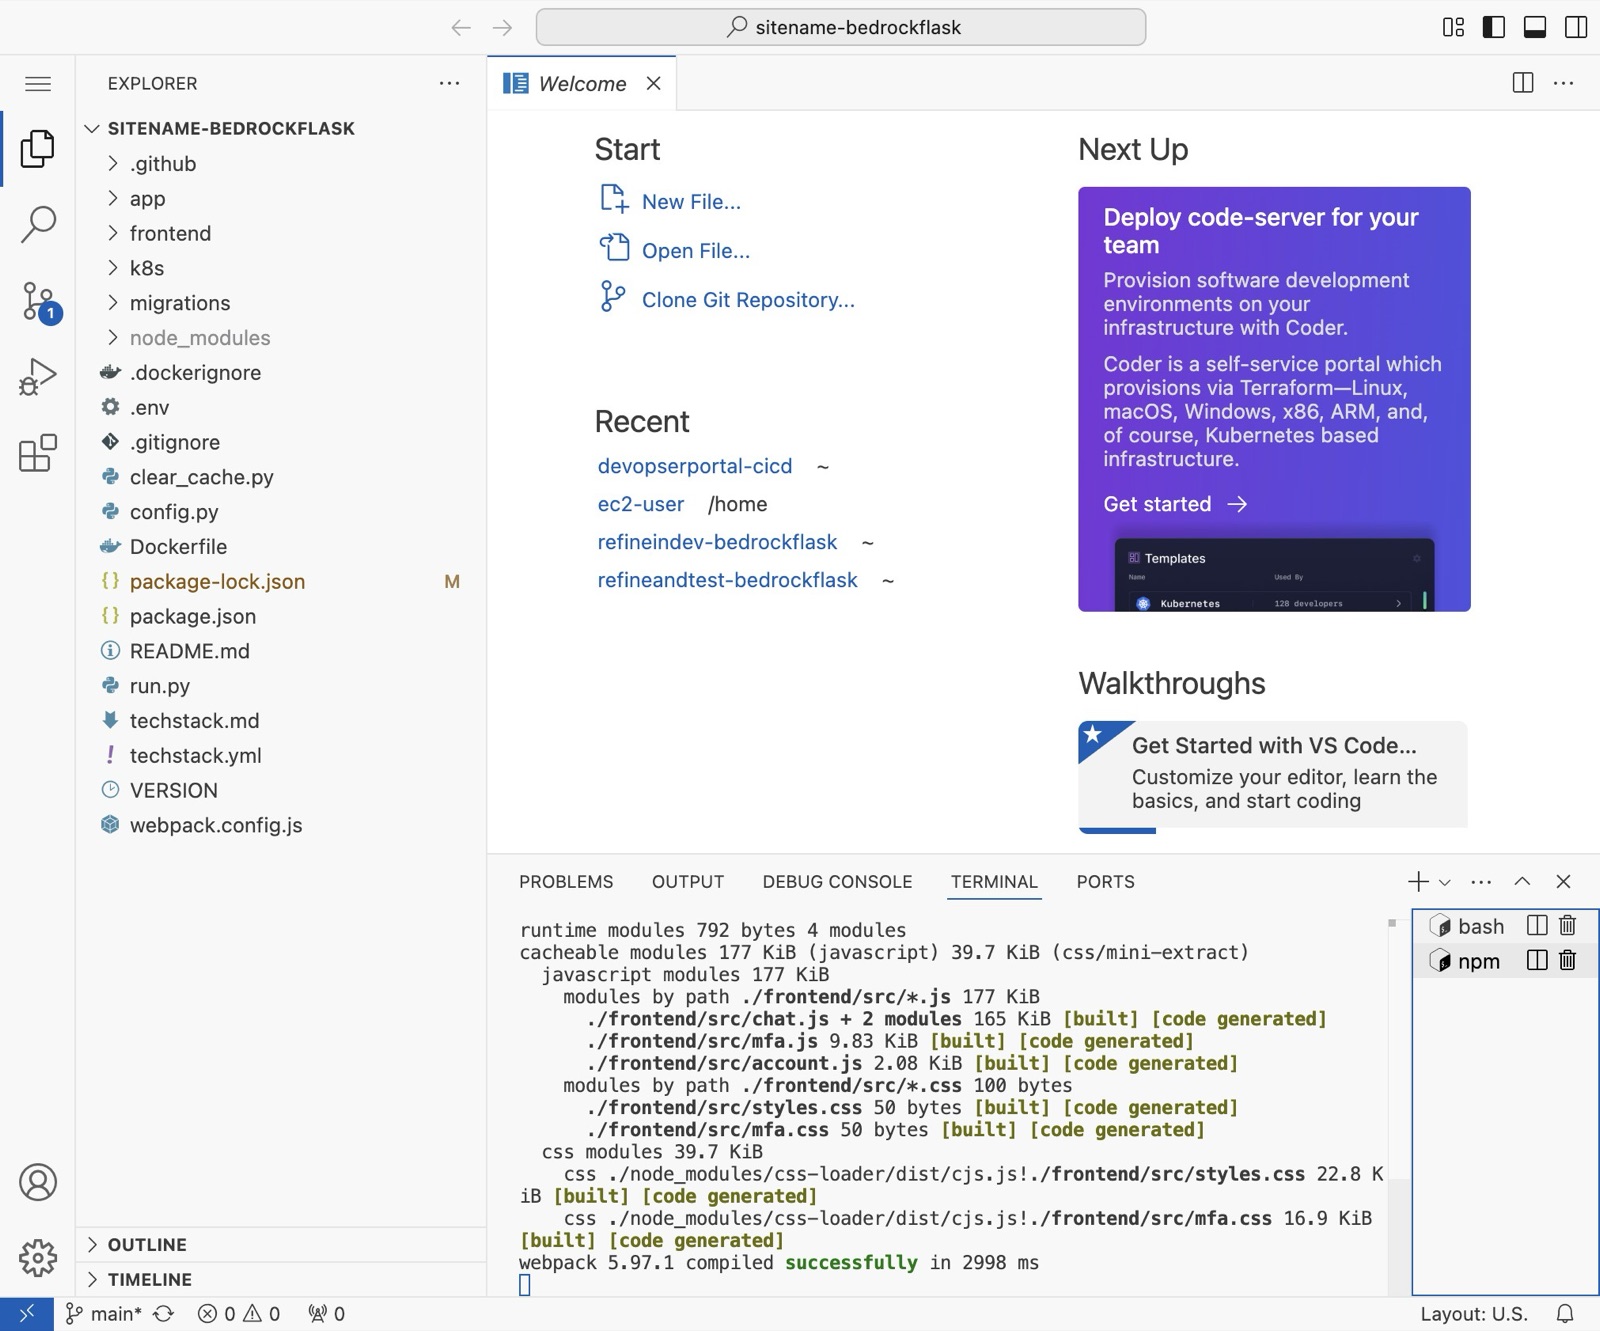
You will see your webpack is successfully built.
-
16
Click “bash” to navigate to the other terminal.
-
17
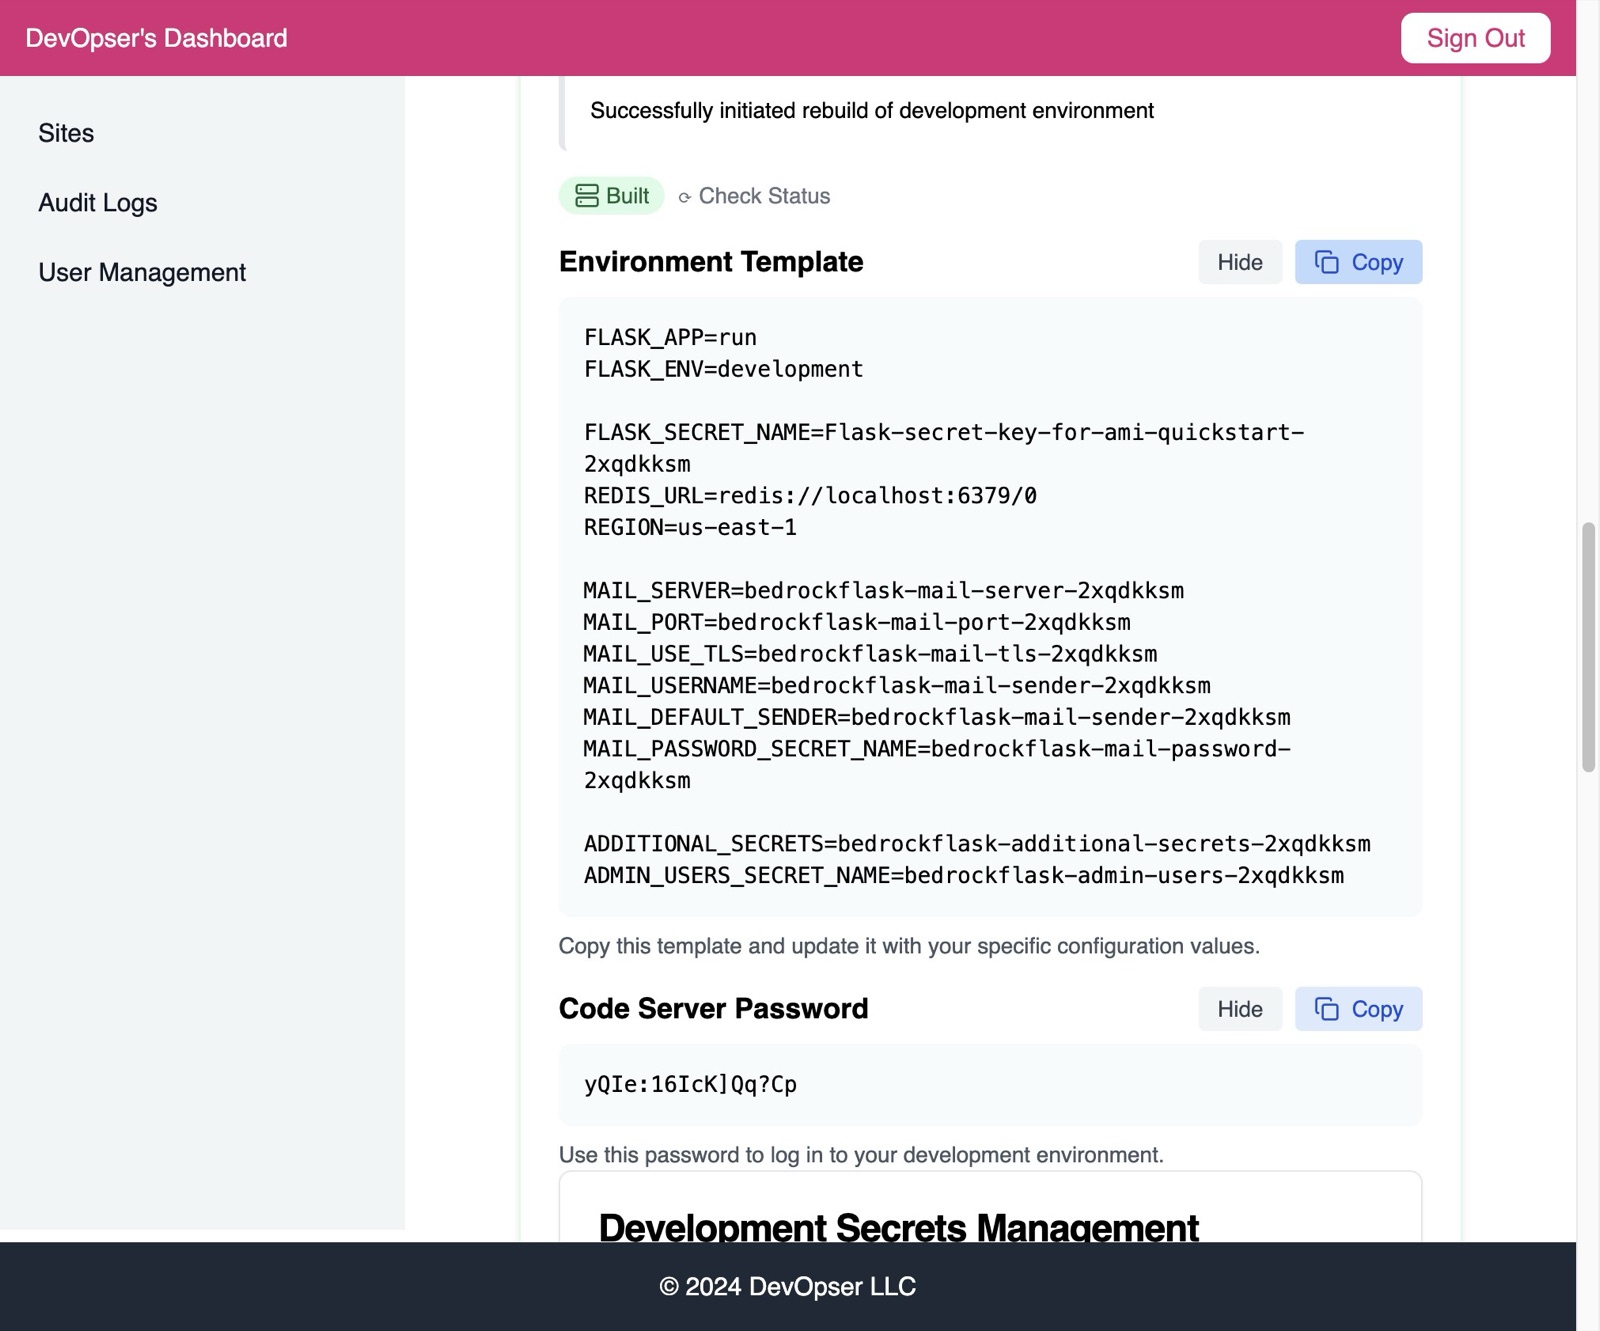
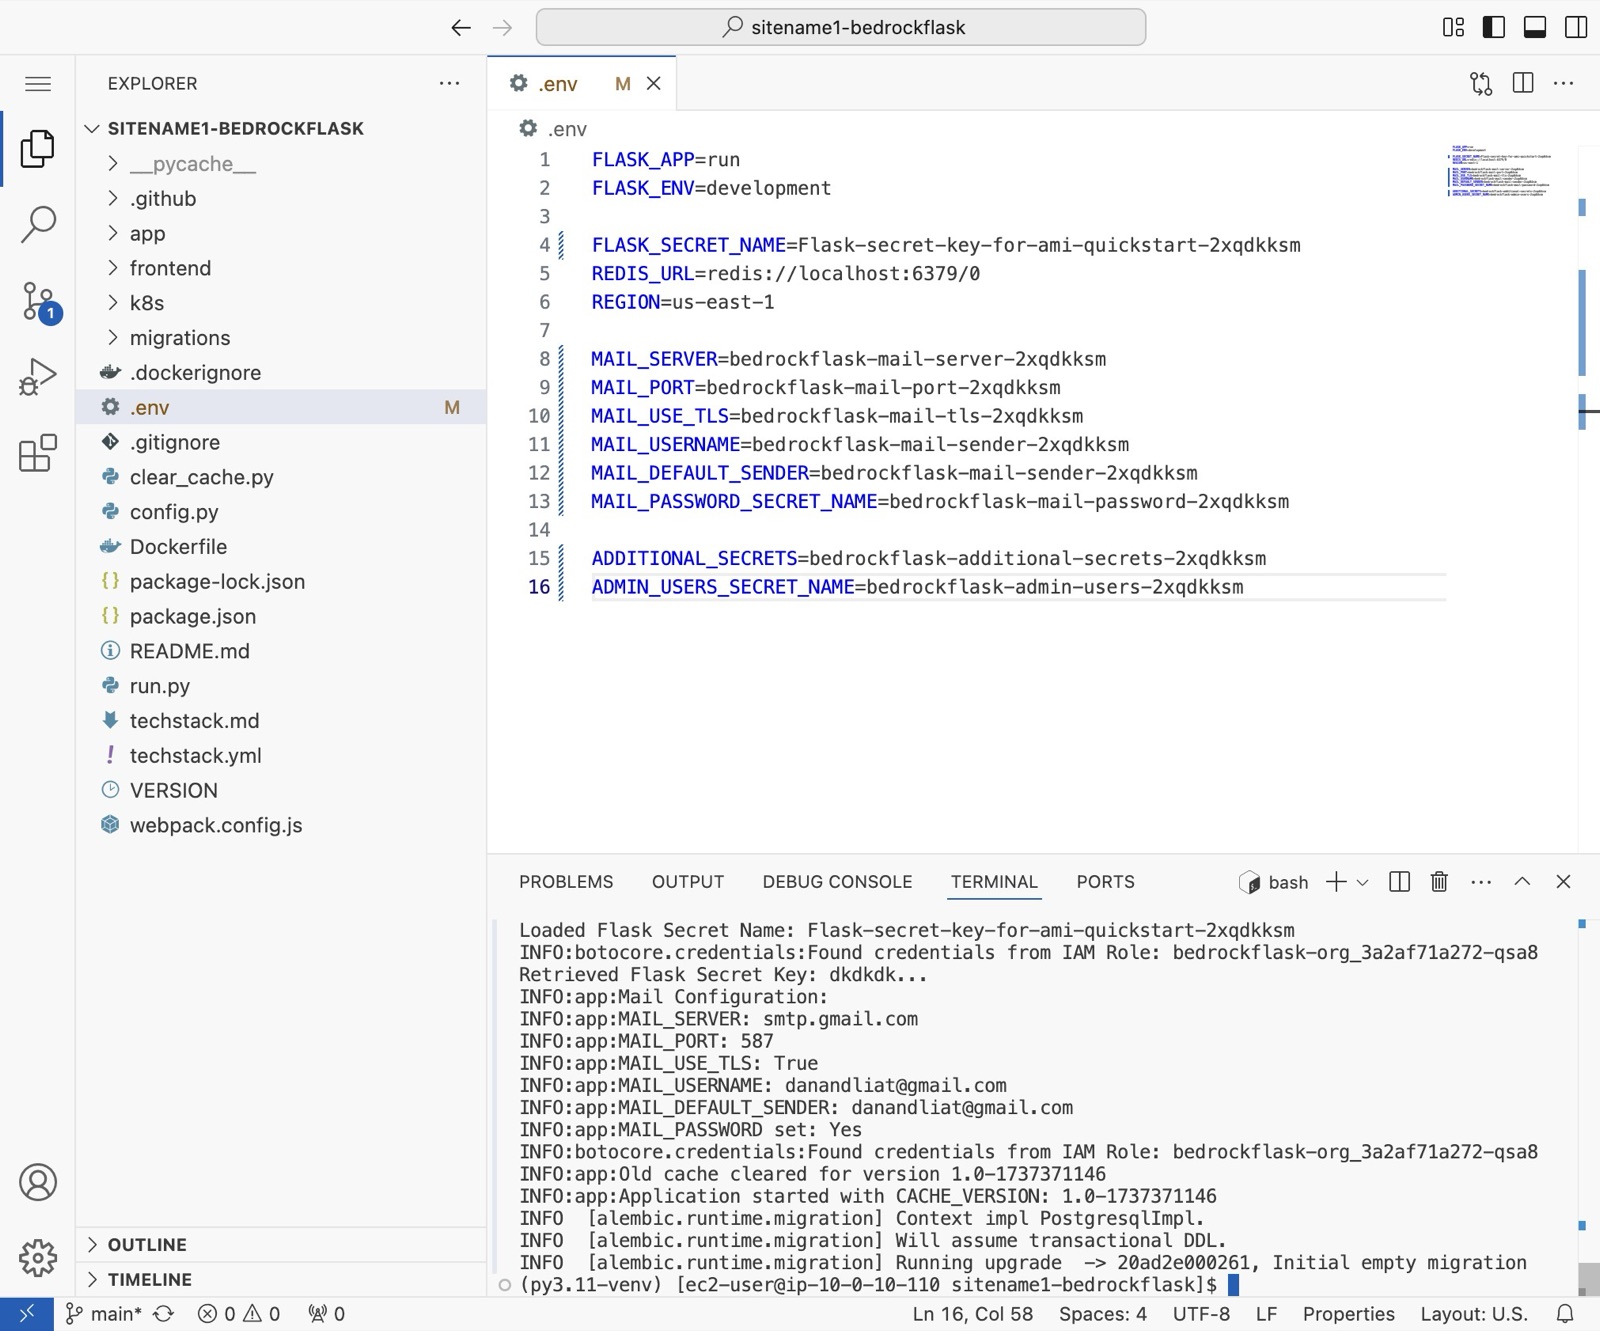
In your Site Detail page, copy the Environment Template.
-
18
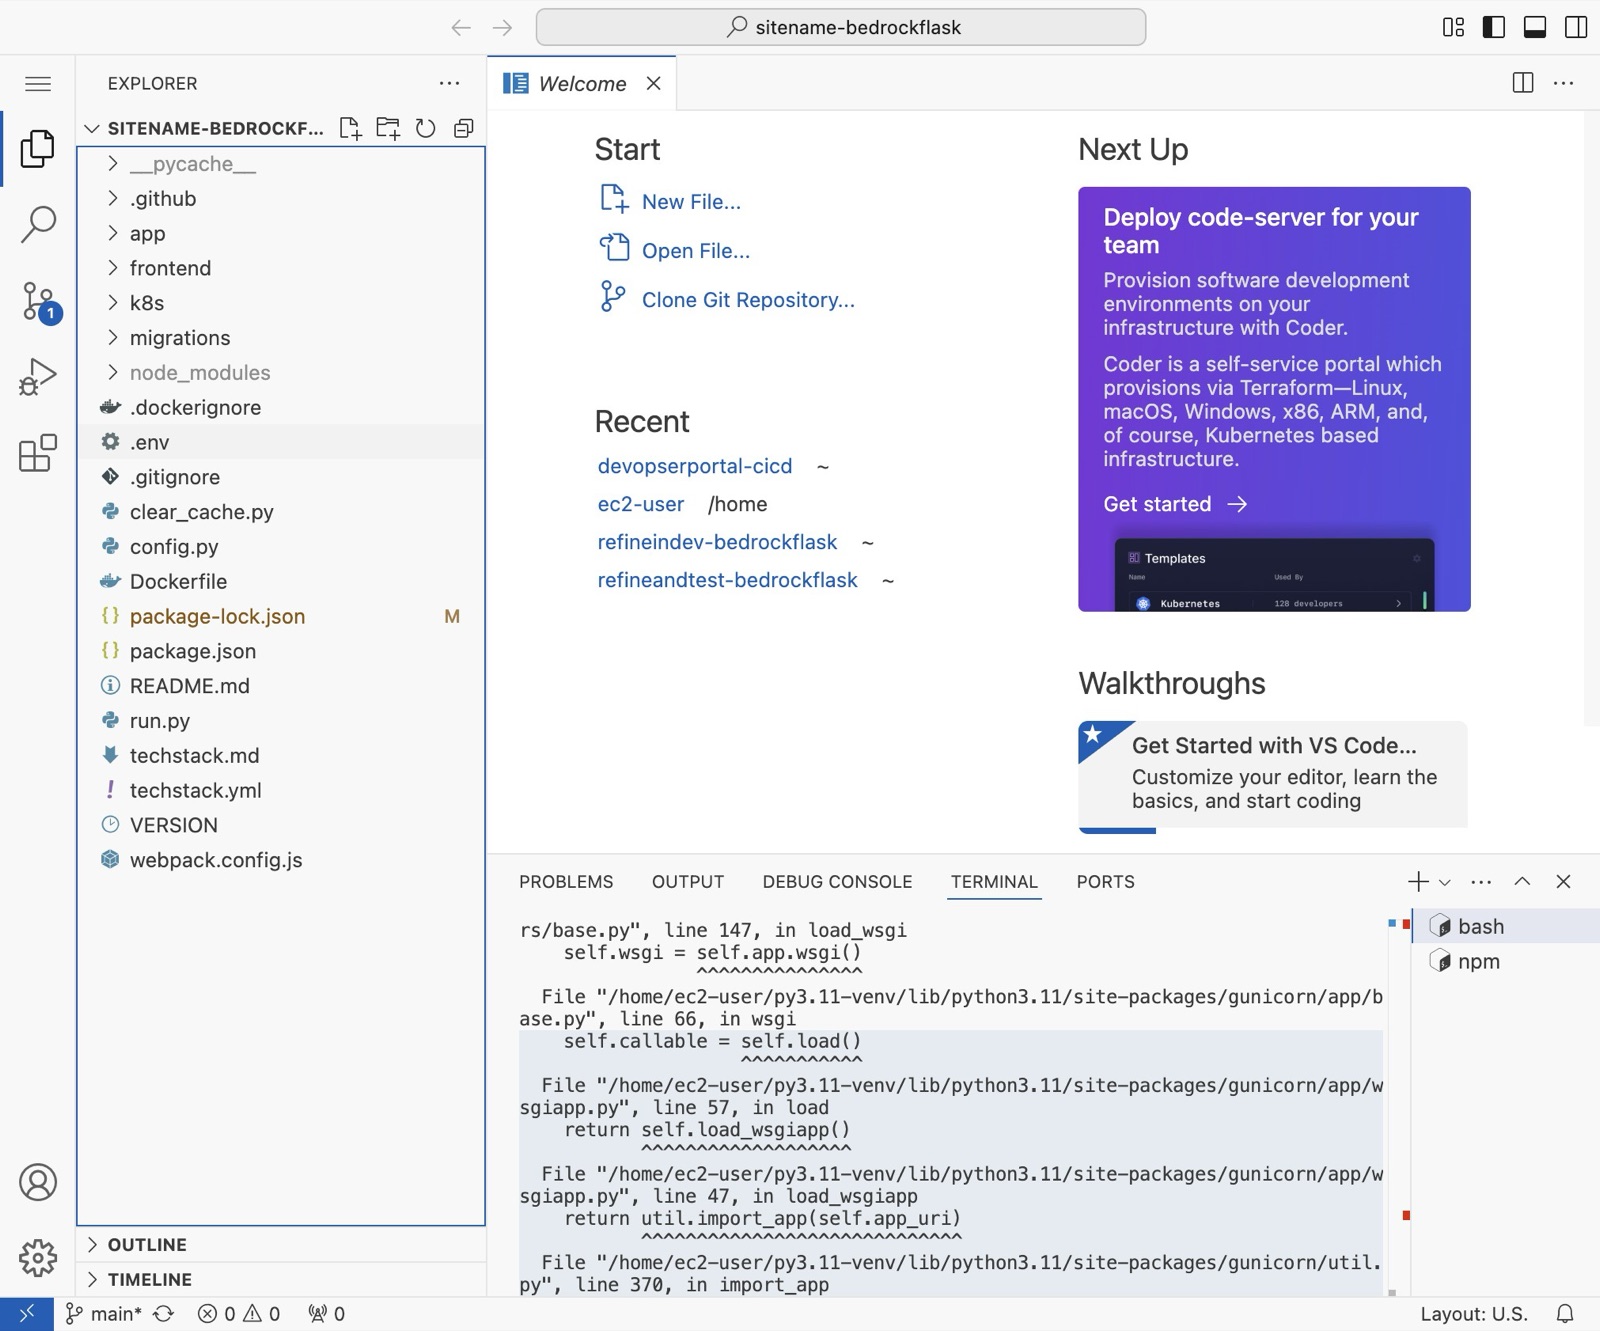
Navigate back to your code server and click .env in the file tree.
-
19
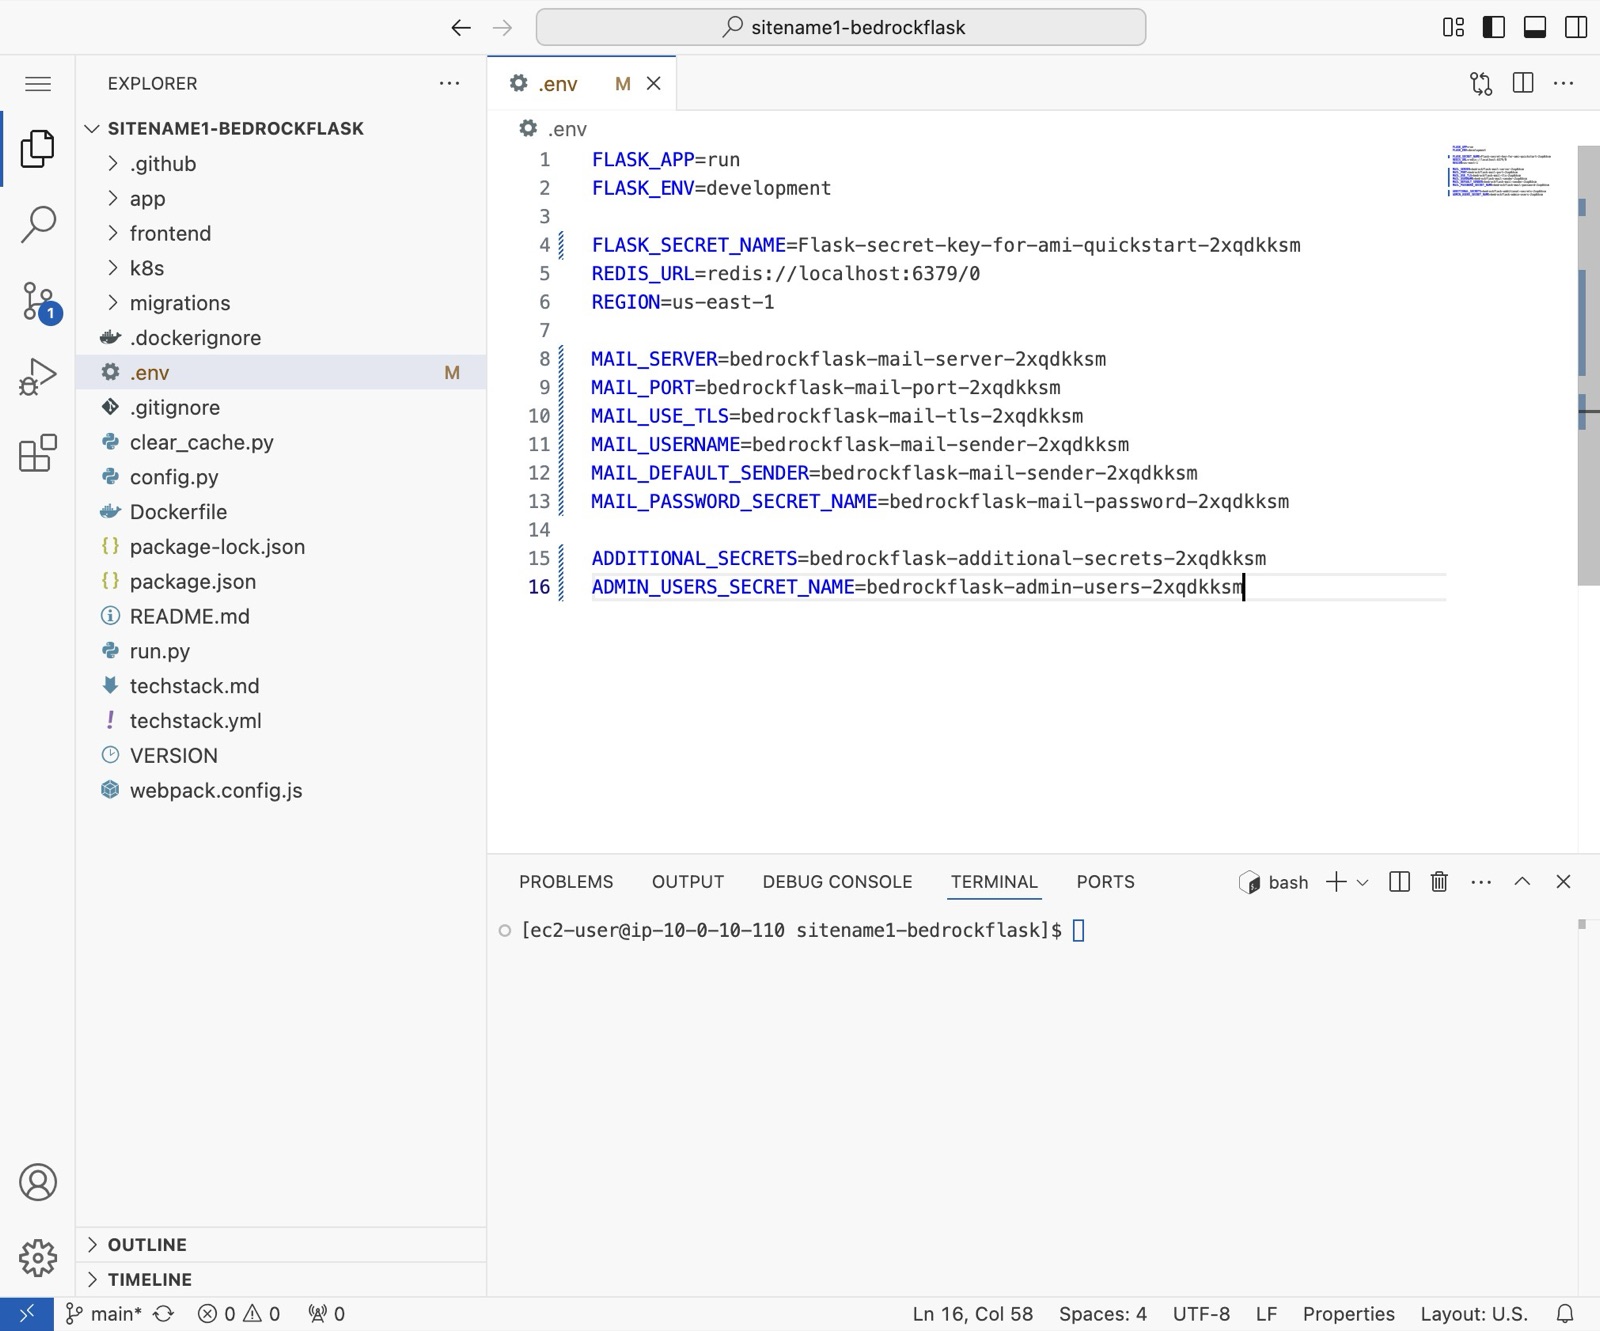
Paste the contents of the Environment Template directly into the .env file and save. Please note your app launch will fail if you are not using the most up to date secret names.
-
20
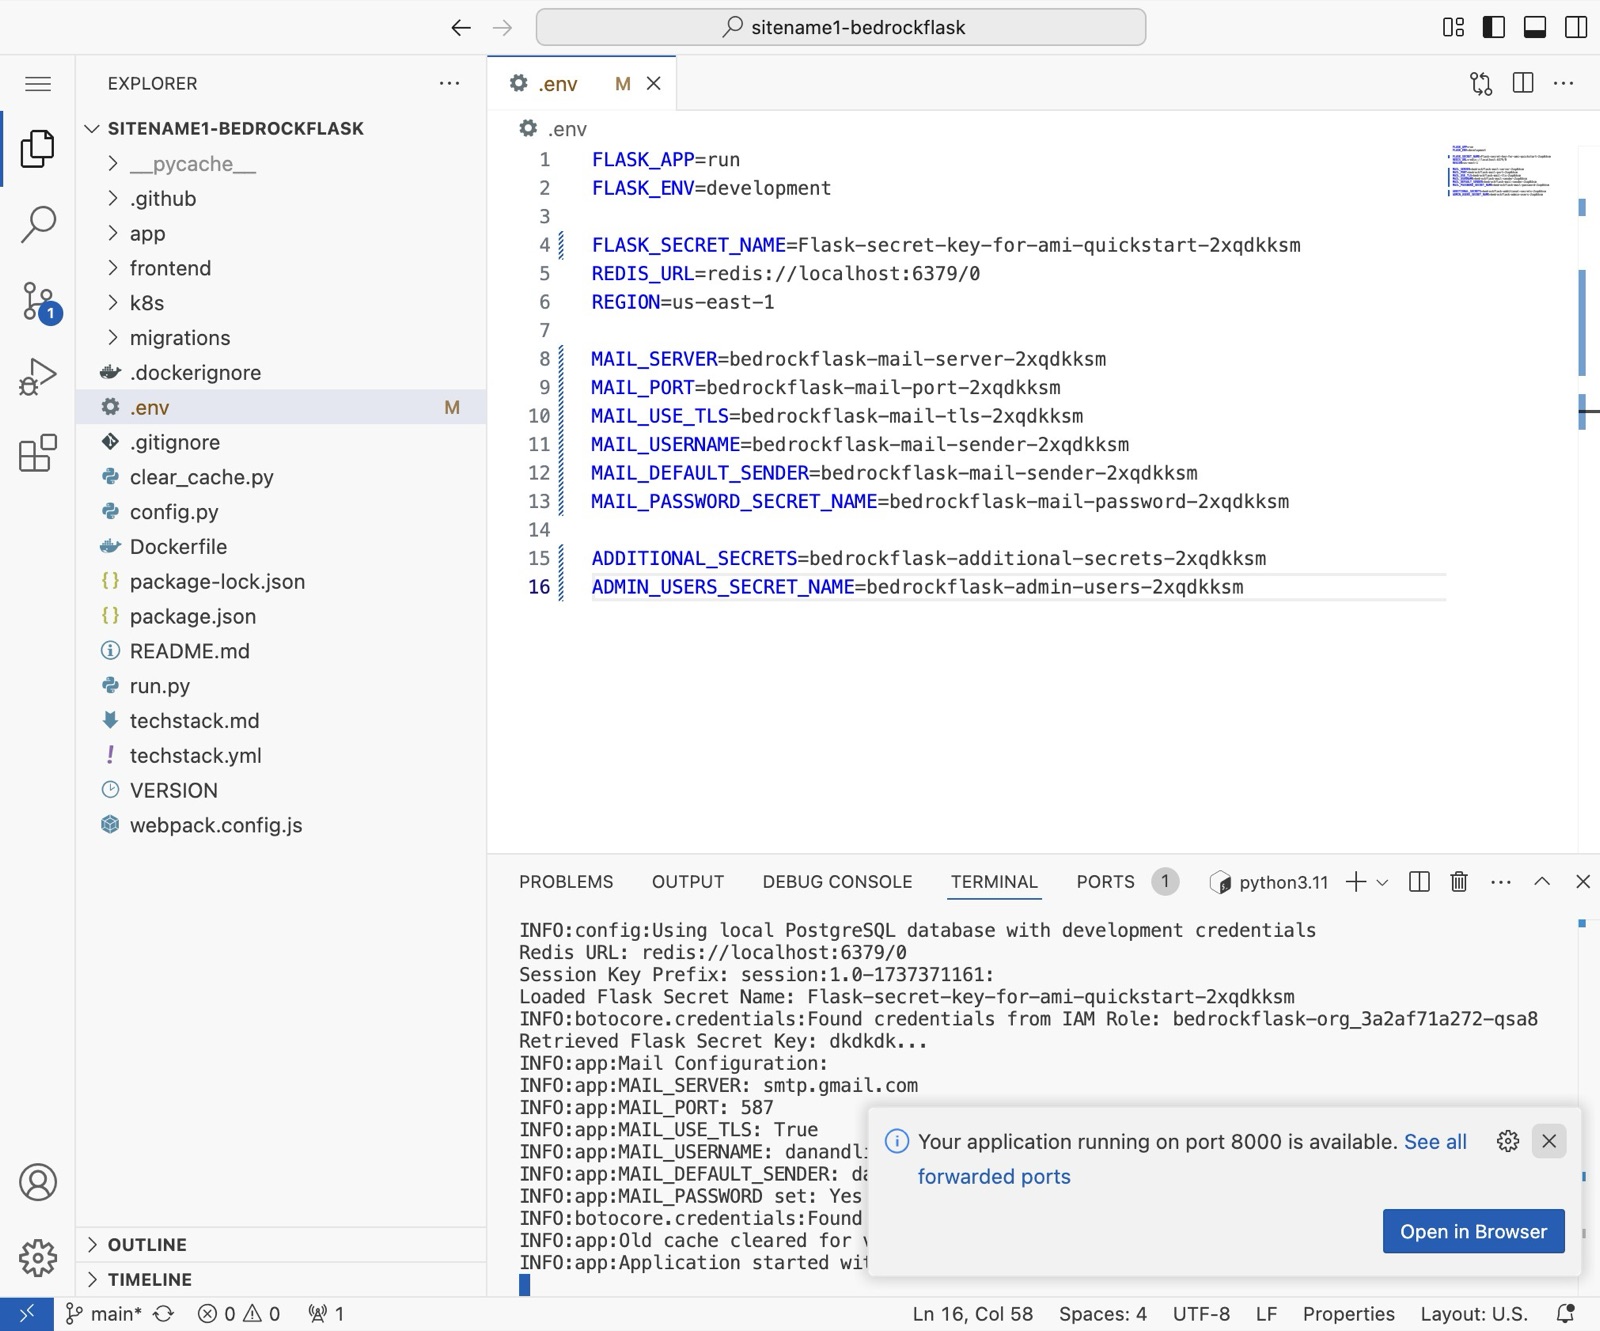
Go back to the terminal and run the backend launch code:\ \ [[source /home/ec2-user/py3.11-venv/bin/activate]] [[pip install -r app/requirements.txt]] [[flask db upgrade]] [[gunicorn --timeout 120 --bind 0.0.0.0:8000 run:app]]
-
21
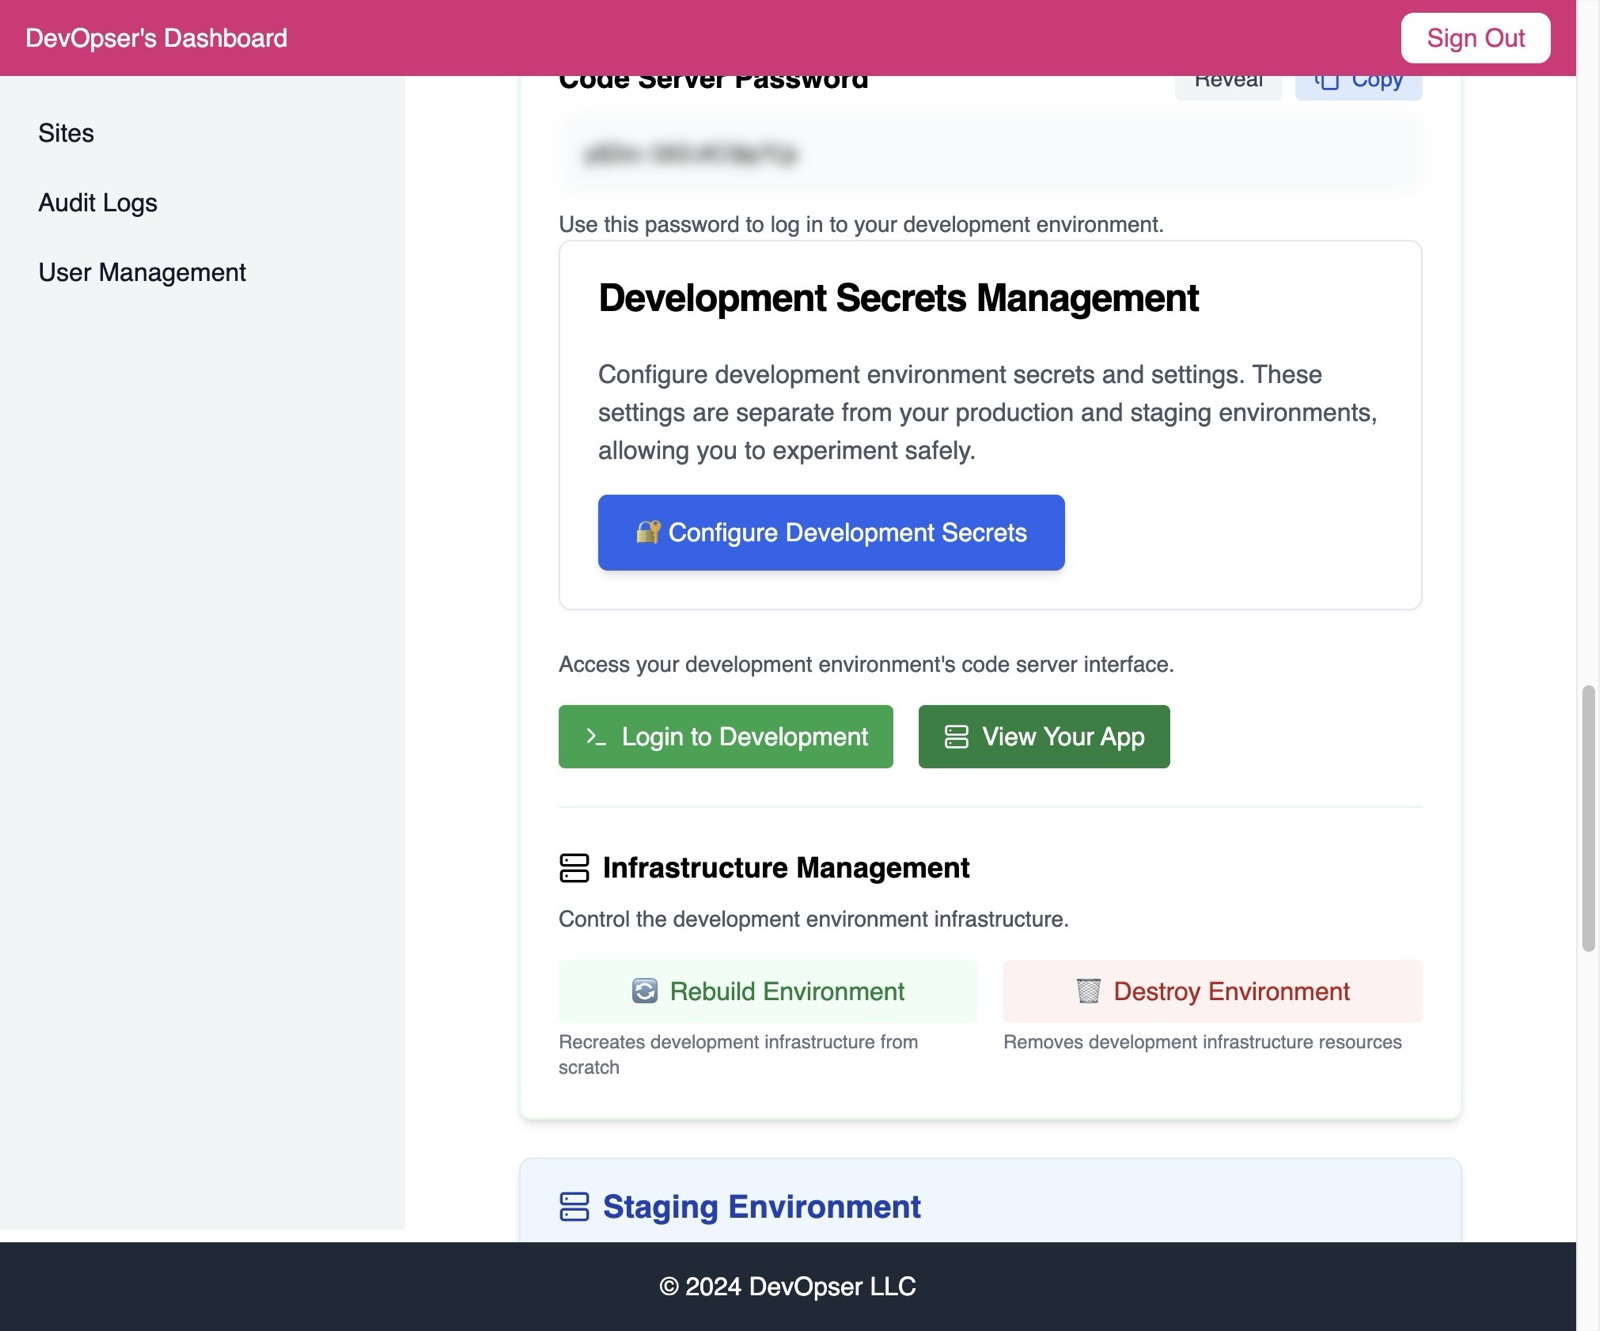
Dont use the forwarded port to view your app - it wont work properly. Instead you can see the functional app output via the URL from your site detail page.
-
22
Click “View Your App”
-
23
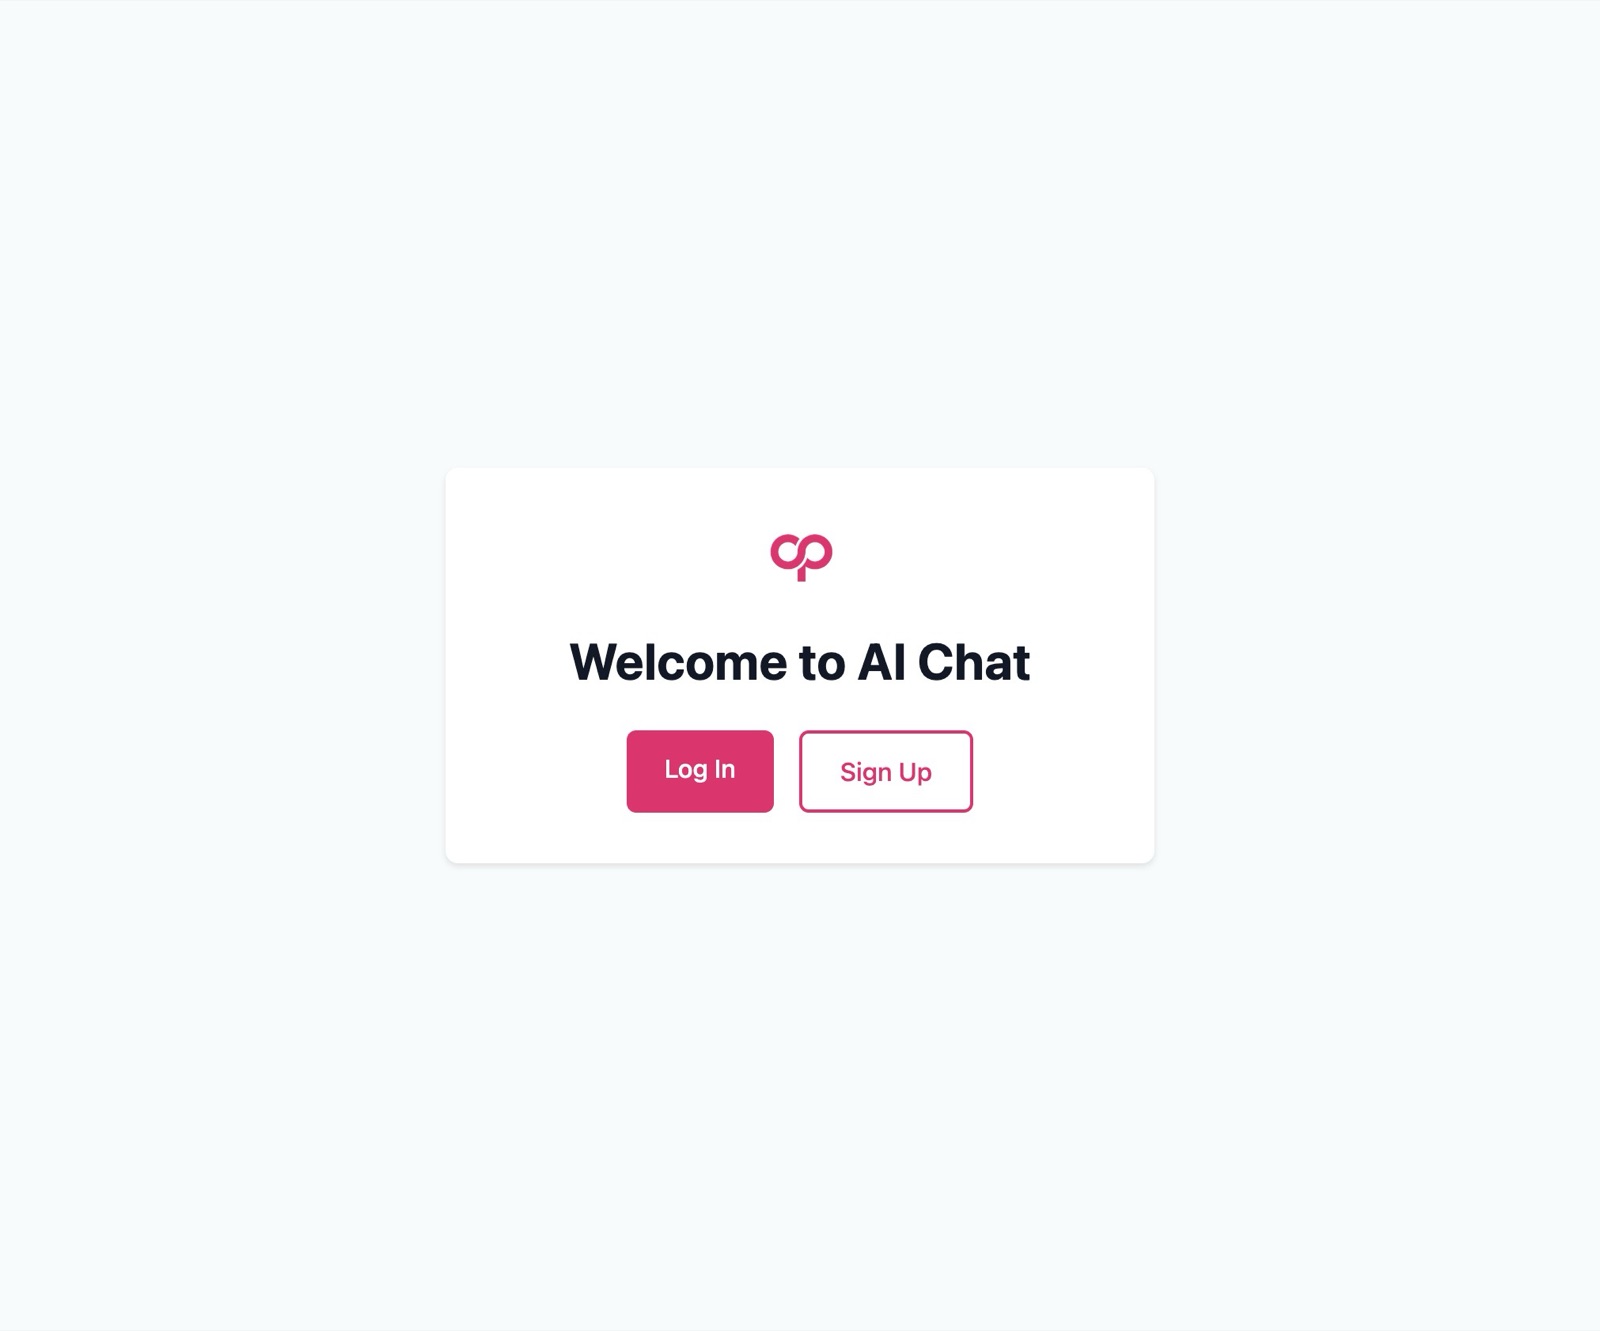
You should see “Welcome to AI Chat” - this is your app's default template. Congrats! Now you can go about customizing this to your use case.