
Install an AI Coding Assistant
Add an AI coding-assistant extension to your code-server Development environment.
-
1
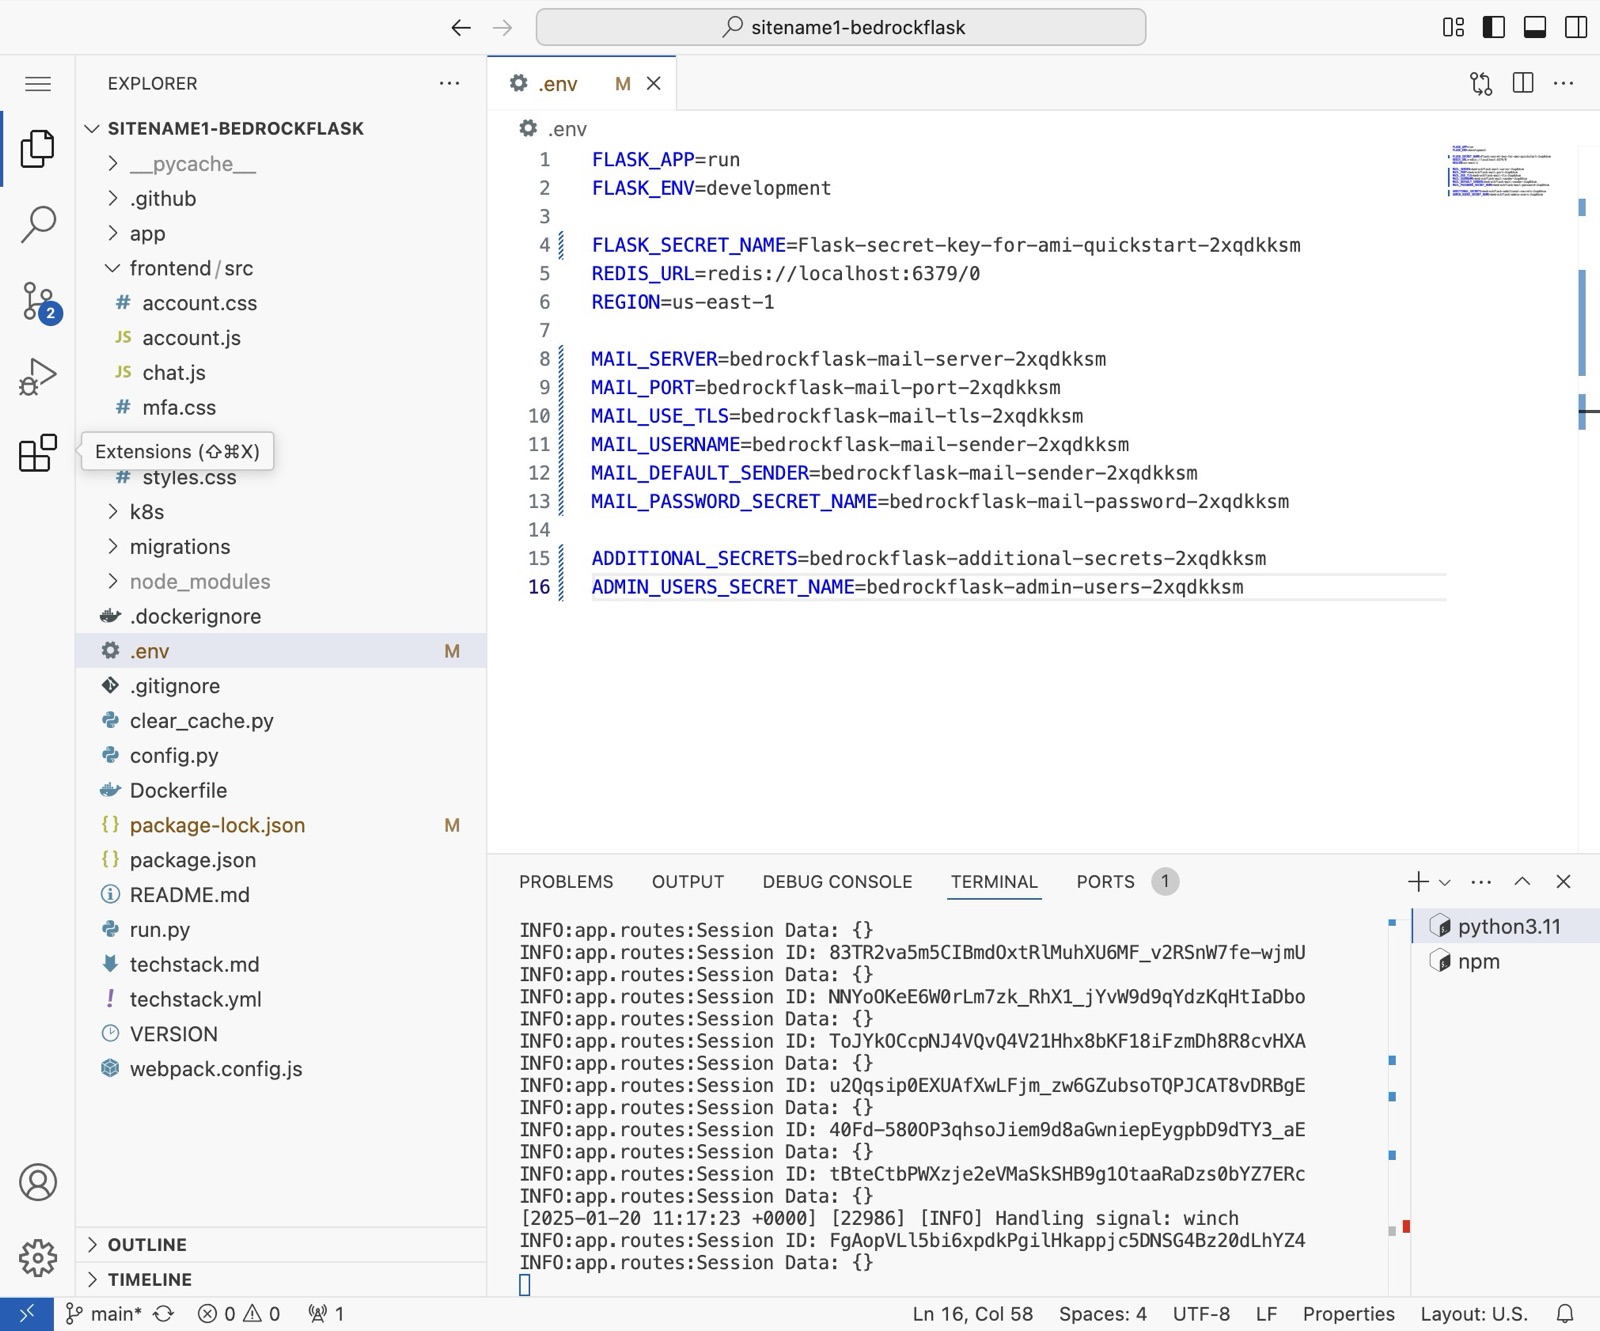
From your code-server, click the “extensions” icon in the left nav.
-
2
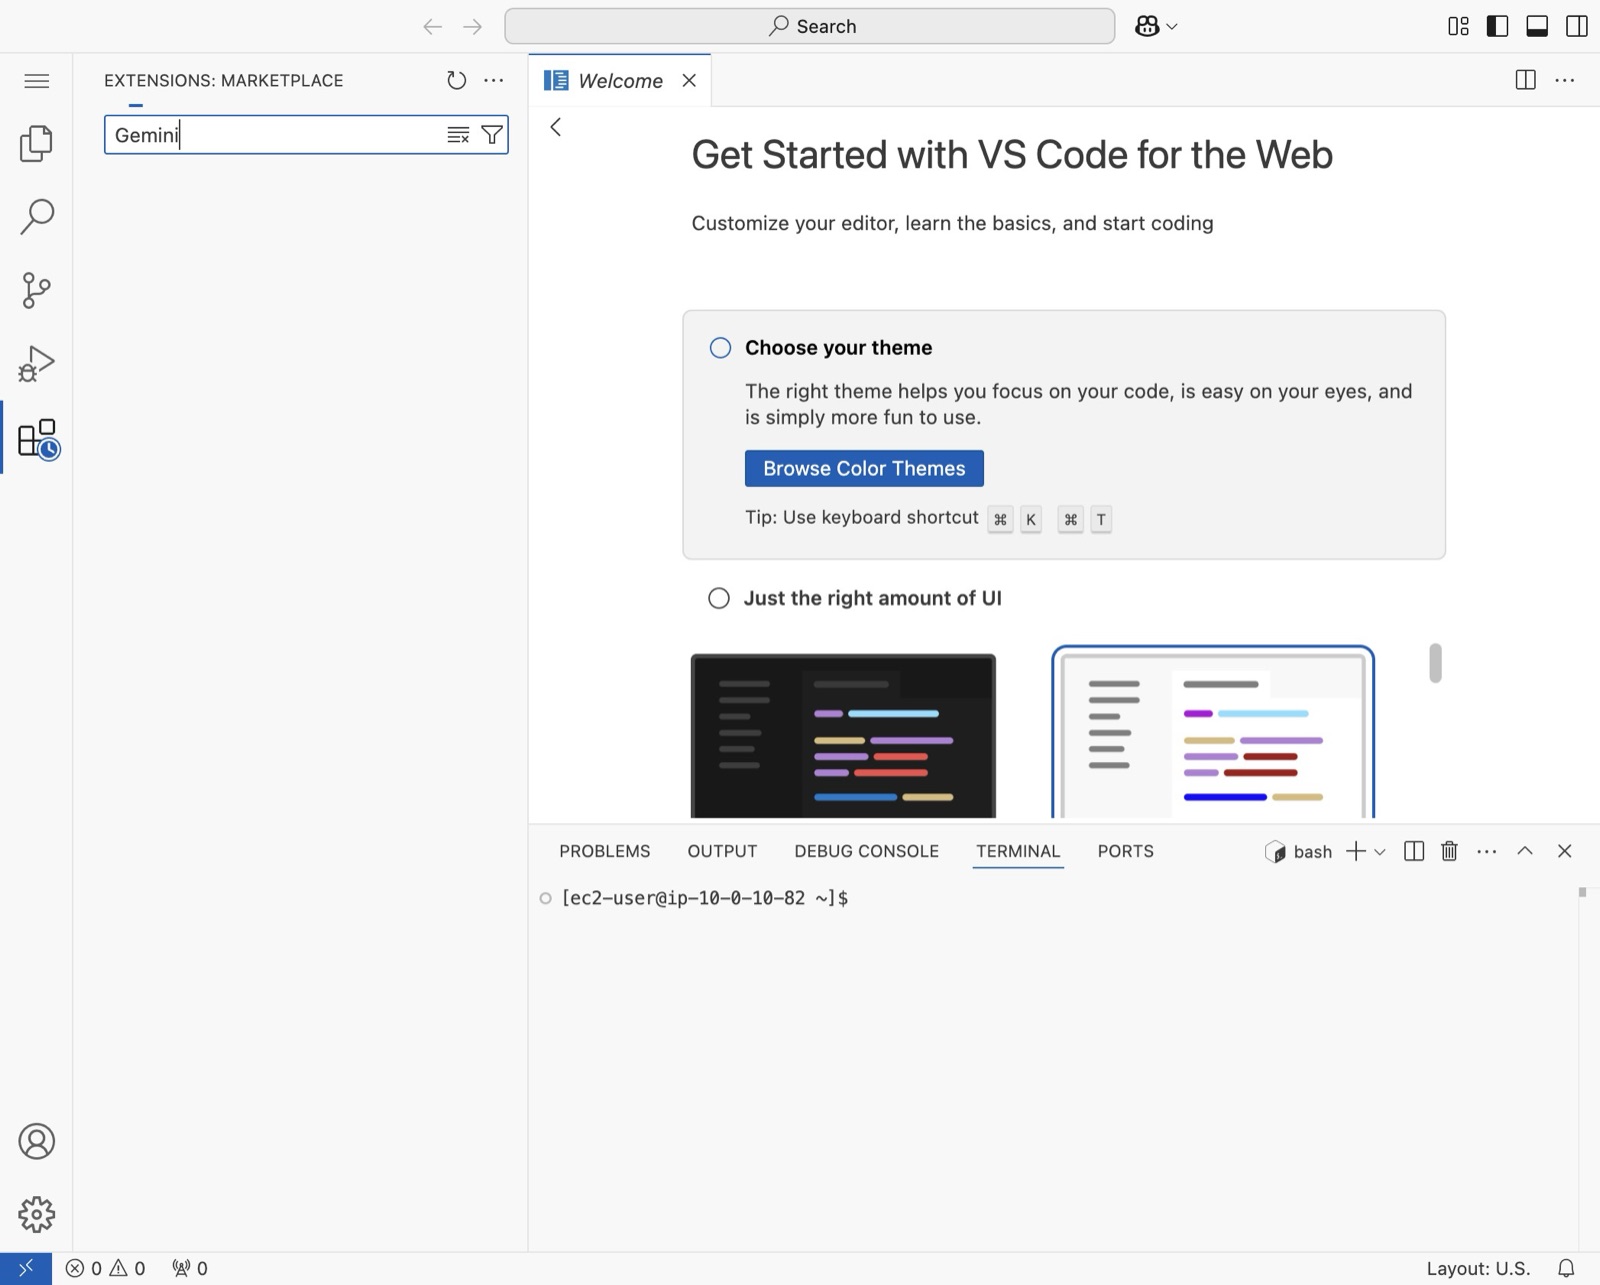
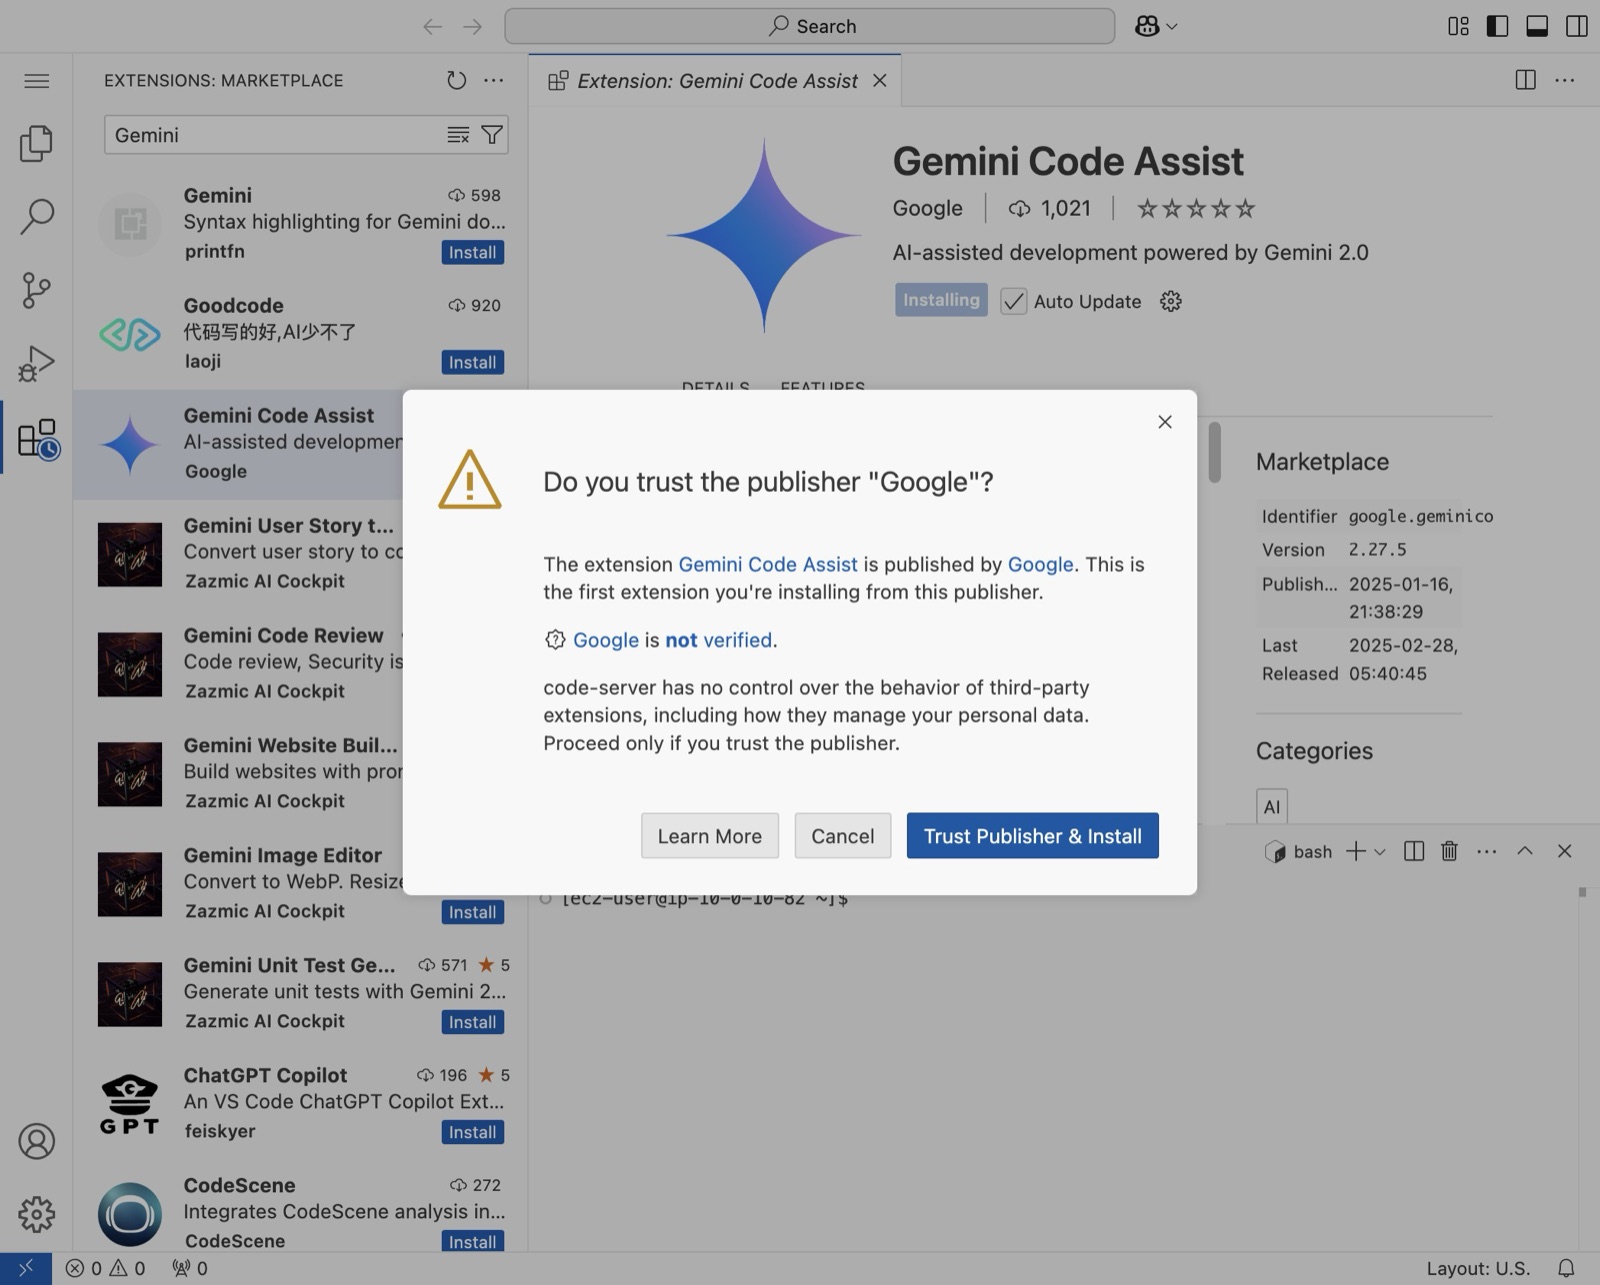
Search for the coding AI assistant of your choice. I will use Gemini Code Assist as an example.
-
3
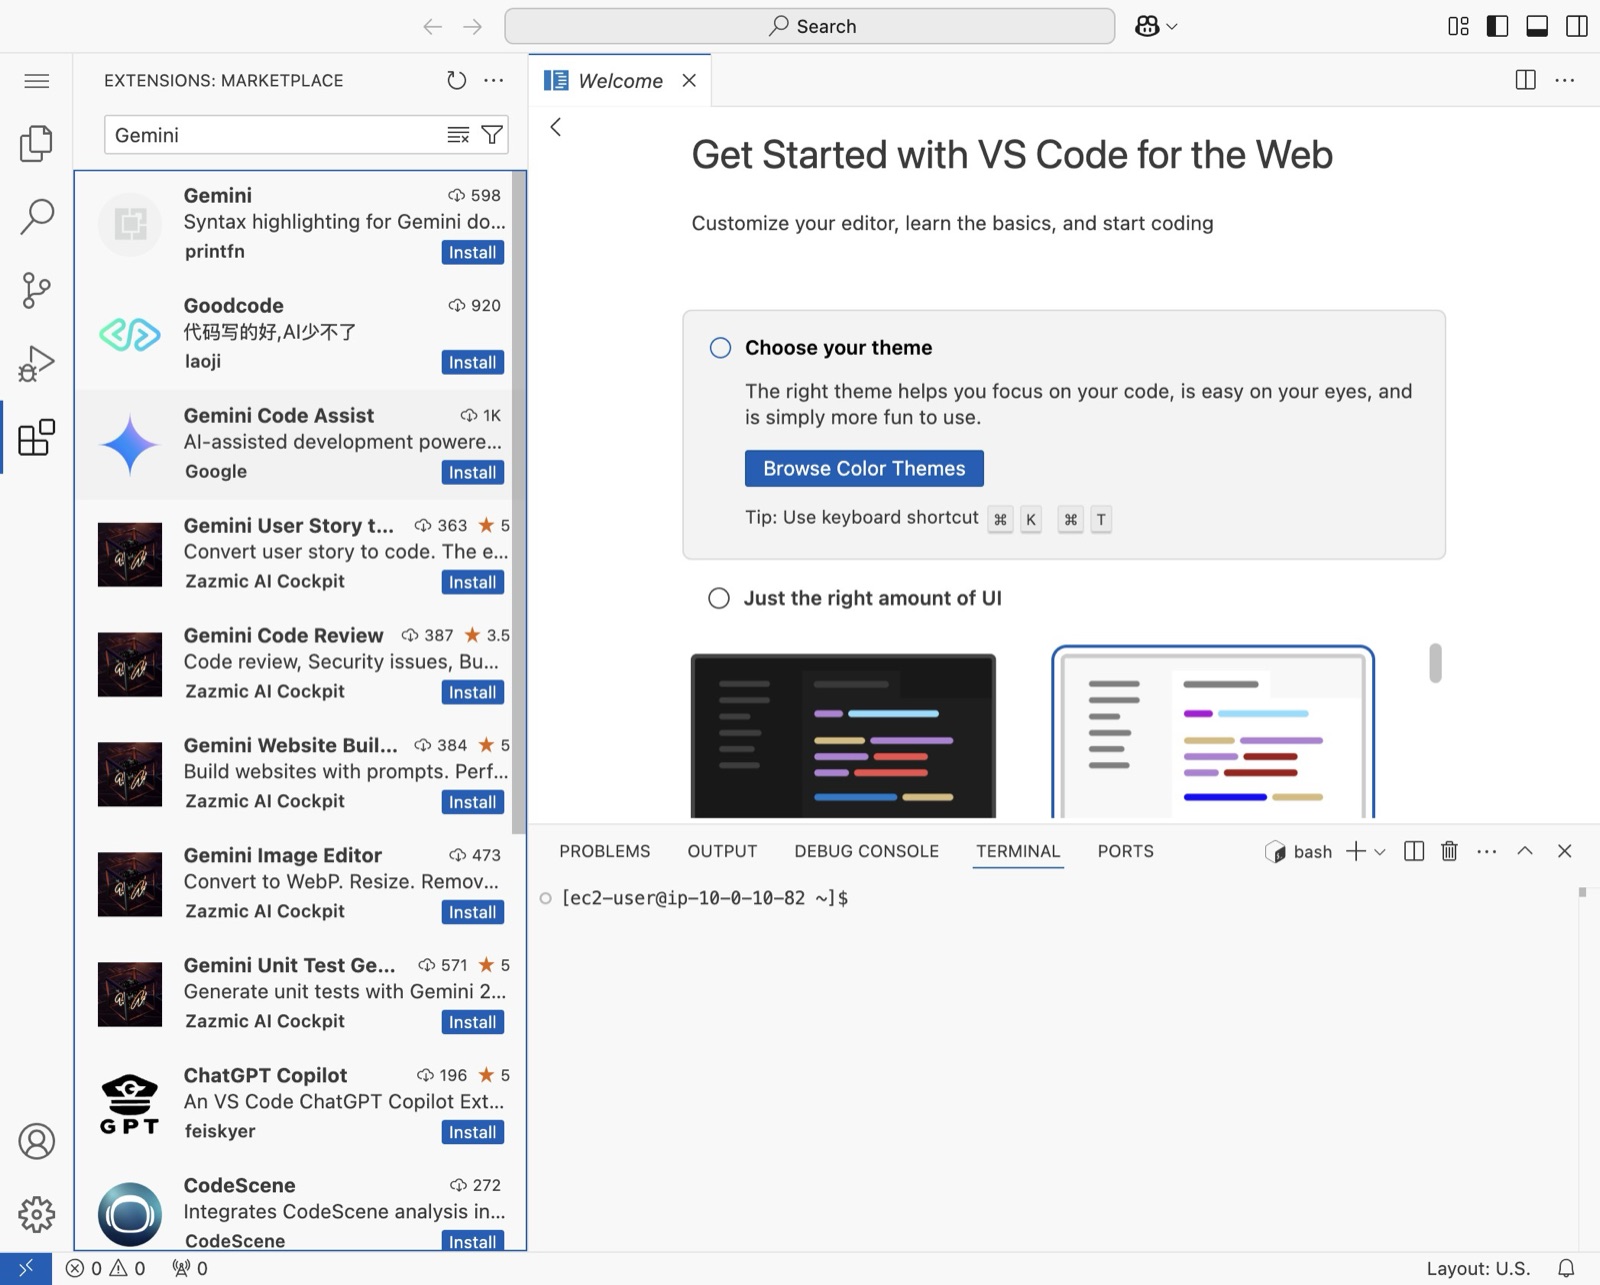
Click “Gemini Code Assist”
-
4
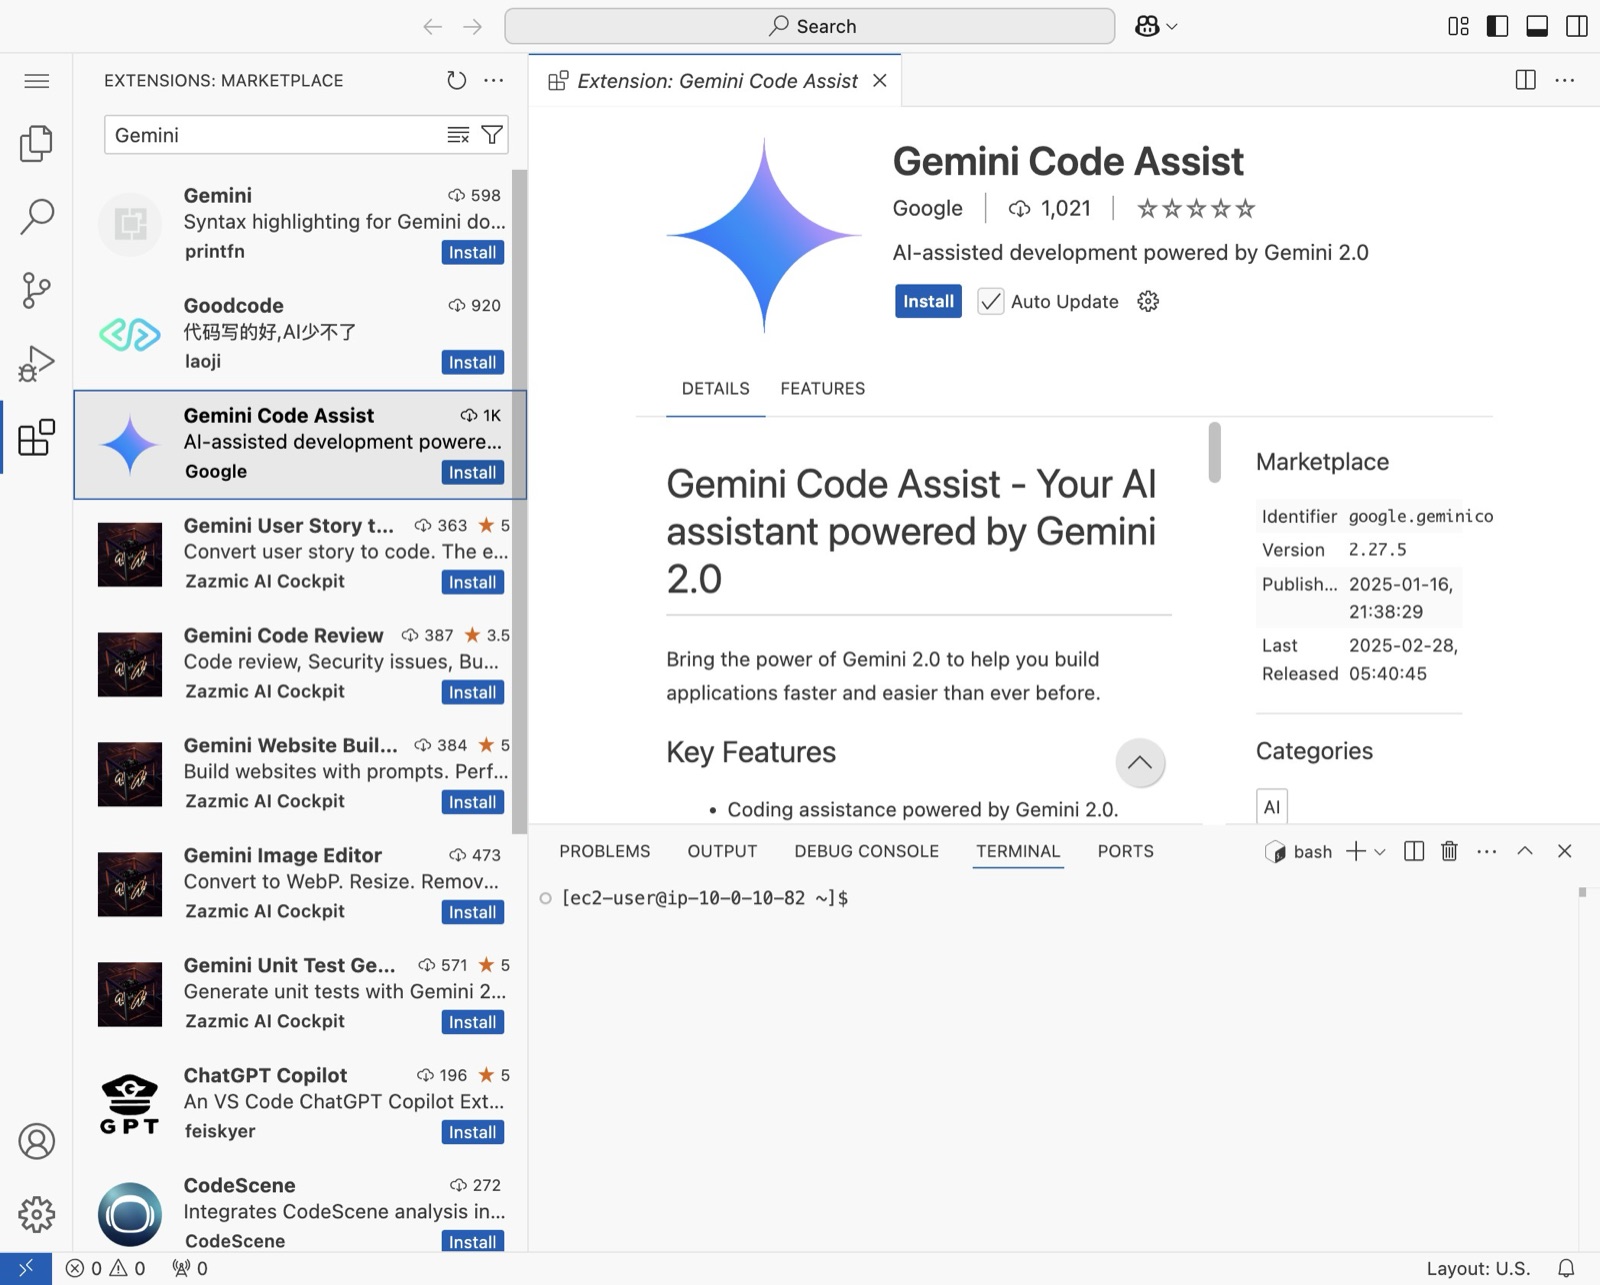
Click “Install”
-
5
Click “Trust Publisher & Install”
-
6
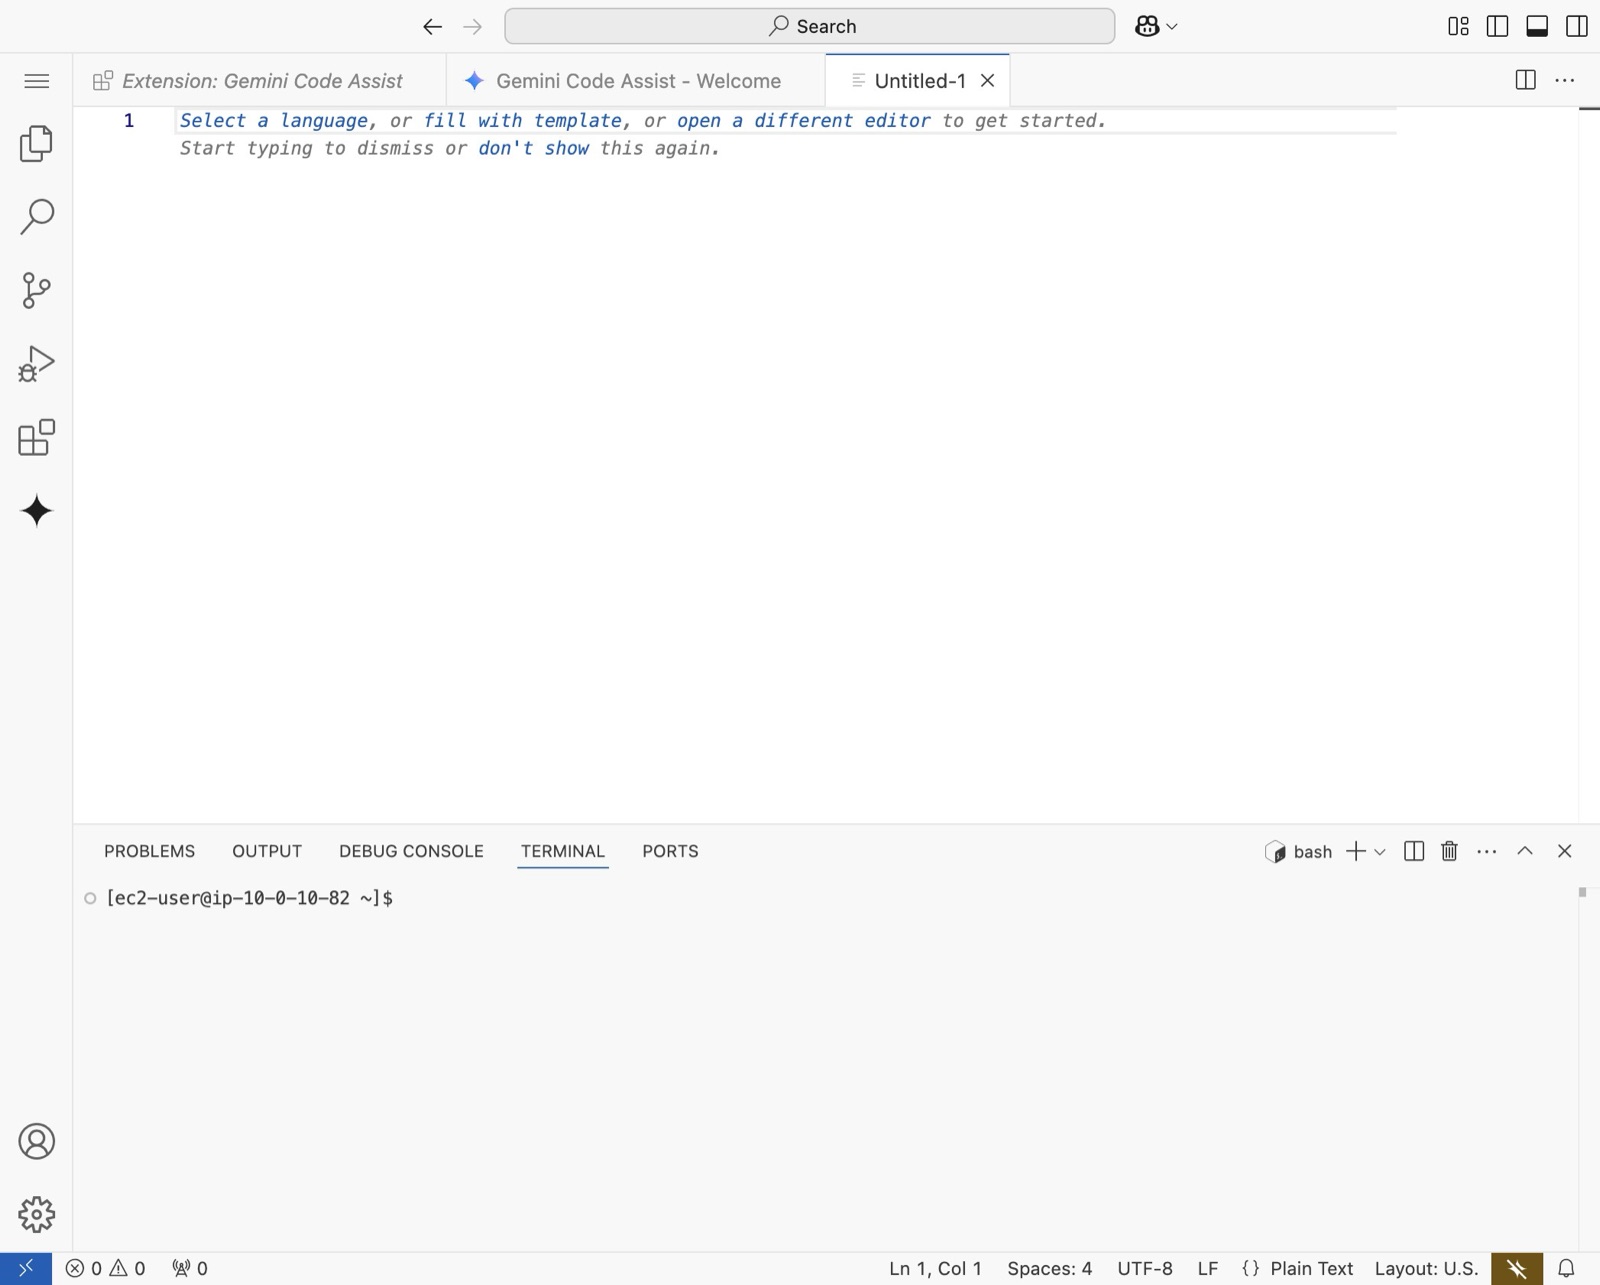
Click the Gemini icon to open the chat interface.
-
7
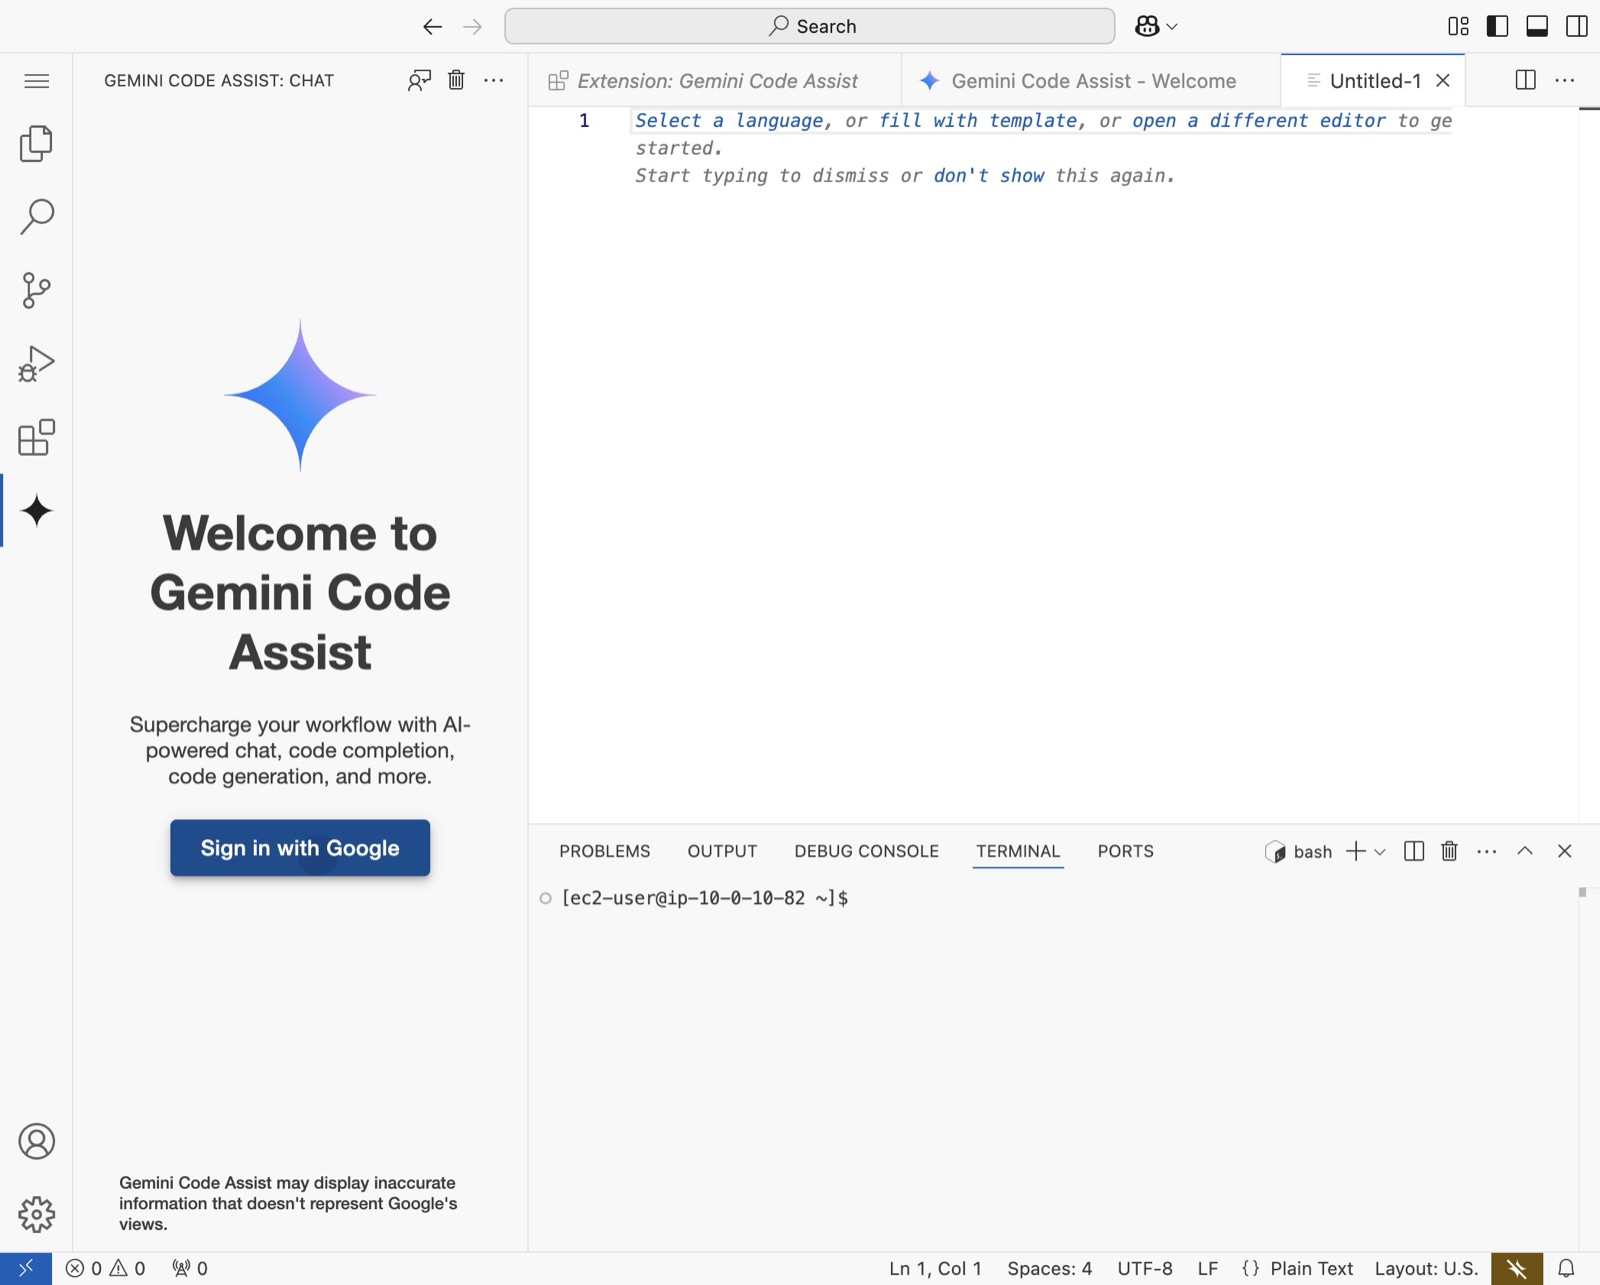
Click “Sign in with Google”
-
8
Click the URL in the terminal.
-
9
Click “Open”
-
10
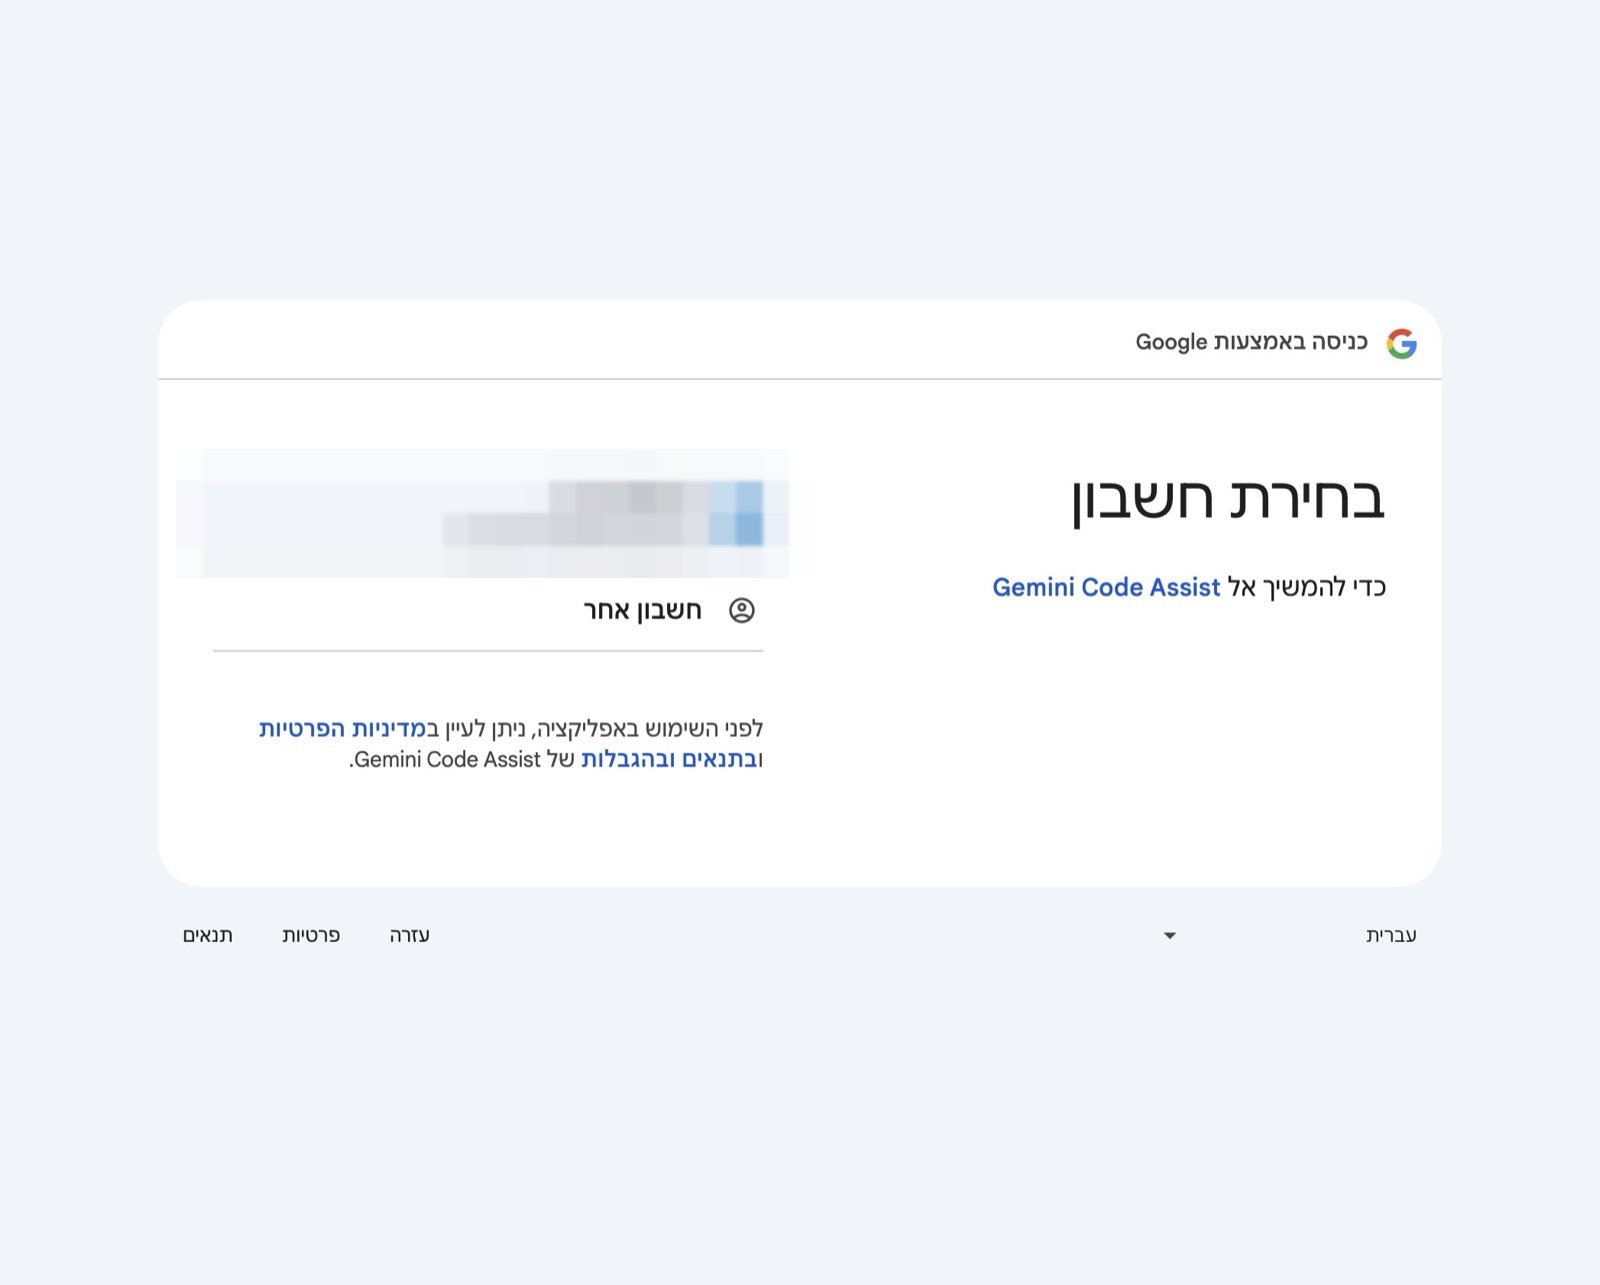
Log into Google using your account.
-
11
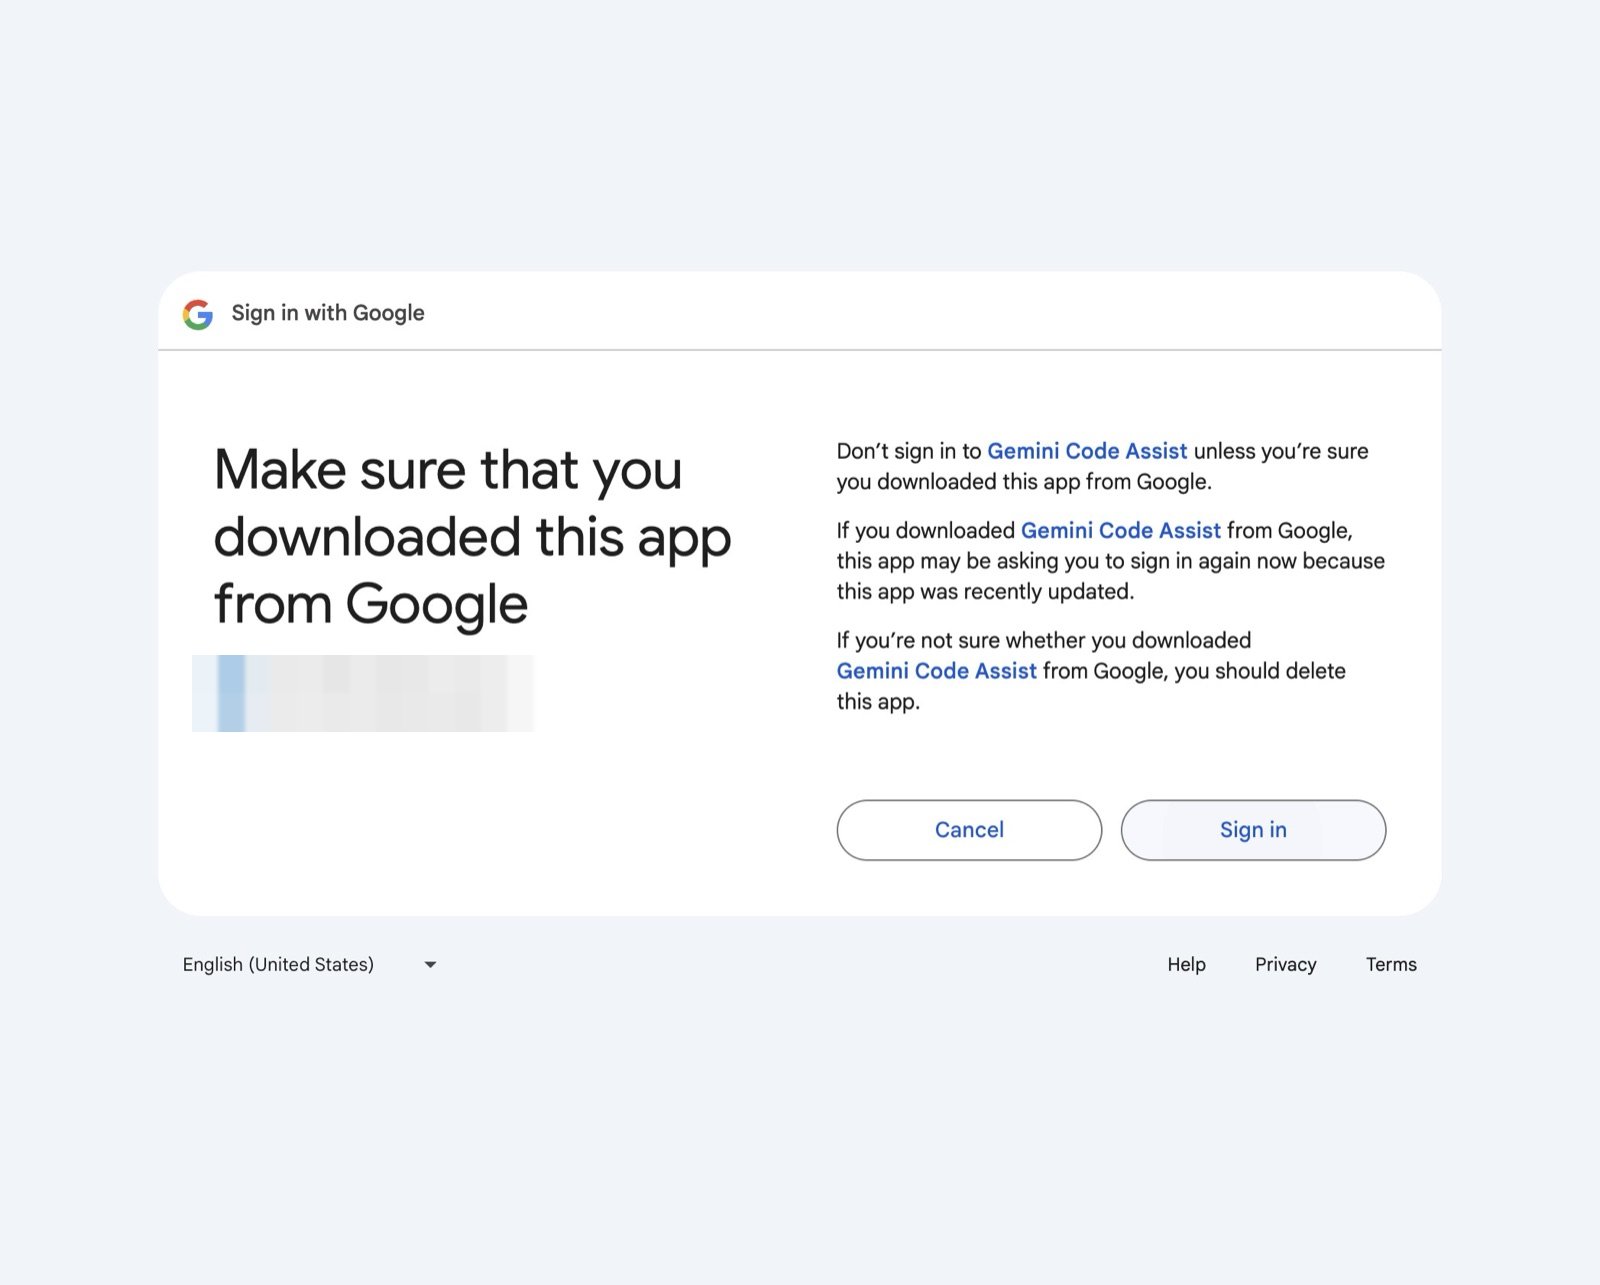
Click “Sign in”
-
12
Copy the authorization code.
-
13
Paste the authorization code into the terminal where it's asking for input and press [[enter]]
-
14
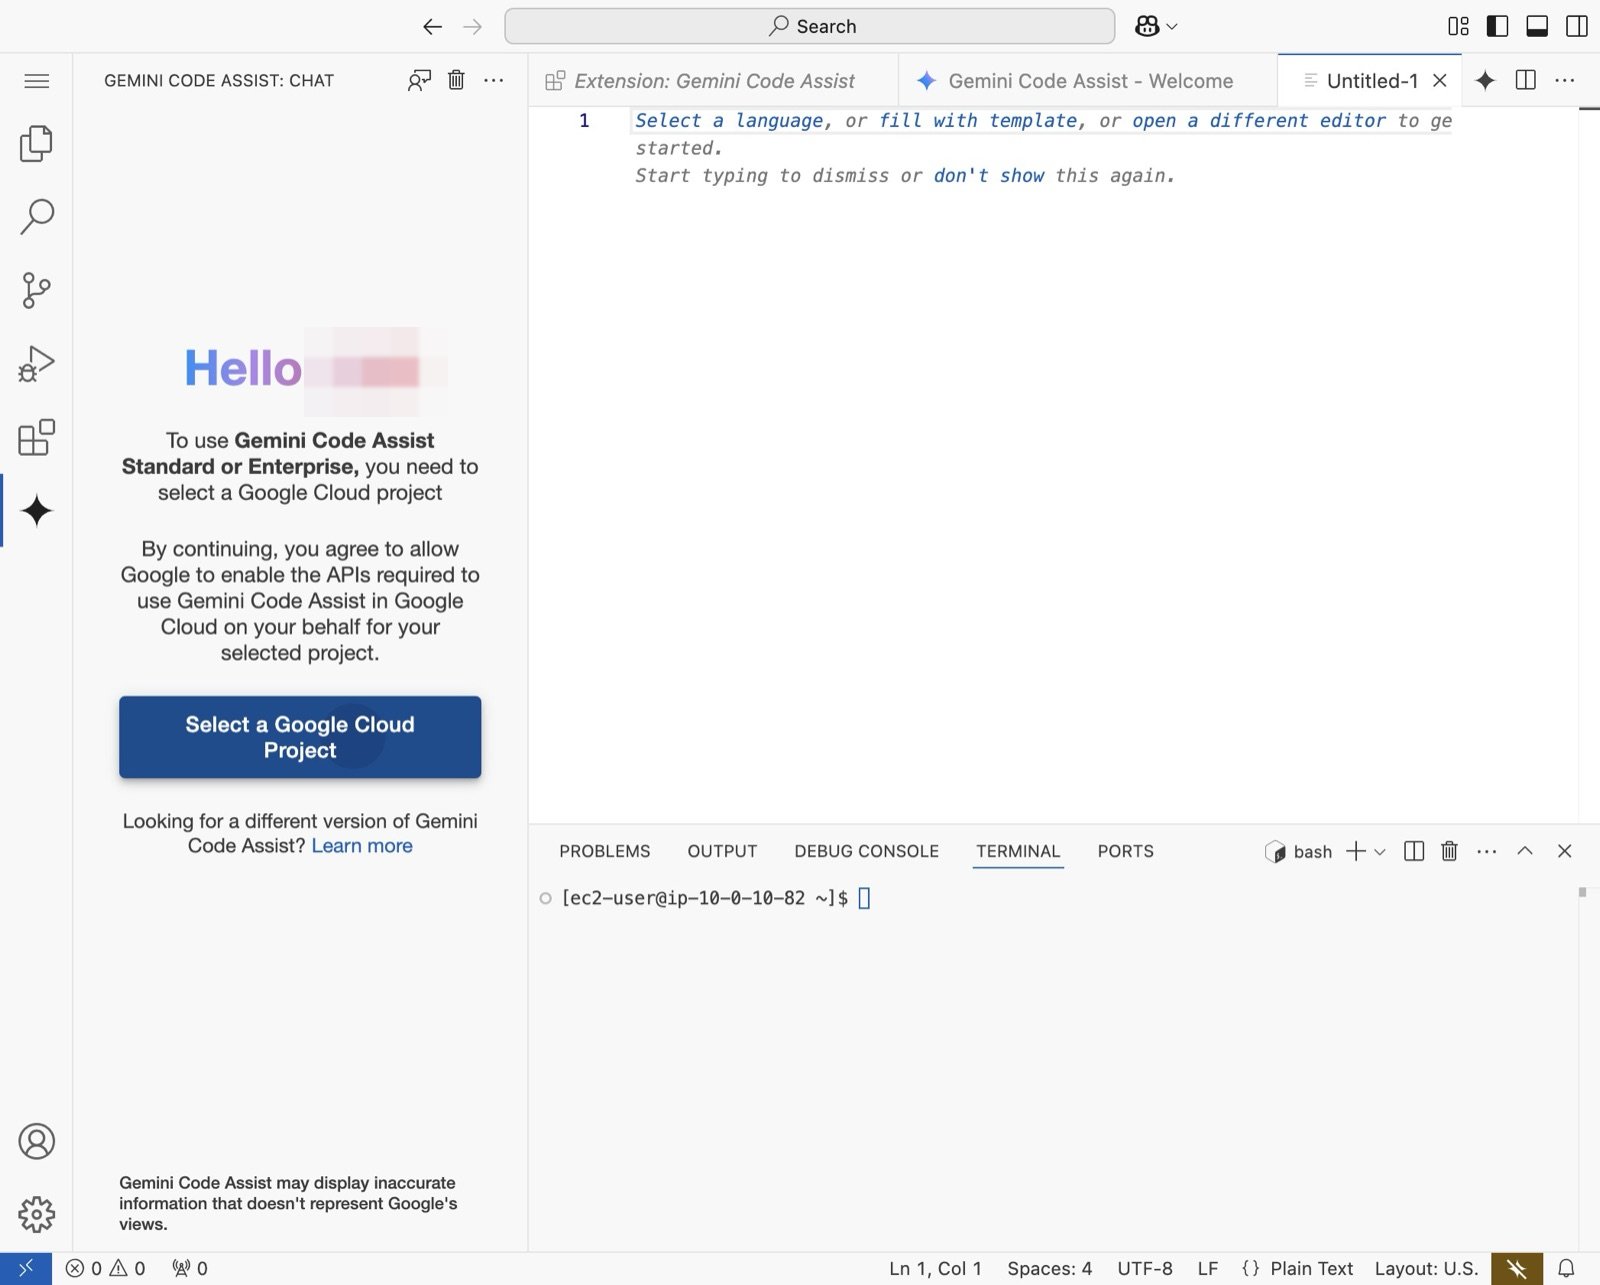
Click “Select a Google Cloud Project”
-
15
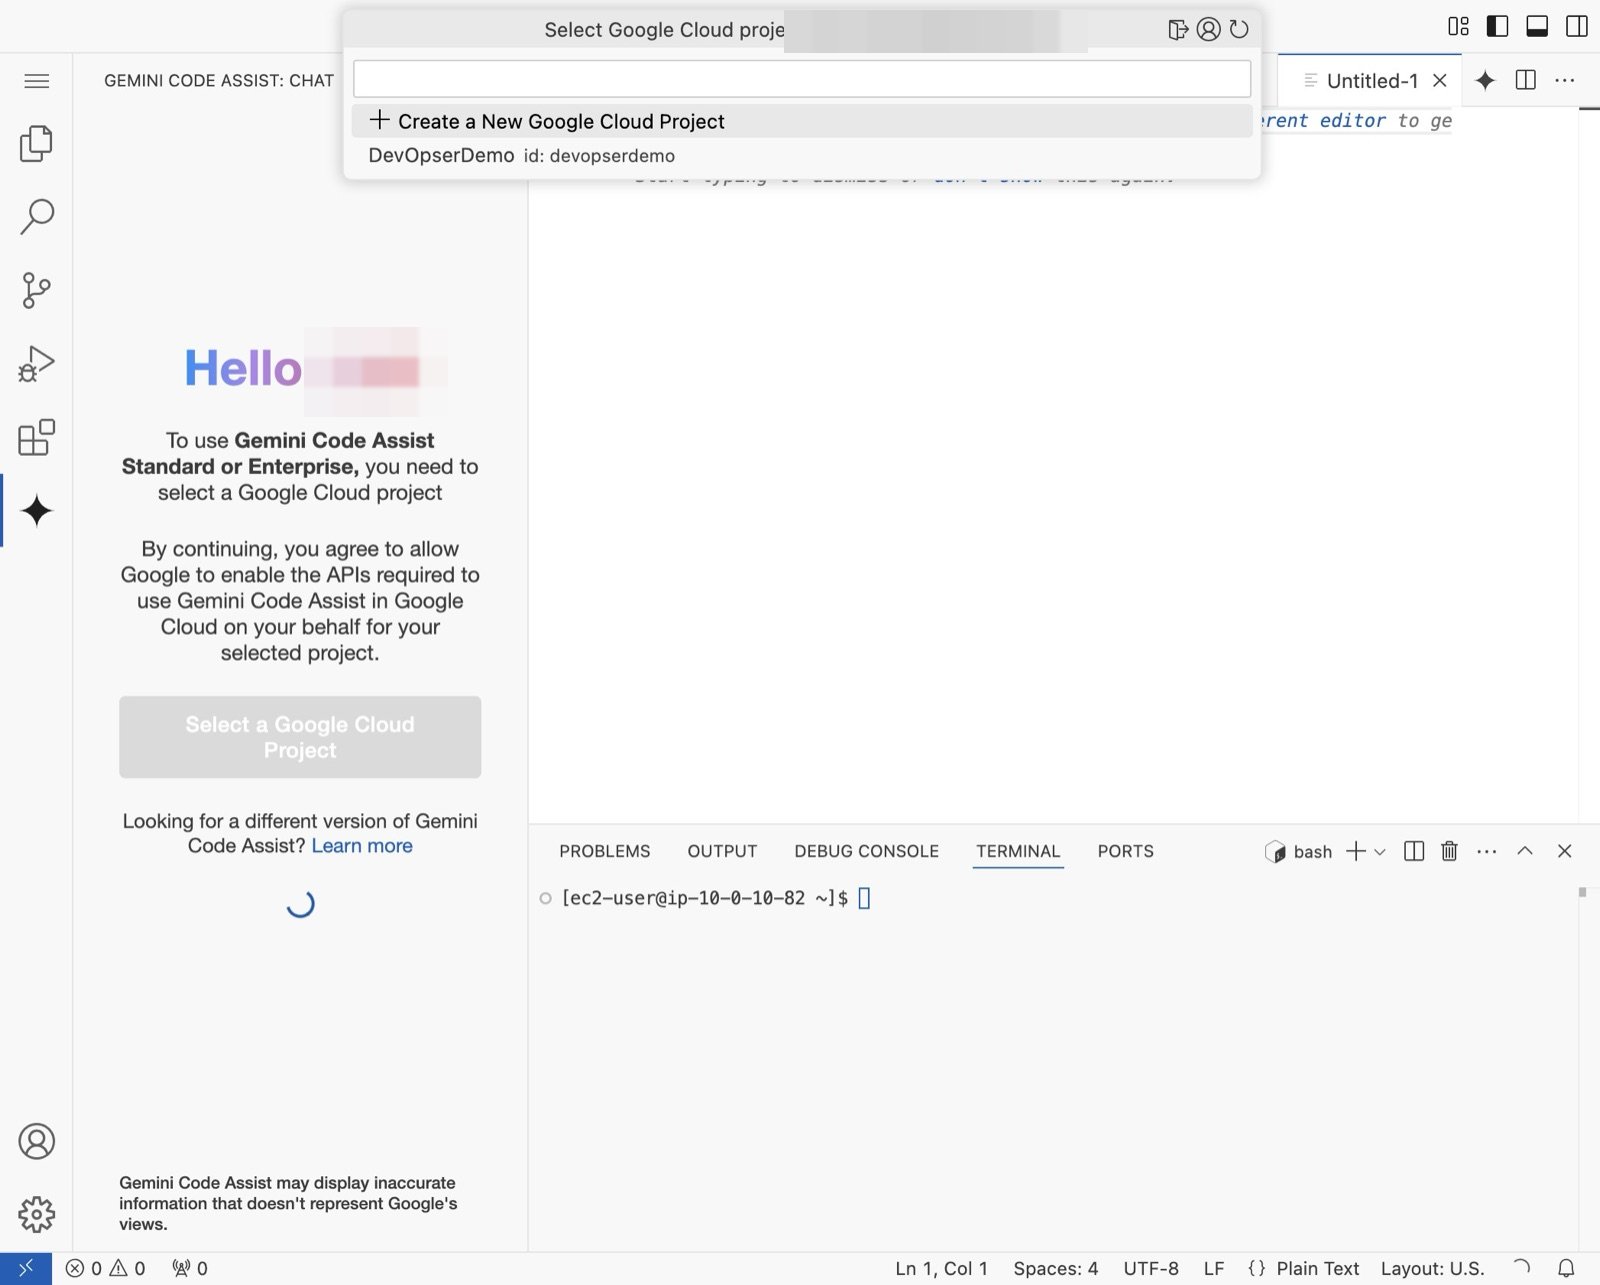
Click “Create a New Google Cloud Project” or click an existing one.
-
16
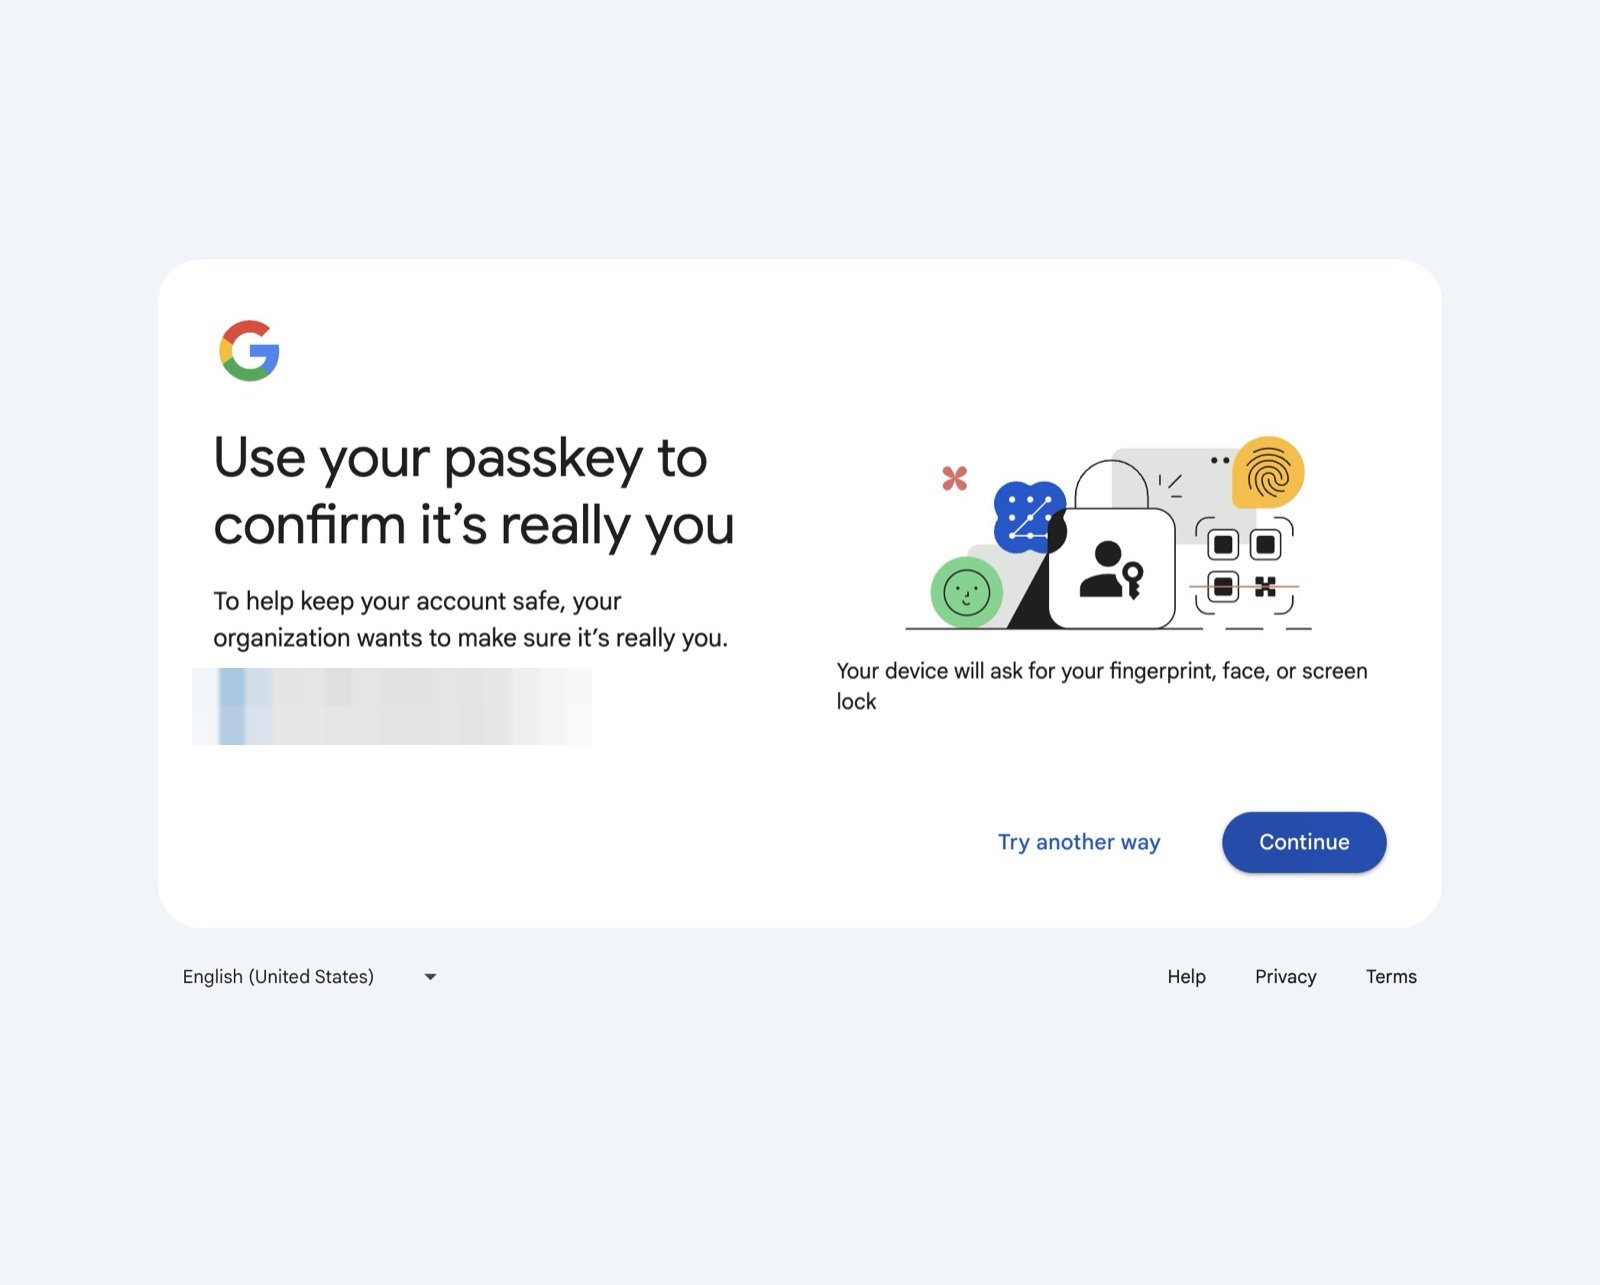
Authorize to your Google account in whatever way you usually do.
-
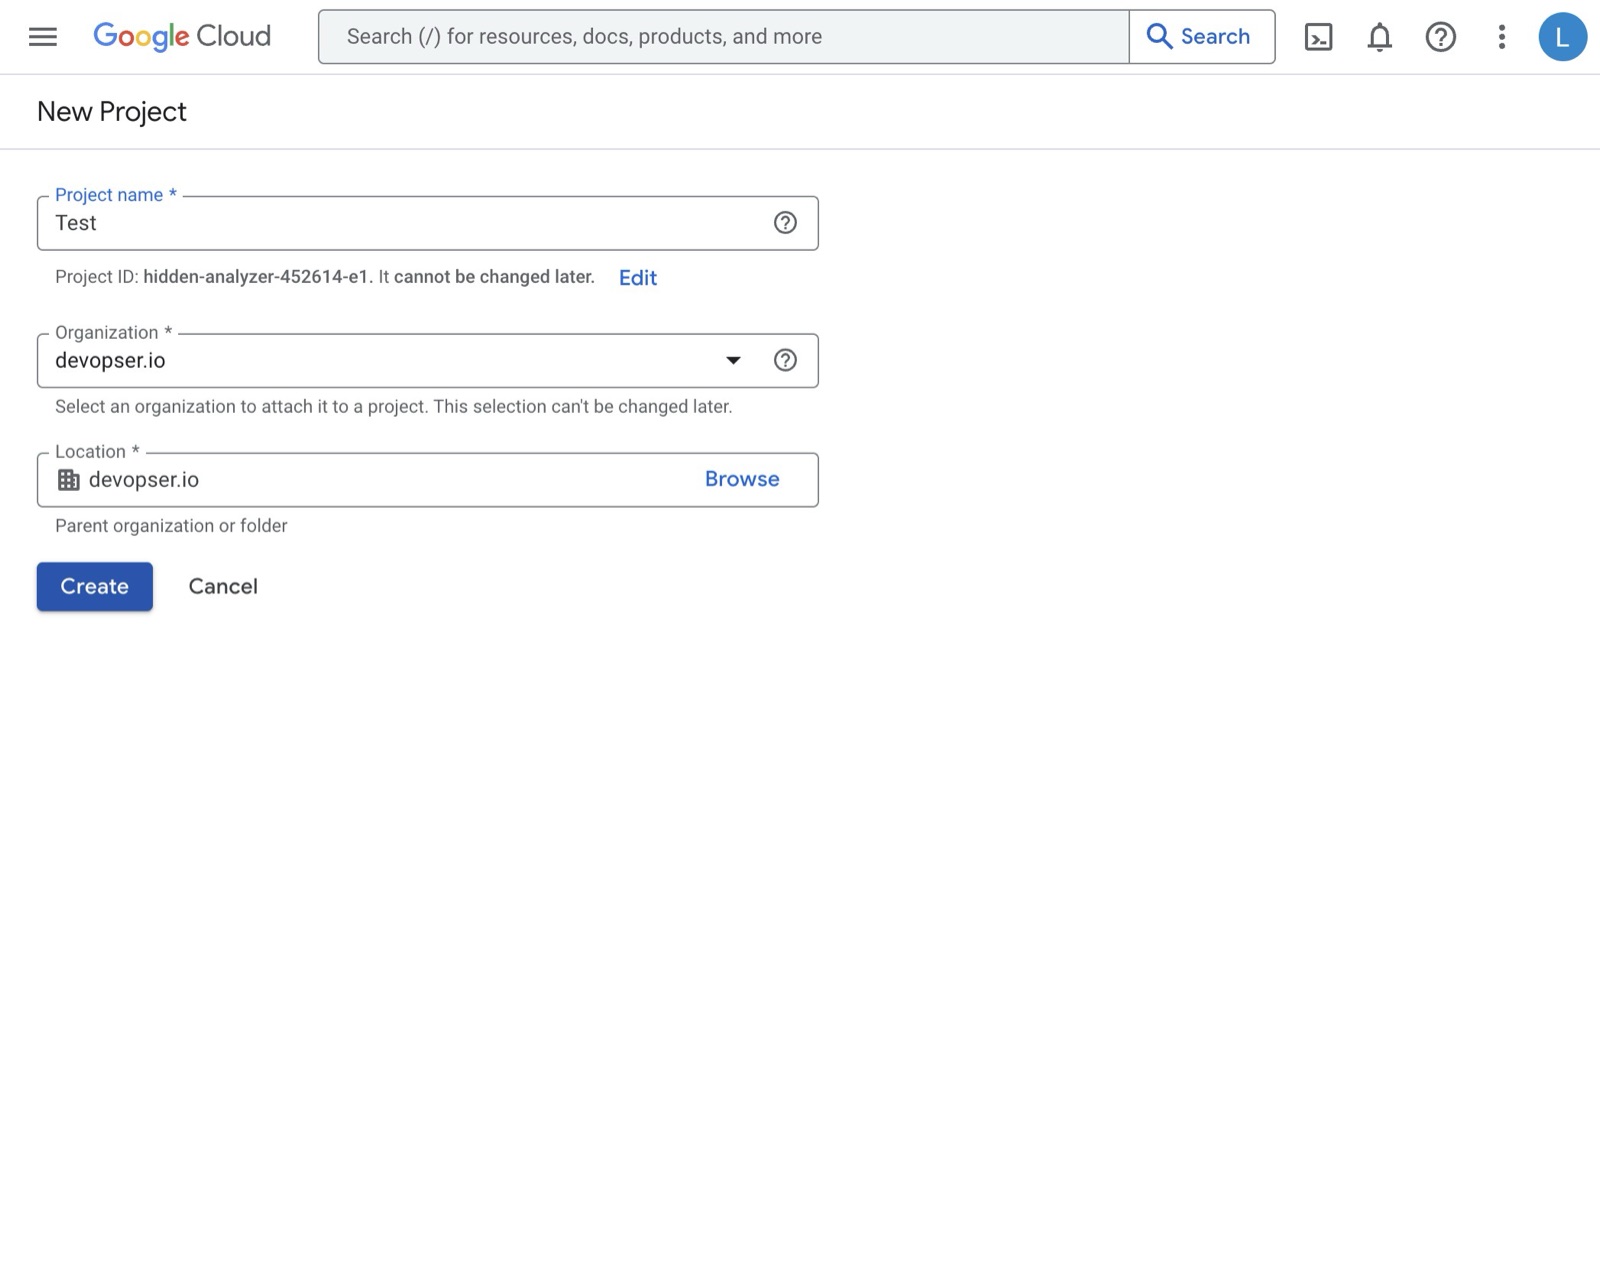
17
Create a new project.
-
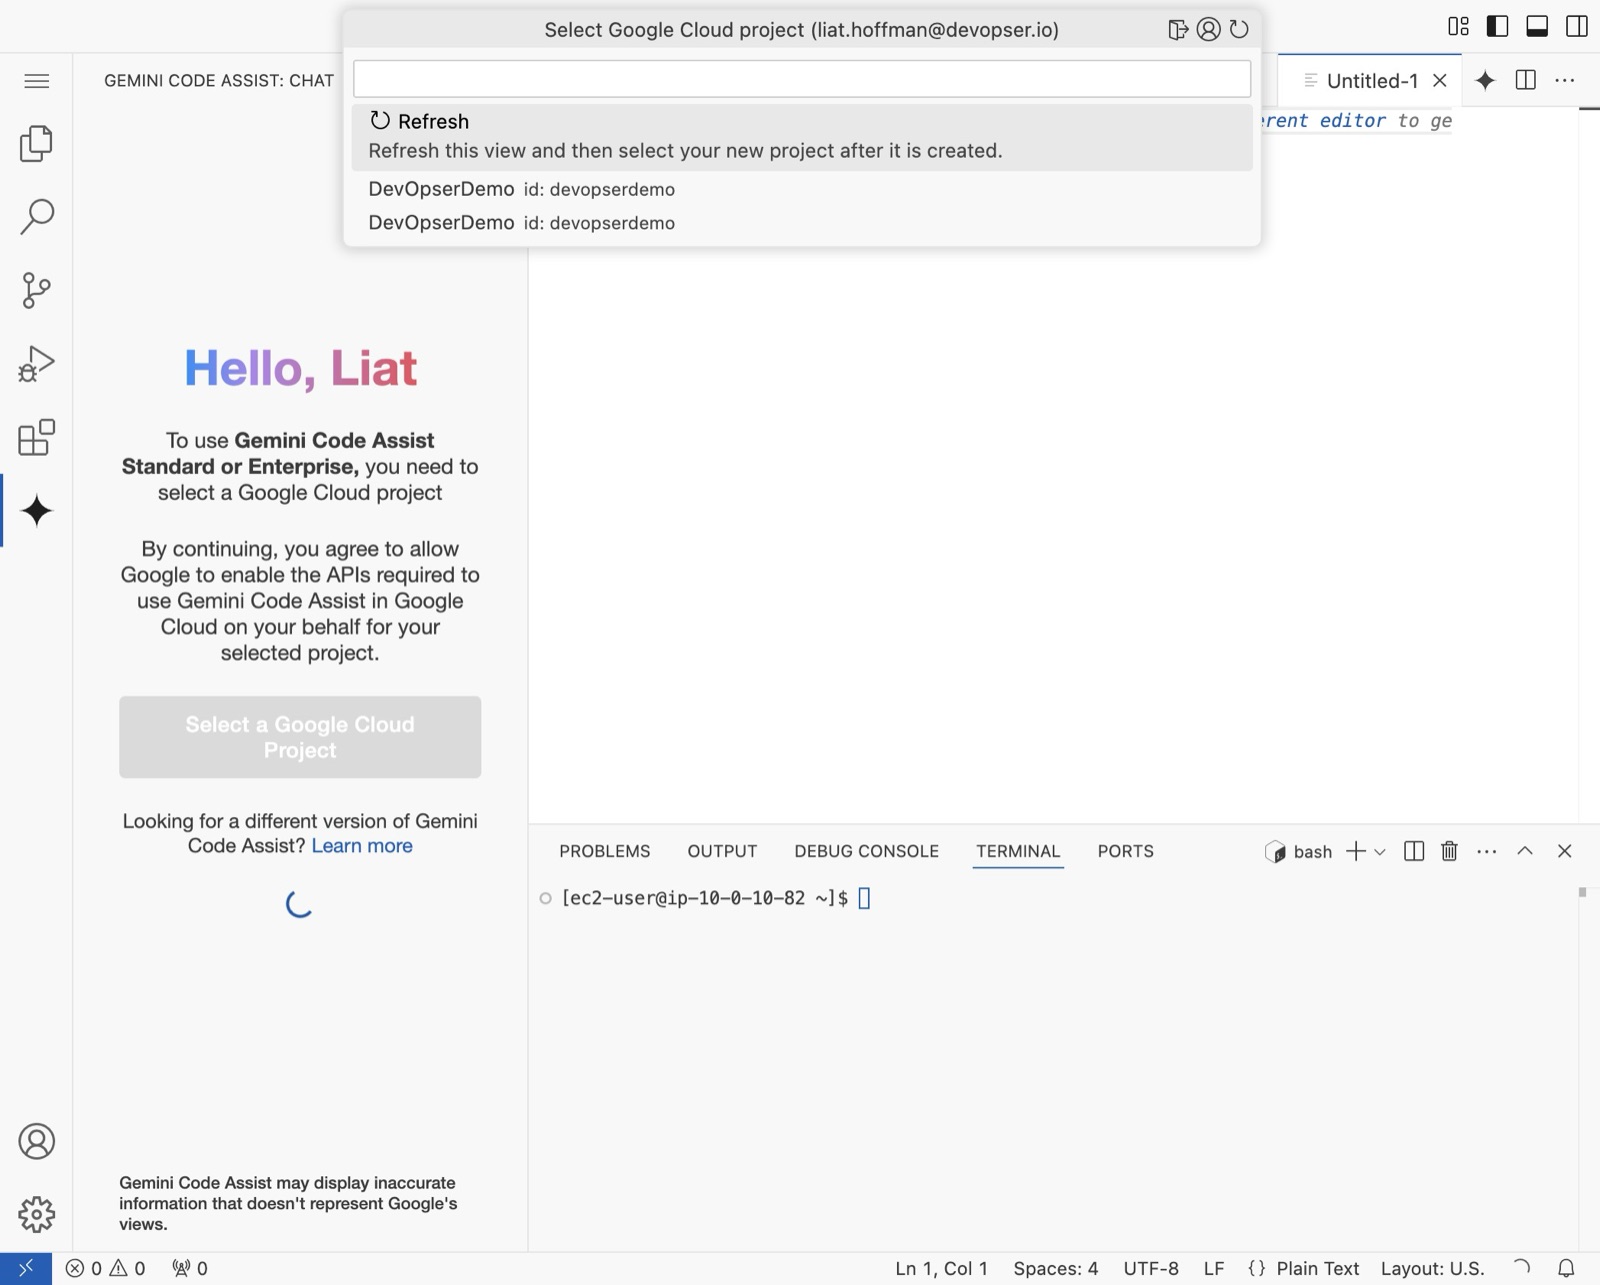
18
Refresh the list of projects.
-
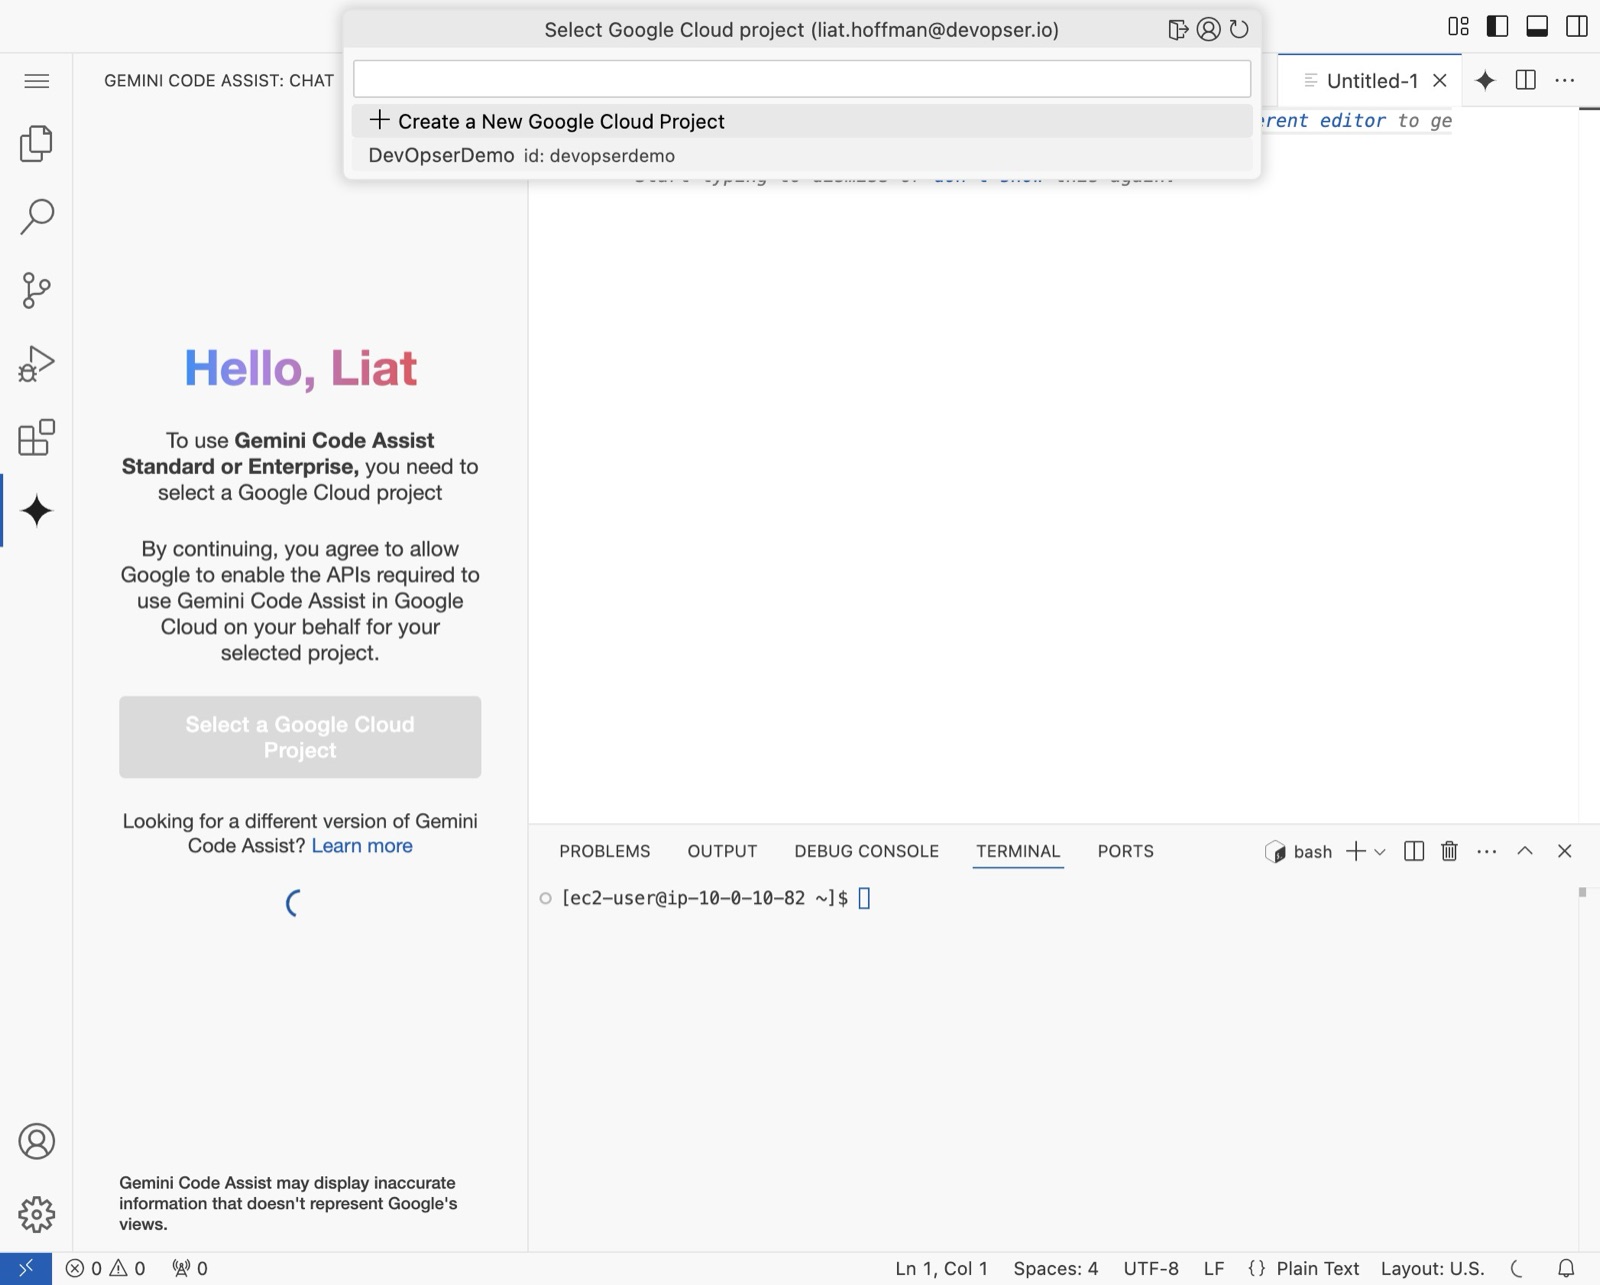
19
Select the project you created.
-
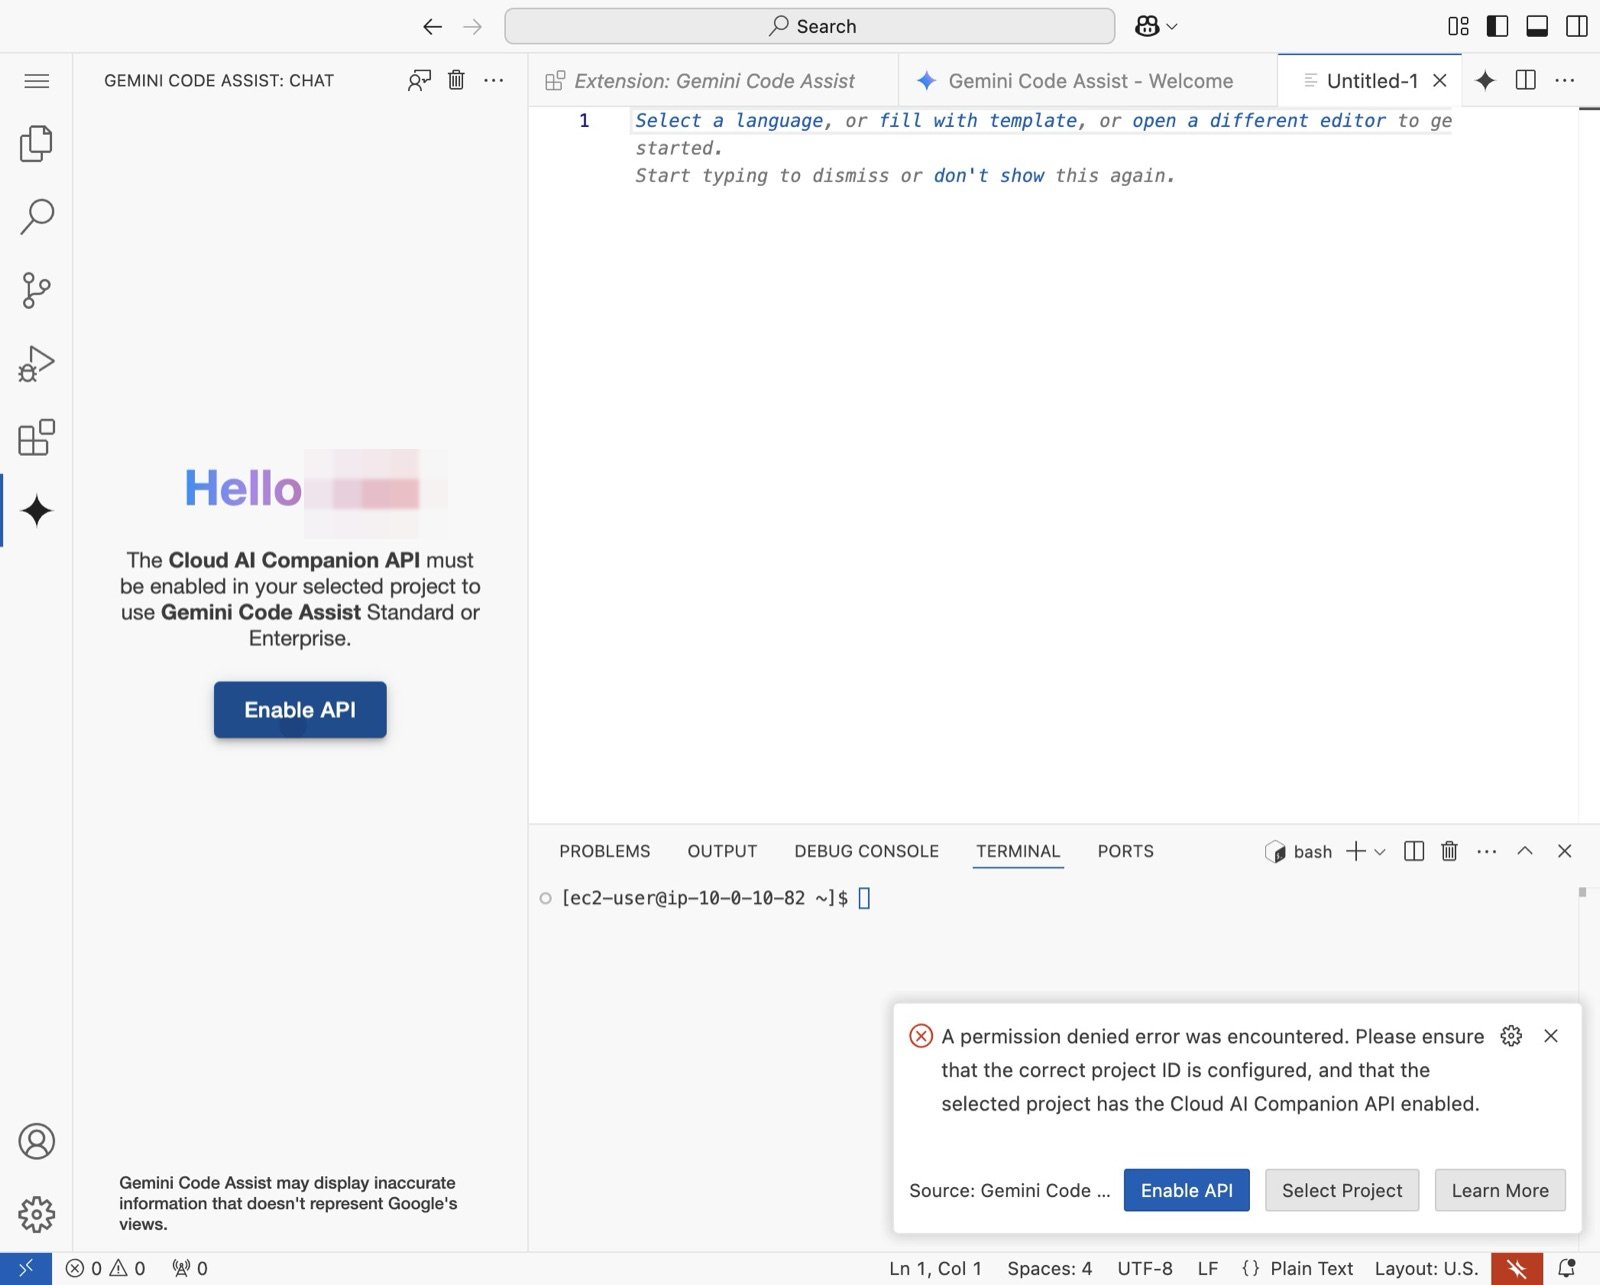
20
Click here to enable the API.
-
21
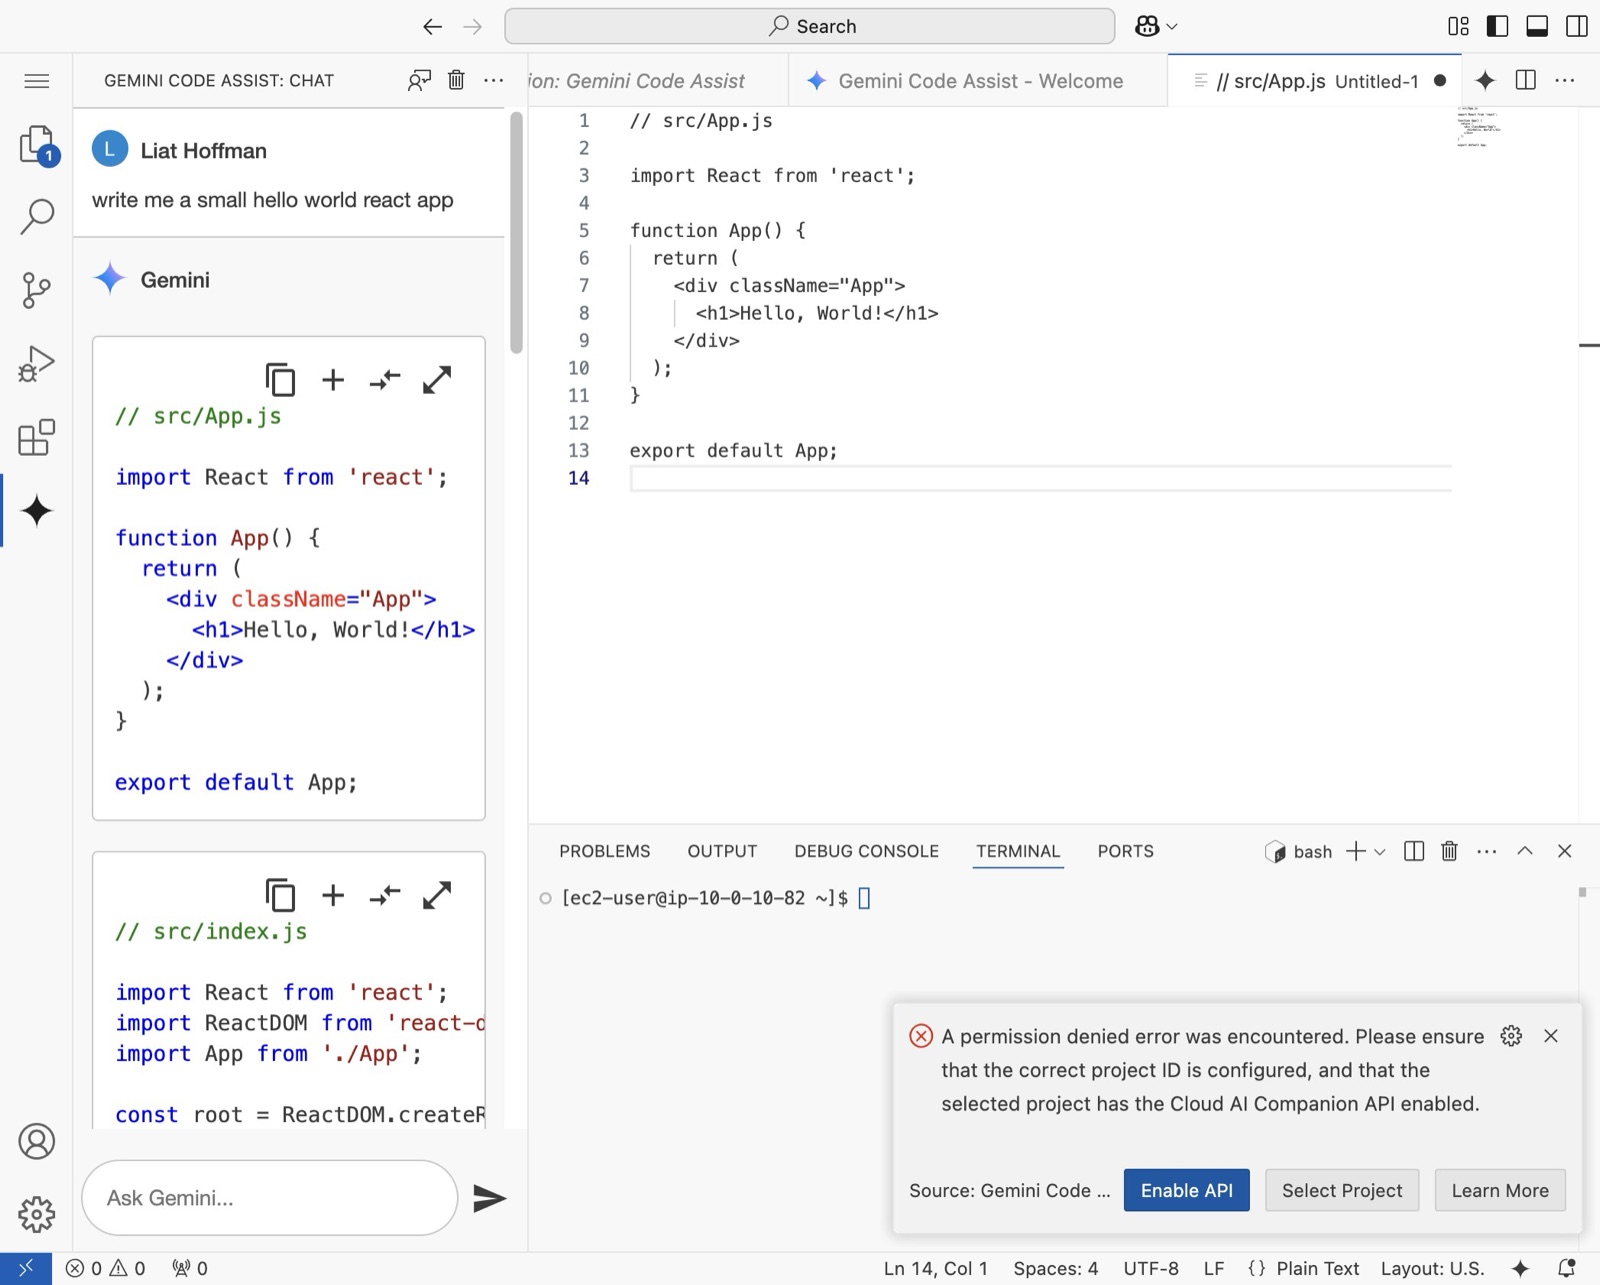
Make sure you click “Enable API” in the dialog in bottom right.
-
22
Now you can chat with Gemini and ask for help.
-
23
Gemini provides helpful instructions and intuitive user interface for implementing its code suggestions. And it's free. Congrats you have implemented an AI coding assistant in your development environment!